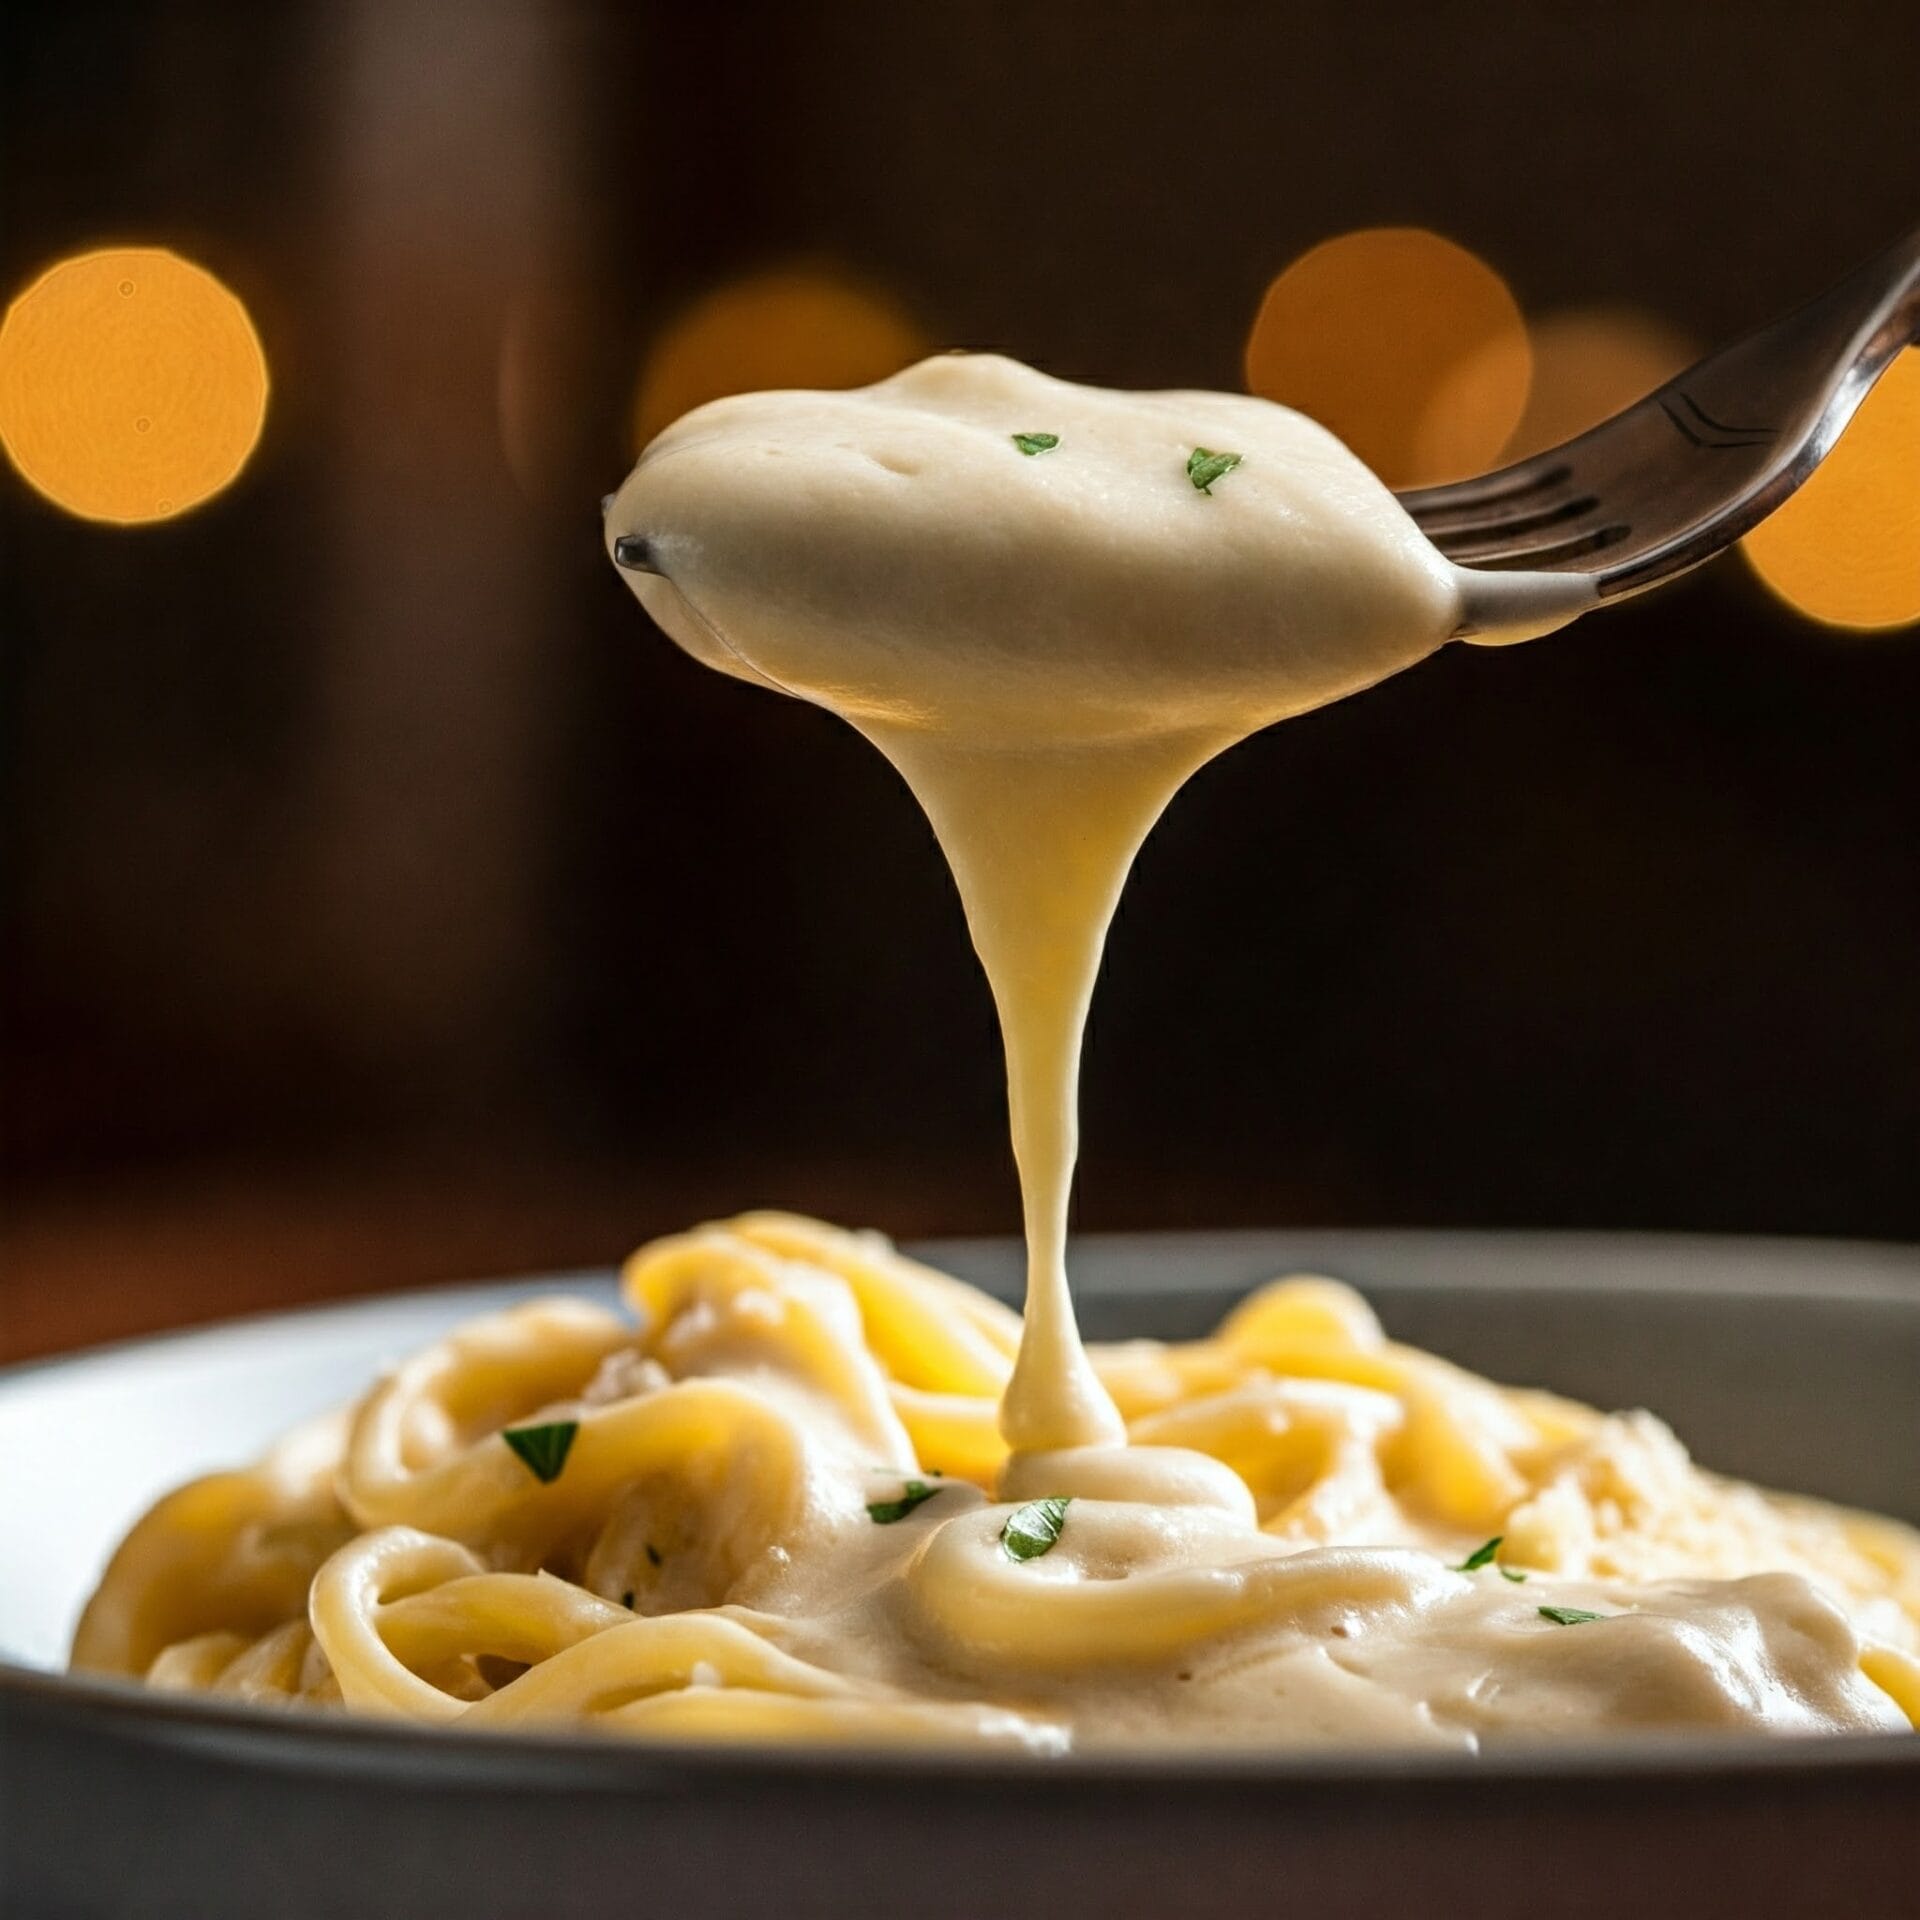
Strawberry-Caramel Crème Brûlée

Dessert

Strawberry-Caramel Crème Brûlée

Caramelize the custard sugar first, loosen it carefully with warm cream, then cool the mixture before adding the yolks, strawberry puree and liqueur.

Yield
4 small custards
Cuisine
French-inspired

Bring it to the table

Warm the cream before adding

Hot caramel releases steam and bubbles vigorously when liquid is added. Use a roomy saucepan, oven mitts and slow additions with your face clear.

At the table

Chill the custards completely, then caramelize their sugar tops shortly before serving.

Before you start

Gather your ingredients.

Full quantities and serving adjustments are in the recipe card below.

See the ingredient checklist
  • 60 g granulated sugar
  • 225 g heavy cream — divided into two equal portions
  • 87.5 g strawberry puree — smooth
  • 75 g egg yolks — weighed without whites
  • 6.25 g strawberry liqueur
  • 4 tsp granulated sugar — approximately; a thin layer for each custard

A few useful notes.

Four small custards are a serving suggestion.

The recipe contains strawberry liqueur; baking does not establish that it is alcohol-free.

Add the sugar crust just before serving.

The cooking plan

How to make Strawberry-Caramel Crème Brûlée.

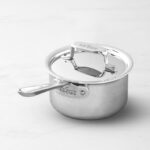
  1. Warm half the cream in a small saucepan and keep it warm. Spread the 60 g sugar in an even layer in a separate heavy saucepan with high sides. Heat over low to medium-low heat, gently moving it with a heatproof spatula until melted and amber.

  2. Remove the caramel from the heat. Wearing oven mitts and keeping your face away, add the warm cream very slowly in small additions. Pause as it bubbles. Return to low heat only as needed to dissolve any hardened caramel, then remove from the heat.

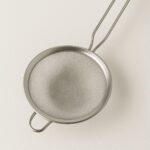
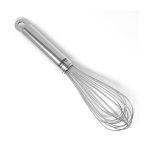
  3. Stir in the remaining cream and let cool until no longer hot. Whisk in the strawberry puree, weighed yolks and liqueur gently until combined. Strain through a fine sieve.

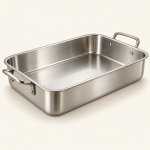
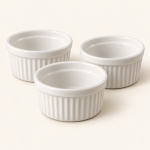
  4. Heat the oven to 300°F. Divide between four ovenproof ramekins of about 150 ml capacity in a roasting pan. Set on the oven rack and add hot water around them to about halfway up their sides.

  5. Bake, starting to check at about 35 minutes, until set at the edges with a gently trembling center rather than liquid movement. Check that the center reaches at least 160°F and continue as needed. Lift the ramekins from the water carefully, cool briefly and refrigerate within 2 hours. Chill fully, allowing at least 4 hours.

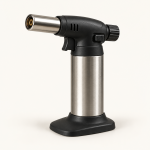
  6. Just before serving, blot any surface condensation. Cover each cold custard with a thin even layer of sugar, about 1 teaspoon. On a heatproof surface, caramelize with a kitchen torch used according to its instructions. Let the crust harden briefly before serving.

Let’s cook

The full recipe.

Check off ingredients as you get them ready.

Changing servings? The ingredient list scales automatically. Adjust quantities named in the steps to match, and choose pans and cooking times for your batch.

Strawberry-Caramel Crème Brûlée

No ratings yet
A strawberry and caramel custard with cream, egg yolks and a thin caramelized sugar crust.
Servings: 4 small custards
Course: Dessert
Cuisine: French-inspired

Some ingredient links are affiliate links. We may earn a commission at no extra cost to you. As an Amazon Associate I earn from qualifying purchases.

Ingredients
  

Custard
  • 60 g granulated sugar
  • 225 g heavy cream divided into two equal portions
  •  
    87.5 g strawberry puree smooth
  • Three separated raw egg yolks in a clear glass bowl75 g egg yolks weighed without whites
  •  
    6.25 g strawberry liqueur
Sugar crust
  • 4 tsp granulated sugar approximately; a thin layer for each custard

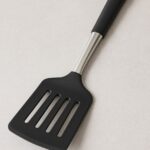
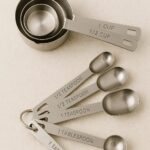
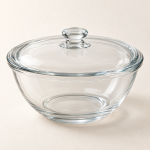
Equipment images are illustrative. Exact products may vary.

Instructions
 

  1. Warm half the cream in a small saucepan and keep it warm. Spread the 60 g sugar in an even layer in a separate heavy saucepan with high sides. Heat over low to medium-low heat, gently moving it with a heatproof spatula until melted and amber.
  2. Remove the caramel from the heat. Wearing oven mitts and keeping your face away, add the warm cream very slowly in small additions. Pause as it bubbles. Return to low heat only as needed to dissolve any hardened caramel, then remove from the heat.
  3. Stir in the remaining cream and let cool until no longer hot. Whisk in the strawberry puree, weighed yolks and liqueur gently until combined. Strain through a fine sieve.
  4. Heat the oven to 300°F. Divide between four ovenproof ramekins of about 150 ml capacity in a roasting pan. Set on the oven rack and add hot water around them to about halfway up their sides.
  5. Bake, starting to check at about 35 minutes, until set at the edges with a gently trembling center rather than liquid movement. Check that the center reaches at least 160°F and continue as needed. Lift the ramekins from the water carefully, cool briefly and refrigerate within 2 hours. Chill fully, allowing at least 4 hours.
  6. Just before serving, blot any surface condensation. Cover each cold custard with a thin even layer of sugar, about 1 teaspoon. On a heatproof surface, caramelize with a kitchen torch used according to its instructions. Let the crust harden briefly before serving.

Notes

Four small custards are a serving suggestion.
The recipe contains strawberry liqueur; baking does not establish that it is alcohol-free.
Add the sugar crust just before serving.

Tried this recipe?

Let us know how it was!

A couple of useful answers.

Is the 60 g sugar for the topping?

It is caramelized into the custard base. The separate teaspoon amounts are for the final sugar crust.

Can I torch them while warm?

Chill them completely first, then add and caramelize the thin sugar layer just before serving.

Keep the good food going

Similar Recipes

Find another recipe to bring to the table.

Vanilla and Lemon Custard Pots

Dessert

Vanilla and Lemon Custard Pots

Infuse the milk, temper it into weighed eggs and chill the mixture overnight before baking. These custards are served in their ramekins, without a caramel layer.

Yield
6 small custards
Cuisine
French-inspired

Bring it to the table

Warm milk, gentle mixing

Whisk the eggs only enough to combine them. Add the hot milk slowly while stirring to avoid scrambling or introducing excess foam.

At the table

Chill fully and serve in the ramekins.

Before you start

Gather your ingredients.

Full quantities and serving adjustments are in the recipe card below.

See the ingredient checklist
  • 475 ml whole milk
  • 125 g granulated sugar
  • 150 g whole eggs — lightly beaten and weighed without shells
  • 1/2 vanilla bean — split and seeds scraped
  • 1 small strip lemon peel — about 1/2 inch long; colored zest only

A few useful notes.

Six small custards are a home portion suggestion.

This recipe makes the custard component without an unmolded caramel layer.

Use the whole-egg quantity listed rather than swapping in an equal weight of yolks.

The cooking plan

How to make Vanilla and Lemon Custard Pots.

  1. Put the milk, sugar, vanilla seeds and pod, and lemon peel in a saucepan. Bring just to a boil, then remove from the heat immediately.

  2. Lightly whisk the weighed eggs in a bowl. Add the hot milk gradually while stirring constantly. Strain out the pod and peel. Cool promptly in a shallow container set in an ice-water bath, then cover and refrigerate within 2 hours. Keep cold overnight and bake the next day.

  3. Heat the oven to 300°F. Set six ovenproof ramekins of about 150 ml capacity in a deep roasting pan. Stir the chilled custard gently and divide between them.

  4. Set the pan on the oven rack. Carefully add hot water around the ramekins to about halfway up their sides, keeping it out of the custards. Bake, checking around 40–45 minutes, until the edges are set, the centers tremble gently rather than flow, and the center reaches at least 160°F. Continue as needed for the ramekins and starting temperature.

  5. Remove the ramekins from the water carefully. Let the initial heat subside, then refrigerate within 2 hours. Chill fully before serving and keep refrigerated; use within 3–4 days.

Let’s cook

The full recipe.

Check off ingredients as you get them ready.

Changing servings? The ingredient list scales automatically. Adjust quantities named in the steps to match, and choose pans and cooking times for your batch.

Vanilla and Lemon Custard Pots

No ratings yet
Milk-based vanilla custards gently baked in a water bath with a little lemon-peel fragrance.
Servings: 6 small custards
Course: Dessert
Cuisine: French-inspired

Some ingredient links are affiliate links. We may earn a commission at no extra cost to you. As an Amazon Associate I earn from qualifying purchases.

Ingredients
  

  • 475 ml whole milk
  • 125 g granulated sugar
  • 150 g whole eggs lightly beaten and weighed without shells
  •  
    ½ vanilla bean split and seeds scraped
  •  
    1 small strip lemon peel about 1/2 inch long; colored zest only

Equipment images are illustrative. Exact products may vary.

Instructions
 

  1. Put the milk, sugar, vanilla seeds and pod, and lemon peel in a saucepan. Bring just to a boil, then remove from the heat immediately.
  2. Lightly whisk the weighed eggs in a bowl. Add the hot milk gradually while stirring constantly. Strain out the pod and peel. Cool promptly in a shallow container set in an ice-water bath, then cover and refrigerate within 2 hours. Keep cold overnight and bake the next day.
  3. Heat the oven to 300°F. Set six ovenproof ramekins of about 150 ml capacity in a deep roasting pan. Stir the chilled custard gently and divide between them.
  4. Set the pan on the oven rack. Carefully add hot water around the ramekins to about halfway up their sides, keeping it out of the custards. Bake, checking around 40–45 minutes, until the edges are set, the centers tremble gently rather than flow, and the center reaches at least 160°F. Continue as needed for the ramekins and starting temperature.
  5. Remove the ramekins from the water carefully. Let the initial heat subside, then refrigerate within 2 hours. Chill fully before serving and keep refrigerated; use within 3–4 days.

Notes

Six small custards are a home portion suggestion.
This recipe makes the custard component without an unmolded caramel layer.
Use the whole-egg quantity listed rather than swapping in an equal weight of yolks.

Tried this recipe?

Let us know how it was!

A couple of useful answers.

Do I turn them out onto a plate?

Serve this version in its ramekins; it has no caramel layer for unmolding.

Why use a water bath?

The surrounding water helps the custard heat gently. Keep water out of the ramekins when filling and removing the pan.

Keep the good food going

Similar Recipes

Find another recipe to bring to the table.

Pineau and Lime Macerated Strawberries

Dessert · Garnish

Pineau and Lime Macerated Strawberries

Quarter the berries and turn them gently through the sugar, wine and zest. Let them macerate in the refrigerator so they release a little juice.

Yield
1 small batch
Cuisine
French-inspired

Bring it to the table

Chill while the fruit marinates

Keep the covered berries refrigerated for the full marinating time rather than leaving them on the counter.

At the table

Spoon the berries and a little of their juice beside a cake, custard or other dessert prepared separately.

Before you start

Gather your ingredients.

Full quantities and serving adjustments are in the recipe card below.

See the ingredient checklist
  • 300 g strawberries — hulled and quartered
  • 12.5 g Pineau des Charentes — fortified wine
  • 25 g granulated sugar
  • 1/4 lime — finely grated zest only

A few useful notes.

This topping contains alcohol; the wine is not cooked.

It is a fruit component, with no cake or custard included.

The cooking plan

How to make Pineau and Lime Macerated Strawberries.

  1. Rinse the strawberries under cool running water and dry gently before hulling and quartering. Put in a clean bowl.

  2. Add the sugar, Pineau des Charentes and finely grated lime zest. Turn gently until the berries are coated.

  3. Cover and refrigerate at 40°F or below for at least 3 hours, stirring gently once or twice. Serve chilled with a little of the released juice; use promptly, preferably the same day.

Let’s cook

The full recipe.

Check off ingredients as you get them ready.

Changing servings? The ingredient list scales automatically. Adjust quantities named in the steps to match, and choose pans and cooking times for your batch.

Pineau and Lime Macerated Strawberries

No ratings yet
Fresh strawberries chilled with sugar, lime zest and a little Pineau des Charentes for a wine-scented dessert topping.
Servings: 1 small batch
Course: Dessert, Garnish
Cuisine: French-inspired

Some ingredient links are affiliate links. We may earn a commission at no extra cost to you. As an Amazon Associate I earn from qualifying purchases.

Ingredients
  

  •  
    300 g strawberries hulled and quartered
  •  
    12.5 g Pineau des Charentes fortified wine
  • 25 g granulated sugar
  • ¼ lime finely grated zest only

Equipment images are illustrative. Exact products may vary.

Instructions
 

  1. Rinse the strawberries under cool running water and dry gently before hulling and quartering. Put in a clean bowl.
  2. Add the sugar, Pineau des Charentes and finely grated lime zest. Turn gently until the berries are coated.
  3. Cover and refrigerate at 40°F or below for at least 3 hours, stirring gently once or twice. Serve chilled with a little of the released juice; use promptly, preferably the same day.

Notes

This topping contains alcohol; the wine is not cooked.
It is a fruit component, with no cake or custard included.

Tried this recipe?

Let us know how it was!

A couple of useful answers.

Does the wine cook off?

No. The fruit is marinated cold, so this dessert topping contains alcohol.

Should I add lime juice?

This version uses the finely grated zest only. Save the juice for another dish.

Keep the good food going

Similar Recipes

Find another recipe to bring to the table.

Orange, Cinnamon and Clove Speculoos

Dessert

Orange, Cinnamon and Clove Speculoos

Chill the dough overnight so it firms for rolling. This version uses the cinnamon-and-clove option for the spice mixture, with orange zest for a citrus note.

Yield
1 small batch
Cuisine
Belgian-inspired

Bring it to the table

Keep the dough cool

Work with one portion at a time and return it to the refrigerator if it becomes too soft to cut cleanly.

At the table

Serve with coffee or tea, or crumble a cooled cookie over a dessert.

Before you start

Gather your ingredients.

Full quantities and serving adjustments are in the recipe card below.

See the ingredient checklist
  • 112.5 g unsalted butter — softened
  • 147.5 g brown sugar
  • 22.5 g whole egg — lightly beaten and weighed without shell
  • 10 g egg yolk — weighed without white
  • 20 g milk
  • 225 g all-purpose flour — plus a little for rolling
  • 2 g salt
  • 1 g baking powder
  • 5 g ground cinnamon
  • 1.5 g ground cloves
  • 3 g finely grated orange zest — colored zest only

A few useful notes.

Cookie count depends on the cutters and dough thickness.

The measured cinnamon includes the extra cinnamon in addition to the cinnamon-and-clove spice option.

Do not taste raw dough.

The cooking plan

How to make Orange, Cinnamon and Clove Speculoos.

  1. Whisk the flour, salt, baking powder, cinnamon, cloves and orange zest together. In a separate bowl, cream the softened butter and brown sugar until evenly combined.

  2. Mix the weighed whole egg, yolk and milk into the butter mixture. Add the dry ingredients and mix just until the dough comes together.

  3. Flatten into a disc, wrap and refrigerate overnight. Keep the dough refrigerated until ready to roll.

  4. Heat the oven to 325°F and line baking sheets with parchment. Roll the dough about 1/8 inch thick on a lightly floured surface, working in portions. Cut into shapes and transfer to the sheets with a little space between cookies.

  5. Bake, starting to check at about 15 minutes, until the edges are lightly browned and the surfaces look dry and set. Continue as needed for the size and thickness. Let firm briefly on the sheet, then cool fully on a rack.

  6. Once cold, store airtight. Freeze for longer keeping.

Let’s cook

The full recipe.

Check off ingredients as you get them ready.

Changing servings? The ingredient list scales automatically. Adjust quantities named in the steps to match, and choose pans and cooking times for your batch.

Orange, Cinnamon and Clove Speculoos

No ratings yet
Brown-sugar spice cookies with cinnamon, clove and orange zest, rolled and cut after an overnight rest.
Servings: 1 small batch
Course: Dessert
Cuisine: Belgian-inspired

Some ingredient links are affiliate links. We may earn a commission at no extra cost to you. As an Amazon Associate I earn from qualifying purchases.

Ingredients
  

  • 112.5 g unsalted butter softened
  • Moist light brown sugar in a white prep bowl147.5 g brown sugar
  • 22.5 g whole eggs lightly beaten and weighed without shell
  • Three separated raw egg yolks in a clear glass bowl10 g Egg yolks weighed without white
  • 20 g milk
  • 225 g all-purpose flour plus a little for rolling
  • 2 g salt
  • Baking powder in a white prep bowl with a measuring spoon1 g baking powder
  • 5 g ground cinnamon
  • 1.5 g ground cloves
  •  
    3 g finely grated orange zest colored zest only

Equipment images are illustrative. Exact products may vary.

Instructions
 

  1. Whisk the flour, salt, baking powder, cinnamon, cloves and orange zest together. In a separate bowl, cream the softened butter and brown sugar until evenly combined.
  2. Mix the weighed whole egg, yolk and milk into the butter mixture. Add the dry ingredients and mix just until the dough comes together.
  3. Flatten into a disc, wrap and refrigerate overnight. Keep the dough refrigerated until ready to roll.
  4. Heat the oven to 325°F and line baking sheets with parchment. Roll the dough about 1/8 inch thick on a lightly floured surface, working in portions. Cut into shapes and transfer to the sheets with a little space between cookies.
  5. Bake, starting to check at about 15 minutes, until the edges are lightly browned and the surfaces look dry and set. Continue as needed for the size and thickness. Let firm briefly on the sheet, then cool fully on a rack.
  6. Once cold, store airtight. Freeze for longer keeping.

Notes

Cookie count depends on the cutters and dough thickness.
The measured cinnamon includes the extra cinnamon in addition to the cinnamon-and-clove spice option.
Do not taste raw dough.

Tried this recipe?

Let us know how it was!

A couple of useful answers.

Do I also add a four-spice blend?

No. This version uses cinnamon and cloves instead of the optional four-spice mixture.

Can I skip chilling?

The overnight refrigerated rest firms the dough for rolling and cutting. Warm dough is harder to handle cleanly.

Keep the good food going

Similar Recipes

Find another recipe to bring to the table.

Dark Chocolate Brownies

Dessert

Dark Chocolate Brownies

Melt the chocolate and butter gently, stir in the remaining ingredients, then bake until the center is set. Let the brownies cool before cutting so they hold together.

Yield
1 pan
Cuisine
American-inspired

Bring it to the table

Weigh the beaten eggs

Lightly beat the eggs, then weigh 200 g without shells. This keeps the amount consistent across different egg sizes.

At the table

Cool completely in the pan before cutting into portions of your preferred size.

Before you start

Gather your ingredients.

Full quantities and serving adjustments are in the recipe card below.

See the ingredient checklist
  • 250 g dark chocolate — about 64% cocoa; chopped
  • 250 g unsalted butter — plus a little for the pan
  • 200 g granulated sugar
  • 200 g whole eggs — lightly beaten and weighed without shells
  • 70 g all-purpose flour
  • 3 g salt

A few useful notes.

One pan is the base batch; the number of pieces depends on how you cut them.

Use dark eating or baking chocolate around 64% cocoa rather than unsweetened chocolate.

The checking time is not a guarantee that every oven or pan will finish at the same moment.

The cooking plan

How to make Dark Chocolate Brownies.

  1. Heat the oven to 375°F. Butter a 9-inch square metal baking pan and line with parchment, leaving enough overhang to lift the cooled brownies.

  2. Put the chopped chocolate and butter in a heatproof bowl over gently simmering water, keeping the bowl above the water. Stir until melted and smooth, then remove from the heat.

  3. Stir in the sugar and salt. Let the mixture cool until warm rather than hot. Add the beaten egg gradually, stirring well after each addition.

  4. Fold in the flour with a spatula just until the batter is evenly combined and smooth. Spread into the prepared pan.

  5. Place in the oven and immediately lower the setting to 300°F. Start checking at about 30 minutes and continue until the center is fully set and a tester has no wet batter. Actual baking time depends on the pan and oven.

  6. Cool completely in the pan before lifting out and cutting. Wrap once cool; freeze portions if keeping for later.

Let’s cook

The full recipe.

Check off ingredients as you get them ready.

Changing servings? The ingredient list scales automatically. Adjust quantities named in the steps to match, and choose pans and cooking times for your batch.

Dark Chocolate Brownies

No ratings yet
Butter-rich brownies made with dark chocolate and a small amount of flour.
Servings: 1 pan
Course: Dessert
Cuisine: American-inspired

Some ingredient links are affiliate links. We may earn a commission at no extra cost to you. As an Amazon Associate I earn from qualifying purchases.

Ingredients
  

  •  
    250 g dark chocolate about 64% cocoa; chopped
  • 250 g unsalted butter plus a little for the pan
  • 200 g granulated sugar
  • 200 g whole eggs lightly beaten and weighed without shells
  • 70 g all-purpose flour
  • 3 g salt

Equipment images are illustrative. Exact products may vary.

Instructions
 

  1. Heat the oven to 375°F. Butter a 9-inch square metal baking pan and line with parchment, leaving enough overhang to lift the cooled brownies.
  2. Put the chopped chocolate and butter in a heatproof bowl over gently simmering water, keeping the bowl above the water. Stir until melted and smooth, then remove from the heat.
  3. Stir in the sugar and salt. Let the mixture cool until warm rather than hot. Add the beaten egg gradually, stirring well after each addition.
  4. Fold in the flour with a spatula just until the batter is evenly combined and smooth. Spread into the prepared pan.
  5. Place in the oven and immediately lower the setting to 300°F. Start checking at about 30 minutes and continue until the center is fully set and a tester has no wet batter. Actual baking time depends on the pan and oven.
  6. Cool completely in the pan before lifting out and cutting. Wrap once cool; freeze portions if keeping for later.

Notes

One pan is the base batch; the number of pieces depends on how you cut them.
Use dark eating or baking chocolate around 64% cocoa rather than unsweetened chocolate.
The checking time is not a guarantee that every oven or pan will finish at the same moment.

Tried this recipe?

Let us know how it was!

A couple of useful answers.

Can I use unsweetened chocolate?

It has a different cocoa and sugar balance. Use dark chocolate around 64% cocoa for this formula.

Why let them cool before slicing?

The chocolate-and-butter structure firms as it cools, making the brownies easier to lift and cut.

Keep the good food going

Similar Recipes

Find another recipe to bring to the table.
Semolina and Egg-Yolk Pasta

Pasta

Semolina and Egg-Yolk Pasta

Knead the dough until smooth and firm, rest it before rolling, then cut into noodles. The cooking time depends on how thinly you roll and cut the dough.

Yield
4 servings
Cuisine
Italian-inspired

Bring it to the table

Use finely milled semolina

Choose fine semolina suitable for pasta, not coarse semolina grits. Resting helps the flour hydrate and makes the dough easier to roll.

At the table

Toss the cooked noodles with a sauce prepared separately and serve promptly.

Before you start

Gather your ingredients.

Full quantities and serving adjustments are in the recipe card below.

See the ingredient checklist
  • 170 g fine semolina flour — plus a little for dusting
  • 80 g all-purpose flour — plus a little for rolling
  • 150 g egg yolks — weighed without whites
  • 10 g olive oil
  • 5 g salt
  • water — only a little if needed to bring a dry dough together

A few useful notes.

Four portions are a home serving suggestion for the dough, before adding a sauce.

This is an egg-yolk dough; do not substitute the same weight of whole eggs without changing the formula.

Do not eat raw dough or leave fresh egg pasta out for extended drying.

The cooking plan

How to make Semolina and Egg-Yolk Pasta.

  1. Combine the semolina, all-purpose flour and salt in a bowl. Add the weighed yolks and olive oil, then mix and press together until a rough dough forms.

  2. Turn onto a clean surface and knead until smooth and firm. If it remains dry and crumbly after working it, dampen your hands with a little water and continue; add moisture sparingly rather than pouring in a large amount.

  3. Wrap and rest for 30 minutes. If preparing farther ahead, refrigerate the wrapped dough promptly and use within 24 hours, letting it become pliable again before rolling.

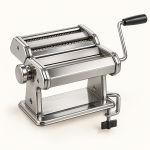
  4. Divide into four pieces and keep unused portions covered. Flatten one piece, pass through the widest pasta-machine setting, fold and repeat until smooth. Work through successively thinner settings. Alternatively roll by hand to an even thin sheet, resting briefly if it springs back.

  5. Lightly dust the sheets and cut into noodles. Keep them separated on a semolina-dusted tray. Cook promptly, or refrigerate and cook the same day; freeze separated portions promptly for longer keeping.

  6. Bring a large pot of salted water to a boil. Add the noodles, stir gently and cook until fully cooked through with no raw, floury center. Start checking thin noodles after about 2 minutes and continue as needed. Drain and toss with your prepared sauce.

Let’s cook

The full recipe.

Check off ingredients as you get them ready.

Changing servings? The ingredient list scales automatically. Adjust quantities named in the steps to match, and choose pans and cooking times for your batch.

Semolina and Egg-Yolk Pasta

No ratings yet
A rich fresh pasta dough made with semolina, all-purpose flour, egg yolks and olive oil.
Servings: 4 servings
Course: Pasta
Cuisine: Italian-Inspired

Some ingredient links are affiliate links. We may earn a commission at no extra cost to you. As an Amazon Associate I earn from qualifying purchases.

Ingredients
  

  •  
    170 g fine semolina flour plus a little for dusting
  • 80 g all-purpose flour plus a little for rolling
  • Three separated raw egg yolks in a clear glass bowl150 g egg yolks weighed without whites
  • 10 g olive oil
  • 5 g salt
  • water only a little if needed to bring a dry dough together

Equipment images are illustrative. Exact products may vary.

Instructions
 

  1. Combine the semolina, all-purpose flour and salt in a bowl. Add the weighed yolks and olive oil, then mix and press together until a rough dough forms.
  2. Turn onto a clean surface and knead until smooth and firm. If it remains dry and crumbly after working it, dampen your hands with a little water and continue; add moisture sparingly rather than pouring in a large amount.
  3. Wrap and rest for 30 minutes. If preparing farther ahead, refrigerate the wrapped dough promptly and use within 24 hours, letting it become pliable again before rolling.
  4. Divide into four pieces and keep unused portions covered. Flatten one piece, pass through the widest pasta-machine setting, fold and repeat until smooth. Work through successively thinner settings. Alternatively roll by hand to an even thin sheet, resting briefly if it springs back.
  5. Lightly dust the sheets and cut into noodles. Keep them separated on a semolina-dusted tray. Cook promptly, or refrigerate and cook the same day; freeze separated portions promptly for longer keeping.
  6. Bring a large pot of salted water to a boil. Add the noodles, stir gently and cook until fully cooked through with no raw, floury center. Start checking thin noodles after about 2 minutes and continue as needed. Drain and toss with your prepared sauce.

Notes

Four portions are a home serving suggestion for the dough, before adding a sauce.
This is an egg-yolk dough; do not substitute the same weight of whole eggs without changing the formula.
Do not eat raw dough or leave fresh egg pasta out for extended drying.

Tried this recipe?

Let us know how it was!

A couple of useful answers.

Can I roll it without a machine?

Yes. Use a rolling pin, work in small pieces and aim for an even thickness. Let it rest briefly if it keeps springing back.

Is there one cooking time for every noodle?

No. Thickness and shape change the time. Cook until the center is cooked through rather than raw and floury.

Keep the good food going

Similar Recipes

Find another recipe to bring to the table.