Apple, Almond and Calvados Tart

Dessert

Apple, Almond and Calvados Tart

Partially bake the shell before filling it, and leave room below the rim for the custard to rise slightly.

Yield
8 slices
Cuisine
French-inspired

Bring it to the table

Choose a deep tart pan

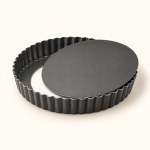
Use a 10-inch removable-bottom metal tart pan at least 1 1/4 inches deep. Set it on a rimmed baking sheet before filling.

At the table

Chill for neat slices, then let each portion lose its refrigerator chill briefly before serving.

Base recipe: Butter-Rich Tart Pastry

Before you start

Gather your ingredients.

Full quantities and serving adjustments are in the recipe card below.

See the ingredient checklist
  • 300 g prepared unsweetened shortcrust pastry — enough to line the specified pan; see linked pastry recipe
  • 400 g apples — peeled, cored weight; sliced about 1/4 inch thick
  • 100 g beaten whole egg — about 2 large eggs; weigh after beating
  • 100 g granulated sugar
  • 250 g heavy cream
  • 50 g finely ground almond flour
  • 22.5 ml Calvados

A few useful notes.

The specified deep pan and headroom matter; a shallow tart ring has less capacity.

The filling contains almonds, dairy, eggs and Calvados. It is not described as alcohol-free.

Use unsweetened shortcrust rather than a highly sweetened cookie-style crust.

The cooking plan

How to make Apple, Almond and Calvados Tart.

  1. Roll the chilled pastry about 1/8 inch thick and line a 10-inch metal tart pan at least 1 1/4 inches deep. Ease it into the corners without stretching, trim and refrigerate until firm. Heat the oven to 350°F.

  2. Set the tart pan on a rimmed baking sheet. Line the pastry with parchment and fill with pie weights. Bake until the edges look set, starting to check around 20 minutes. Remove weights and parchment carefully, then bake until the base looks dry, checking after another 5 minutes.

  3. Whisk the weighed egg with the sugar, cream, almond flour and Calvados until evenly combined. Arrange the apple slices in the partially baked shell.

  4. Pour the custard around the apples, keeping the filling at least 1/4 inch below the pastry rim. Do not force in excess filling. Bake any extra custard separately in an ovenproof cup set in a water bath, checking its center for the same temperature endpoint.

  5. Bake the tart until the apples are tender, the filling is set with only a slight movement at the center, and the custard center reaches at least 160°F. Start checking around 35 minutes and continue as needed. Shield the pastry edges with foil if they brown too quickly.

  6. Cool on a rack, then refrigerate within 2 hours at 40°F or below. Chill until firm before removing the pan sides and slicing. Use within 3–4 days.

Let’s cook

The full recipe.

Check off ingredients as you get them ready.

Changing servings? The ingredient list scales automatically. Adjust quantities named in the steps to match, and choose pans and cooking times for your batch.
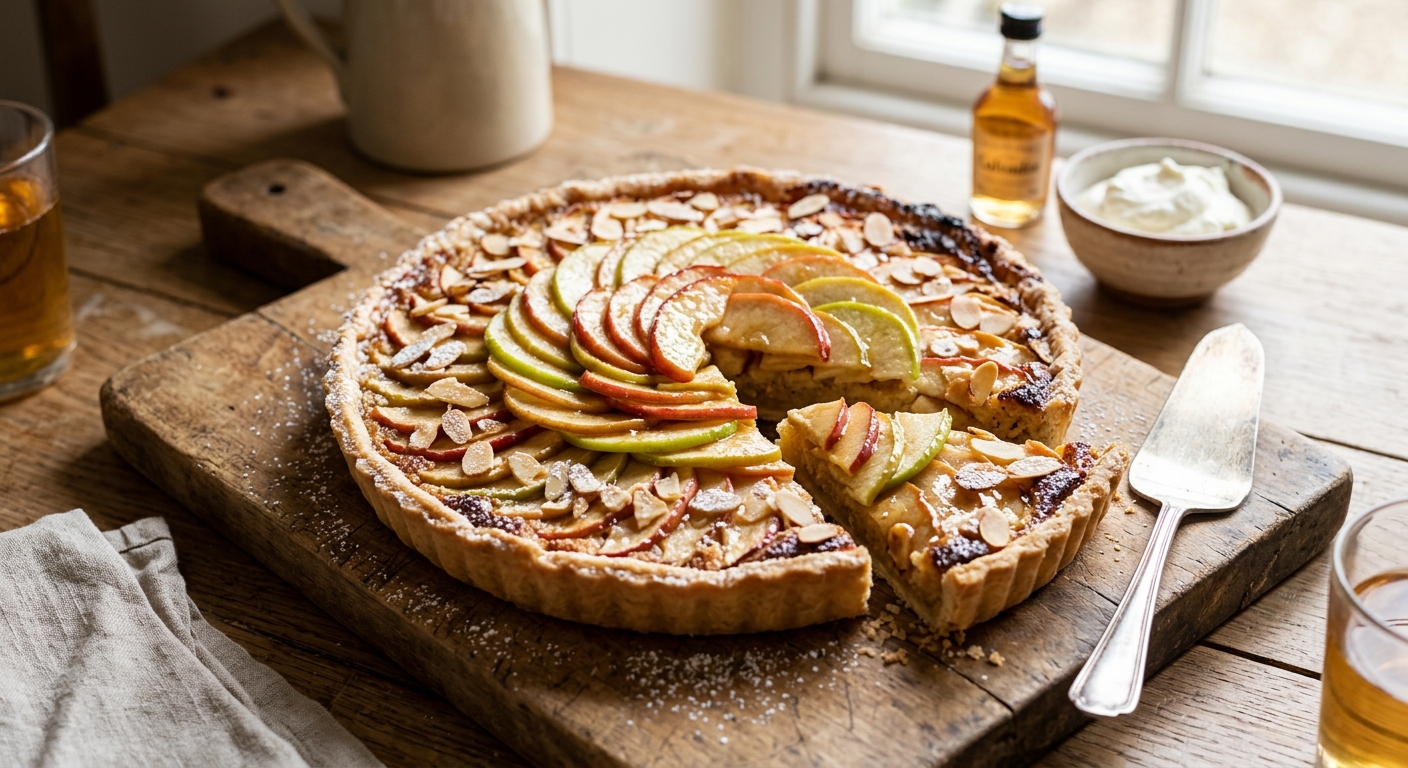
Apple, Almond and Calvados Tart

No ratings yet
Apple slices baked in an almond-and-cream custard with a little Calvados, inside a buttery pastry shell.
Servings: 8 slices
Course: Dessert
Cuisine: French-inspired

Some ingredient links are affiliate links. We may earn a commission at no extra cost to you. As an Amazon Associate I earn from qualifying purchases.

Ingredients
  

  •  
    300 g prepared unsweetened shortcrust pastry enough to line the specified pan; see linked pastry recipe
  •  
    400 g apples peeled, cored weight; sliced about 1/4 inch thick
  •  
    100 g beaten whole egg about 2 large eggs; weigh after beating
  • 100 g granulated sugar
  • 250 g heavy cream
  •  
    50 g finely ground almond flour
  •  
    22.5 ml Calvados

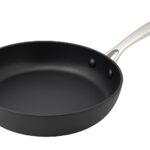
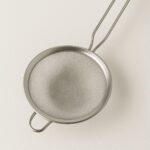
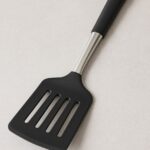
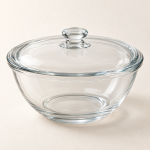
Equipment images are illustrative. Exact products may vary.
Instructions
 

  1. Roll the chilled pastry about 1/8 inch thick and line a 10-inch metal tart pan at least 1 1/4 inches deep. Ease it into the corners without stretching, trim and refrigerate until firm. Heat the oven to 350°F.
  2. Set the tart pan on a rimmed baking sheet. Line the pastry with parchment and fill with pie weights. Bake until the edges look set, starting to check around 20 minutes. Remove weights and parchment carefully, then bake until the base looks dry, checking after another 5 minutes.
  3. Whisk the weighed egg with the sugar, cream, almond flour and Calvados until evenly combined. Arrange the apple slices in the partially baked shell.
  4. Pour the custard around the apples, keeping the filling at least 1/4 inch below the pastry rim. Do not force in excess filling. Bake any extra custard separately in an ovenproof cup set in a water bath, checking its center for the same temperature endpoint.
  5. Bake the tart until the apples are tender, the filling is set with only a slight movement at the center, and the custard center reaches at least 160°F. Start checking around 35 minutes and continue as needed. Shield the pastry edges with foil if they brown too quickly.
  6. Cool on a rack, then refrigerate within 2 hours at 40°F or below. Chill until firm before removing the pan sides and slicing. Use within 3–4 days.

Notes

The specified deep pan and headroom matter; a shallow tart ring has less capacity.
The filling contains almonds, dairy, eggs and Calvados. It is not described as alcohol-free.
Use unsweetened shortcrust rather than a highly sweetened cookie-style crust.
Base recipe: Butter-Rich Tart Pastry

Tried this recipe?

Let us know how it was!

A couple of useful answers.

Where is the pastry recipe?

The Butter-Rich Tart Pastry link above the card gives a suitable dough. Make enough to line your pan.

How do I avoid overfilling?

Stop pouring at least 1/4 inch below the pastry rim, even if custard remains.

Keep the good food going

Similar Recipes

Find another recipe to bring to the table.
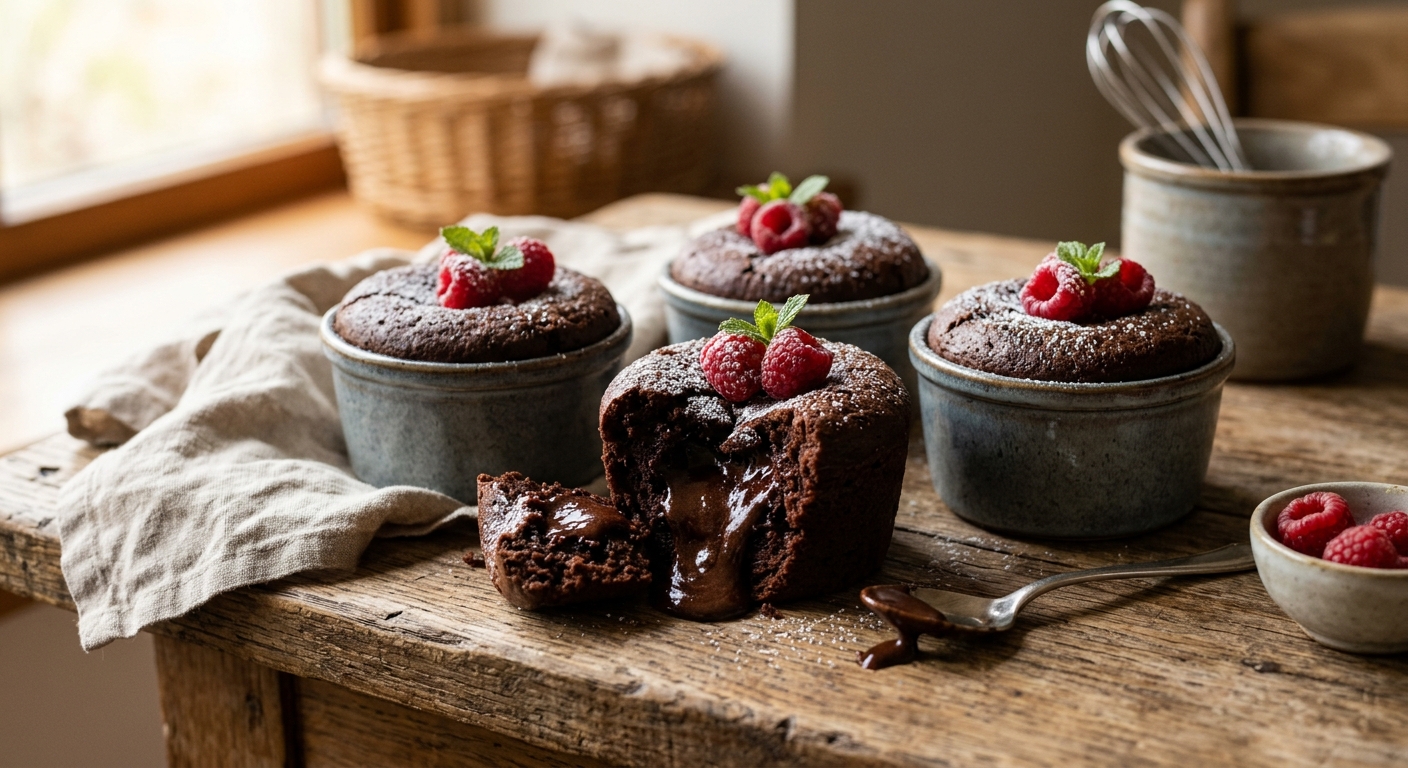
Melting-Center Chocolate Mini Cakes

Dessert

Melting-Center Chocolate Mini Cakes

Serve these little cakes warm, while the chocolate centers are soft. Bake the surrounding cake through before turning them out.

Yield
16 mini cakes
Cuisine
Contemporary

Bring it to the table

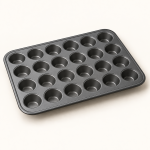
Use a mini-muffin pan

Grease a metal mini-muffin pan. Use chocolate intended for melting, rather than chips designed to hold their shape.

At the table

Serve several mini cakes as a small dessert, with napkins or a spoon for the melted chocolate.

Before you start

Gather your ingredients.

Full quantities and serving adjustments are in the recipe card below.

See the ingredient checklist
  • 56.5 g unsalted butter
  • 10.5 g Dutch-process cocoa powder
  • 56.5 g hot water
  • 60 g all-purpose flour
  • 99 g granulated sugar
  • 1/4 tsp baking soda
  • 1/8 tsp fine salt
  • 28.5 g buttermilk
  • 25 g beaten whole egg
  • 1/2 tsp vanilla extract
  • 95 g dark chocolate melting wafers — divide into about 16 small portions

A few useful notes.

The soft center comes from added melting chocolate. Check the cake surrounding it for doneness.

The base batch is approximately 16 mini cakes; pan capacity determines the count.

The cooking plan

How to make Melting-Center Chocolate Mini Cakes.

  1. Heat the oven to 400°F and thoroughly grease a metal mini-muffin pan. Have a second pan ready if the first has fewer than 16 wells.

  2. Melt the butter in a heatproof bowl. Stir in the cocoa and hot water until smooth. Allow to cool to warm.

  3. Whisk the flour, sugar, baking soda and salt in a separate bowl. Stir in the cocoa mixture, then the buttermilk, weighed egg and vanilla until evenly mixed.

  4. Fill mini-muffin wells no more than three-quarters full, leaving room for expansion. Push a small portion of melting chocolate into the middle of each cake. The exact cake count depends on the wells; use another pan for extra batter.

  5. Bake, starting to check at 10 minutes, until the cake around each center springs back gently and a tester inserted into the cake portion comes out without wet batter. Probe beside the chocolate, which will remain melted; continue baking if the surrounding cake is raw.

  6. Let stand just long enough to handle safely, then loosen the edges and turn out. Serve warm, taking care with the hot chocolate. Cool leftovers promptly and refrigerate within 2 hours; use within 3–4 days.

Let’s cook

The full recipe.

Check off ingredients as you get them ready.

Changing servings? The ingredient list scales automatically. Adjust quantities named in the steps to match, and choose pans and cooking times for your batch.

Melting-Center Chocolate Mini Cakes

No ratings yet
Small cocoa cakes with a piece of melting dark chocolate tucked into each center.
Servings: 16 mini cakes
Course: Dessert
Cuisine: Contemporary

Some ingredient links are affiliate links. We may earn a commission at no extra cost to you. As an Amazon Associate I earn from qualifying purchases.

Ingredients
  

  • 56.5 g unsalted butter
  •  
    10.5 g Dutch-process cocoa powder
  •  
    56.5 g hot water
  • 60 g all-purpose flour
  • 99 g granulated sugar
  •  
    ¼ tsp baking soda
  •  
    ⅛ tsp fine salt
  •  
    28.5 g buttermilk
  •  
    25 g beaten whole egg
  • ½ tsp vanilla extract
  •  
    95 g dark chocolate melting wafers divide into about 16 small portions

Equipment images are illustrative. Exact products may vary.

Instructions
 

  1. Heat the oven to 400°F and thoroughly grease a metal mini-muffin pan. Have a second pan ready if the first has fewer than 16 wells.
  2. Melt the butter in a heatproof bowl. Stir in the cocoa and hot water until smooth. Allow to cool to warm.
  3. Whisk the flour, sugar, baking soda and salt in a separate bowl. Stir in the cocoa mixture, then the buttermilk, weighed egg and vanilla until evenly mixed.
  4. Fill mini-muffin wells no more than three-quarters full, leaving room for expansion. Push a small portion of melting chocolate into the middle of each cake. The exact cake count depends on the wells; use another pan for extra batter.
  5. Bake, starting to check at 10 minutes, until the cake around each center springs back gently and a tester inserted into the cake portion comes out without wet batter. Probe beside the chocolate, which will remain melted; continue baking if the surrounding cake is raw.
  6. Let stand just long enough to handle safely, then loosen the edges and turn out. Serve warm, taking care with the hot chocolate. Cool leftovers promptly and refrigerate within 2 hours; use within 3–4 days.

Notes

The soft center comes from added melting chocolate. Check the cake surrounding it for doneness.
The base batch is approximately 16 mini cakes; pan capacity determines the count.

Tried this recipe?

Let us know how it was!

A couple of useful answers.

How do I check doneness with a melted center?

Insert the tester beside the chocolate center, into the cake. Wet cake batter needs more baking.

Can I make these in large ramekins?

This version specifies a mini-muffin pan. Larger dishes require a separately developed baking method.

Keep the good food going

Similar Recipes

Find another recipe to bring to the table.

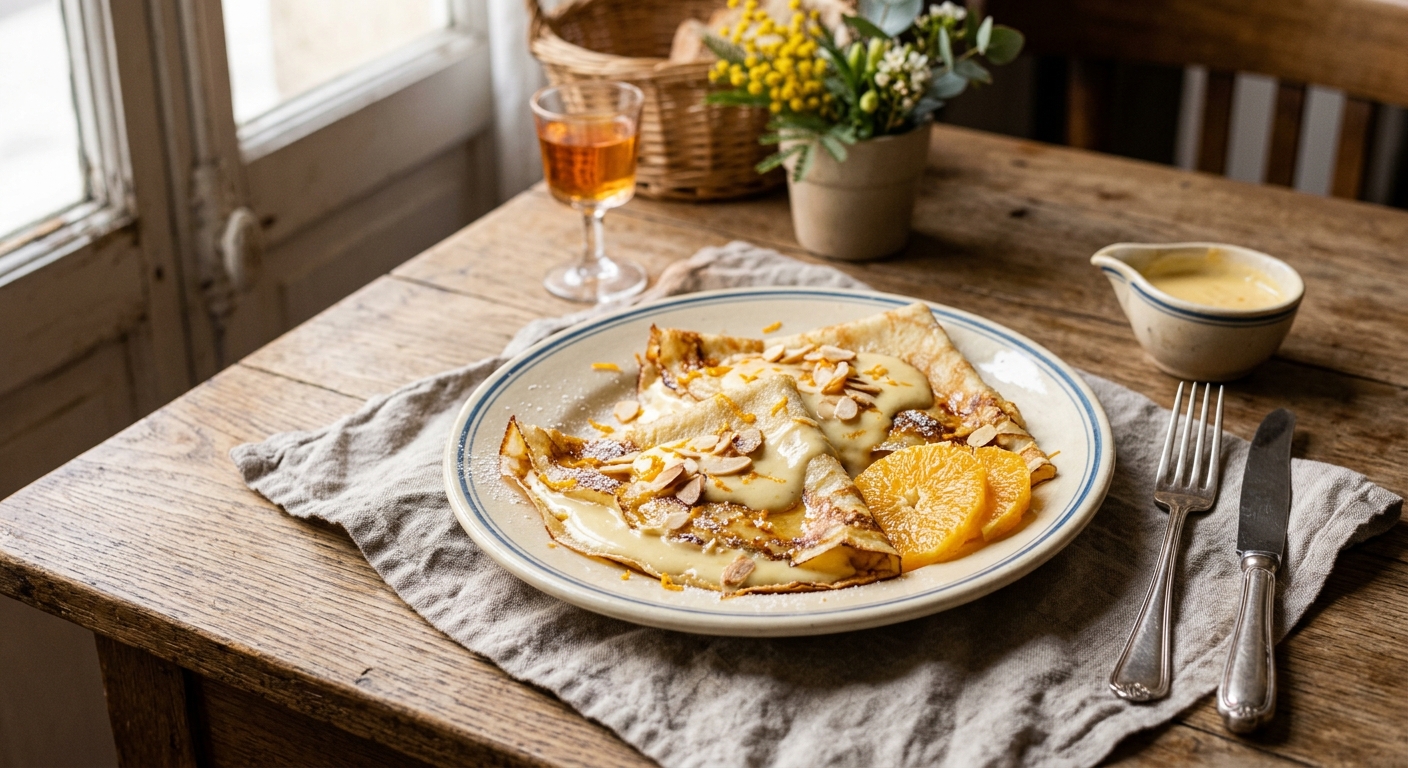
Orange Crêpes with Grand Marnier Cream

Dessert

Orange Crêpes with Grand Marnier Cream

Make and chill the filling first. Warm the crêpes, fill them just before serving and spoon the orange sauce over the top.

Yield
6 filled crepes
Cuisine
French-inspired

Bring it to the table

Prepare the crêpes ahead

Use six cooked crêpes. Our Brown Butter Orange Crêpes recipe makes a suitable base; keep the filling refrigerated until assembly.

At the table

Serve one filled crêpe per person, with a little warm sauce.

Base recipe: Brown Butter Orange Crêpes

Before you start

Gather your ingredients.

Full quantities and serving adjustments are in the recipe card below.

See the ingredient checklist
  • 6 cooked crêpes — about 8 inches across; see the linked base recipe
  • 250 ml whole milk
  • 50 g egg yolks
  • 45 g granulated sugar
  • 20 g cornstarch
  • 15 g unsalted butter — cut into small pieces
  • 1/2 tsp vanilla extract
  • 40 g candied orange peel — finely chopped
  • 15 ml Grand Marnier liqueur — ordinary bottled liqueur, not concentrated extract
  • 100 ml fresh orange juice
  • 25 g granulated sugar
  • 1 tsp lemon juice
  • 50 g unsalted butter — cold, diced
  • 15 ml Grand Marnier liqueur — ordinary bottled liqueur

A few useful notes.

Use ordinary Grand Marnier liqueur in the measured amounts. Concentrated orange extracts are different products.

This dessert contains alcohol, including liqueur stirred in after cooking.

Six crêpes at about 60 g filling each use about 360 g filling; keep any extra refrigerated.

The cooking plan

How to make Orange Crêpes with Grand Marnier Cream.

  1. For the filling, heat the milk until steaming. In a bowl, whisk the yolks, filling sugar and cornstarch until smooth. Slowly whisk in the hot milk, then return everything to the saucepan.

  2. Cook over medium heat, whisking into the corners of the pan, until thick and bubbling in the center. Continue whisking for 1 minute after bubbling begins. Remove from heat, press through a fine sieve and stir in the filling butter and vanilla.

  3. Spread into a shallow heatproof container, cover the surface and cool promptly. Refrigerate within 2 hours at 40°F or below until completely cold. Stir smooth, then mix in the candied peel and the filling portion of liqueur. Keep refrigerated and use within 2 days.

  4. For the sauce, simmer the orange juice, sauce sugar and lemon juice until the liquid measures about 50 ml for the base batch. Remove from heat and whisk in the cold sauce butter a few pieces at a time. Stir in the sauce portion of liqueur. Keep away from open flames; there is no flambé step.

  5. Warm the cooked crêpes gently in a covered skillet or low oven. Spread about 60 g of the chilled filling down the center of each crêpe and fold or roll it. Keep any extra filling refrigerated.

  6. Plate promptly and spoon over the warm orange-butter sauce. Assemble only what you will serve; keep the remaining cream chilled.

Let’s cook

The full recipe.

Check off ingredients as you get them ready.

Changing servings? The ingredient list scales automatically. Adjust quantities named in the steps to match, and choose pans and cooking times for your batch.

Orange Crêpes with Grand Marnier Cream

No ratings yet
Orange crêpes filled with candied-orange pastry cream and finished with a warm orange-butter sauce.
Servings: 6 filled crepes
Course: Dessert
Cuisine: French-inspired

Some ingredient links are affiliate links. We may earn a commission at no extra cost to you. As an Amazon Associate I earn from qualifying purchases.

Ingredients
  

Assembly
  •  
    6 cooked crêpes about 8 inches across; see the linked base recipe
Pastry cream
  •  
    250 ml whole milk
  •  
    50 g egg yolks
  • 45 g granulated sugar
  • 20 g cornstarch
  • 15 g unsalted butter cut into small pieces
  • ½ tsp vanilla extract
  •  
    40 g candied orange peel finely chopped
  •  
    15 ml Grand Marnier liqueur ordinary bottled liqueur, not concentrated extract
Orange butter sauce
  •  
    100 ml fresh orange juice
  • 25 g granulated sugar
  • 1 tsp lemon juice
  • 50 g unsalted butter cold, diced
  •  
    15 ml Grand Marnier liqueur ordinary bottled liqueur

Equipment images are illustrative. Exact products may vary.

Instructions
 

  1. For the filling, heat the milk until steaming. In a bowl, whisk the yolks, filling sugar and cornstarch until smooth. Slowly whisk in the hot milk, then return everything to the saucepan.
  2. Cook over medium heat, whisking into the corners of the pan, until thick and bubbling in the center. Continue whisking for 1 minute after bubbling begins. Remove from heat, press through a fine sieve and stir in the filling butter and vanilla.
  3. Spread into a shallow heatproof container, cover the surface and cool promptly. Refrigerate within 2 hours at 40°F or below until completely cold. Stir smooth, then mix in the candied peel and the filling portion of liqueur. Keep refrigerated and use within 2 days.
  4. For the sauce, simmer the orange juice, sauce sugar and lemon juice until the liquid measures about 50 ml for the base batch. Remove from heat and whisk in the cold sauce butter a few pieces at a time. Stir in the sauce portion of liqueur. Keep away from open flames; there is no flambé step.
  5. Warm the cooked crêpes gently in a covered skillet or low oven. Spread about 60 g of the chilled filling down the center of each crêpe and fold or roll it. Keep any extra filling refrigerated.
  6. Plate promptly and spoon over the warm orange-butter sauce. Assemble only what you will serve; keep the remaining cream chilled.

Notes

Use ordinary Grand Marnier liqueur in the measured amounts. Concentrated orange extracts are different products.
This dessert contains alcohol, including liqueur stirred in after cooking.
Six crêpes at about 60 g filling each use about 360 g filling; keep any extra refrigerated.
Base recipe: Brown Butter Orange Crêpes

Tried this recipe?

Let us know how it was!

A couple of useful answers.

Where do I find the crêpe base?

Use the Brown Butter Orange Crêpes link above the recipe card, or six cooked 8-inch crêpes.

Should I light the sauce?

No. Stir the liqueur into the sauce away from flame.

Keep the good food going

Similar Recipes

Find another recipe to bring to the table.

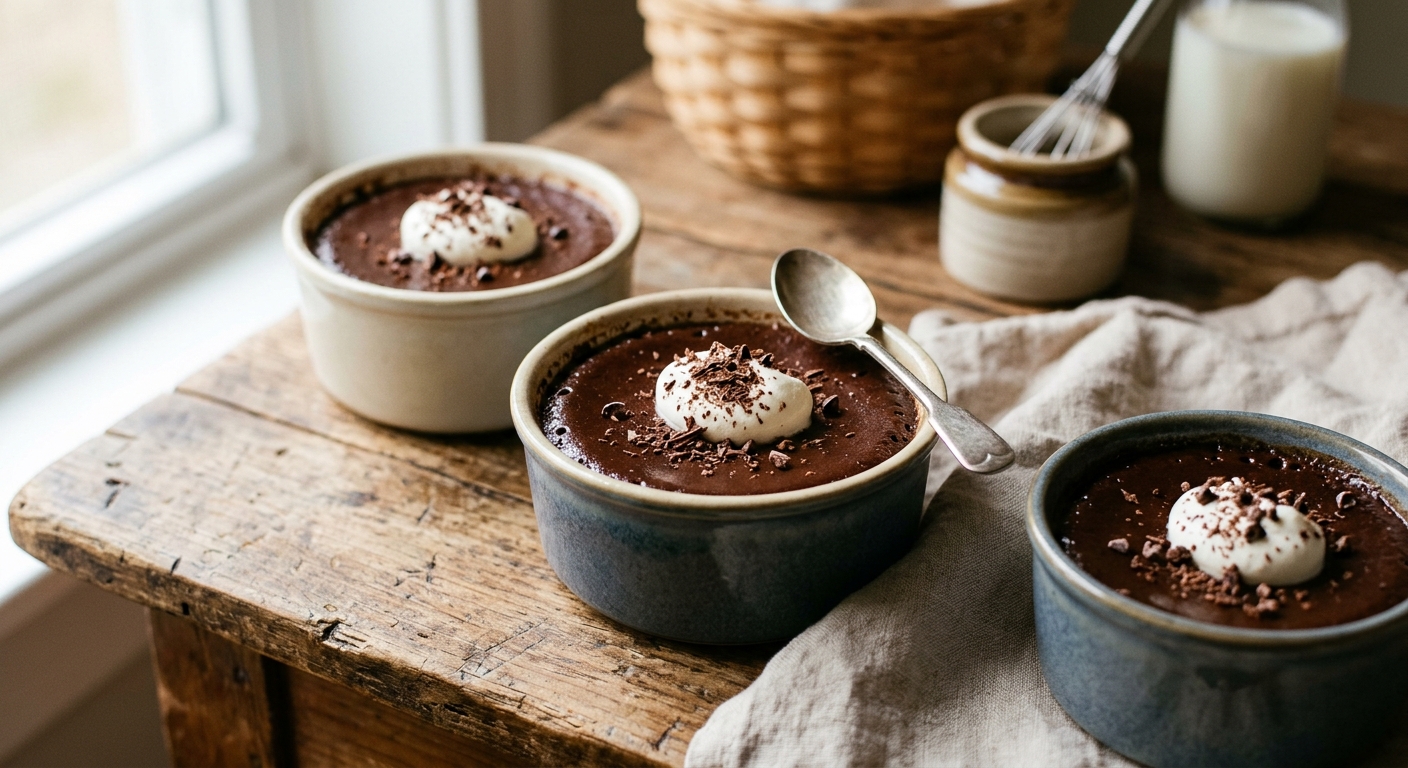
Baked Dark Chocolate Custard Cups

Dessert

Baked Dark Chocolate Custard Cups

A small cup goes a long way. Bake gently, then chill for a firm, truffle-like finish.

Yield
4 small cups
Cuisine
French-inspired

Bring it to the table

Choose the chocolate first

Use a 70% dark chocolate bar suitable for baking, finely chopped so the warm dairy melts it evenly.

At the table

Let the chilled cups stand briefly before serving so the chocolate softens slightly.

Before you start

Gather your ingredients.

Full quantities and serving adjustments are in the recipe card below.

See the ingredient checklist
  • 112.5 g 70% dark chocolate — finely chopped
  • 87.5 g heavy cream
  • 60 g whole milk
  • 25 g beaten whole egg — weigh after beating

A few useful notes.

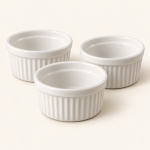
Use ovenproof ramekins, with enough room above the custard for safe handling.

This version has a chilled, dense chocolate texture. The base batch makes four small portions.

The cooking plan

How to make Baked Dark Chocolate Custard Cups.

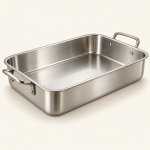
  1. Heat the oven to 300°F. Set four ovenproof ramekins of about 3 fluid ounces each in a deep roasting pan. Put the chopped chocolate in a heatproof bowl.

  2. Heat the cream and milk in a small saucepan until steaming. In another bowl, whisk the weighed egg gently. Slowly whisk a little hot dairy into the egg, then gradually whisk in the rest.

  3. Pour the warm mixture over the chocolate. Let it soften briefly, then stir gently until smooth. Divide among the ramekins, leaving headroom.

  4. Pour hot water into the roasting pan to come halfway up the ramekins. Bake until the edges hold their shape and the center of each custard reaches at least 160°F. Start checking around 20 minutes and continue as needed; the centers may still tremble slightly.

  5. Lift the cups carefully out of the water. Cool promptly and refrigerate within 2 hours at 40°F or below. Chill until firm and use within 2 days.

Let’s cook

The full recipe.

Check off ingredients as you get them ready.

Changing servings? The ingredient list scales automatically. Adjust quantities named in the steps to match, and choose pans and cooking times for your batch.

Baked Dark Chocolate Custard Cups

No ratings yet
Small, rich chocolate custards made with dark chocolate, cream, milk and egg.
Servings: 4 small cups
Course: Dessert
Cuisine: French-inspired

Some ingredient links are affiliate links. We may earn a commission at no extra cost to you. As an Amazon Associate I earn from qualifying purchases.

Ingredients
  

  •  
    112.5 g 70% dark chocolate finely chopped
  • 87.5 g heavy cream
  •  
    60 g whole milk
  •  
    25 g beaten whole egg weigh after beating

Equipment images are illustrative. Exact products may vary.

Instructions
 

  1. Heat the oven to 300°F. Set four ovenproof ramekins of about 3 fluid ounces each in a deep roasting pan. Put the chopped chocolate in a heatproof bowl.
  2. Heat the cream and milk in a small saucepan until steaming. In another bowl, whisk the weighed egg gently. Slowly whisk a little hot dairy into the egg, then gradually whisk in the rest.
  3. Pour the warm mixture over the chocolate. Let it soften briefly, then stir gently until smooth. Divide among the ramekins, leaving headroom.
  4. Pour hot water into the roasting pan to come halfway up the ramekins. Bake until the edges hold their shape and the center of each custard reaches at least 160°F. Start checking around 20 minutes and continue as needed; the centers may still tremble slightly.
  5. Lift the cups carefully out of the water. Cool promptly and refrigerate within 2 hours at 40°F or below. Chill until firm and use within 2 days.

Notes

Use ovenproof ramekins, with enough room above the custard for safe handling.
This version has a chilled, dense chocolate texture. The base batch makes four small portions.

Tried this recipe?

Let us know how it was!

A couple of useful answers.

Is this a warm flowing chocolate sauce?

It sets firmly when chilled. Serve as small chocolate custard cups.

Can I use chocolate chips?

Use a baking chocolate bar for the specified melting behavior.

Keep the good food going

Similar Recipes

Find another recipe to bring to the table.

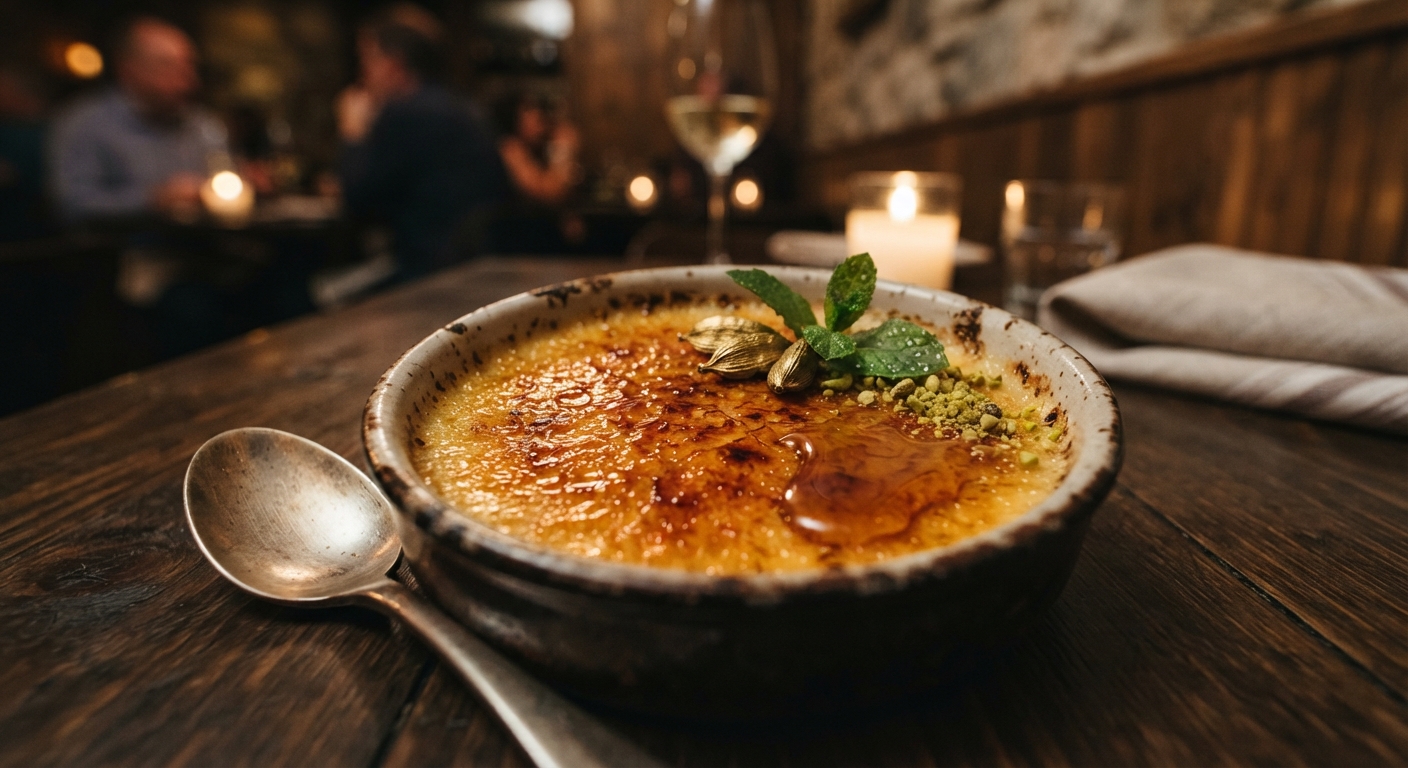
Honey-Cardamom Crème Brûlée

Dessert

Honey-Cardamom Crème Brûlée

Mix gently to keep bubbles out of the custard, then bake in a water bath and chill thoroughly before finishing the sugar crust.

Yield
6 small custards
Cuisine
French-inspired

Bring it to the table

Use ground green cardamom

Weigh the spice for this version. Whole pods and ground spice are different measures.

At the table

Caramelize just before serving so the chilled custard keeps a crisp sugar top.

Before you start

Gather your ingredients.

Full quantities and serving adjustments are in the recipe card below.

See the ingredient checklist
  • 100 g egg yolks
  • 25 g granulated sugar
  • 37.5 g honey
  • 6.25 g vanilla bean paste
  • 1 g ground green cardamom
  • 125 ml whole milk
  • 375 ml heavy cream
  • 2 tbsp granulated sugar — divided among the tops

A few useful notes.

This version specifies ground green cardamom, with no cinnamon or orange powder.

The spice amount is a defined home choice for the measured dairy batch.

Six small custards are a serving suggestion.

The cooking plan

How to make Honey-Cardamom Crème Brûlée.

  1. Heat the oven to 300°F. Arrange six shallow ovenproof ramekins, about 5 ounces each, in a deep roasting pan. Heat water for the bath.

  2. Mix the yolks, custard sugar, honey, vanilla and weighed ground cardamom until evenly combined, without beating in air. Stir in the milk, followed by the cream. Strain through a fine sieve.

  3. Divide among the ramekins, leaving headroom. Pour hot water into the roasting pan to reach halfway up their sides, keeping water out of the custards.

  4. Bake until the edges are set, the centers have a gentle wobble and each center reaches at least 160°F. Start checking around 30 minutes and continue as needed for the dishes and oven; time alone is not the endpoint.

  5. Remove carefully from the bath, cool promptly and refrigerate within 2 hours at 40°F or below. Chill thoroughly, preferably overnight, and use within 2 days.

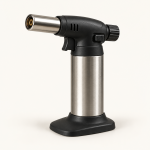
  6. Before serving, sprinkle about 1 teaspoon of the finishing sugar evenly over each custard and caramelize with a kitchen torch following its instructions. Let the crust harden briefly and serve.

Let’s cook

The full recipe.

Check off ingredients as you get them ready.

Changing servings? The ingredient list scales automatically. Adjust quantities named in the steps to match, and choose pans and cooking times for your batch.

Honey-Cardamom Crème Brûlée

No ratings yet
A honey-sweetened custard with ground green cardamom, vanilla and a crisp caramelized sugar top.
Servings: 6 small custards
Course: Dessert
Cuisine: French-inspired

Some ingredient links are affiliate links. We may earn a commission at no extra cost to you. As an Amazon Associate I earn from qualifying purchases.

Ingredients
  

Custard
Finish
  • 2 tbsp granulated sugar divided among the tops

Equipment images are illustrative. Exact products may vary.

Instructions
 

  1. Heat the oven to 300°F. Arrange six shallow ovenproof ramekins, about 5 ounces each, in a deep roasting pan. Heat water for the bath.
  2. Mix the yolks, custard sugar, honey, vanilla and weighed ground cardamom until evenly combined, without beating in air. Stir in the milk, followed by the cream. Strain through a fine sieve.
  3. Divide among the ramekins, leaving headroom. Pour hot water into the roasting pan to reach halfway up their sides, keeping water out of the custards.
  4. Bake until the edges are set, the centers have a gentle wobble and each center reaches at least 160°F. Start checking around 30 minutes and continue as needed for the dishes and oven; time alone is not the endpoint.
  5. Remove carefully from the bath, cool promptly and refrigerate within 2 hours at 40°F or below. Chill thoroughly, preferably overnight, and use within 2 days.
  6. Before serving, sprinkle about 1 teaspoon of the finishing sugar evenly over each custard and caramelize with a kitchen torch following its instructions. Let the crust harden briefly and serve.

Notes

This version specifies ground green cardamom, with no cinnamon or orange powder.
The spice amount is a defined home choice for the measured dairy batch.
Six small custards are a serving suggestion.

Tried this recipe?

Let us know how it was!

A couple of useful answers.

Can I substitute the same weight of whole pods?

Use ground green cardamom as listed; a pod infusion needs a different preparation.

When do I add the sugar crust?

Just before serving, after the custards are fully chilled.

Keep the good food going

Similar Recipes

Find another recipe to bring to the table.
Tarragon and Shallot Béarnaise Butter

Condiment

Tarragon and Shallot Béarnaise Butter

Prepare and cool the reduction before mixing it into softened butter. Only a small weighed portion of reduction is needed.

Yield
1 small batch
Cuisine
French-inspired

Bring it to the table

Keep the reduction cool

Warm liquid melts the butter. Cool the reduction completely before weighing and mixing.

At the table

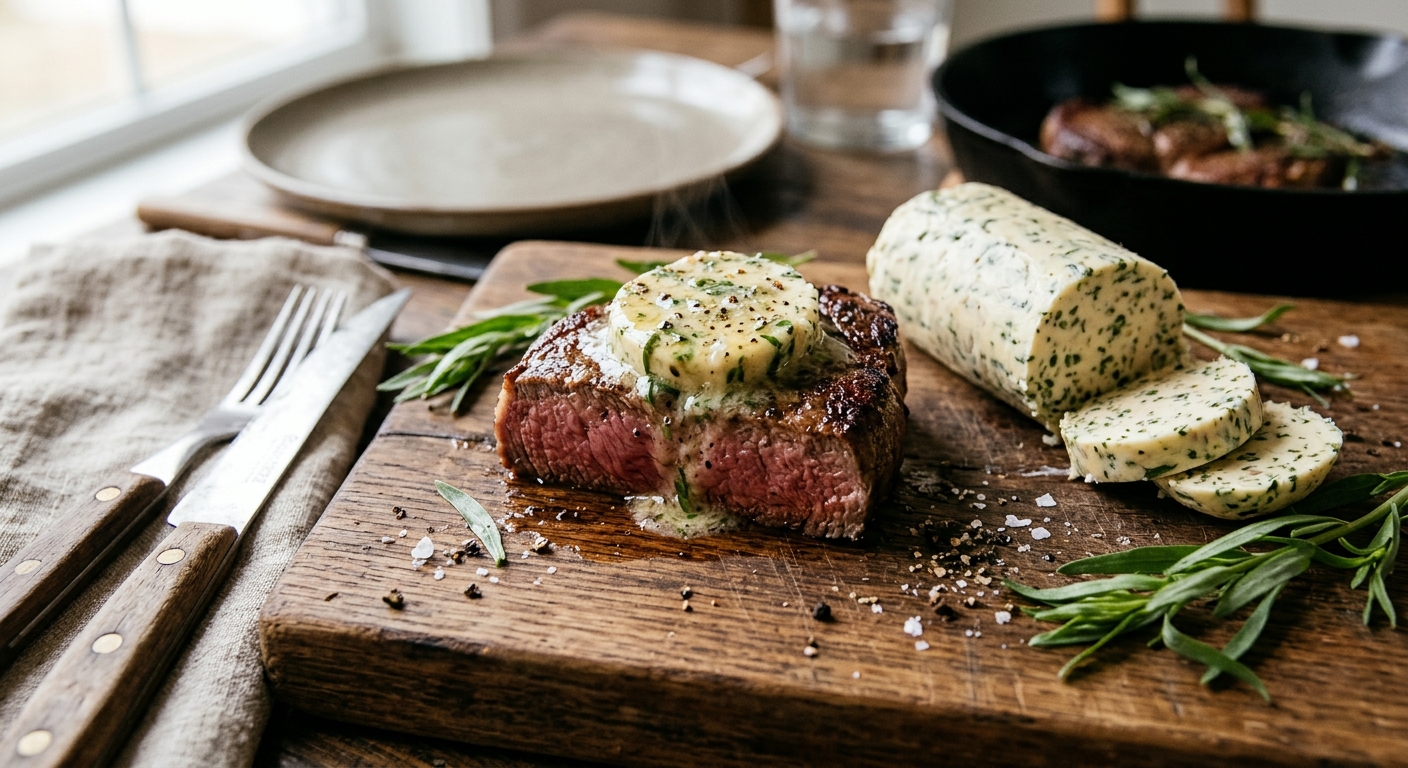
Add a small pat to cooked meat, fish or vegetables just before serving.

Before you start

Gather your ingredients.

Full quantities and serving adjustments are in the recipe card below.

See the ingredient checklist
  • 45 ml tarragon vinegar
  • 30 ml dry white wine
  • 1 tsp shallot — finely minced
  • 5 g fresh tarragon — chopped
  • 3 black peppercorns — cracked
  • 15 ml water
  • 200 g unsalted butter — softened
  • 4 g fresh tarragon leaves — finely chopped
  • 2 tsp lemon juice
  • 1/2 tsp lemon zest — finely grated
  • salt — to taste
  • 1 pinch black pepper
  • 1 pinch Espelette pepper

A few useful notes.

The base batch uses 6 g prepared reduction, rounded from the recorded butter ratio.

This is compound butter, with no egg yolks.

The reduction contains wine; cooking is not a promise of complete alcohol removal.

The cooking plan

How to make Tarragon and Shallot Béarnaise Butter.

  1. Put the vinegar, wine, shallot, reduction tarragon and peppercorns in a small saucepan. Simmer until almost dry, watching closely near the end.

  2. Stir in the measured water, strain through a fine sieve and cool completely. Weigh 6 g of the cooled reduction for the base butter batch; reserve any extra separately.

  3. Mix the softened butter with the weighed reduction, fresh finishing tarragon, lemon juice and zest. Season to taste with salt, black pepper and Espelette.

  4. Spoon into a small covered container or form into a wrapped log. Refrigerate until firm, allowing about 3 hours before slicing.

  5. Keep refrigerated at 40°F or below and use within 2 days, or freeze promptly. Keep extra reduction refrigerated for use within 2 days or freeze it separately.

Let’s cook

The full recipe.

Check off ingredients as you get them ready.

Changing servings? The ingredient list scales automatically. Adjust quantities named in the steps to match, and choose pans and cooking times for your batch.

Tarragon and Shallot Béarnaise Butter

No ratings yet
A chilled compound butter with fresh tarragon, lemon and a measured shallot-wine reduction.
Servings: 1 small batch
Course: Condiment
Cuisine: French-inspired

Some ingredient links are affiliate links. We may earn a commission at no extra cost to you. As an Amazon Associate I earn from qualifying purchases.

Ingredients
  

Reduction
  •  
    45 ml tarragon vinegar
  •  
    30 ml dry white wine
  • 1 tsp shallot finely minced
  •  
    5 g fresh tarragon chopped
  •  
    3 black peppercorns cracked
  • 15 ml water
Butter
  • 200 g unsalted butter softened
  •  
    4 g fresh tarragon leaves finely chopped
  • 2 tsp lemon juice
  •  
    ½ tsp lemon zest finely grated
  • salt to taste
  • 1 pinch black pepper
  •  
    1 pinch Espelette pepper

Equipment images are illustrative. Exact products may vary.

Instructions
 

  1. Put the vinegar, wine, shallot, reduction tarragon and peppercorns in a small saucepan. Simmer until almost dry, watching closely near the end.
  2. Stir in the measured water, strain through a fine sieve and cool completely. Weigh 6 g of the cooled reduction for the base butter batch; reserve any extra separately.
  3. Mix the softened butter with the weighed reduction, fresh finishing tarragon, lemon juice and zest. Season to taste with salt, black pepper and Espelette.
  4. Spoon into a small covered container or form into a wrapped log. Refrigerate until firm, allowing about 3 hours before slicing.
  5. Keep refrigerated at 40°F or below and use within 2 days, or freeze promptly. Keep extra reduction refrigerated for use within 2 days or freeze it separately.

Notes

The base batch uses 6 g prepared reduction, rounded from the recorded butter ratio.
This is compound butter, with no egg yolks.
The reduction contains wine; cooking is not a promise of complete alcohol removal.

Tried this recipe?

Let us know how it was!

A couple of useful answers.

Do I add all the reduction?

Weigh 6 g for the base batch; save any extra separately.

Is this a warm béarnaise sauce?

It is a chilled compound butter, ready to melt over cooked food.

Keep the good food going

Similar Recipes

Find another recipe to bring to the table.