Fettuccine Recipes

Fettuccine Recipes

[digr_post_grid posts_number=”24″ post_display=”by_category” include_categories=”1506″ show_pagination=”on” use_number_pagination=”on” use_post_excerpt=”on” excerpt_length=”60″ show_readmore=”on” show_date=”on” show_categories=”off” enable_divider=”on” grid_column=”4″ enable_grid_row=”on” grid_row=”2″ _builder_version=”4.27.4″ _module_preset=”default” global_colors_info=”{}”][/digr_post_grid]

About Fettucine Pasta

Fettuccine is a fantastic pasta to use in recipes for a few reasons:

  • Shape and Texture:

    • Long and Flat: The long, flat ribbons are perfect for catching and holding onto sauces, especially creamy or meat-based ones. 
    • Slight Bite: Fettuccine has a lovely texture that’s tender but still has a bit of bite to it (when cooked al dente).  
  • Versatility:

    • Sauce Match: It pairs well with a wide range of sauces, from simple butter and cheese to rich cream sauces, meat ragus, and even pesto.  
    • Ingredient Pairing: It can stand up to heavier ingredients like chunks of vegetables, chicken, or seafood in a dish.
  • Visual Appeal:

    • Elegant Presentation: Fettuccine can be twirled around a fork or tongs for a beautiful presentation on the plate. 
  • Classic Dishes:

    • Fettuccine Alfredo: This iconic dish has made fettuccine famous! The creamy sauce clings perfectly to the noodles.  

If you’re looking for a pasta that’s versatile, delicious, and easy to work with, fettuccine is an excellent choice. It’s a true kitchen staple!

Please follow and like us:
onpost_follow
fb-share-icon197
Tweet120
Pinterest20
Share 20
submit to reddit

Explore Our Most Popular Sections with These Quick Links

Holidays & Occasions

Sautéed Asparagus With Garlicky Burst Tomatoes

Sautéed Asparagus With Garlicky Burst Tomatoes

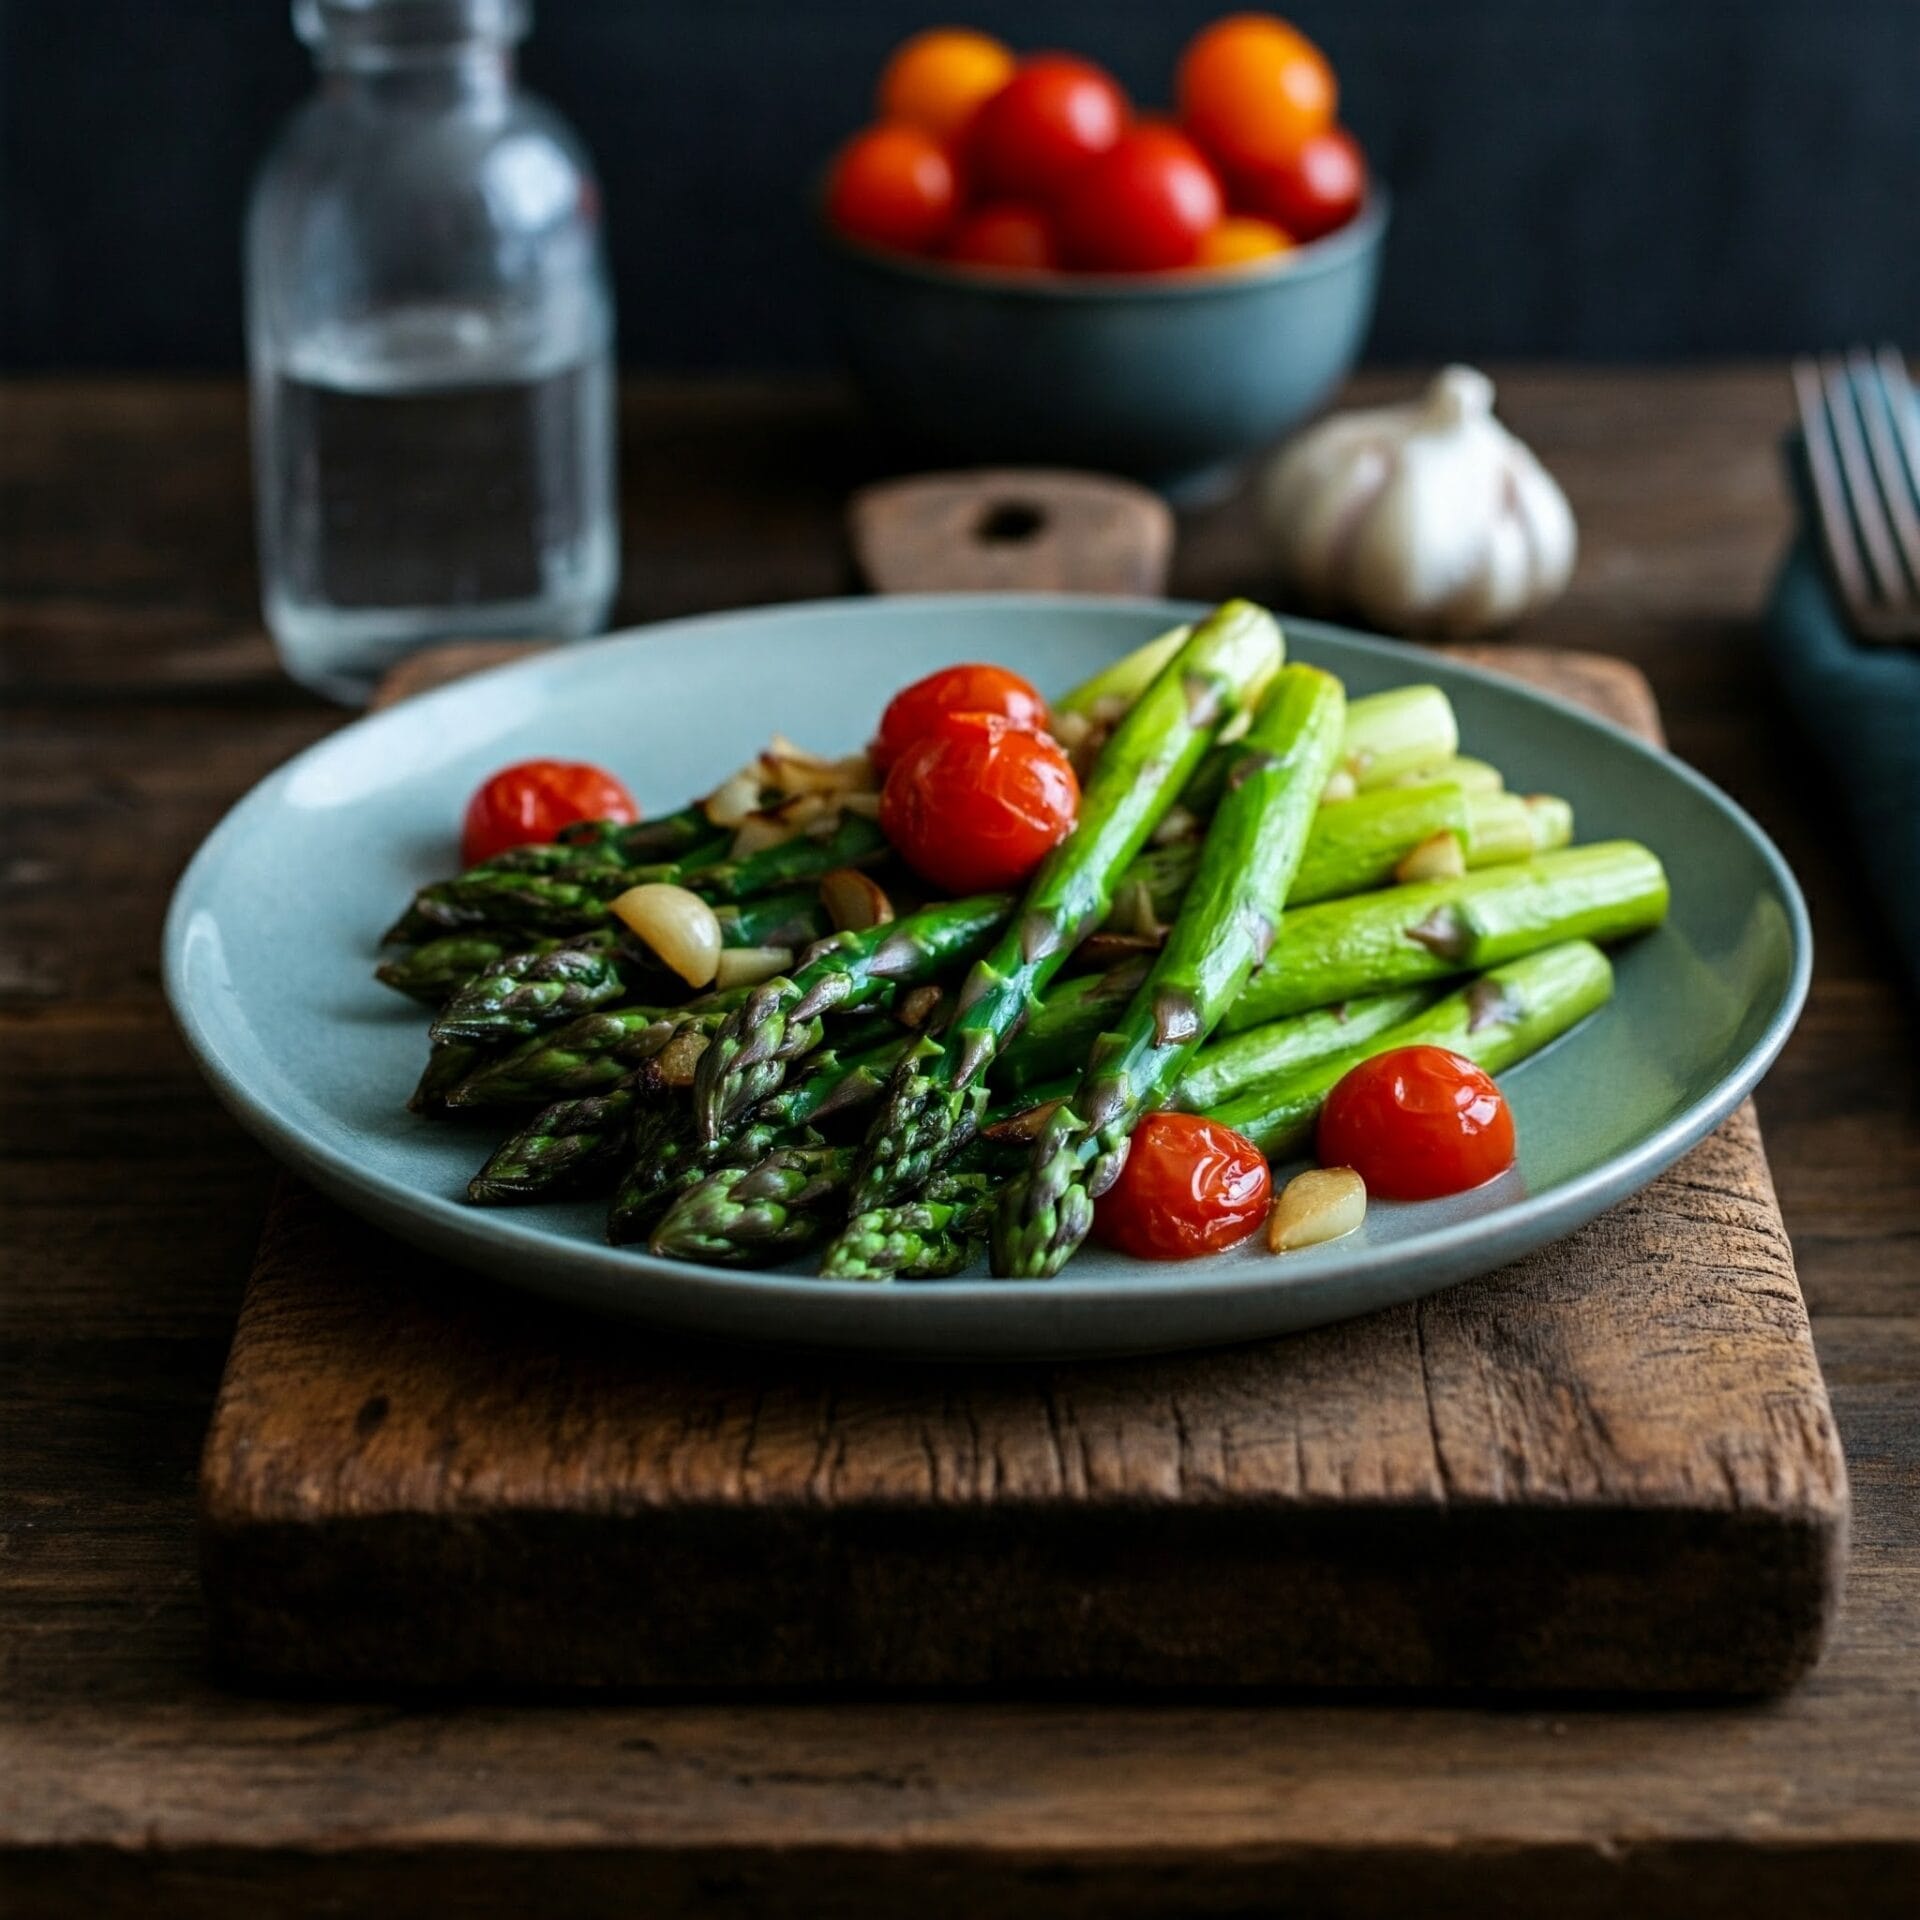
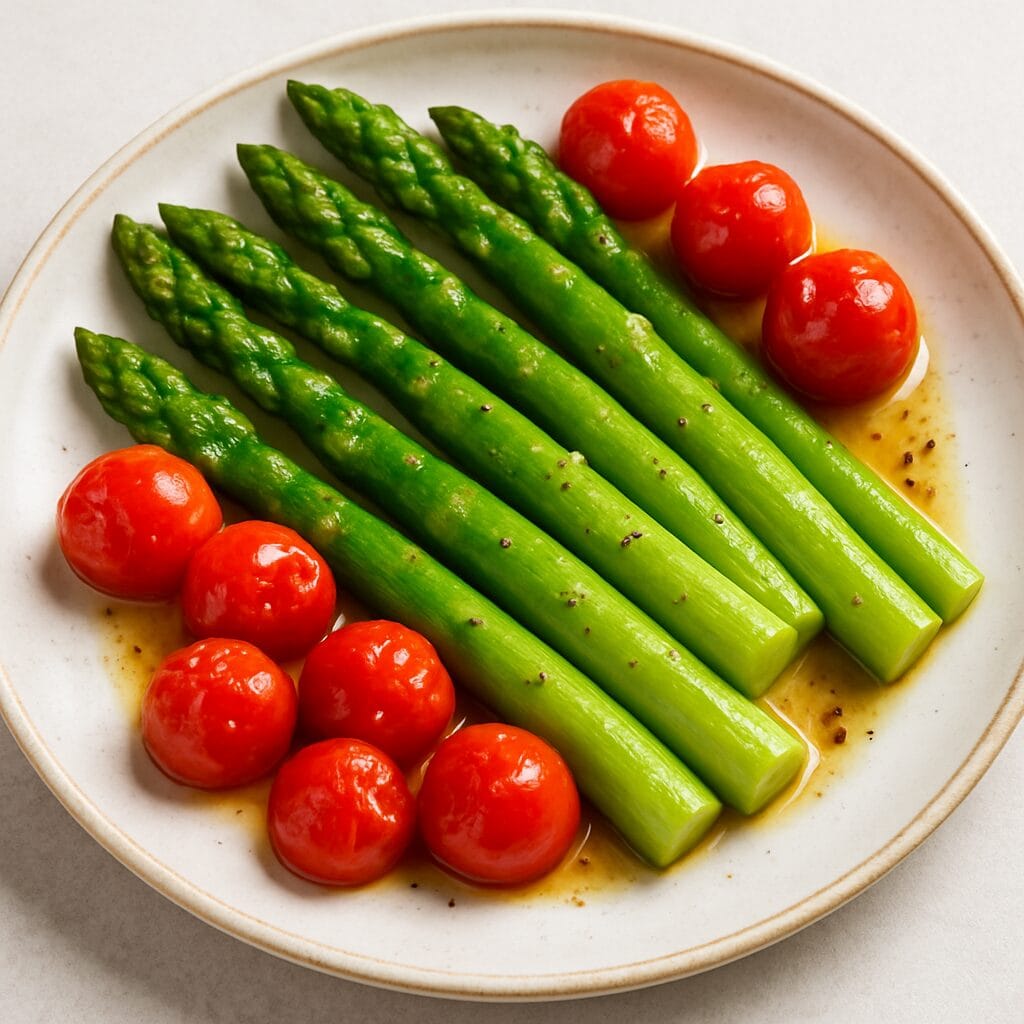
This Sautéed Asparagus with Garlicky Burst Tomatoes is a quick and vibrant side dish that delivers big flavor with minimal effort. Crisp-tender asparagus spears are sautéed until just golden, while juicy cherry tomatoes burst in the pan, creating a light, savory sauce. Fragrant garlic is added at just the right moment to deepen the flavor without overpowering the dish. Finished with a drizzle of olive oil, a pinch of salt, and freshly cracked pepper, this simple yet elegant recipe is the perfect complement to any main course — from grilled meats to pasta or seafood.

Sautéed Asparagus with Garlicky Burst Tomatoes

No ratings yet
Sautéed Asparagus and Cherry Tomatoes: A Celebration of Spring Flavors
This simple yet elegant side dish is a celebration of the fresh flavors of spring. Tender-crisp asparagus and juicy cherry tomatoes are cooked to perfection in a skillet with garlic and olive oil, creating a symphony of textures and tastes. It's a quick and easy recipe that's perfect for any occasion, from a casual weeknight dinner to a special holiday feast. The vibrant colors and fresh flavors will brighten up your plate and delight your taste buds.
Prep Time 10 minutes
Cook Time 10 minutes
Servings: 4 Servings
Course: Appetizer, Side Dish
Cuisine: American, Italian, Mediterranean
Calories: 63

Ingredients
  

  • 1 Tbsp Olive oil extra virgin or coconut oil
  • 1 Tbsp Garlic finely minced
  • 1 cup Cherry Tomatoes rinsed, cut in half
  •  
    1 lb Asparagus 1 bunch, rinsed, ends trimmed
  • Salt to taste
  • Ground Black Pepper to taste
  • Parmesan cheese shredded or grated, optional

Method
 

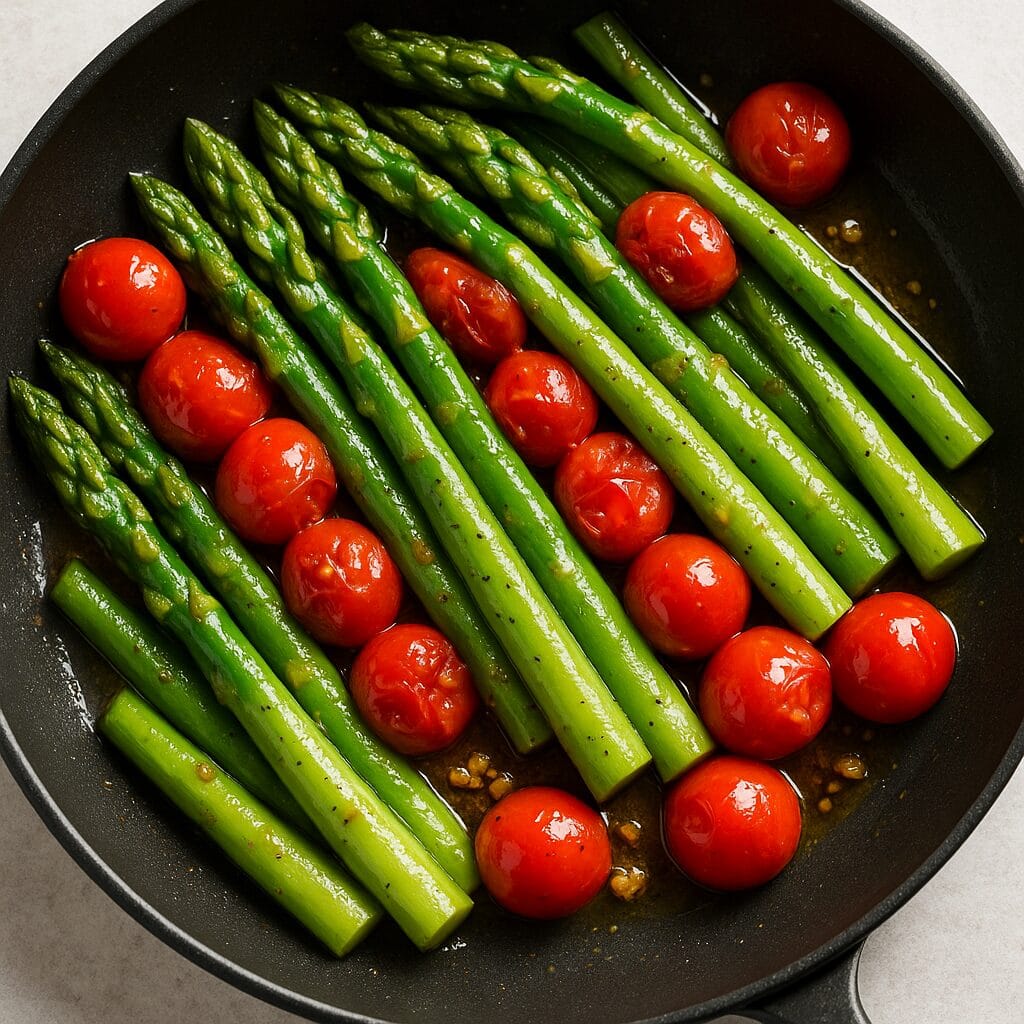
  1. Place a large skillet over medium-high heat and add the olive oil. Once the oil is hot, add the minced garlic to the skillet. Stir the garlic constantly to prevent it from burning. After about 30 seconds, add the halved cherry tomatoes to the skillet. Continue to cook and stir the mixture for 1-2 minutes, or until the tomatoes begin to soften and release their juices.
    1 Tbsp Olive oil , 1 Tbsp Garlic, 1 cup Cherry Tomatoes
  2. Add the asparagus spears to the skillet and stir gently to combine them with the garlic and tomatoes. If you prefer the asparagus to cook faster, you can cut the spears in half before adding them to the skillet. Cook the asparagus for 6-8 minutes, or until it reaches your desired level of tenderness. Some people prefer their asparagus tender-crisp, while others like it softer. Season the asparagus and tomatoes with salt and pepper to taste. Serve the dish immediately while it's hot. For an extra touch of flavor, sprinkle some freshly grated Parmesan cheese over the dish once it's plated.
    1 lb Asparagus, Salt, Ground Black Pepper, Parmesan cheese

Nutrition

Serving: 8ozCalories: 63kcalCarbohydrates: 7gProtein: 3gFat: 4gSaturated Fat: 1gPolyunsaturated Fat: 0.4gMonounsaturated Fat: 3gSodium: 7mgPotassium: 319mgFiber: 3gSugar: 3gVitamin A: 1042IUVitamin C: 16mgCalcium: 35mgIron: 3mg

Notes

🔪 Cooking Tips

  • Don't Overcrowd the Pan: Give the veggies room to breathe! Overcrowding traps steam and prevents proper browning.
  • Use High Heat: Medium-high heat ensures quick cooking while preserving the asparagus’ vibrant color and crisp-tender texture.
  • Stir Frequently: Keep things moving to avoid sticking or burning.
  • Add Garlic Last: Garlic burns fast — stir it in near the end for bold flavor without bitterness.
  • Check for Doneness: Asparagus should be tender-crisp, and tomatoes soft and slightly blistered.
  • Taste & Adjust: Always season to taste before serving.

🍽️ Serving Suggestions

  • Serve Immediately: This dish shines when served hot and fresh.
  • Garnish: Top with fresh herbs, shaved Parmesan, or a drizzle of balsamic glaze.
  • Perfect Pairings: Complements grilled steak, roasted chicken, baked salmon, or even pasta dishes.

🌱 Variations

  • Add Veggies: Toss in mushrooms, bell peppers, or red onion for extra color and flavor.
  • Add Heat: A pinch of red pepper flakes adds a spicy kick.
  • Add Brightness: A squeeze of fresh lemon juice at the end lifts the whole dish.

Tried this recipe?

Let us know how it was!

Related Recipes

Ingredients

  • 1 pound asparagus spears, trimmed 
  • 1 cup cherry tomatoes
  • 1 tablespoon olive oil
  • 1 tablespoon garlic, finely minced
  • Salt and freshly ground black pepper, to taste
  • Optional: Grated Parmesan cheese for serving

Image Gallery Sautéed Asparagus with Garlicky Burst Tomatoes

Storage & Leftovers

  • Refrigeration: Store leftovers in an airtight container in the refrigerator for up to 3 days.

  • Reheating: Reheat gently in a skillet over medium heat with a splash of olive oil, or microwave in 30-second intervals until warmed through. Avoid overheating to prevent the asparagus from becoming mushy.

  • Note: While the dish is best served fresh, the flavors do continue to deepen after a day. The tomatoes may soften more over time, but it still makes a delicious next-day side or addition to salads, omelets, or grain bowls.

  • ⏱️ Make-Ahead Tips

    • Prep in Advance: You can wash and trim the asparagus and halve the cherry tomatoes up to 24 hours ahead. Store them separately in airtight containers in the fridge.

    • Partial Cooking: For faster weeknight meals, you can par-cook the asparagus (light sauté or quick blanch), then finish the dish when ready to serve by sautéing everything together with garlic and tomatoes.


    ❄️ Freezing (Not Recommended)

    • Texture Alert: This dish is not ideal for freezing, as asparagus and tomatoes tend to become mushy and watery when thawed.

    • If needed, you can freeze leftovers in a pinch using a freezer-safe container for up to 1 month, but expect significant texture changes.

Please follow and like us:
onpost_follow
fb-share-icon197
Tweet120
Pinterest20
Share 20
submit to reddit

Subscribe for New Recipes

* indicates required

Intuit Mailchimp

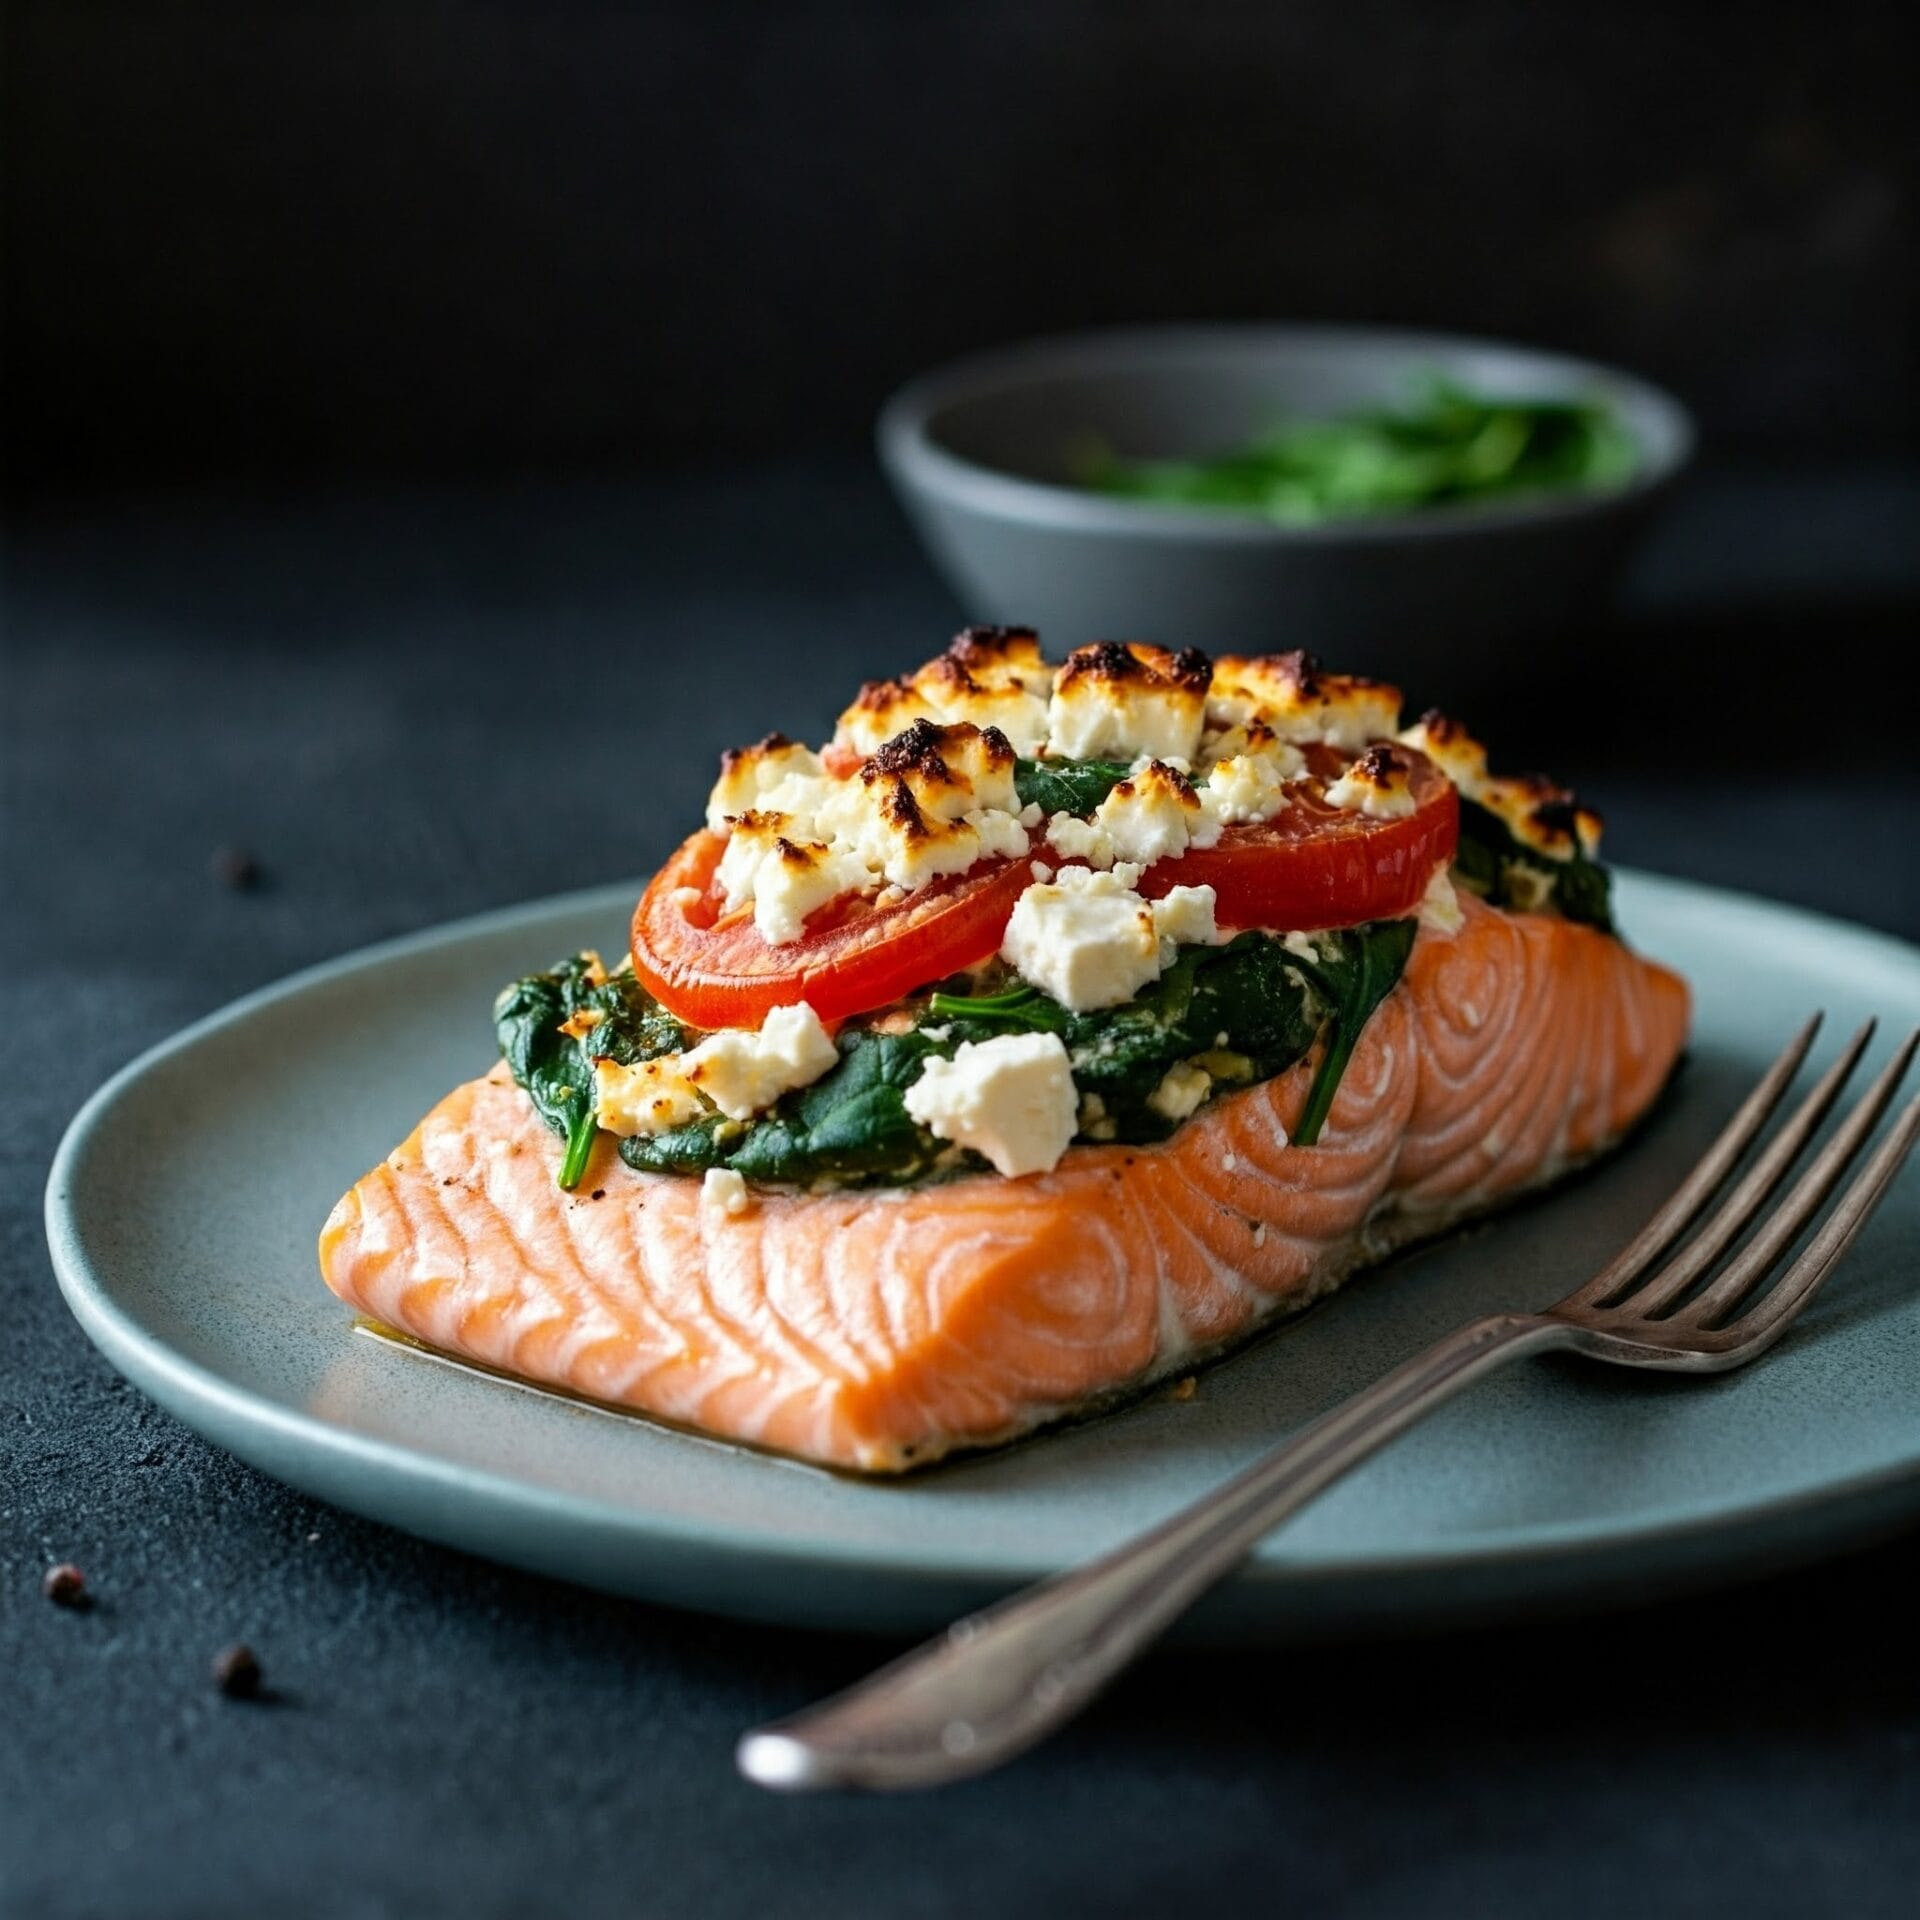
Baked Salmon With Feta And Spinach Stuffing

Baked Salmon With Feta And Spinach Stuffing

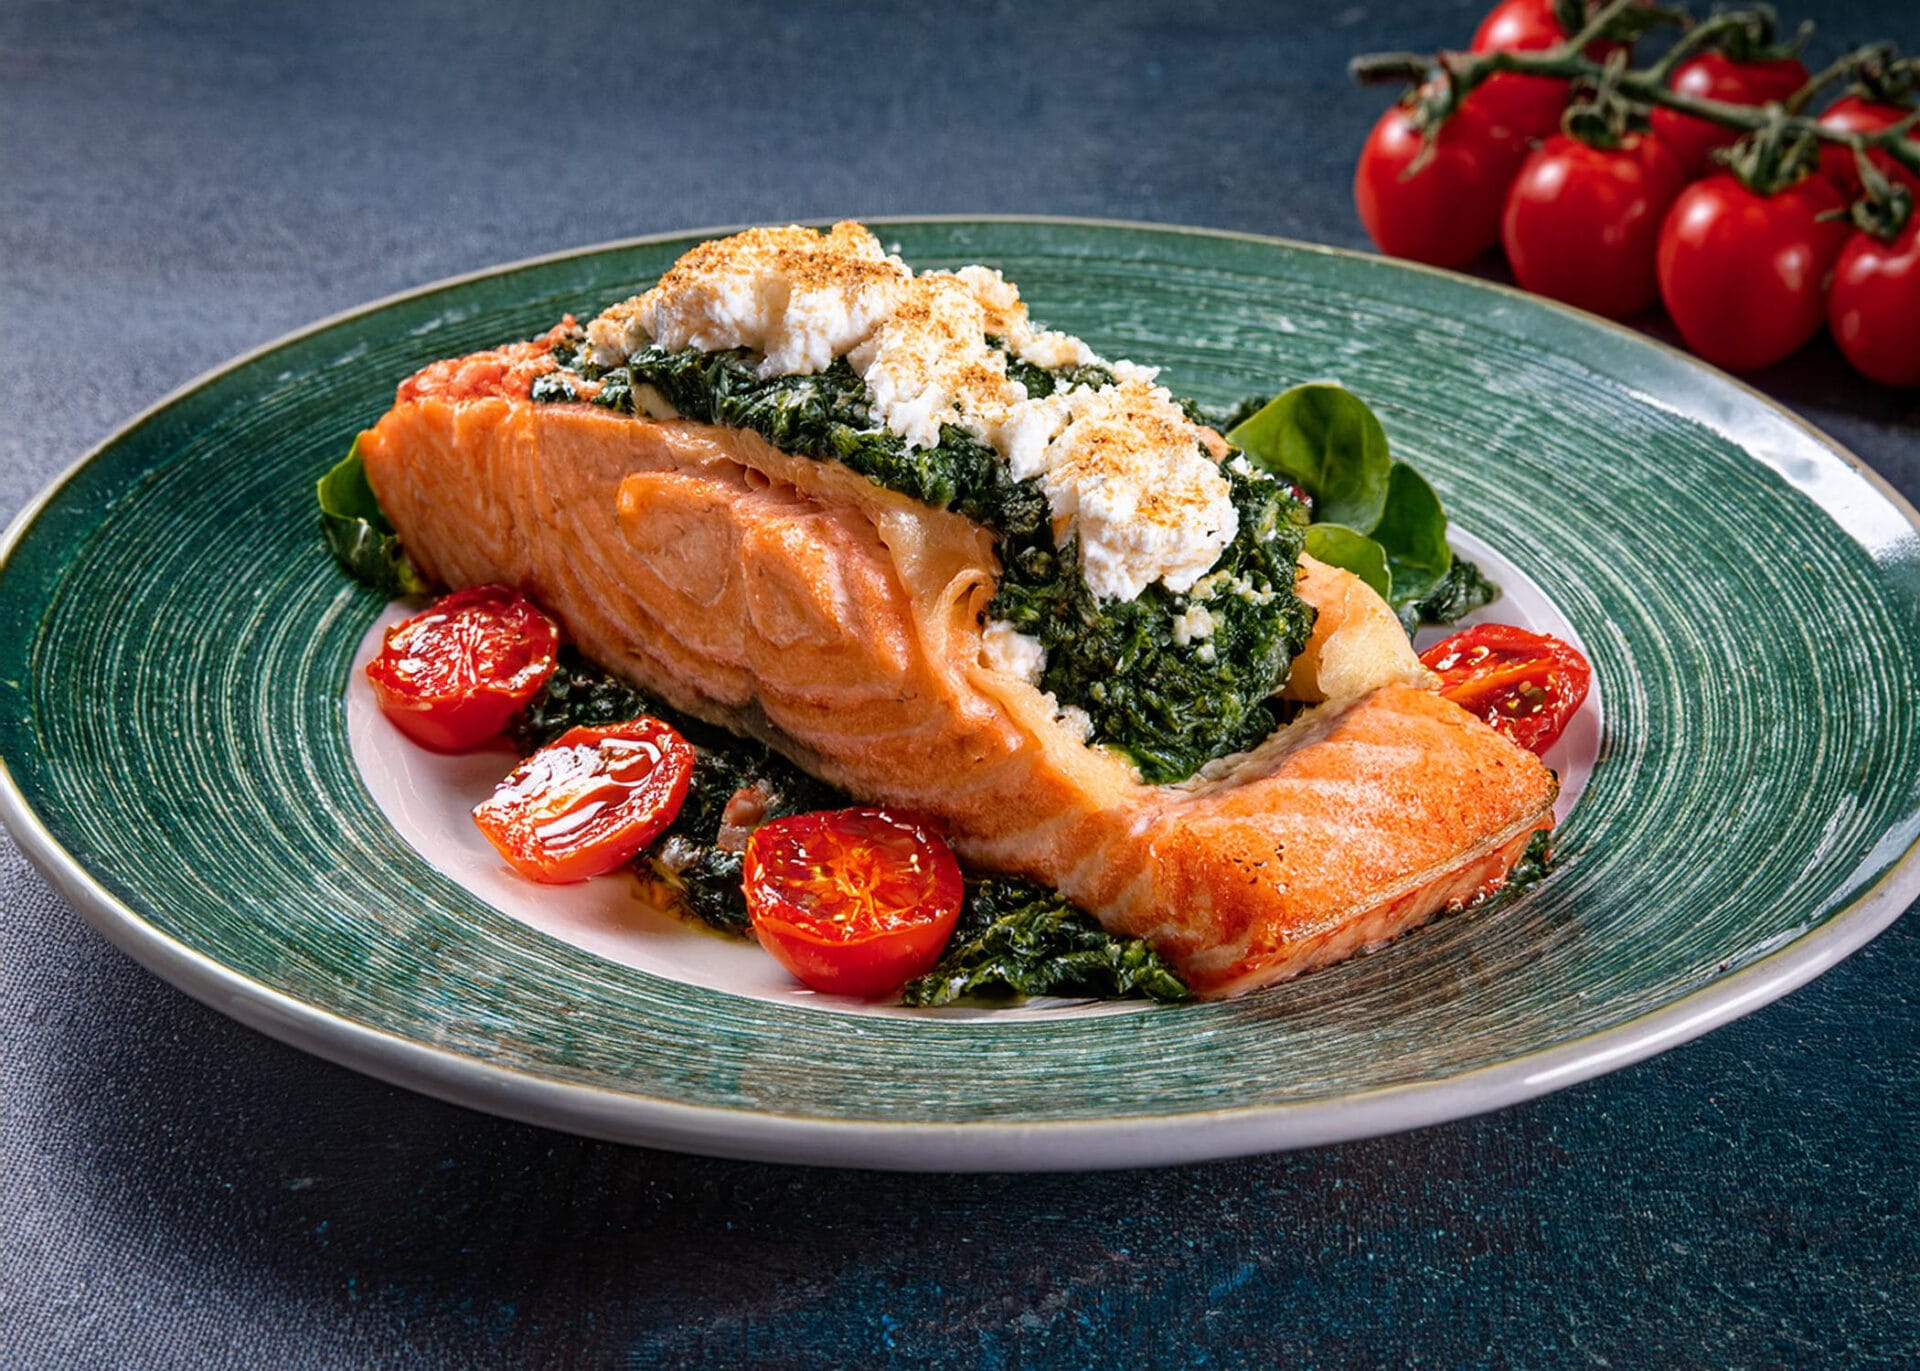
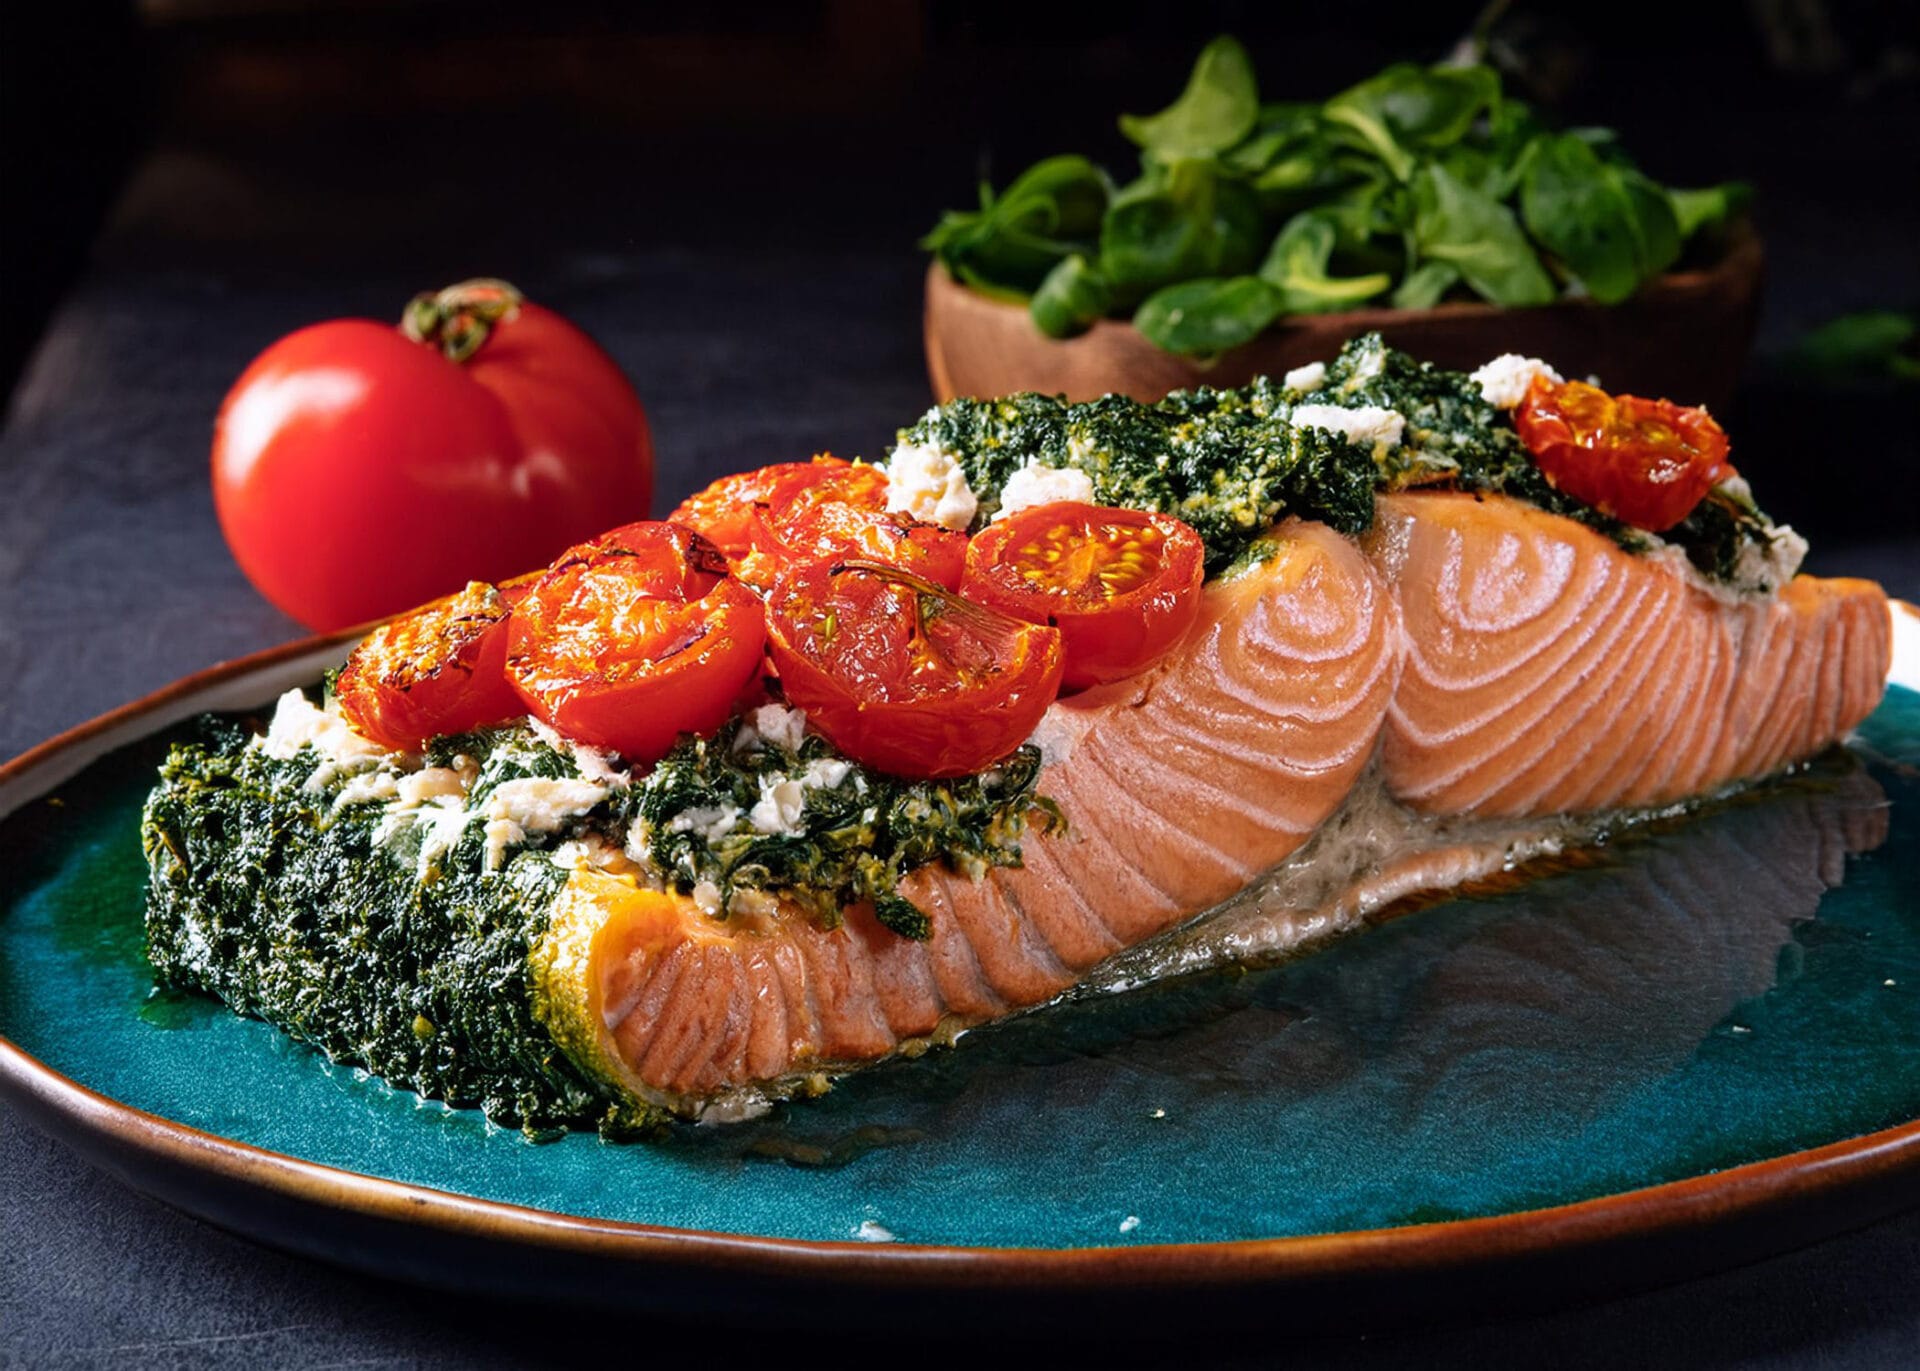
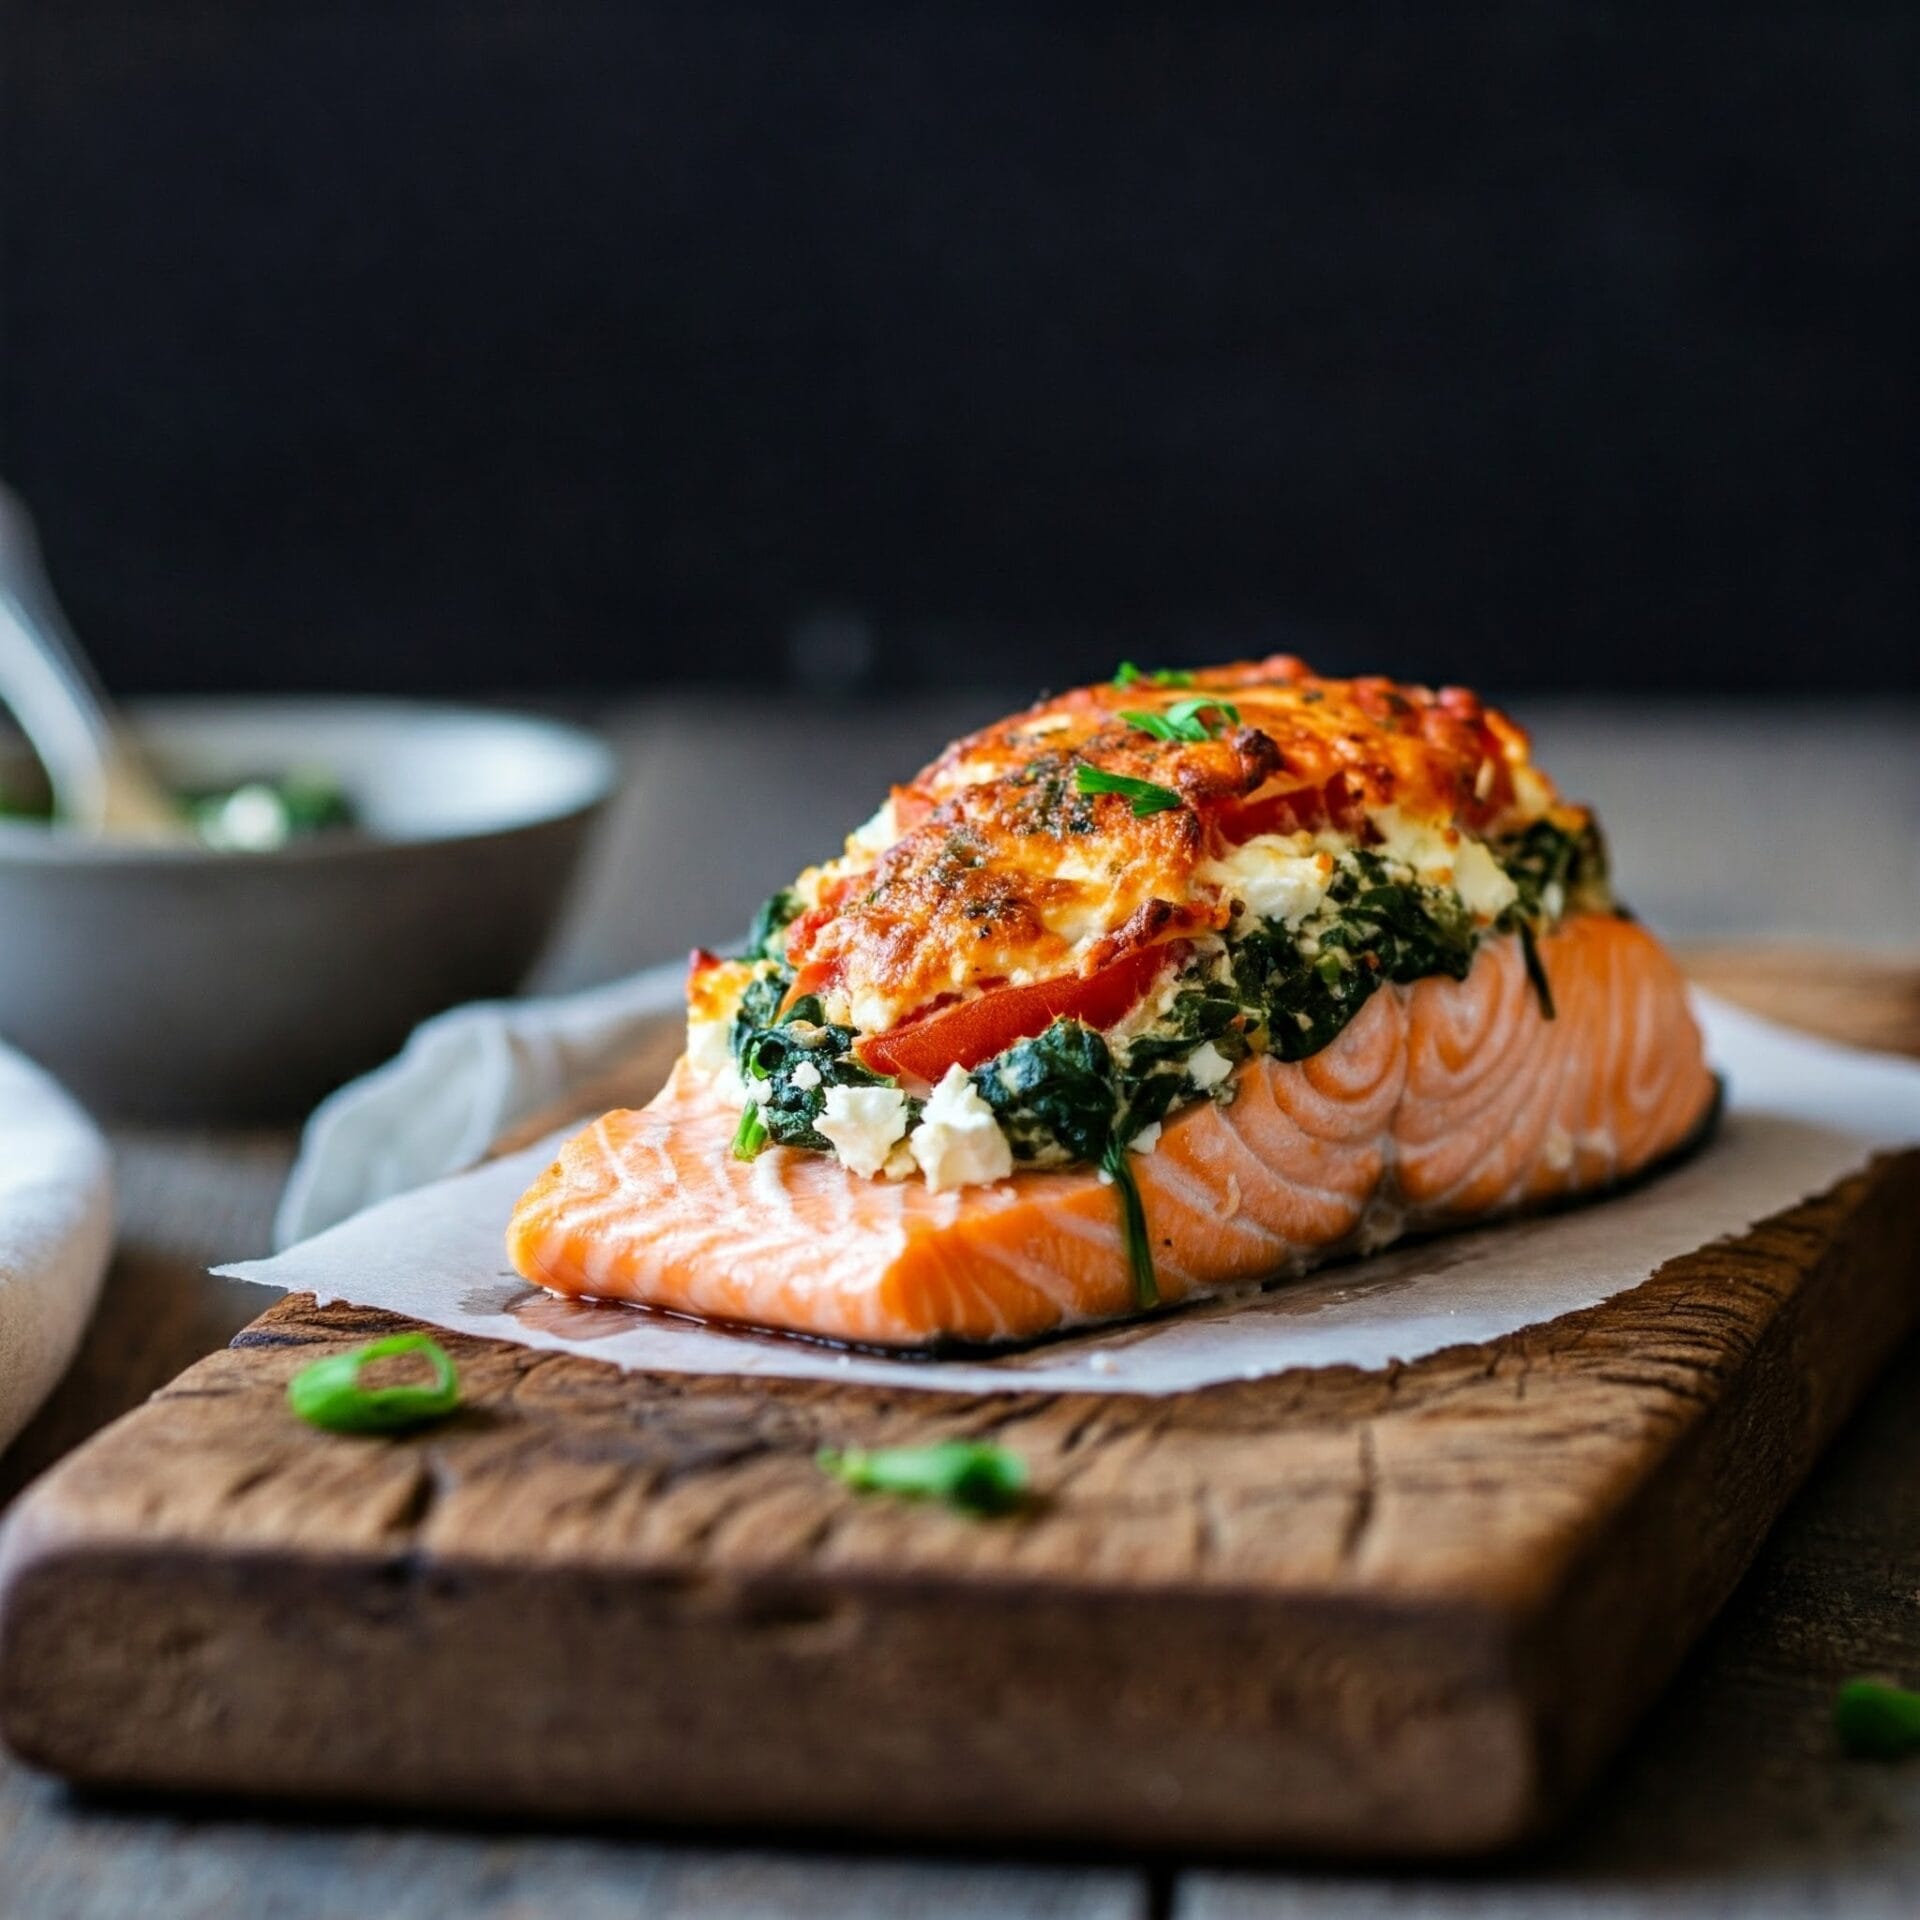
This Feta, Spinach & Tomato Stuffed Salmon is a culinary masterpiece that’s both delicious and healthy. Imagine flaky, tender salmon fillets, filled with a vibrant mixture of spinach, feta cheese, and juicy tomatoes. It’s a Mediterranean-inspired dish that’s bursting with flavor and perfect for a special occasion or a weeknight meal.

Here’s what makes this dish so special:

  • Flavorful Filling: The combination of salty feta, earthy spinach, and sweet tomatoes creates a burst of flavor in every bite.
  • Tender Salmon: The salmon is cooked to perfection, with a moist and flaky texture that melts in your mouth.
  • Mediterranean Flair: The use of fresh herbs, olive oil, and lemon juice adds a touch of Mediterranean sunshine to your plate.
  • Easy to Make: This dish is surprisingly simple to prepare, making it a great option for a weeknight meal or a special occasion.
  • Healthy and Satisfying: It’s a nutritious and satisfying dish that’s packed with protein, omega-3 fatty acids, and essential vitamins.

Whether you’re a seafood enthusiast or simply looking for a delicious and healthy meal, this Feta, Spinach & Tomato Stuffed Salmon is a must-try. It’s a culinary adventure that will transport your taste buds to the Mediterranean.

Baked Salmon with Feta & Spinach Stuffing

No ratings yet
Feta, Spinach & Tomato Stuffed Salmon is a delicious and healthy way to enjoy this popular fish. This recipe features salmon fillets filled with a savory mixture of feta cheese, spinach, and sun-dried tomatoes, then baked to flaky perfection. It's an easy yet elegant meal that's perfect for a weeknight dinner or a special occasion. The combination of flavors and textures is simply irresistible!
Prep Time 20 minutes
Cook Time 25 minutes
Servings: 4 people
Course: Lunch, Main Course
Cuisine: Mediterranean
Calories: 369

Ingredients
  

  • 4 oz Cherry tomatoes seeded, chopped
  • Kosher Salt
  • 2 Tbsp Extra Virgin Olive Oil divided
  • 3 Cloves Garlic finely chopped
  • 2 Scallions green and white parts separated, sliced
  •  
    5 oz Fresh Spinach chopped
  • 2 Tbsp Thyme chopped
  • 2 Tbsp Greek Yogurt plain whole milk
  •  
    ¼ tsp Coriander ground
  •  
    ¼ tsp Cumin ground
  •  
    2 oz Feta crumbled, divided
  •  
    24 oz Salmon filets 4-6oz fillets.
  • ½ tsp Crushed Red Pepper Flakes crushed

Method
 

  1. Start by preheating your oven to 400 degrees Fahrenheit. While the oven is heating, prepare the tomatoes. Place the tomatoes in a fine-mesh strainer set over a small bowl. This will allow any excess moisture to drain from the tomatoes. Toss the tomatoes with ¼ teaspoon of salt. The salt will help to draw out even more moisture from the tomatoes. 1 Let the tomatoes sit in the strainer for about 5 minutes.
    4 oz Cherry tomatoes, Kosher Salt
  2. While the tomatoes are draining, start preparing the spinach mixture. Heat 1 tablespoon of olive oil in a large cast-iron or ovenproof skillet over medium heat. Once the oil is hot, add the minced garlic and the white parts of the scallions to the skillet. Cook, stirring frequently, until the garlic and scallions become fragrant, about 1 minute. Then, add the spinach and thyme to the skillet. Cook, stirring occasionally, until the spinach is wilted, about 3 minutes.
    2 Tbsp Extra Virgin Olive Oil, 3 Cloves Garlic, 2 Scallions, 5 oz Fresh Spinach, 2 Tbsp Thyme
  3. Carefully transfer the drained tomatoes to a medium bowl and set them aside. Next, pour the spinach mixture into a fine-mesh strainer to drain off any excess liquid. Allow the spinach mixture to cool slightly, then use paper towels to gently pat it dry. This will help prevent the filling from becoming too watery. Wipe out the skillet you used to cook the spinach mixture with a paper towel to remove any residue. Place the skillet in the preheated oven to warm up. This will help to keep the salmon warm when it's finished cooking.
  4. To the bowl with the drained tomatoes, add the spinach mixture, yogurt, ground coriander, ground cumin, and half of the crumbled feta cheese. Use a spoon or spatula to gently stir all the ingredients together until they are evenly distributed and well combined. This flavorful mixture will be used to stuff the salmon fillets.
    2 Tbsp Greek Yogurt, ¼ tsp Coriander, ¼ tsp Cumin, 2 oz Feta
  5. Gently pat the salmon fillets dry with paper towels. This will help the seasoning adhere better. Season both sides of the salmon fillets generously with salt. Using a thin, sharp knife, carefully cut a long slit into the side of each salmon fillet. Make sure not to cut all the way through to the other side. You want to create a pocket to hold the filling. Use a spoon to carefully fill each pocket with the prepared filling, dividing it evenly among the fillets.
    24 oz Salmon filets
  6. Carefully remove the preheated skillet from the oven and pour in the remaining tablespoon of olive oil. Arrange the stuffed salmon fillets in the skillet, skin-side down. Return the skillet to the oven and bake the salmon until the flesh is opaque and flakes easily with a fork, about 8 to 10 minutes. The cooking time may vary depending on the thickness of the fillets. To add a bit of color to the salmon, turn on the broiler and broil the fillets, watching closely, until the tops start to brown slightly, about 2 minutes. Be careful not to overcook the salmon under the broiler, as it can dry out quickly.
    2 Tbsp Extra Virgin Olive Oil
  7. In a small bowl, combine the red pepper flakes, the green parts of the scallions, and the remaining crumbled feta cheese. This colorful mixture will add a final burst of flavor and freshness to the dish. Sprinkle the mixture evenly over the cooked salmon fillets. Serve the salmon immediately while it's hot and flaky, allowing the residual heat to slightly melt the feta cheese.
    2 Scallions, ½ tsp Crushed Red Pepper Flakes, 2 oz Feta

Nutrition

Serving: 6ozCalories: 369kcalCarbohydrates: 6gProtein: 38gFat: 21gSaturated Fat: 5gPolyunsaturated Fat: 5gMonounsaturated Fat: 9gCholesterol: 107mgSodium: 276mgPotassium: 1168mgFiber: 2gSugar: 1gVitamin A: 3892IUVitamin C: 24mgCalcium: 162mgIron: 4mg

Notes

Ingredients:
  • Salmon: Use high-quality salmon fillets, preferably with the skin on.
  • Tomatoes: Grape or cherry tomatoes work well for their sweetness and firmness.
  • Spinach: Fresh spinach is best. If using frozen, thaw and squeeze out excess water.
  • Shallots: Shallots have a milder flavor than onions. You can substitute with a small yellow or white onion if needed.
  • Garlic: Freshly minced garlic adds a pungent flavor.
  • Feta Cheese: Use good quality feta cheese, preferably Greek feta.
  • Yogurt: Full-fat Greek yogurt adds creaminess and tanginess to the filling.
  • Spices: Ground coriander and cumin add warmth and depth to the filling.
  • Herbs: Fresh thyme sprigs add an earthy note. You can substitute with dried thyme if needed.
  • Olive Oil: Use a good-quality olive oil for cooking.
Cooking Tips:
  • Preheat Oven and Skillet: Preheat your oven to 400°F and preheat an ovenproof skillet.
  • Drain Tomatoes: Salting and draining the tomatoes helps prevent the filling from becoming watery.
  • Sauté Vegetables: Sauté the shallots, garlic, and spinach until softened and fragrant.
  • Cool and Dry Spinach Mixture: Allow the spinach mixture to cool slightly and pat it dry to remove excess moisture.
  • Combine Filling Ingredients: Mix the tomatoes, spinach mixture, yogurt, spices, and feta in a bowl.
  • Stuff the Salmon: Carefully cut a slit into the side of each salmon fillet and fill it with the prepared stuffing.
  • Bake and Broil: Bake the salmon until cooked through, then broil briefly to brown the top.
  • Doneness: The salmon is cooked through when the flesh is opaque and flakes easily with a fork.
Serving Suggestions:
  • Garnish: Garnish with the remaining feta, red pepper, and green scallion parts.
  • Sides: Serve with rice, quinoa, or pasta drizzled with olive oil and Parmesan cheese.
  • Lemon: Add a squeeze of fresh lemon juice to the finished dish for brightness.
Variations:
  • Different Fish: You can use other types of fish like sea bass or halibut.
  • Vegetables: Experiment with different vegetables in the filling, such as bell peppers or mushrooms.
  • Cheese: Try other cheeses like goat cheese or ricotta.
  • Herbs: Add different herbs to the filling, such as dill or oregano.
With these tips, you'll be able to create a delicious and satisfying Feta, Spinach & Tomato Stuffed Salmon!

Tried this recipe?

Let us know how it was!

Related Recipes

Ingredients

Ingredients:

  • For the Salmon:
    • 4 (6-ounce) salmon fillets, skin on
    • 4 ounces cherry or grape tomatoes
    • 2 scallions, green and white parts separated
    • 2 tablespoons extra-virgin olive oil, divided
    • Kosher salt and freshly ground black pepper
  • For the Filling:
    • 5 ounces fresh spinach, chopped
    • 2 tablespoons chopped fresh thyme
    • 1/4 teaspoon ground coriander
    • 1/4 teaspoon ground cumin
    • 2 tablespoons plain whole-milk Greek yogurt
    • 2 ounces feta cheese, crumbled, divided
    • 3 cloves garlic, finely chopped
    • 1/2 teaspoon crushed red pepper flakes (optional)

Optional Sides:

  • Cooked rice, quinoa, or couscous
  • Lemon wedges
  • Fresh parsley for garnish

This recipe is easily adaptable, so feel free to adjust the amounts of certain ingredients to your liking. You can also experiment with different types of tomatoes, herbs, or spices to create your own unique variation.

Image Gallery Baked Salmon with Feta and Spinach Stuffing

Storage & Leftovers

Baked Salmon with Feta & Spinach Stuffing

Where to StoreHow to PackSafe Shelf-LifeBest Practices
RefrigeratorLet salmon cool to room temp (≤ 2 hours), then place fillets in a shallow, airtight glass or BPA-free plastic container.Up to 3 daysArrange in a single layer so stuffing stays intact and doesn’t get crushed.
FreezerWrap each fillet tightly in parchment, then heavy-duty foil or a freezer bag (press out air). Label with date.1 – 2 months (quality); safe longer but flavor fadesFreeze on a tray first, then stack—prevents delicate stuffing from flattening.

Food-Safety Check: Fish should be refrigerated at 40 °F / 4 °C or colder and reheated to an internal temperature of 145 °F / 63 °C.


Reheating Tips

MethodStepsWhy This Works
Oven (Best)Preheat to 300 °F / 150 °C. Place salmon on a foil-lined baking sheet, add 1–2 Tbsp water, broth, or white wine, and loosely tent with foil. Heat 12–15 min (thawed) or 25–30 min (from frozen) until warmed through.Gentle, moist heat revives the stuffing and keeps salmon flaky instead of dry.
Skillet (Quick)Coat a non-stick pan with 1 tsp olive oil, medium-low heat. Add salmon, cover, and warm 4–5 min per side. Splash in lemon juice or water if stuffing looks dry.Steam trapped under the lid reheats evenly and prevents cheese from burning.
Microwave (Emergency)Place on a microwave-safe plate, cover with a damp paper towel. Use 50 % power in 30-sec bursts, rotating each time.Lower power reduces hot spots that can dry fish and make feta rubbery.

Make-Ahead & Meal-Prep Ideas

  • Prep, Don’t Bake: Assemble stuffed fillets the day before, cover tightly, and refrigerate raw. Bake fresh within 24 hours for optimal texture.

  • Freeze Raw (Best Quality): After stuffing, wrap fillets individually and freeze uncooked. Bake straight from frozen at 375 °F, adding ~10 extra minutes, for just-caught flavor.

  • Leftover Remix: Flake chilled salmon into quinoa bowls, pasta, or a leafy-green salad; the feta-spinach filling acts as a built-in dressing boost.

Follow these storage and reheating guidelines, and your feta-spinach-stuffed salmon will stay moist, flavorful, and safe—ready for delicious lunches or an effortless second dinner!

Please follow and like us:
onpost_follow
fb-share-icon197
Tweet120
Pinterest20
Share 20
submit to reddit

Subscribe for New Recipes

* indicates required

Intuit Mailchimp

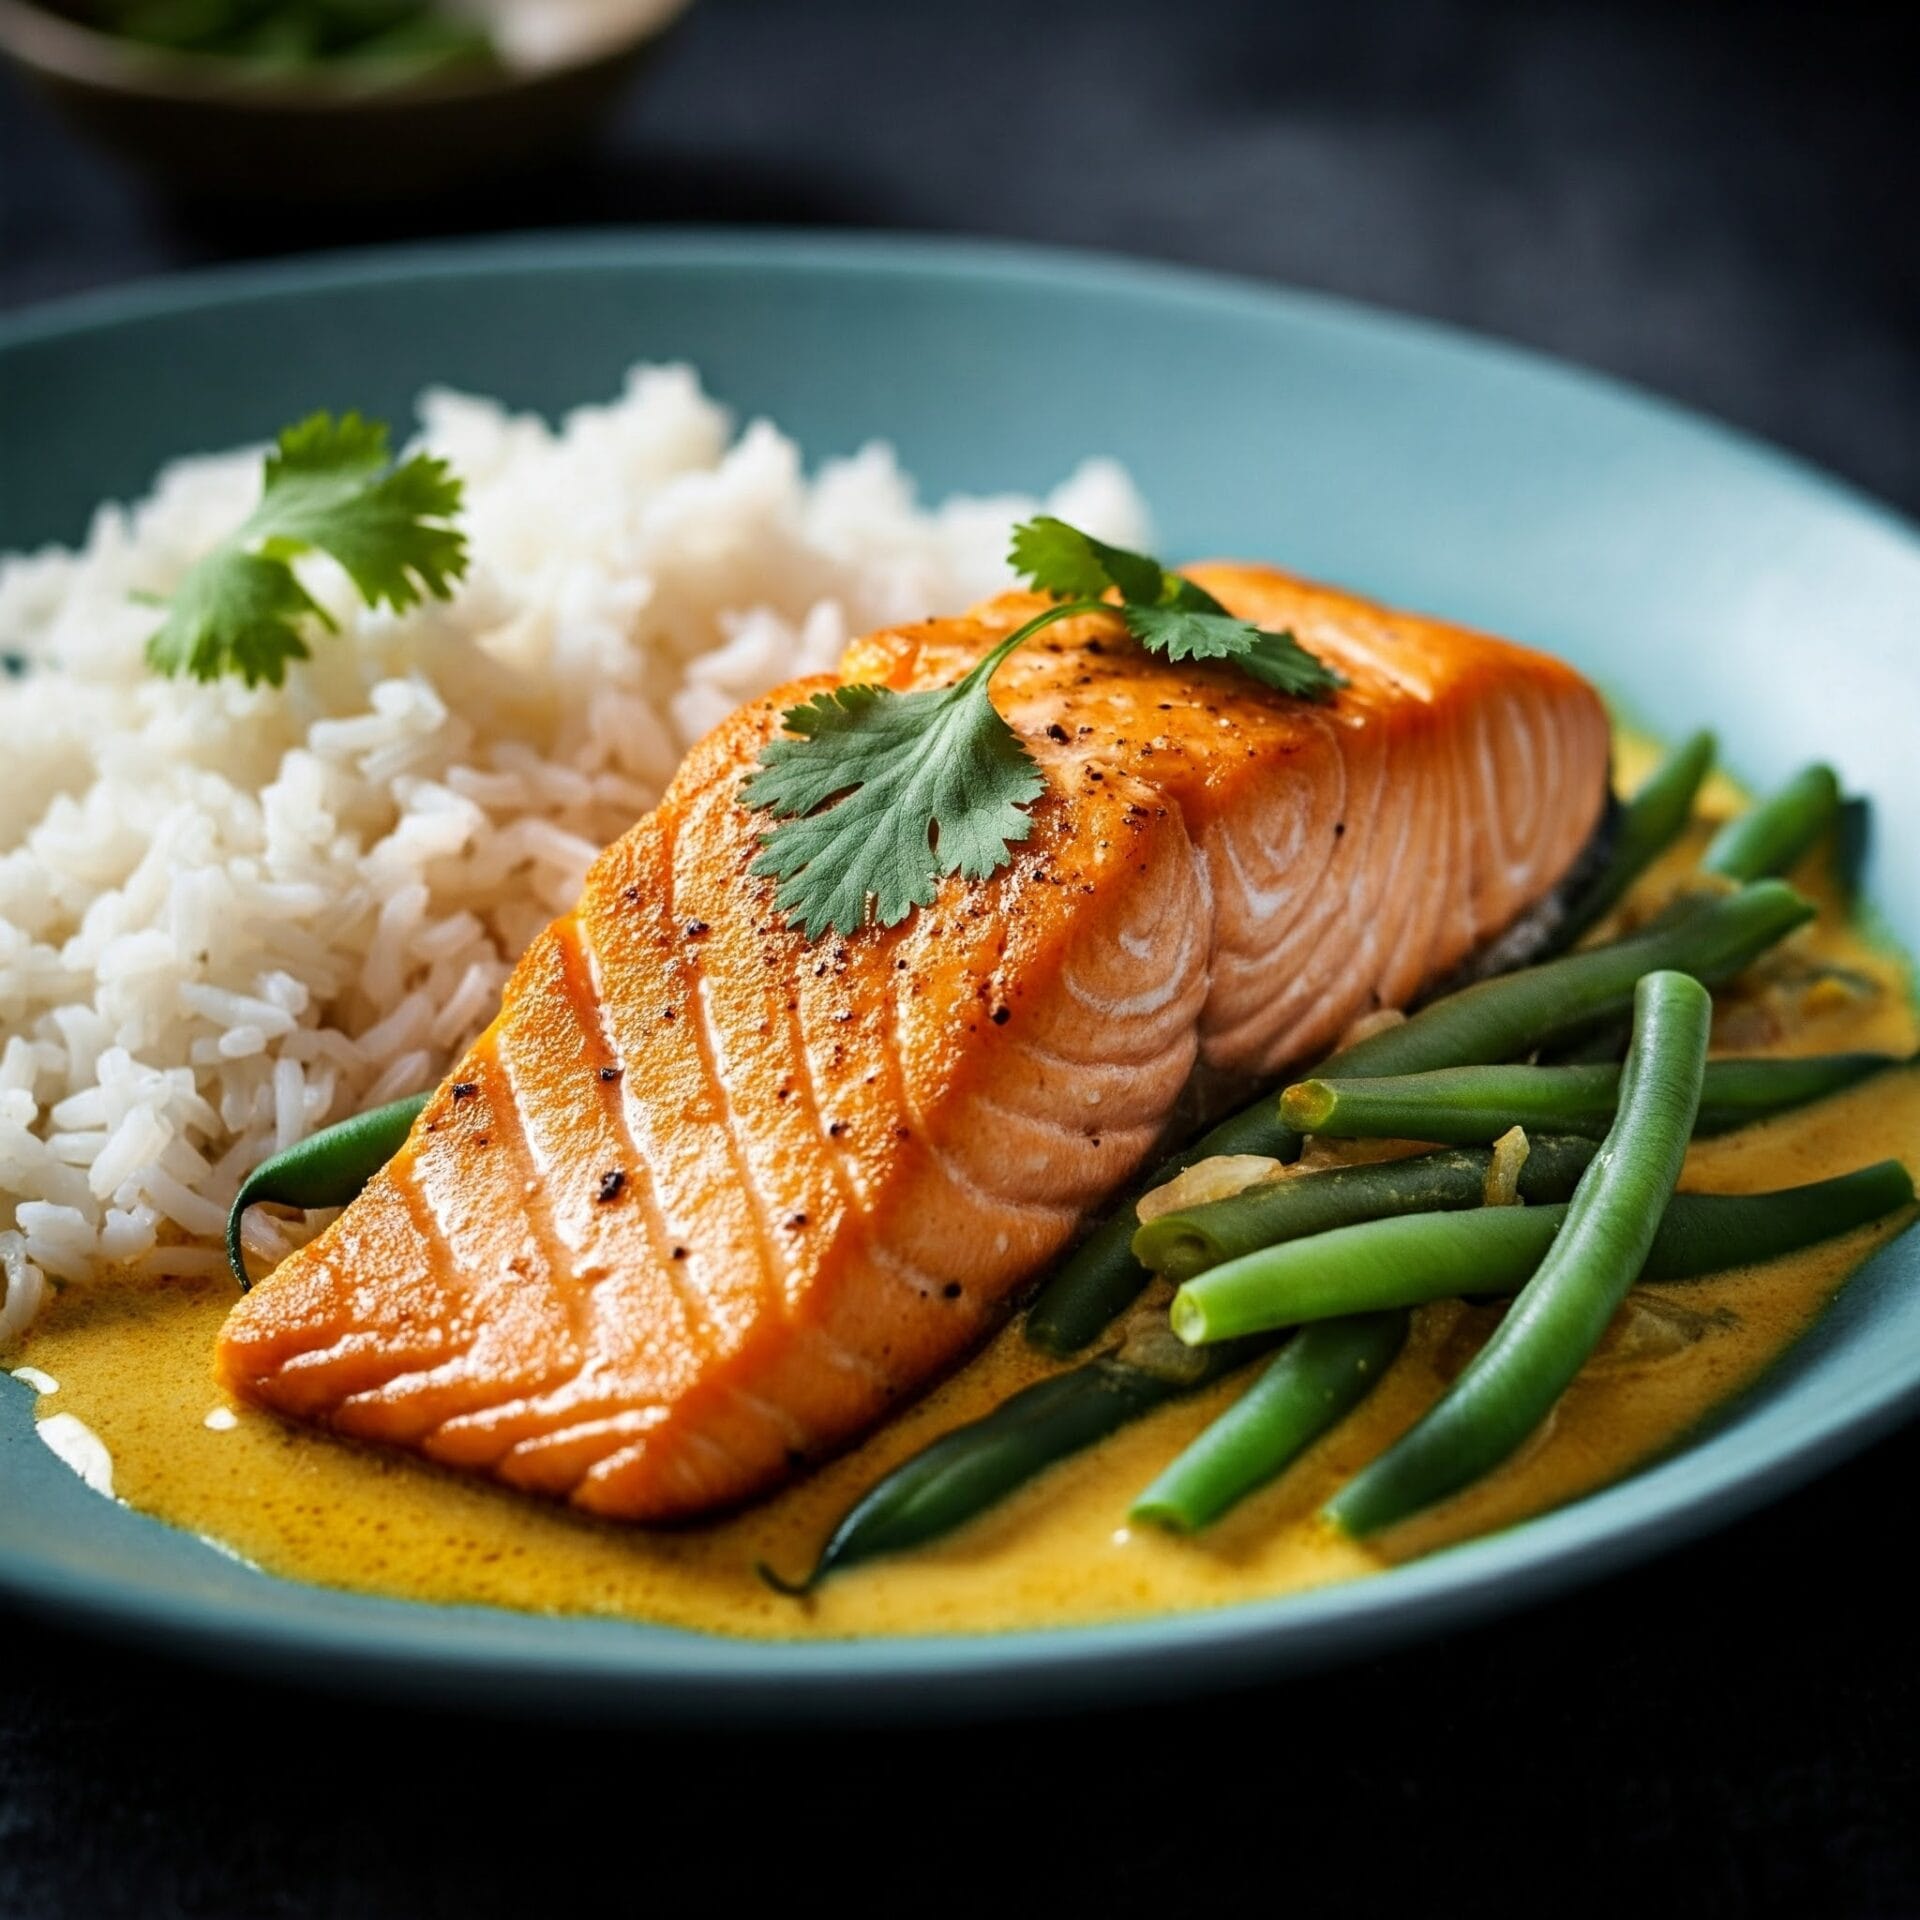
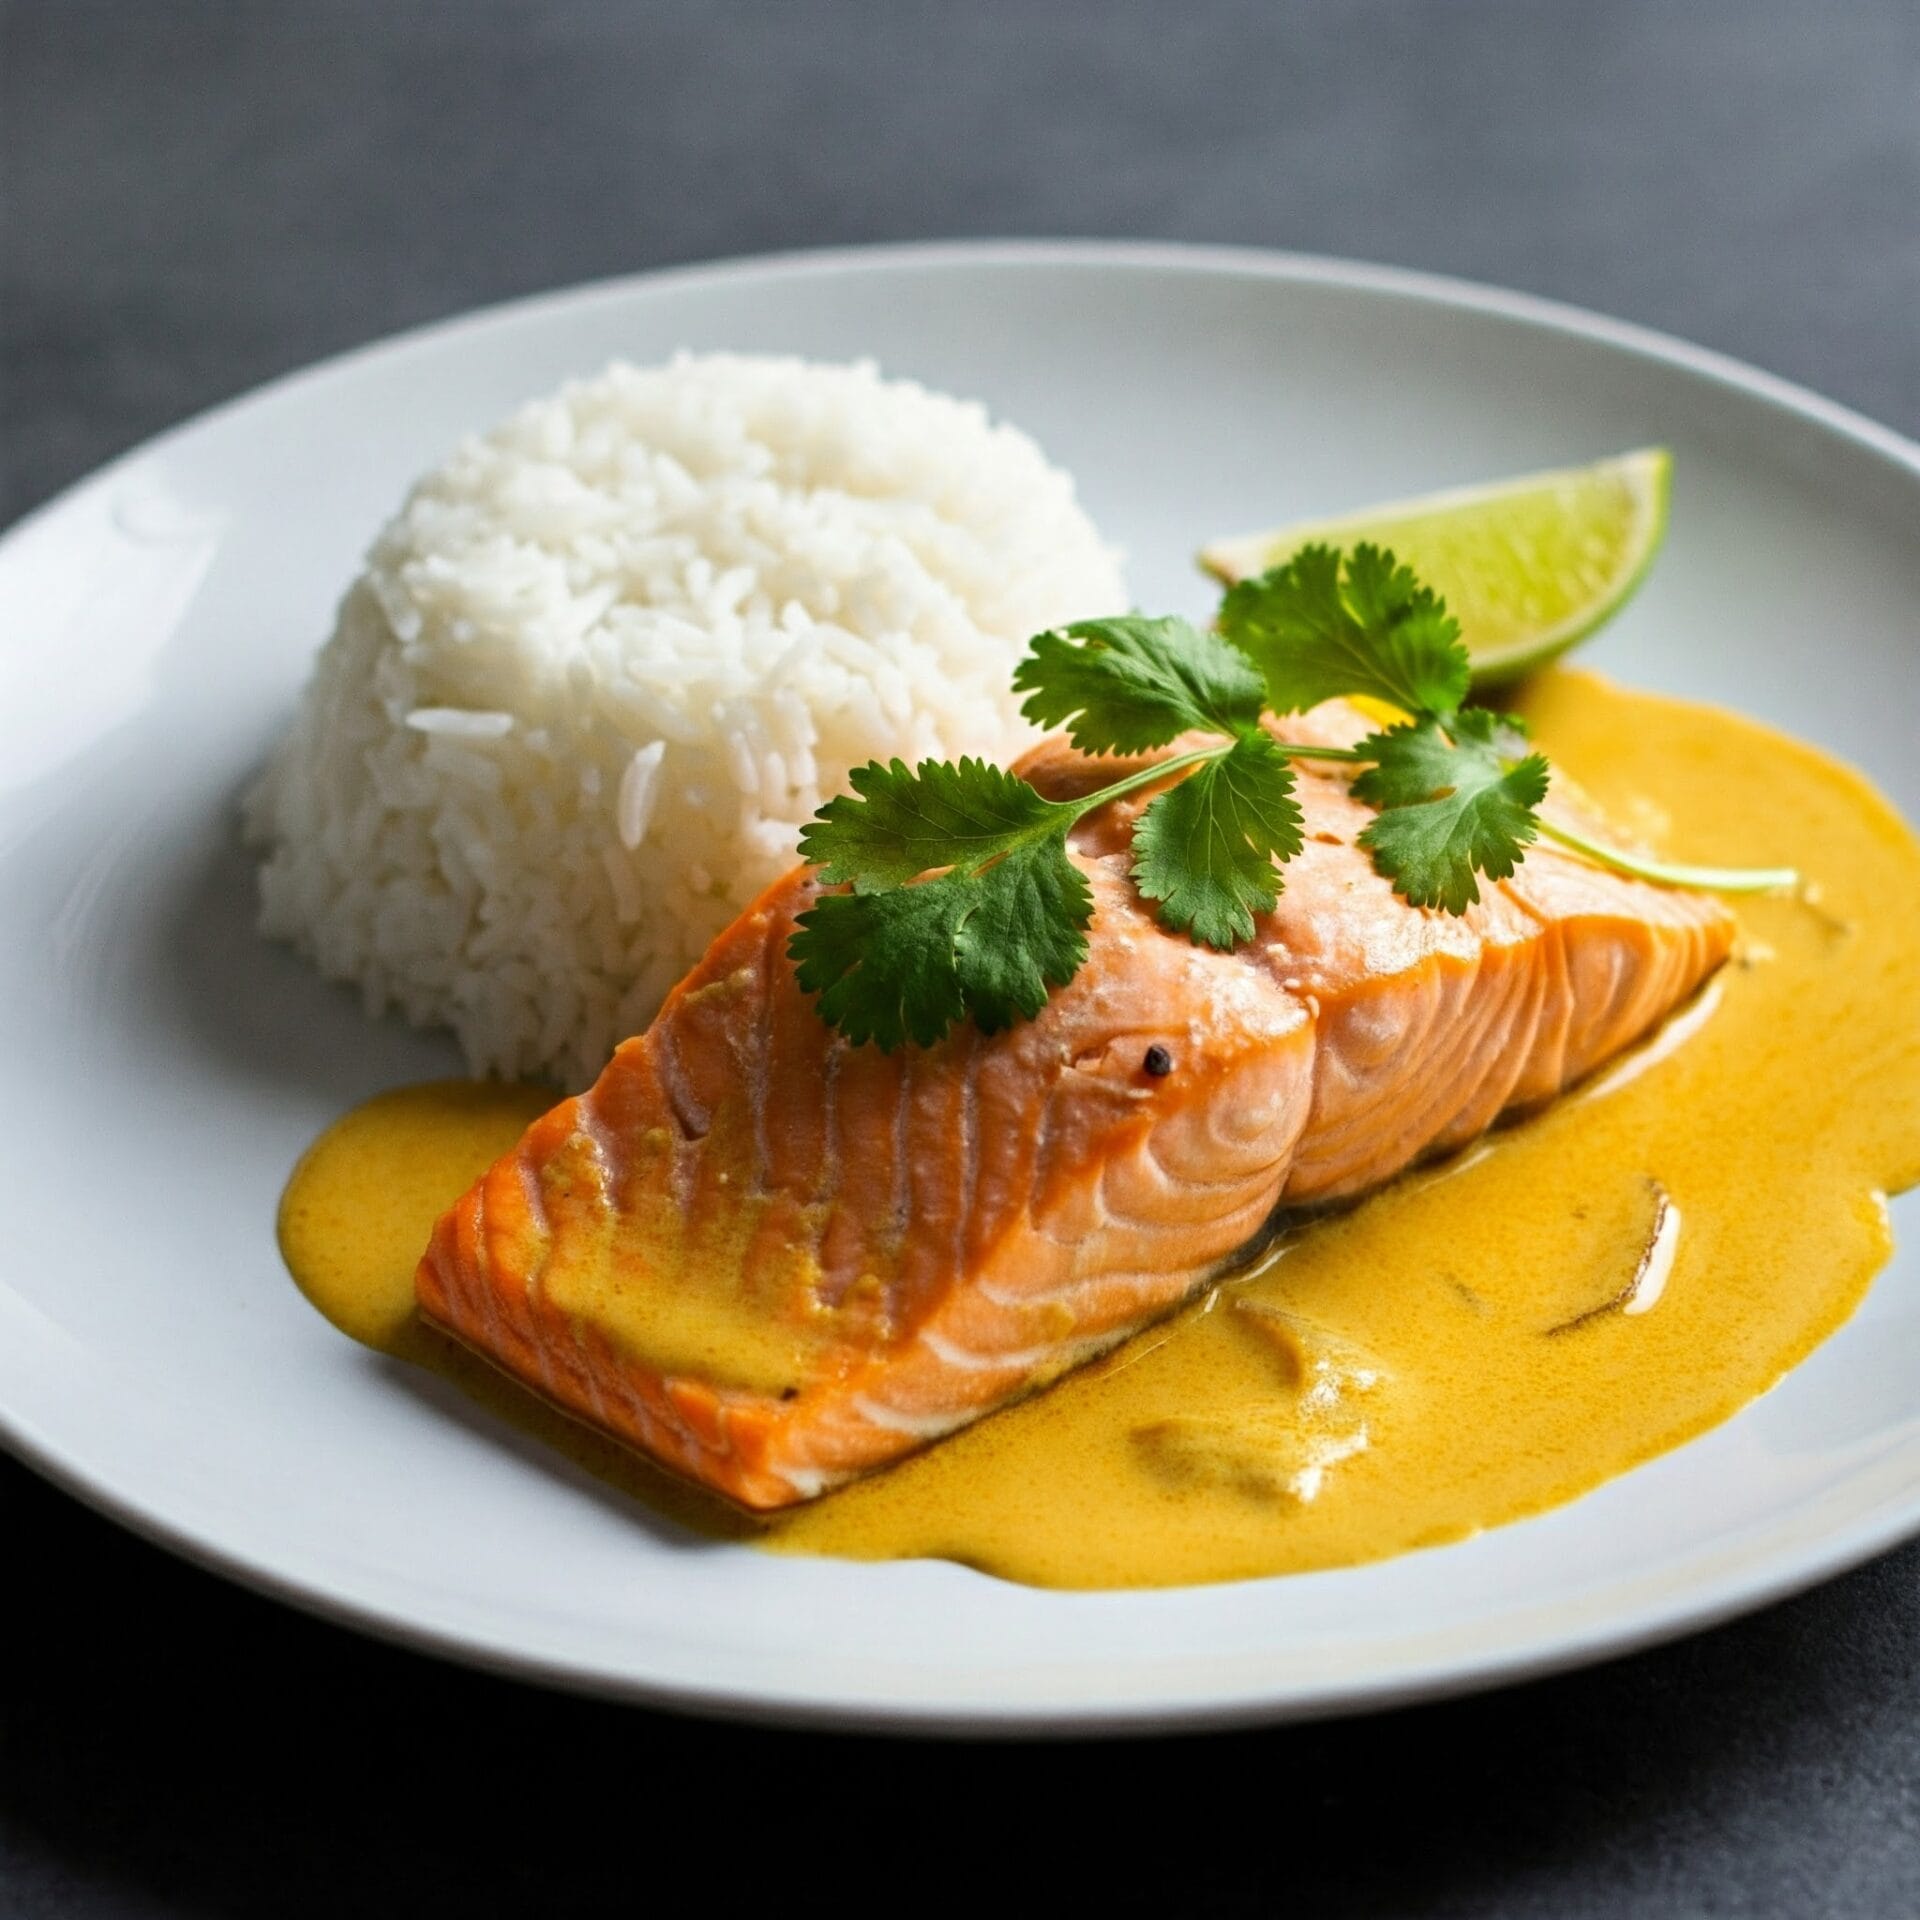
Coconut Curry Salmon

Coconut Curry Salmon

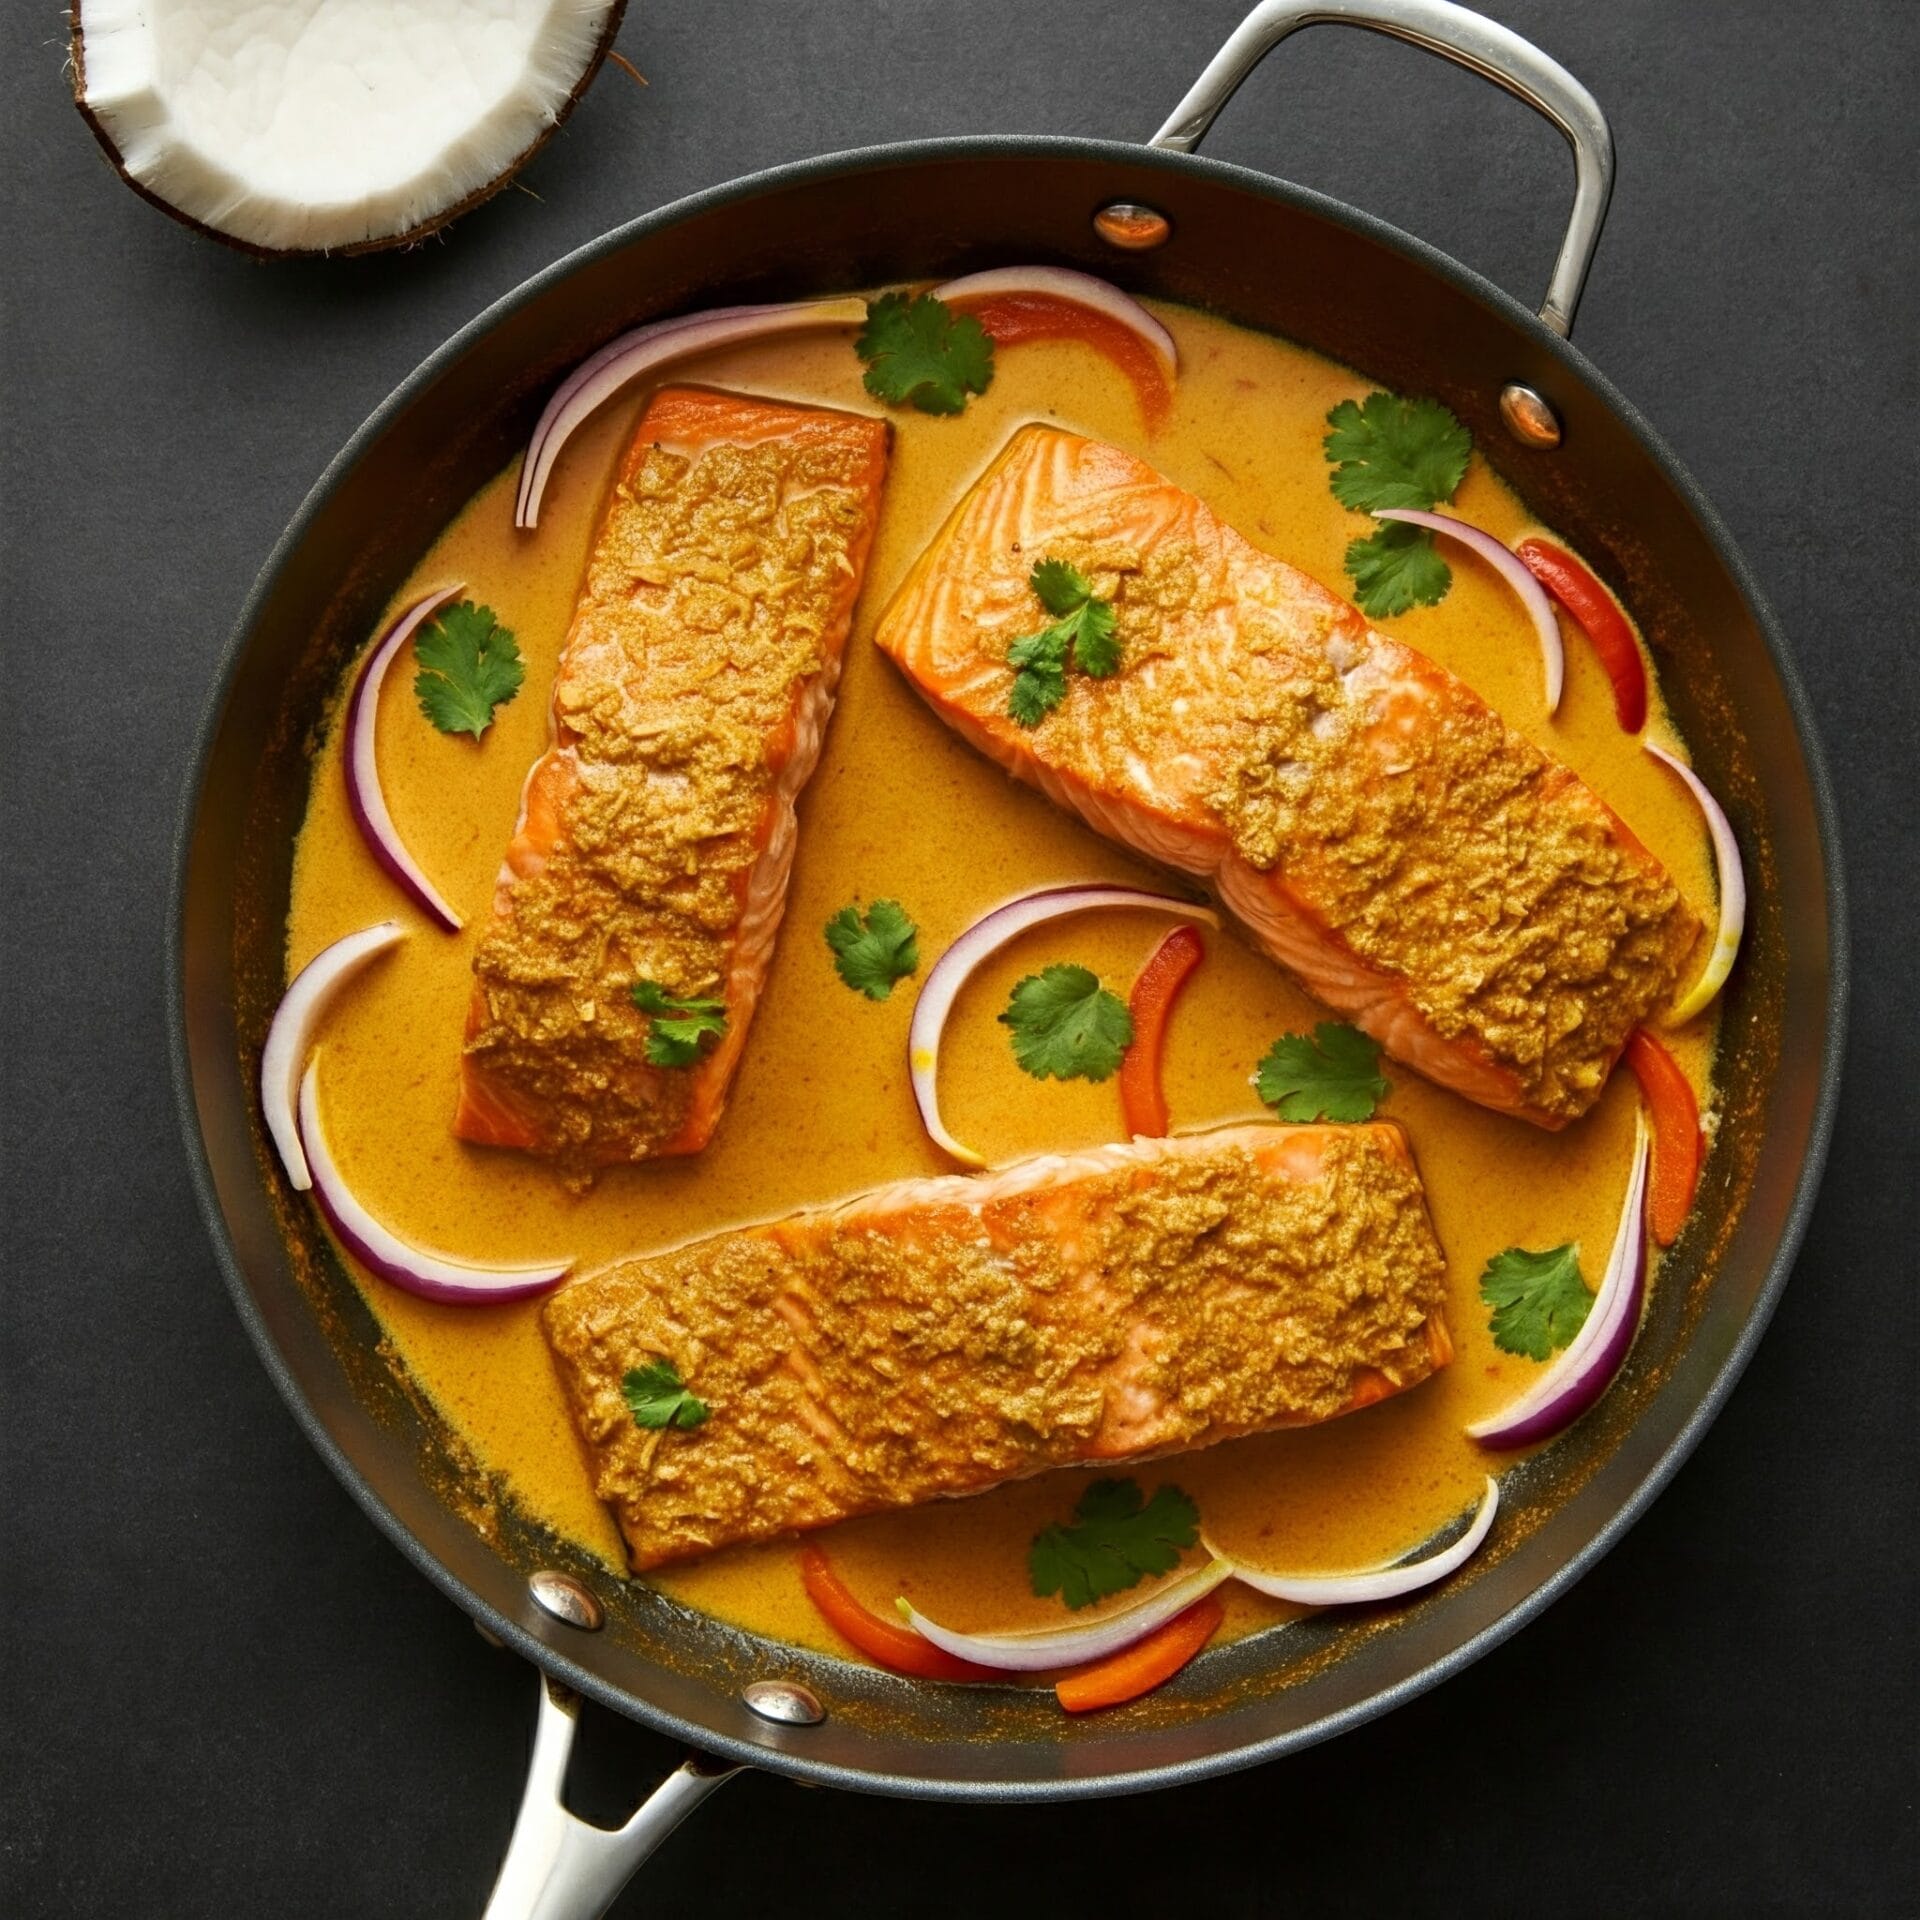
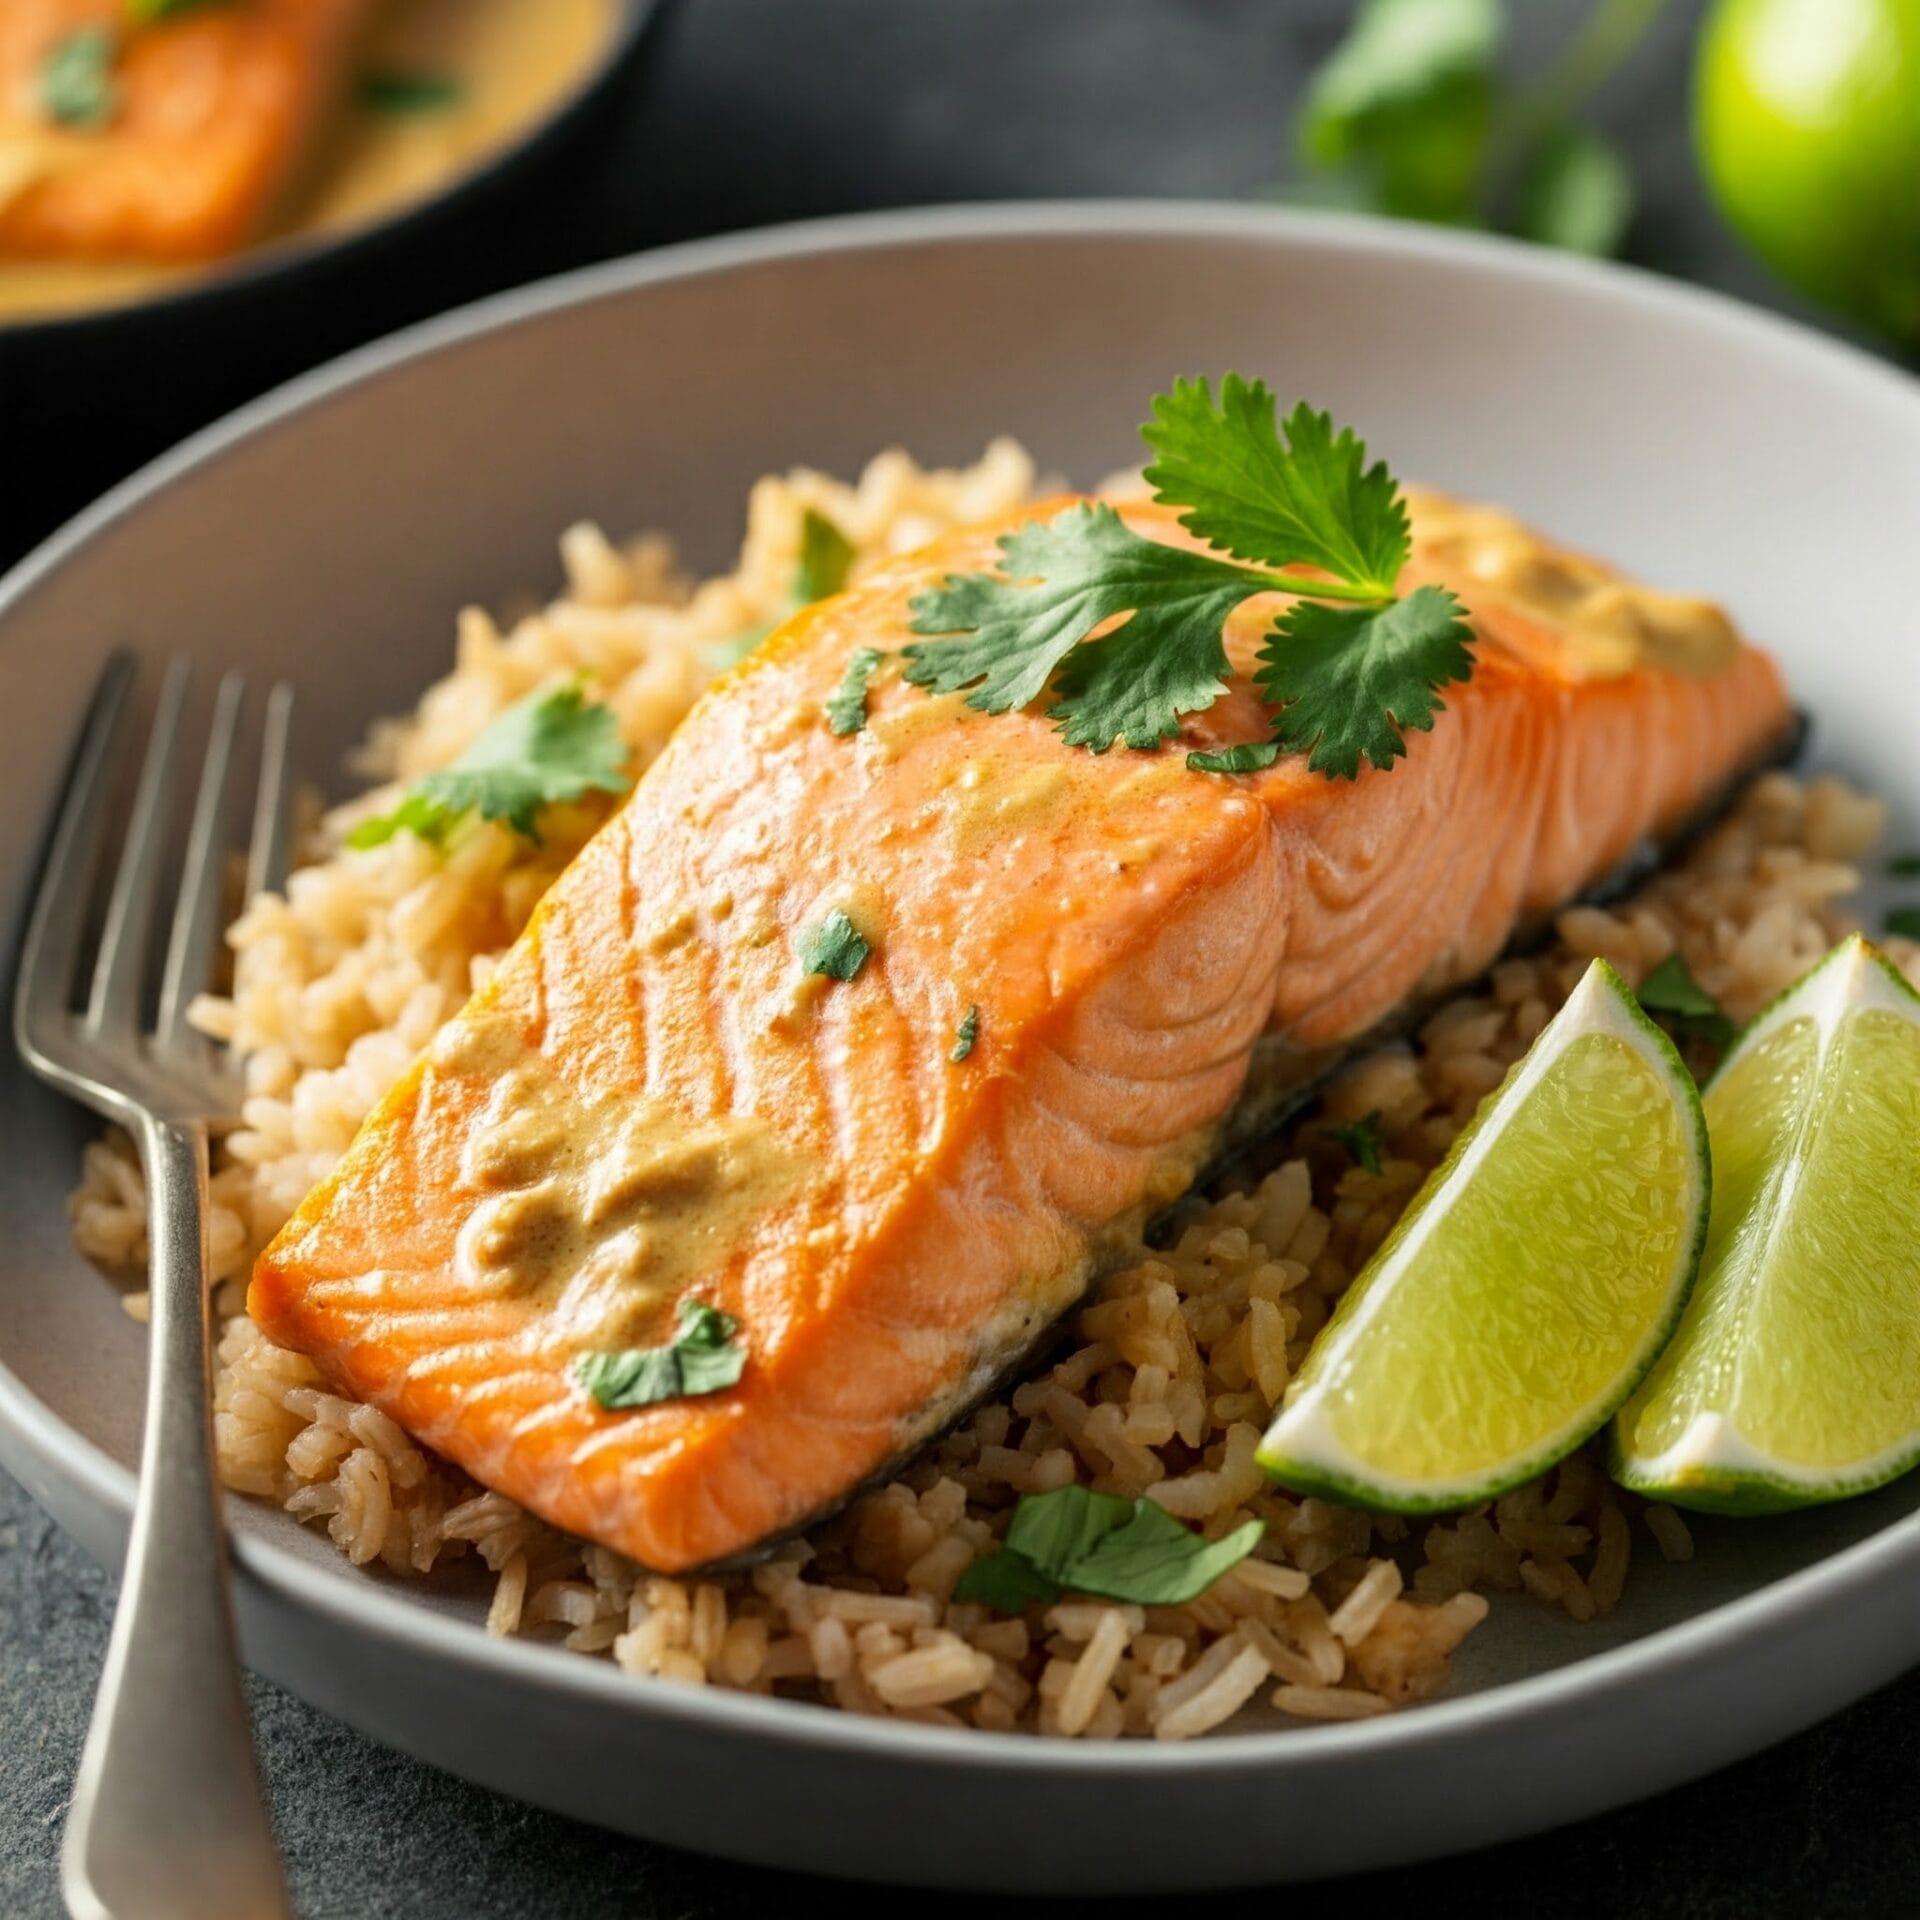
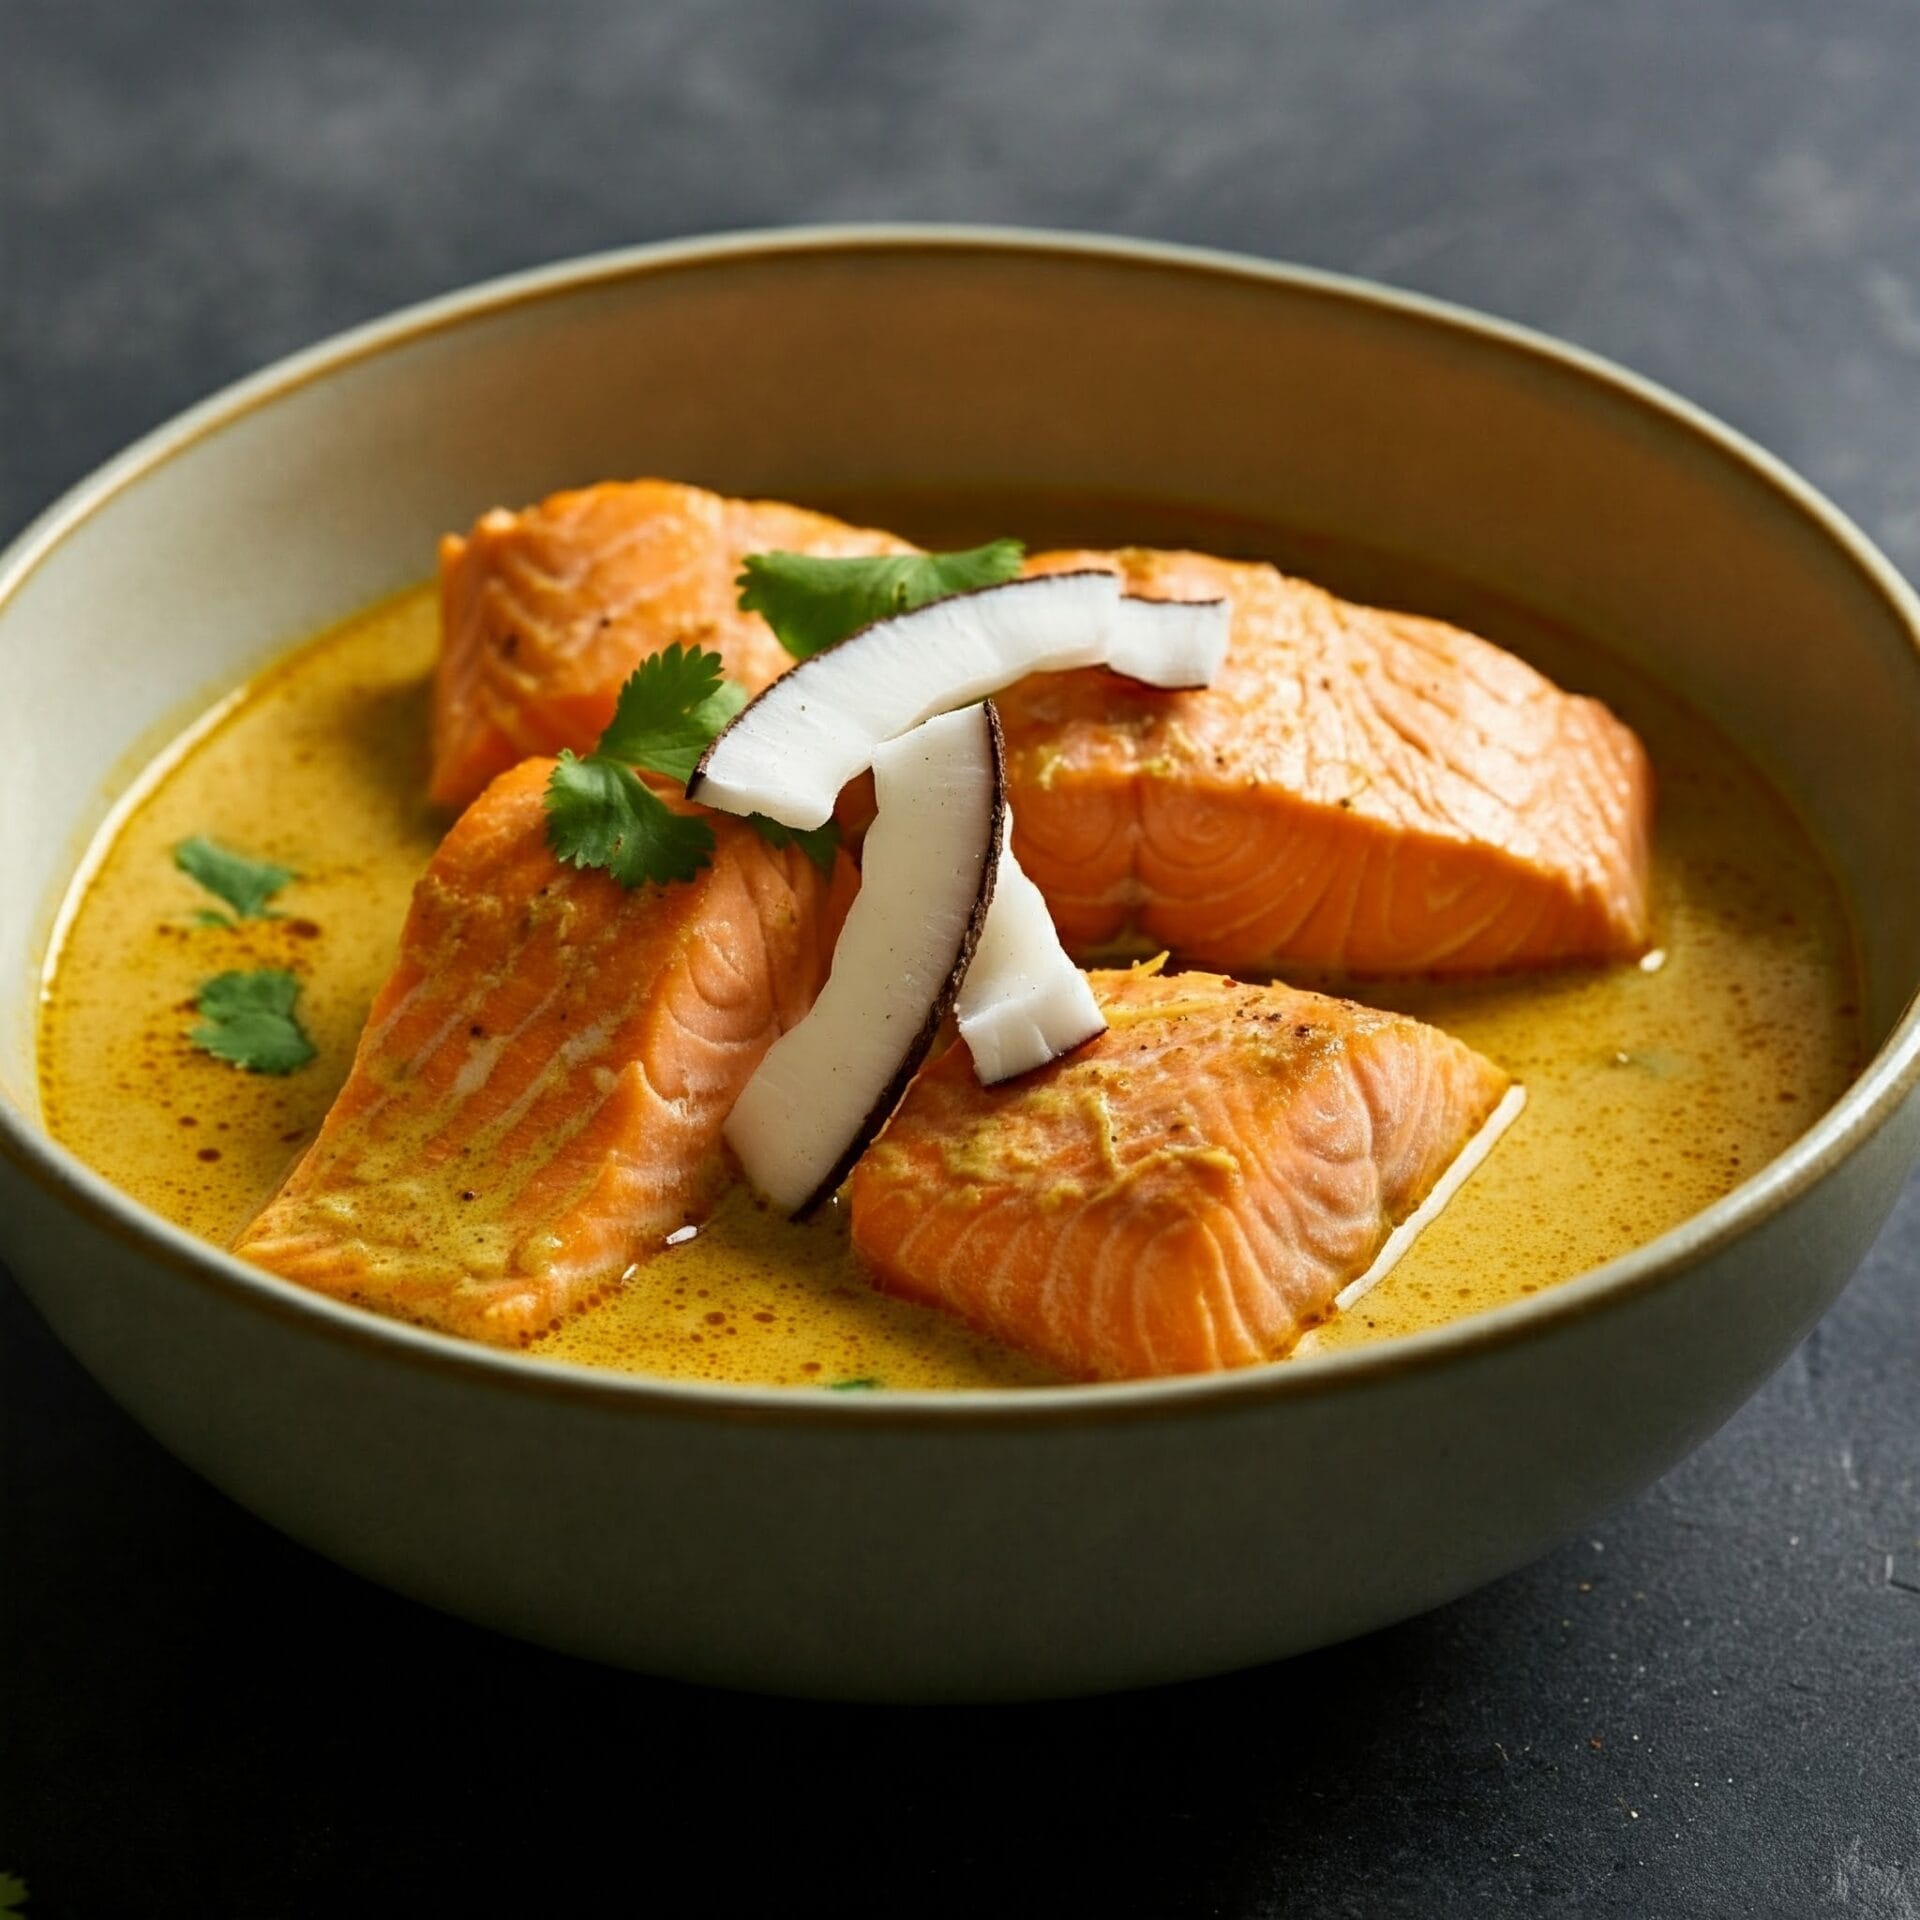
Dive into bold, vibrant flavor with this Coconut Curry Salmon—a dish that brings together tender, flaky salmon and a luxuriously creamy coconut curry sauce. Infused with warming spices, fresh ginger, garlic, and a touch of lime, each bite is layered with savory depth and gentle heat. The richness of the coconut milk balances perfectly with the natural richness of the salmon, creating a dish that’s both comforting and exotic. Served over rice or with warm naan, it’s a restaurant-worthy meal that comes together effortlessly in your own kitchen.

Coconut Curry Salmon

No ratings yet
Coconut curry salmon is a vibrant dish where tender salmon fillets are immersed in a rich and fragrant curry sauce. This sauce, typically made with creamy coconut milk, is infused with a medley of aromatic spices. Common additions include ginger, garlic, and chili, providing warmth and depth. The salmon is often pan-seared to achieve a slightly crispy exterior while maintaining a moist and flaky interior. It then simmers in the curry sauce, absorbing the complex flavors. This dish is typically served with fluffy rice, which acts as the perfect vehicle for soaking up the luscious sauce. Garnishes like fresh cilantro, lime wedges, and chopped peanuts add brightness and texture, completing this flavorful and satisfying meal.
Prep Time 10 minutes
Cook Time 30 minutes
Servings: 6 people
Course: Dinner, Lunch, Main Course
Cuisine: Southeast Asian, Thai
Calories: 267

Ingredients
  

  •  
    16 oz Salmon filets
  • 1 Kosher Salt
  • 1 Ground Black Pepper (freshly ground)
  • 1 Tbsp Vegetable oil
  • 1 Shallot thinly sliced
  •  
    1 Tbsp Red curry paste
  • 2 Cloves Garlic minced
  •  
    1 tsp Ginger, Fresh minced
  •  
    14 oz Coconut milk canned
  • 1 Tbsp Sriracha
  •  
    1 Tbsp Fish sauce
  •  
    1 Rice pre cooked
  • 1 Lime Cut into wedges
  • 1 Fresh Cilantro chopped

Method
 

  1. Grab your salmon fillets and season them generously with salt and pepper. Next, heat up your skillet over medium heat and add the oil. Once the oil is nice and hot, it's time for the salmon! Place the fillets in the skillet, skin-side down. Let them sizzle away for about 5 minutes, until that skin gets beautifully golden and crispy. Flip them over and cook for another 5 minutes, or until the salmon is cooked through. Transfer the salmon to a plate, and you're ready for the next step!
    16 oz Salmon filets, 1 Kosher Salt, 1 Ground Black Pepper, 1 Tbsp Vegetable oil
  2. Place the skillet back on the stovetop over medium heat. Add the shallots and cook, stirring occasionally, until they become soft and golden brown, about 3 minutes. Next, add the curry paste, minced garlic, and ginger to the skillet. Cook for another minute, stirring constantly, until the paste is fragrant and has deepened in color. Reduce the heat slightly and slowly whisk in the coconut milk, ensuring it is fully incorporated into the sauce. Then, add the sriracha and fish sauce. Bring the sauce to a gentle simmer. Carefully return the salmon fillets to the skillet, nestling them into the sauce. Allow the salmon to simmer until it flakes easily with a fork and reaches an internal temperature of 145°F. This should take about 15 minutes, depending on the thickness of the salmon. As the salmon simmers, spoon the sauce over the fillets occasionally to ensure they are well coated and infused with flavor. Taste the sauce and adjust the seasoning by adding more sriracha or fish sauce as needed.
    1 Shallot, 1 Tbsp Red curry paste, 2 Cloves Garlic, 1 tsp Ginger, Fresh, 14 oz Coconut milk, 1 Tbsp Sriracha, 1 Tbsp Fish sauce
  3. And there you have it! Spoon that amazing sauce over the salmon – don't be shy! Serve it up with a generous portion of fluffy rice. A squeeze of lime and a sprinkle of cilantro add the perfect finishing touch. Dig in and enjoy!
    1 Rice, 1 Lime , 1 Fresh Cilantro

Nutrition

Serving: 6ozCalories: 267kcalCarbohydrates: 3gProtein: 17gFat: 21gSaturated Fat: 14gPolyunsaturated Fat: 3gMonounsaturated Fat: 3gTrans Fat: 0.01gCholesterol: 42mgSodium: 335mgPotassium: 547mgFiber: 0.3gSugar: 1gVitamin A: 428IUVitamin C: 3mgCalcium: 29mgIron: 3mg

Notes

Choosing the Salmon:
  • Freshness: Look for salmon fillets that are firm, brightly colored, and have a fresh, mild scent. Avoid any with a strong fishy odor or discoloration.
  • Skin on or off: While skin-on fillets provide extra flavor and texture, skinless fillets work well too.
  • Sustainability: Consider purchasing sustainably sourced salmon to support responsible fishing practices.
Cooking the Salmon:
  • Don't overcrowd the pan: Give the fillets enough space in the skillet to ensure even cooking and browning.
  • Adjust cooking time: Cooking time will vary depending on the thickness of the fillets and your stovetop. Aim for an internal temperature of 145°F (63°C) for food safety.
  • Avoid overcooking: Overcooked salmon can become dry and tough. Aim for a moist and flaky texture.
Making the Curry Sauce:
  • Curry paste: Use your favorite red or yellow curry paste. Adjust the amount to your desired level of spiciness.
  • Aromatics: Fresh ginger and garlic are key to building flavor in the sauce.
  • Coconut milk: Use full-fat coconut milk for a rich and creamy sauce.
  • Balancing flavors: Taste the sauce and adjust the sriracha and fish sauce to achieve the desired balance of sweet, salty, spicy, and sour.
  • Simmering: Simmering the salmon in the sauce allows it to absorb the flavors fully.
Serving:
  • Rice: Serve with fluffy white or brown rice to soak up the delicious sauce.
  • Garnishes: Fresh cilantro, lime wedges, and chopped peanuts add brightness, acidity, and texture.
  • Sides: Consider serving with additional sides like steamed vegetables or a simple salad.
Other Tips:
  • Make it ahead: The curry sauce can be made ahead of time and reheated.
  • Storage: Leftovers can be stored in the refrigerator for up to 3 days.
  • Adapt to your taste: Feel free to adjust the ingredients and spices to your liking. You can add vegetables like bell peppers, onions, or spinach to the sauce.
By keeping these notes in mind, you'll be well on your way to preparing a flavorful and satisfying coconut curry salmon dish. Enjoy!

Tried this recipe?

Let us know how it was!

Related Recipes

Ingredients

  • 16 oz Salmon fillets
  • 1 tsp Kosher salt
  • 1 tsp Ground black pepper (freshly ground)
  • 1 Tbsp Vegetable oil
  • 1 Shallot, thinly sliced
  • 1 Tbsp Red curry paste
  • 2 Cloves Garlic, minced
  • 1 tsp Fresh ginger, minced
  • 14 oz Canned coconut milk
  • 1 Tbsp Sriracha
  • 1 Tbsp Fish sauce
  • Cooked rice (for serving)
  • 1 Lime, cut into wedges (for serving)
  • Chopped cilantro (for serving)

Image Gallery Coconut Curry Salmon

Storage & Leftovers

Storage:

  • Refrigerator: Store cooled leftovers in an airtight container in the fridge for up to 3 days. Keep the salmon and curry sauce together for maximum flavor, or separate them if you prefer to reheat individually.

  • Freezer: While the curry sauce freezes well, the texture of salmon can change slightly after freezing. If freezing, do so in portions and use within 1 month for best results.

Reheating:

  • Stovetop (Recommended): Reheat gently over medium-low heat in a skillet, adding a splash of water or coconut milk to loosen the sauce. Heat until warmed through, about 5–7 minutes.

  • Microwave: Place in a microwave-safe dish, cover loosely, and heat in 30-second intervals, stirring between rounds to avoid overcooking the fish.

Tips:

  • Avoid high heat to keep the salmon from drying out.

  • Leftovers are perfect for grain bowls, stuffed pitas, or as a topping for coconut rice.

  • For added freshness, squeeze a little lime juice or sprinkle chopped cilantro before serving again.

Please follow and like us:
onpost_follow
fb-share-icon197
Tweet120
Pinterest20
Share 20
submit to reddit

Subscribe for New Recipes

* indicates required

Intuit Mailchimp

Whole Roasted Cauliflower

Whole Roasted Cauliflower

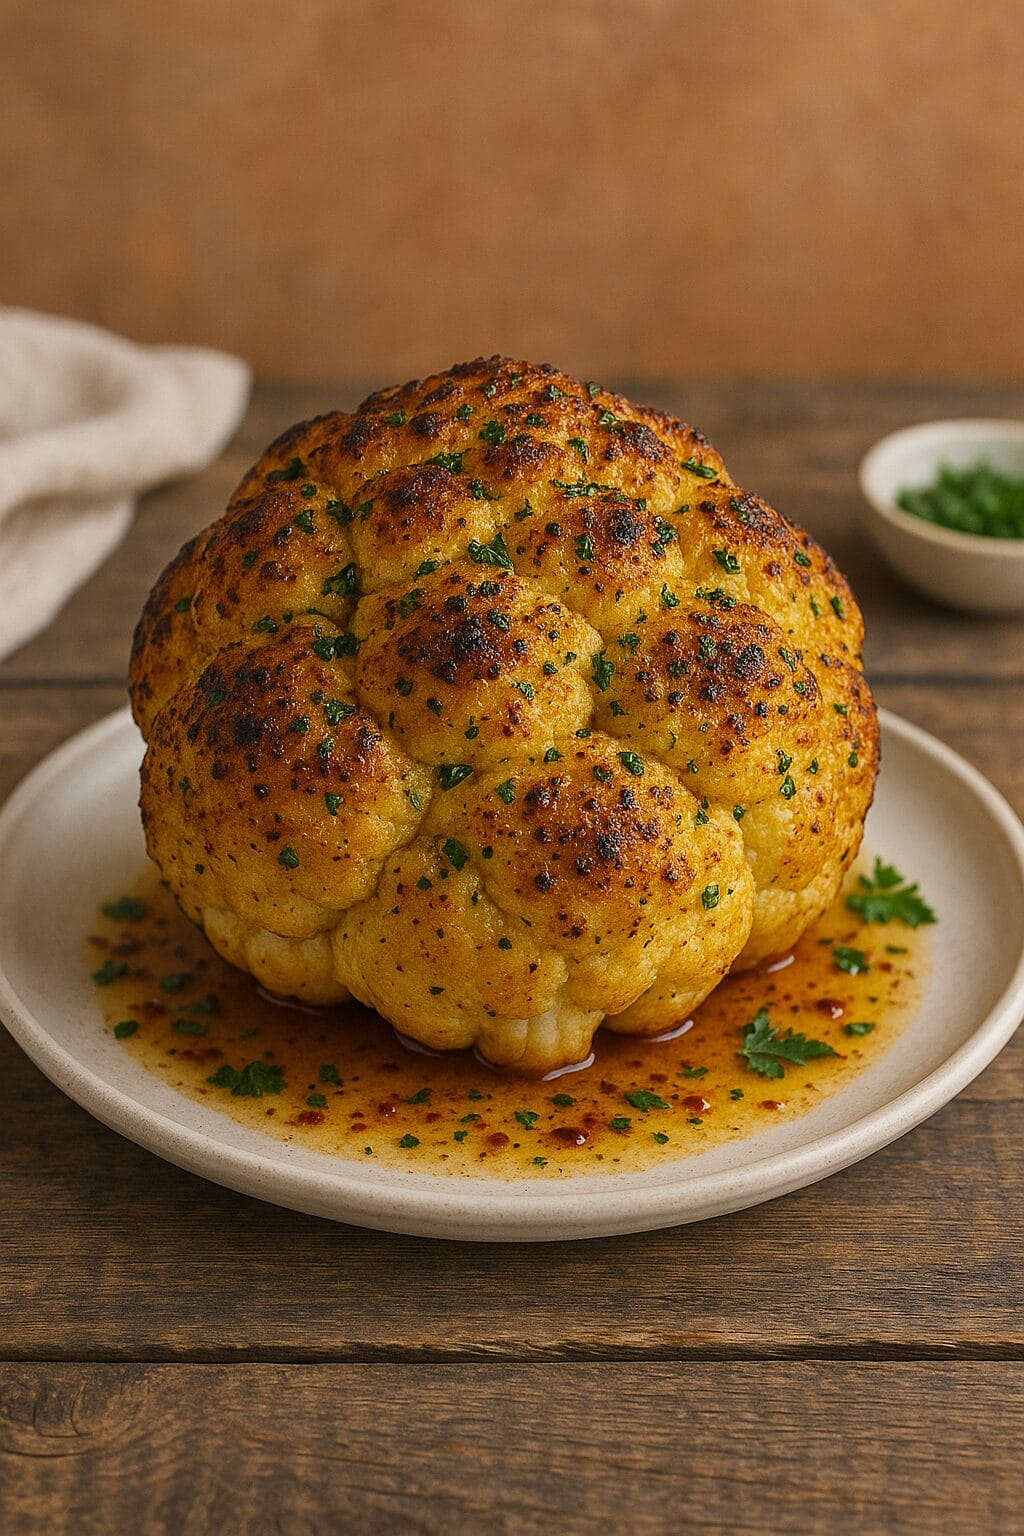
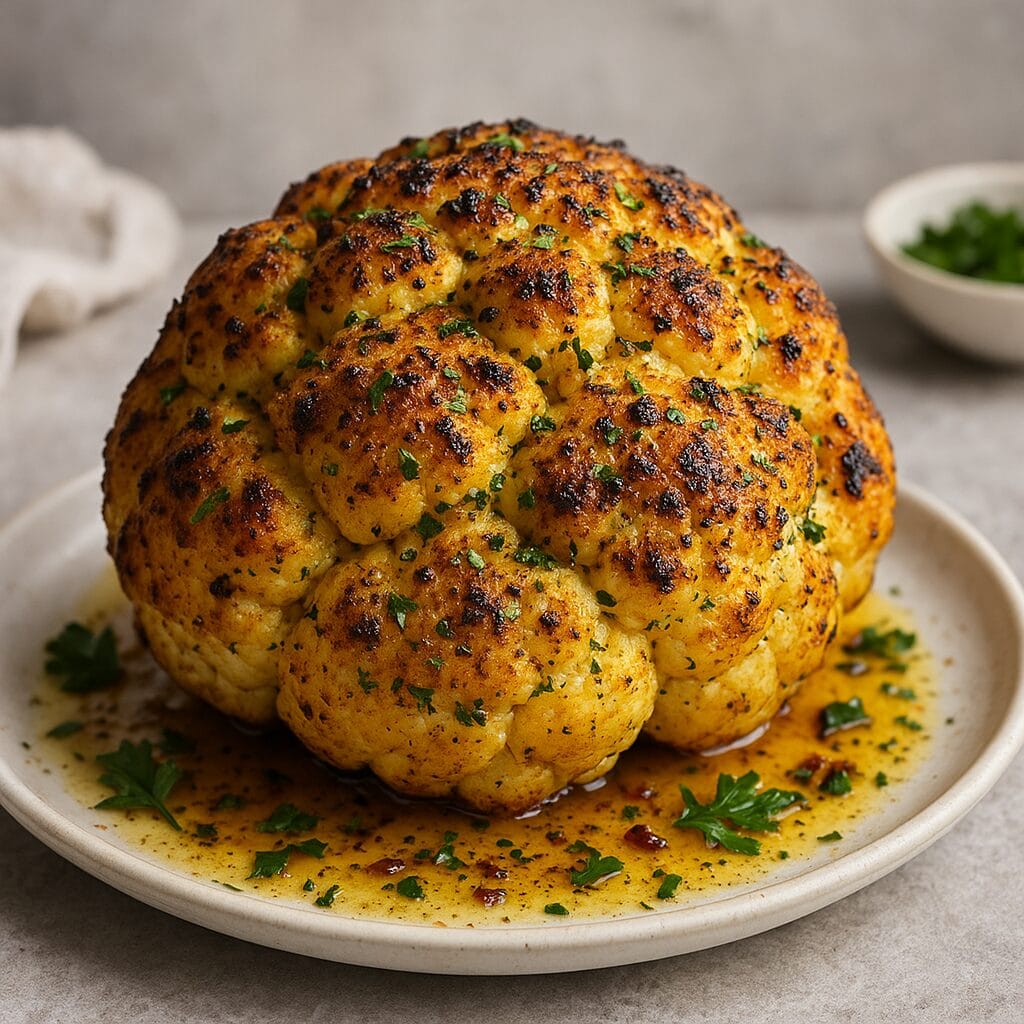
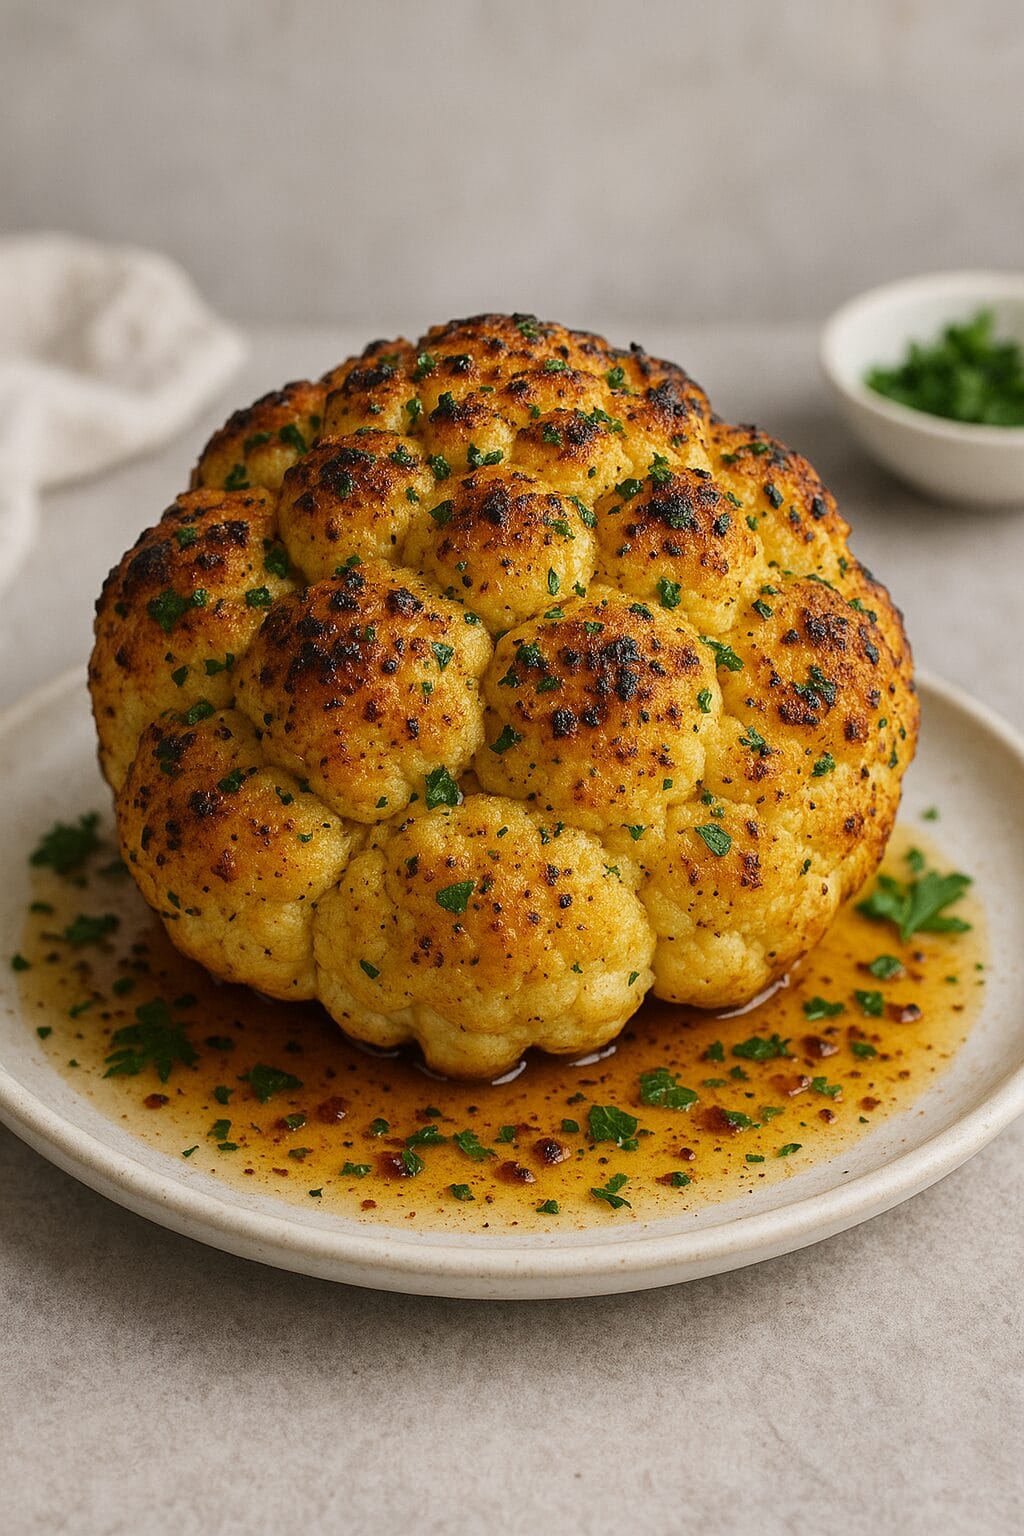
Transform an everyday vegetable into an extraordinary centerpiece with this Whole Roasted Cauliflower. Golden and caramelized on the outside, tender and flavorful within—each bite bursts with savory herbs, garlic, and a touch of spice. It’s an impressive dish that steals the spotlight, whether served as a hearty vegetarian main or a deliciously elegant side. Easy enough for weeknight dinners yet striking enough for special gatherings, this roasted cauliflower turns simplicity into culinary brilliance.

Whole Roasted Cauliflower

No ratings yet
Whole roasted cauliflower is a visually stunning and incredibly flavorful dish that has taken the culinary world by storm. It transforms the humble cauliflower into a centerpiece-worthy creation, showcasing its versatility and deliciousness.
Imagine a whole head of cauliflower, roasted to perfection, emerging from the oven with a beautifully browned and slightly charred exterior. The florets, once tightly packed, become tender and caramelized, offering a melt-in-your-mouth texture that contrasts with the crispy edges.
The beauty of this dish lies in its simplicity. The cauliflower is often seasoned with just olive oil, salt, and pepper, allowing its natural flavors to shine through. As it roasts, the natural sugars in the cauliflower caramelize, creating a depth of flavor that is both savory and subtly sweet.  
Whole roasted cauliflower is incredibly versatile. It can be served as a vegetarian main course, a hearty side dish, or even sliced and used in salads or sandwiches. Its neutral flavor pairs well with a wide range of cuisines and flavor profiles, making it an ideal canvas for culinary creativity.
Prep Time 10 minutes
Cook Time 35 minutes
Servings: 4 people
Course: Appetizer, Main Course, Side Dish
Cuisine: Mediterranean, Middle Eastern
Calories: 186

Ingredients
  

  •  
    1 Head Cauliflower
  •  
    Fresh thyme1
  • 2 Bay Leaf
  •  
    4 Cups Vegetable Stock more or less depending on size of cauliflower. vegetable stock is okay
  • Cup Butter melted
  •  
    Cracked Pepper Fresh

Method
 

  1. Preheat your oven to 400°F. Now, let's get that cauliflower ready! First, trim off the bottom of the stem. Next, peel away those outer leaves. Cut out the stem from the center, being careful not to break apart the florets. Rinse the cauliflower head and pat it dry.
    1 Head Cauliflower
  2. Place the whole cauliflower head in a large pot. Pour enough stock over the cauliflower to completely submerge it. Tuck the sprigs of fresh thyme and the bay leaf into the stock around the cauliflower. Place the pot over medium-high heat and bring the stock to a rolling boil. Once boiling, reduce the heat to low and simmer gently for 12 minutes.
    Fresh thyme1, 4 Cups Vegetable Stock, 2 Bay Leaf
  3. Once the cauliflower is tender, carefully remove it from the pot and drain any excess stock. Place the cauliflower in a cast-iron skillet or another oven-safe pan. Gently ladle a few spoonfuls of the cooking stock over the cauliflower, allowing it to settle in the crevices. Then, drizzle the top of the cauliflower with melted butter, ensuring it coats the surface evenly. Sprinkle with fresh thyme leaves and freshly ground black pepper.
    ⅓ Cup Butter, Cracked Pepper
  4. Place the cauliflower in the preheated oven and roast for 10-15 minutes. The cooking time will depend on the size of your cauliflower. As it roasts, baste the cauliflower with the juices from the pan every few minutes to keep it moist. To test for doneness, insert a sharp knife into the thickest part of the cauliflower. If the knife slides in easily, it's ready. If you'd like to give the cauliflower a bit more color, you can broil it for an extra 2 minutes at the end. However, keep a close eye on it during broiling, as it can burn quickly.
  5. Ta-da! Your masterpiece is ready! Take that gorgeous roasted cauliflower out of the oven and give it a final flourish with a sprinkle of fresh thyme. Now, for the grand finale: slice it up and serve those beautiful wedges with a generous drizzle of those irresistible pan juices.
    Fresh thyme1

Nutrition

Serving: 6ozCalories: 186kcalCarbohydrates: 10gProtein: 3gFat: 16gSaturated Fat: 10gPolyunsaturated Fat: 1gMonounsaturated Fat: 4gTrans Fat: 1gCholesterol: 41mgSodium: 999mgPotassium: 435mgFiber: 3gSugar: 5gVitamin A: 990IUVitamin C: 69mgCalcium: 37mgIron: 1mg

Notes

Choosing the Cauliflower:
  • Size and Shape: Look for a medium-sized cauliflower with tightly packed florets and a compact shape. This will ensure even cooking.
  • Freshness: Choose a cauliflower that feels heavy for its size and has crisp, bright white florets. Avoid those with discoloration or soft spots.
Prepping the Cauliflower:
  • Trimming: Trim the stem so the cauliflower sits flat, but leave enough to hold the florets together. Remove the leaves, but you can save some of the smaller, tender ones for roasting alongside if you like.
  • Washing: Rinse the cauliflower thoroughly, but make sure to pat it completely dry before roasting to promote browning.
Roasting:
  • Oven Temperature: A high temperature (400-450°F) is ideal for roasting cauliflower, as it helps to create a crispy exterior and tender interior.
  • Cooking Time: Roasting time will vary depending on the size of the cauliflower and your oven. Start checking for doneness around 20 minutes, and continue roasting until a knife inserted into the thickest part slides in easily.
  • Basting: Basting the cauliflower with the pan juices helps to keep it moist and adds flavor.
  • Broiling: If you want to add extra color and crispness, broil the cauliflower for the last few minutes of cooking. Watch it carefully to prevent burning.
Flavoring:
  • Seasoning: Simple seasonings like salt, pepper, and olive oil are all you need to bring out the natural flavors of the cauliflower.
  • Aromatics: Adding herbs like thyme, rosemary, or garlic to the roasting pan can enhance the flavor.
  • Spices: For global flavors, experiment with spices like cumin, turmeric, paprika, or chili powder.
Serving:
  • Resting: Allow the cauliflower to rest for a few minutes after roasting before slicing. This will help it retain its juices.
  • Slicing: Slice the cauliflower into wedges for serving.
  • Pan Juices: Don't forget to drizzle the flavorful pan juices over the cauliflower before serving.
  • Garnishes: Fresh herbs, a squeeze of lemon juice, or a sprinkle of Parmesan cheese make great finishing touches.
With these tips in mind, you'll be able to roast a cauliflower that's beautifully golden, tender, and bursting with flavor!

Tried this recipe?

Let us know how it was!

Related Recipes

Ingredients

Ingredients:

  • 1 head of cauliflower
  • 4 cups chicken stock
  • 2 bay leaves
  • 4 sprigs fresh thyme, plus extra for garnish
  • 1/3 cup melted butter
  • Freshly cracked black pepper, to taste

Image Gallery Whole Roasted Cauliflower

Storage & Leftovers

Storage:

  • Refrigerator: Let the cauliflower cool completely, then wrap it tightly in foil or transfer it to an airtight container. Store in the fridge for up to 4 days.

  • Freezer: For longer storage, cut the roasted cauliflower into smaller portions and freeze in a single layer on a baking sheet. Once frozen, transfer to a freezer-safe bag or container. Best used within 2 months.

Reheating:

  • Oven (Best method): Reheat at 375°F (190°C) for about 10–15 minutes to restore crispiness. Cover with foil if it starts to brown too much.

  • Microwave: Use short bursts (30–60 seconds) to avoid overcooking. Texture may be softer than freshly roasted.

  • Air Fryer: 350°F for about 5–7 minutes can quickly revive the exterior crisp.

Pro Tips:

  • Drizzle with a touch of olive oil or lemon juice before reheating to freshen the flavor.

  • Use leftovers in wraps, grain bowls, soups, or as a filling for tacos or flatbreads.

Please follow and like us:
onpost_follow
fb-share-icon197
Tweet120
Pinterest20
Share 20
submit to reddit

Subscribe for New Recipes

* indicates required

Intuit Mailchimp