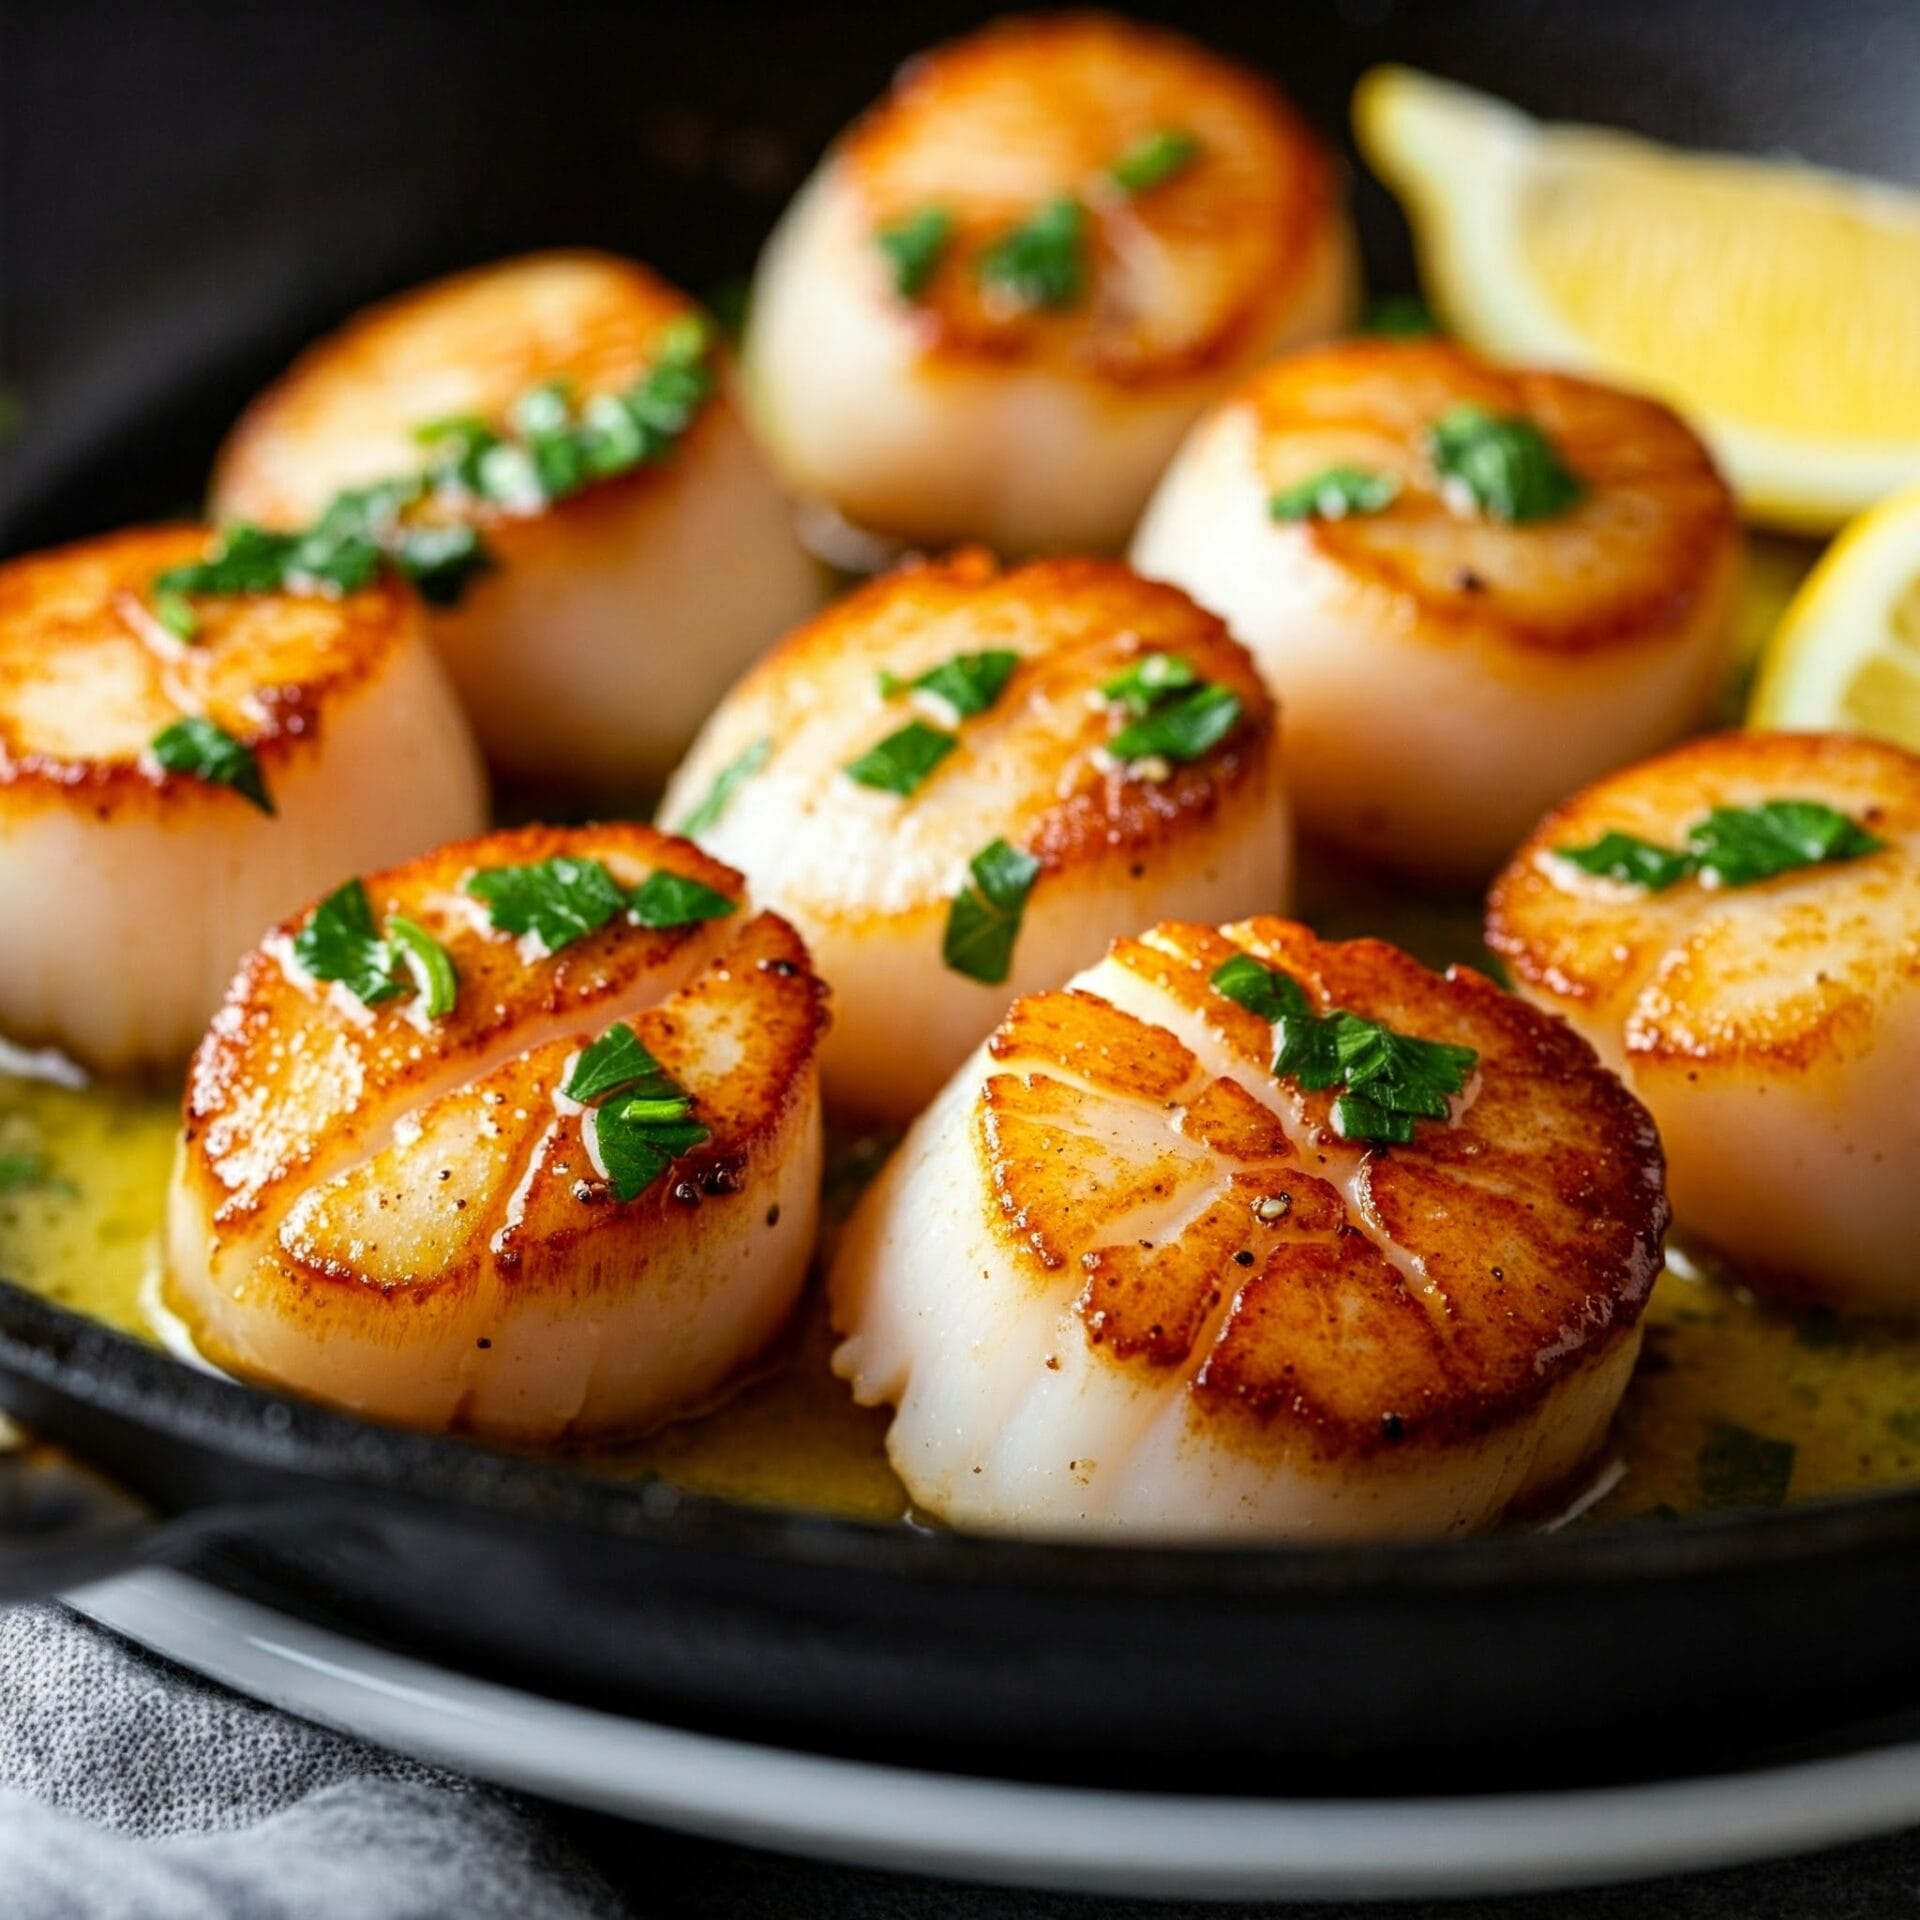
Tuscan Butter Scallops

Tuscan Butter Scallops – A Restaurant-Worthy Dish Made Easy

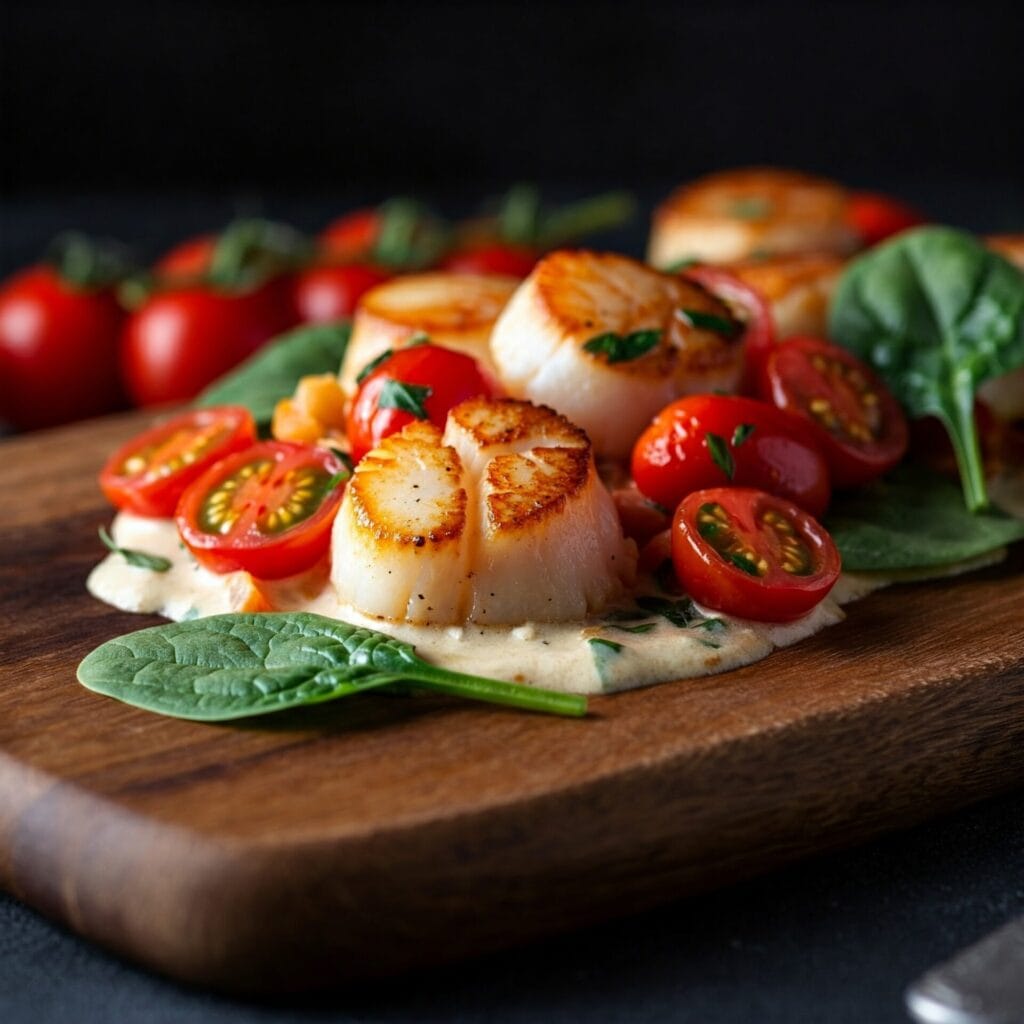
Seared scallops bathed in a creamy garlic butter sauce with sun-dried tomatoes and spinach.

If you’re looking for a dish that’s both elegant and effortless, these Tuscan Butter Scallops are exactly what you need. Perfectly seared scallops are nestled in a creamy garlic butter sauce bursting with sun-dried tomatoes, spinach, and a touch of Italian flair. While it may look like something from a fine dining restaurant, don’t be fooled—this dish comes together in just 20 minutes, making it ideal for busy weeknights or last-minute dinner guests.

But what truly sets this recipe apart is the depth of flavor. First, the scallops are pan-seared to golden perfection, locking in their natural sweetness. Then, they’re paired with a rich and savory Tuscan-style sauce that combines butter, garlic, and cream with sun-dried tomatoes and tender wilted spinach. The result? A decadent yet balanced seafood dish that tastes like a getaway to the Italian coast.

Even better, this recipe requires minimal prep and just one pan, so cleanup is a breeze. Whether you’re planning a romantic dinner, impressing guests, or simply treating yourself, Tuscan Butter Scallops deliver comfort, flavor, and sophistication—all in one bite.

So, grab your skillet and get ready to make a restaurant-quality meal without leaving your kitchen. Your taste buds (and dinner guests) will thank you!

💛 Why You’ll Love This Recipe

🍽️ Quick & Easy: Ready in just 20 minutes with minimal prep and cleanup.
Restaurant-Quality at Home: Elegant presentation and bold flavor without the fine-dining price tag.
🧼 One-Pan Wonder: Fewer dishes, more flavor—everything cooks in one skillet.
🧄 Rich, Creamy Sauce: The Tuscan garlic butter sauce is luxuriously smooth and packed with flavor.
🎉 Versatile & Impressive: Perfect for weeknight dinners, romantic evenings, or holiday gatherings.
🥦 Low-Carb Friendly: Naturally low in carbs and gluten-free (just check your broth/cream labels).
🌶️ Customizable: Swap spinach for kale, or add a pinch of red pepper flakes for heat.

🔪 How to Make Tuscan Butter Scallops

Making this dish is easier than you think! Just follow these simple steps:

👩‍🍳 1. Prep the Scallops:
Pat your scallops dry with paper towels. This helps them sear beautifully. Season with salt and pepper on both sides.

🔥 2. Sear to Golden Perfection:
In a hot skillet with a touch of oil, sear the scallops for 2–3 minutes per side until a golden crust forms. Remove and set aside.

🧄 3. Make the Sauce Base:
In the same skillet, melt butter and sauté garlic until fragrant. Stir in sun-dried tomatoes and cook for a minute more.

🥬 4. Add the Cream and Spinach:
Pour in the heavy cream and stir well. Add in Parmesan and let it melt into the sauce. Toss in spinach and let it wilt.

🍤 5. Return the Scallops:
Add the scallops back into the pan, spooning sauce over them to warm through—just 1–2 minutes more.

🌿 6. Garnish and Serve:
Finish with fresh parsley or basil, and serve immediately with your favorite side!

Jump to Section

📱 Follow Us 

📬 Subscribe for Updates
* indicates required

Intuit Mailchimp

Tuscan Butter Scallops

No ratings yet
Tuscan Butter Scallops are a symphony of flavors and textures. Imagine tender, melt-in-your-mouth scallops, perfectly seared and bathed in a rich, buttery sauce with aromatic garlic, a touch of white wine, and a hint of bright lemon. This dish is an elegant and simple way to showcase the delicate sweetness of scallops, making it perfect for a romantic dinner, a special occasion, or any night you want to elevate your meal.
Prep Time 10 minutes
Cook Time 25 minutes
Servings: 6 people
Course: Appetizer, Starter
Cuisine: American, American Fusion, Italian America Fusion
Calories: 449

Ingredients
  

  • Lbs Sea Scallops thawed if frozen, side muscle removed
  • Pinch Kosher Salt
  • 4 Tbsp. Butter unsalted, divided
  • 1 Medium Yellow Onion finely chopped
  • 4 Cloves Garlic finely chopped
  • 1 tsp. Dried Basil dried
  • 1 tsp. Dried Oregano
  • ½ Cup White Wine dry
  • Cups Cherry Tomatoes halved
  • 7 oz Sun-dried tomatoes drained, cut into strips
  • 1 Cup Heavy Cream
  • ½ Cup Parmesan Cheese finely grated
  • Pinch Ground Black Pepper freshly ground
  • 5 oz Baby Spinach
  • 1 Bunch Parsley chopped, for serving

Equipment
1 Cast Iron Skillet (For that golden-brown sear on the scallops.)
1 Fish Spatula (Helps you flip delicate scallops without breaking them.)
1 Chef's knife (For prepping garlic, spinach, or slicing sun-dried tomatoes.)
1 Garlic Press (If you want quick, evenly minced garlic.)
1 Small mixing bowl (To season scallops before cooking.)
1 Paper Towels (For drying scallops thoroughly to achieve a good sear.)
1 Measuring Cups & Spoons (For accurate seasoning and sauce proportions.)
1 Serving Dish (Showcase the sauce and scallops together beautifully.)
1 Tongs (Handy for turning scallops or tossing spinach into the sauce.)

Method
 

  1. Thoroughly pat the scallops dry with paper towels. This will help them sear properly and develop a nice crust. Season both sides of the scallops with salt. In a large skillet, melt the butter over medium heat. Once the butter is melted and foamy, carefully arrange the scallops in the skillet in a single, even layer, ensuring they are not overcrowded. Cook the scallops for about 3 minutes on the first side, or until they are golden brown and slightly caramelized. Using tongs, gently flip the scallops and cook for an additional 2 minutes, or until they are opaque all the way through. This indicates that they are cooked. Transfer the cooked scallops to a plate and set them aside.
    1½ Lbs Sea Scallops , Pinch Kosher Salt, 4 Tbsp. Butter
  2. In the same skillet you used to cook the scallops, melt the remaining 2 tablespoons of butter over medium heat. Add the chopped onion and minced garlic to the skillet, along with a pinch of salt. Cook, stirring occasionally, until the onion becomes translucent and softens, about 5 minutes. Next, stir in the chopped fresh basil and oregano. Cook for about 1 minute more, or until the herbs become fragrant. Pour in the white wine and bring the mixture to a simmer. Cook, stirring occasionally, until the liquid is reduced by half, about 2 minutes. This will concentrate the flavors of the sauce.
    Pinch Kosher Salt, 4 Tbsp. Butter, 1 Medium Yellow Onion, 4 Cloves Garlic, 1 tsp. Dried Basil, 1 tsp. Dried Oregano, ½ Cup White Wine
  3. Add the cherry tomatoes to the skillet and cook, stirring occasionally, until they start to burst and release their juices. This will add a touch of sweetness and acidity to the sauce. Next, add the sun-dried tomatoes, heavy cream, grated Parmesan cheese, and a generous pinch of black pepper. Bring the sauce to a simmer and cook, stirring occasionally, until the Parmesan cheese is melted and the sauce has thickened slightly, about 2 minutes. Taste the sauce and season with additional salt and pepper, if needed.
    1½ Cups Cherry Tomatoes, 7 oz Sun-dried tomatoes, 1 Cup Heavy Cream, 1/2 Cup Parmesan Cheese, Pinch Ground Black Pepper
  4. Remove the skillet from the heat and immediately add the fresh spinach. Stir the spinach into the sauce until it turns a vibrant green color and just begins to wilt. Be careful not to overcook the spinach. Add the cooked scallops and any juices that have accumulated on the plate to the skillet. Gently stir to combine the scallops with the sauce and spinach, being careful not to break the scallops. Finally, sprinkle the dish with fresh chopped parsley for a pop of color and freshness.
    5 oz Baby Spinach, 1 Bunch Parsley

Nutrition

Serving: 12ozCalories: 449kcalCarbohydrates: 30gProtein: 24gFat: 27gSaturated Fat: 16gPolyunsaturated Fat: 2gMonounsaturated Fat: 7gTrans Fat: 0.3gCholesterol: 100mgSodium: 658mgPotassium: 1744mgFiber: 6gSugar: 16gVitamin A: 4454IUVitamin C: 43mgCalcium: 237mgIron: 5mg

Notes

Ingredients:
  • Scallops: Use fresh, high-quality sea scallops. Pat them dry before cooking to ensure proper searing. 
  • Butter: Use unsalted butter for the best flavor.
  • Aromatics: Onion and garlic create a flavorful base for the sauce.
  • Herbs: Fresh basil and oregano add a fragrant touch.
  • White Wine: A dry white wine like Sauvignon Blanc or Pinot Grigio complements the scallops.
  • Cherry Tomatoes: Use ripe, sweet cherry tomatoes.
  • Sun-Dried Tomatoes: Oil-packed sun-dried tomatoes add a concentrated tomato flavor.
  • Heavy Cream: Heavy cream creates a rich and luxurious sauce.
  • Parmesan Cheese: Use freshly grated Parmesan cheese for the best flavor.
  • Spinach: Fresh baby spinach wilts quickly and adds a vibrant green color. 
Cooking Tips:
  • Dry and Season Scallops: Pat the scallops dry and season them with salt before searing. 
  • Sear Scallops Properly: Use a hot skillet and don't overcrowd the pan. Sear the scallops until golden brown and cooked through.  
  • Sauté Aromatics: Sauté the onion and garlic until softened and fragrant.
  • Reduce Wine: Simmer the wine to reduce it and concentrate its flavor.
  • Add Tomatoes: Cook the cherry tomatoes until they start to burst, then add the sun-dried tomatoes.
  • Simmer Sauce: Simmer the sauce with cream and Parmesan cheese until thickened.
  • Wilt Spinach: Add the spinach off the heat to prevent overcooking.
  • Combine Gently: Gently stir in the scallops to avoid breaking them.
Serving Suggestions:
  • Serve Immediately: This dish is best served immediately while the scallops are hot and tender.
  • Garnish: Garnish with fresh parsley for a pop of color and flavor.
  • Sides: Serve with crusty bread for dipping into the sauce, or pair with a simple pasta or rice dish.
  • Wine Pairing: A crisp white wine or a light-bodied red wine complements the flavors of the dish.
Variations:
  • Spicy: Add a pinch of red pepper flakes to the sauce for a touch of heat.
  • Lemon: Add a squeeze of lemon juice to the finished dish for brightness.
  • Herbs: Experiment with different herbs like thyme or tarragon.
With these tips, you'll be able to create a restaurant-quality Tuscan Butter Scallops dish that's sure to impress!

Tried this recipe?

Let us know how it was!

🍷 What to Serve with Tuscan Butter Scallops

These Tuscan Butter Scallops are rich, savory, and full of bold Italian-inspired flavors, so pairing them with lighter or complementary sides helps balance the dish beautifully. Here are a few delicious options to round out your meal:

🥖 Crusty Bread or Garlic Bread: Perfect for soaking up every drop of that creamy Tuscan sauce. Try a warm baguette or homemade garlic knots.
🍝 Pasta or Zoodles: Serve over fettuccine, linguine, or zucchini noodles to make it a hearty main course.
🥗 Simple Green Salad: A crisp arugula or mixed greens salad with lemon vinaigrette adds a refreshing contrast.
🍚 Rice or Cauliflower Rice: Great for sopping up the sauce while keeping it gluten-free or low-carb.
🥦 Roasted Veggies: Think roasted asparagus, broccoli, or Brussels sprouts to add texture and nutrients.
🍷 Wine Pairing: A glass of chilled Chardonnay or Pinot Grigio pairs wonderfully with the buttery, garlicky flavors.

🥑 Crave-Worthy Recipes to Try Next
No ratings yet
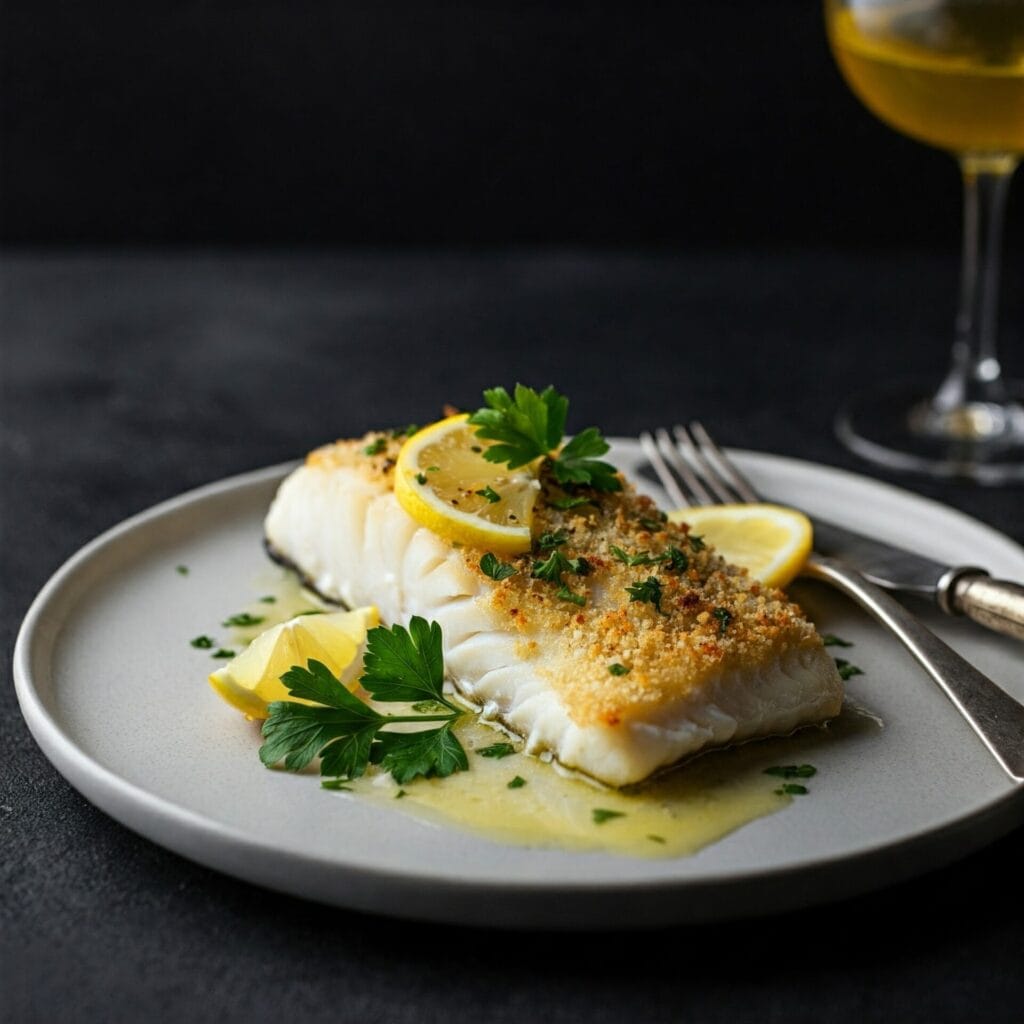
Lemon Butter Cod
experience the delightful flavors of lemon butter cod. a simple yet flavorful dish that celebrates fresh ingredients.
No ratings yet
Tuscan Butter Scallops
Scallops in a creamy garlic butter sauce? Yes, please! This dreamy Tuscan-inspired dish is rich, romantic, and ready in under 30 minutes. Grab a skillet…

📌 Frequently Asked Questions

❓ Can I use frozen scallops?
Yes, absolutely! Just be sure to fully thaw and pat them very dry before cooking to ensure a nice sear and prevent excess moisture in the pan.

❓ What’s the best skillet for searing scallops?
A cast iron or heavy stainless steel skillet works best. It holds heat well and gives you that beautiful golden crust.

❓ Can I make this dairy-free?
You can try using coconut cream and a dairy-free butter alternative, but the flavor will be slightly different. Nutritional yeast can be subbed for Parmesan in a pinch.

❓ Is this recipe gluten-free?
Yes! Just double-check your broth, cream, and Parmesan to make sure there are no hidden gluten ingredients.

❓ What if I don’t have sun-dried tomatoes?
You can use cherry tomatoes or roasted red peppers for a similar sweet-tangy depth. The sauce will still be delicious!

❓ How do I know when scallops are cooked?
Scallops should be opaque and firm to the touch. They cook quickly—about 2–3 minutes per side. Don’t overcook or they’ll turn rubbery.

❓ Can I reheat leftovers?
You can, but scallops are best served fresh. If you do reheat, use gentle heat on the stove and avoid the microwave to preserve texture.

Please follow and like us:
onpost_follow
fb-share-icon197
Tweet120
Pinterest20
Share 20
submit to reddit

Tender & Juicy Roast Beef

Tender & Juicy Roast Beef

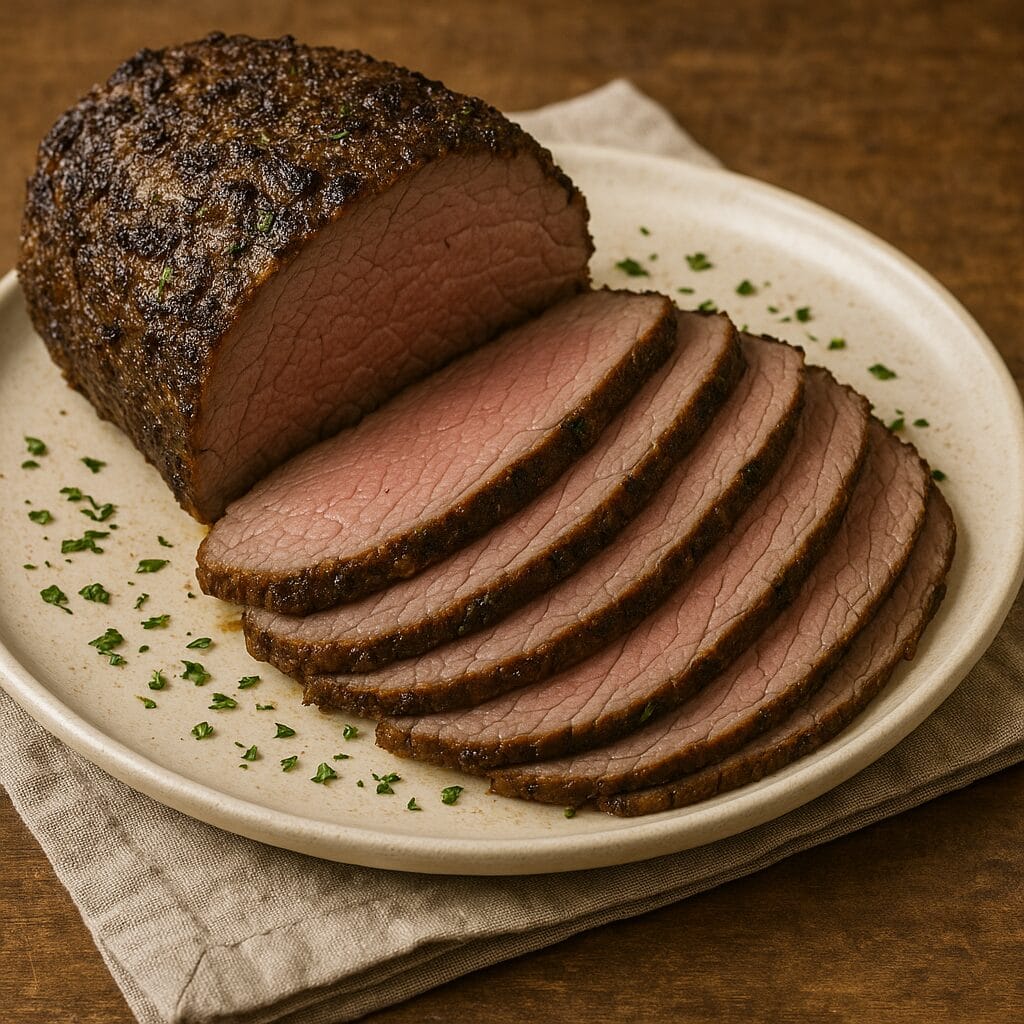
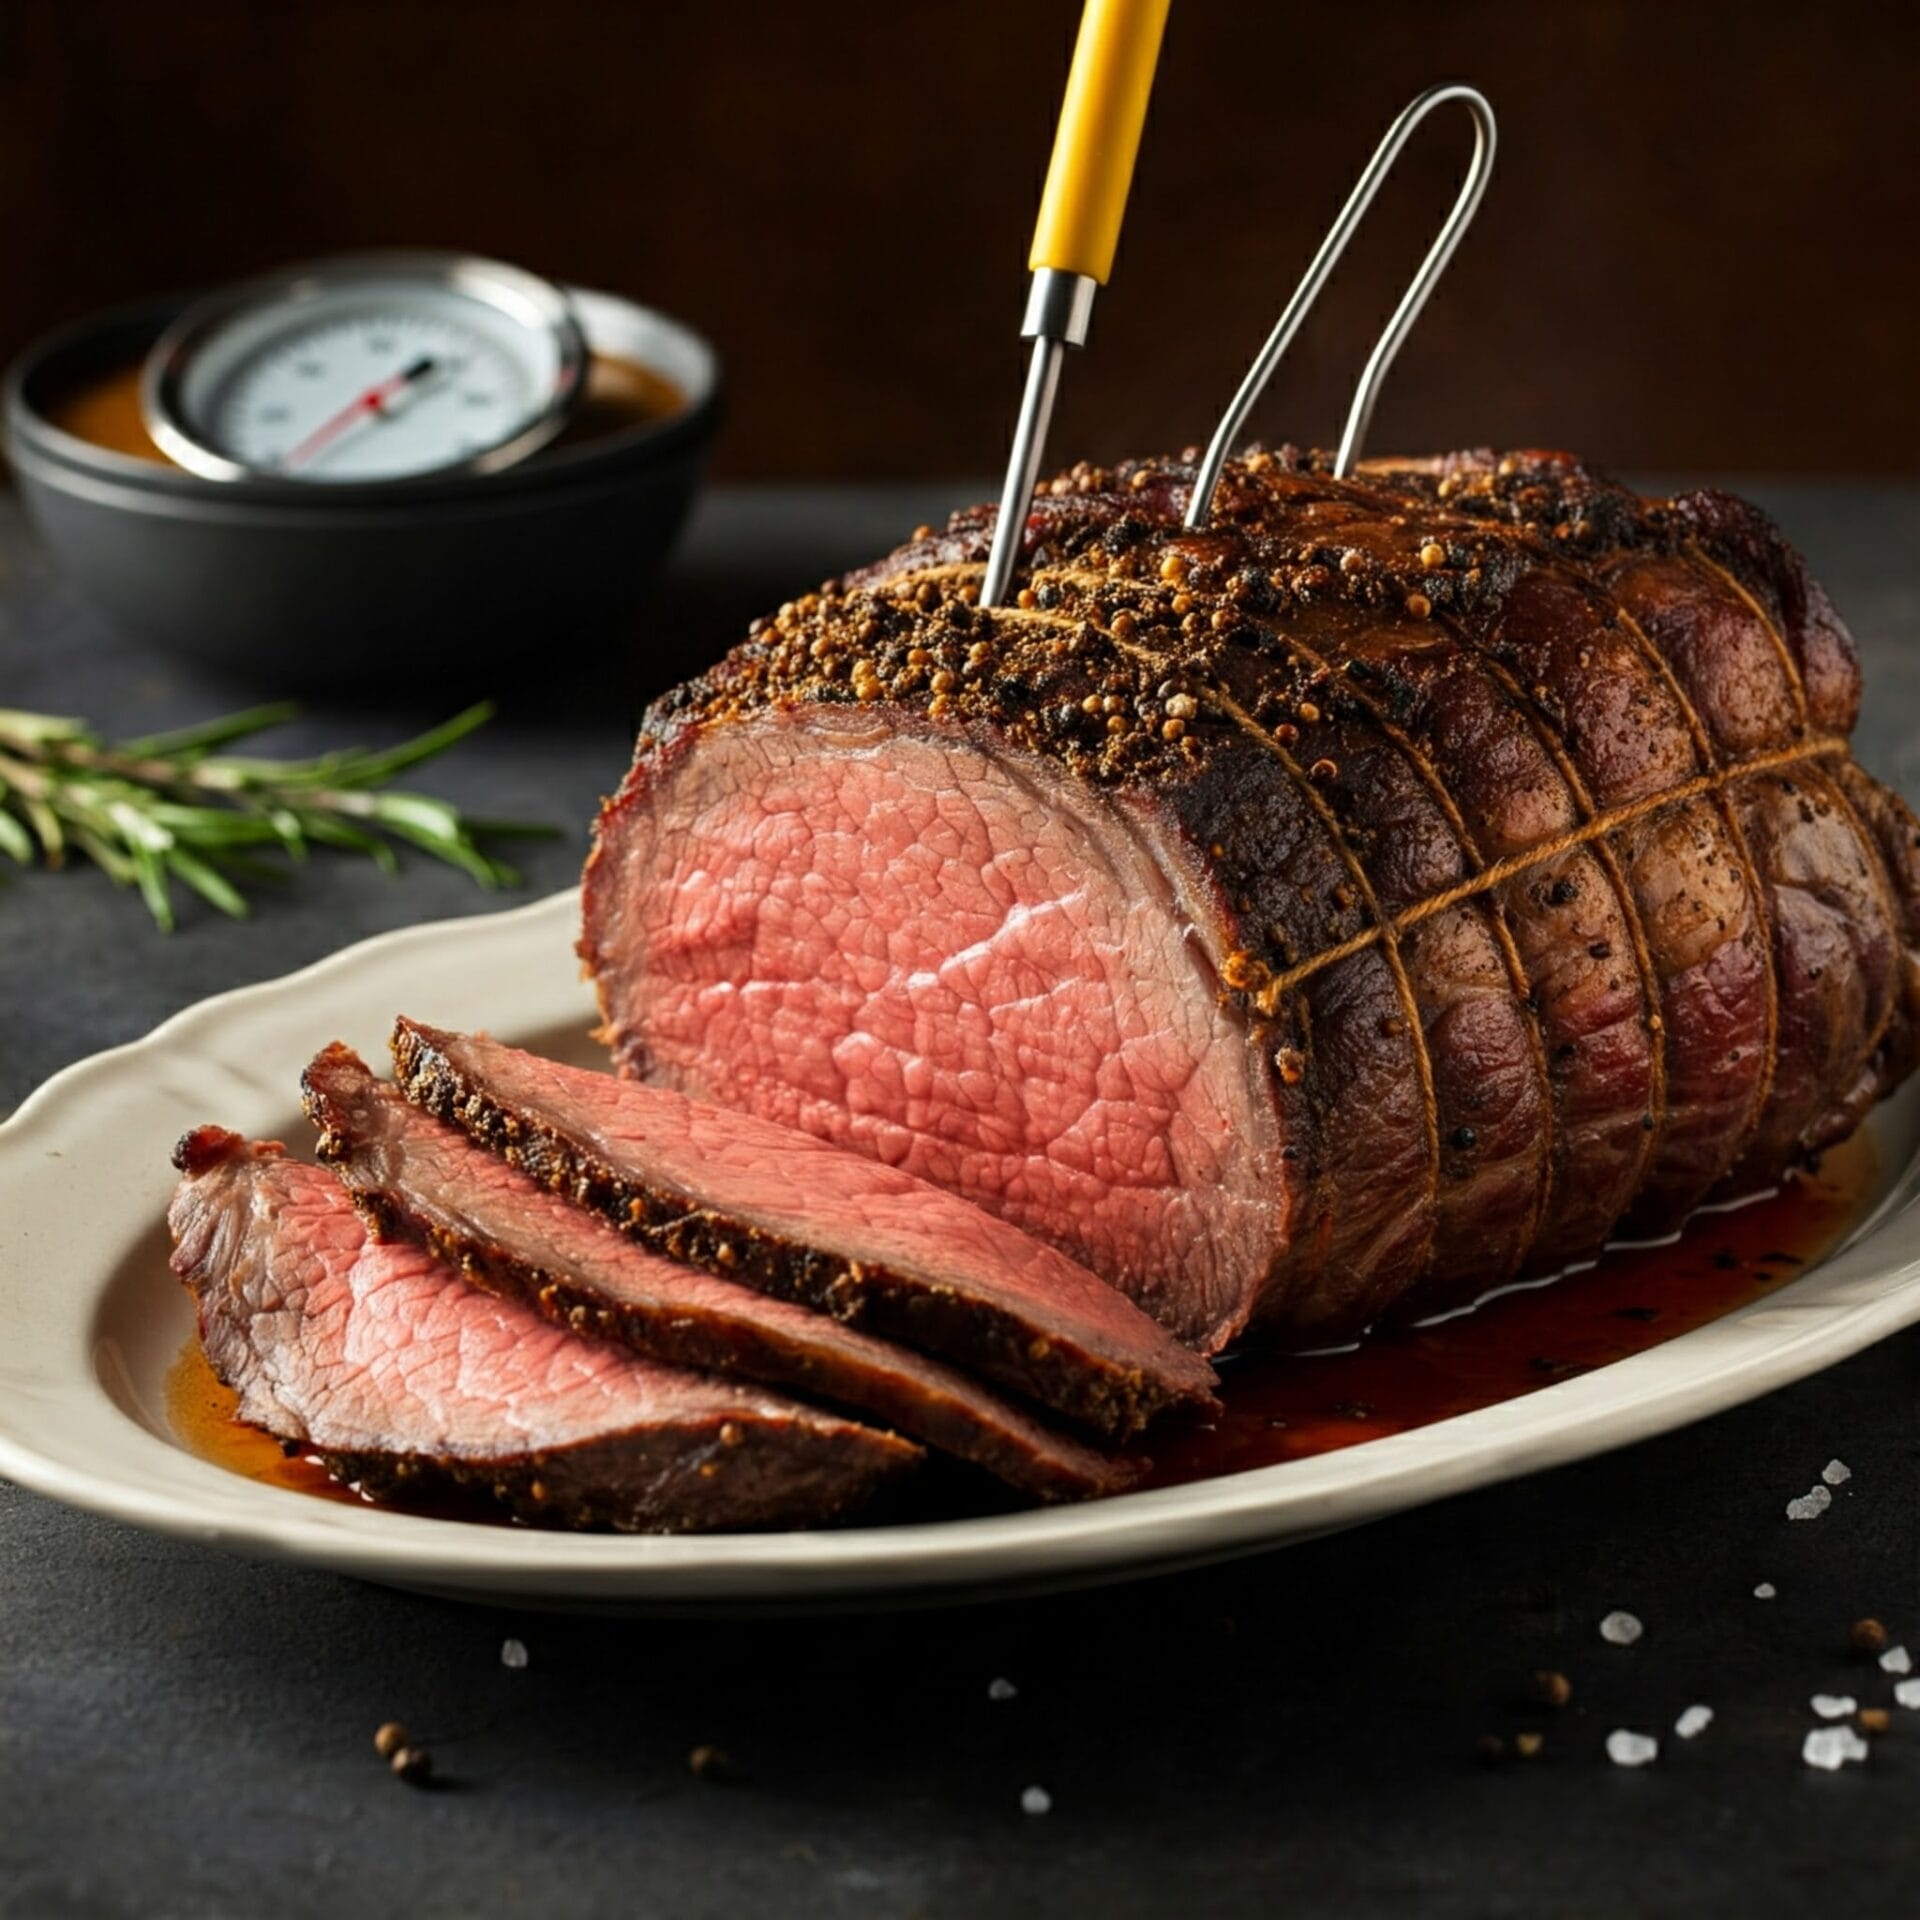
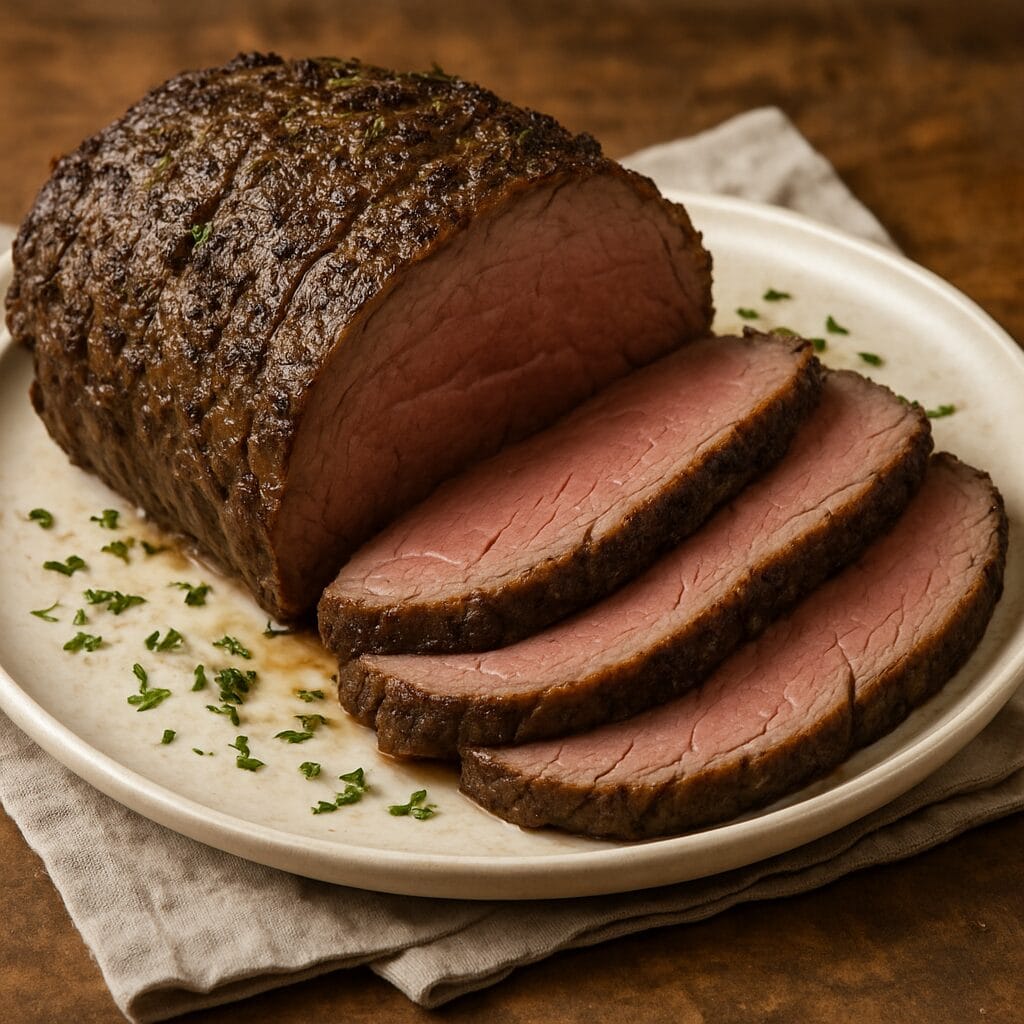
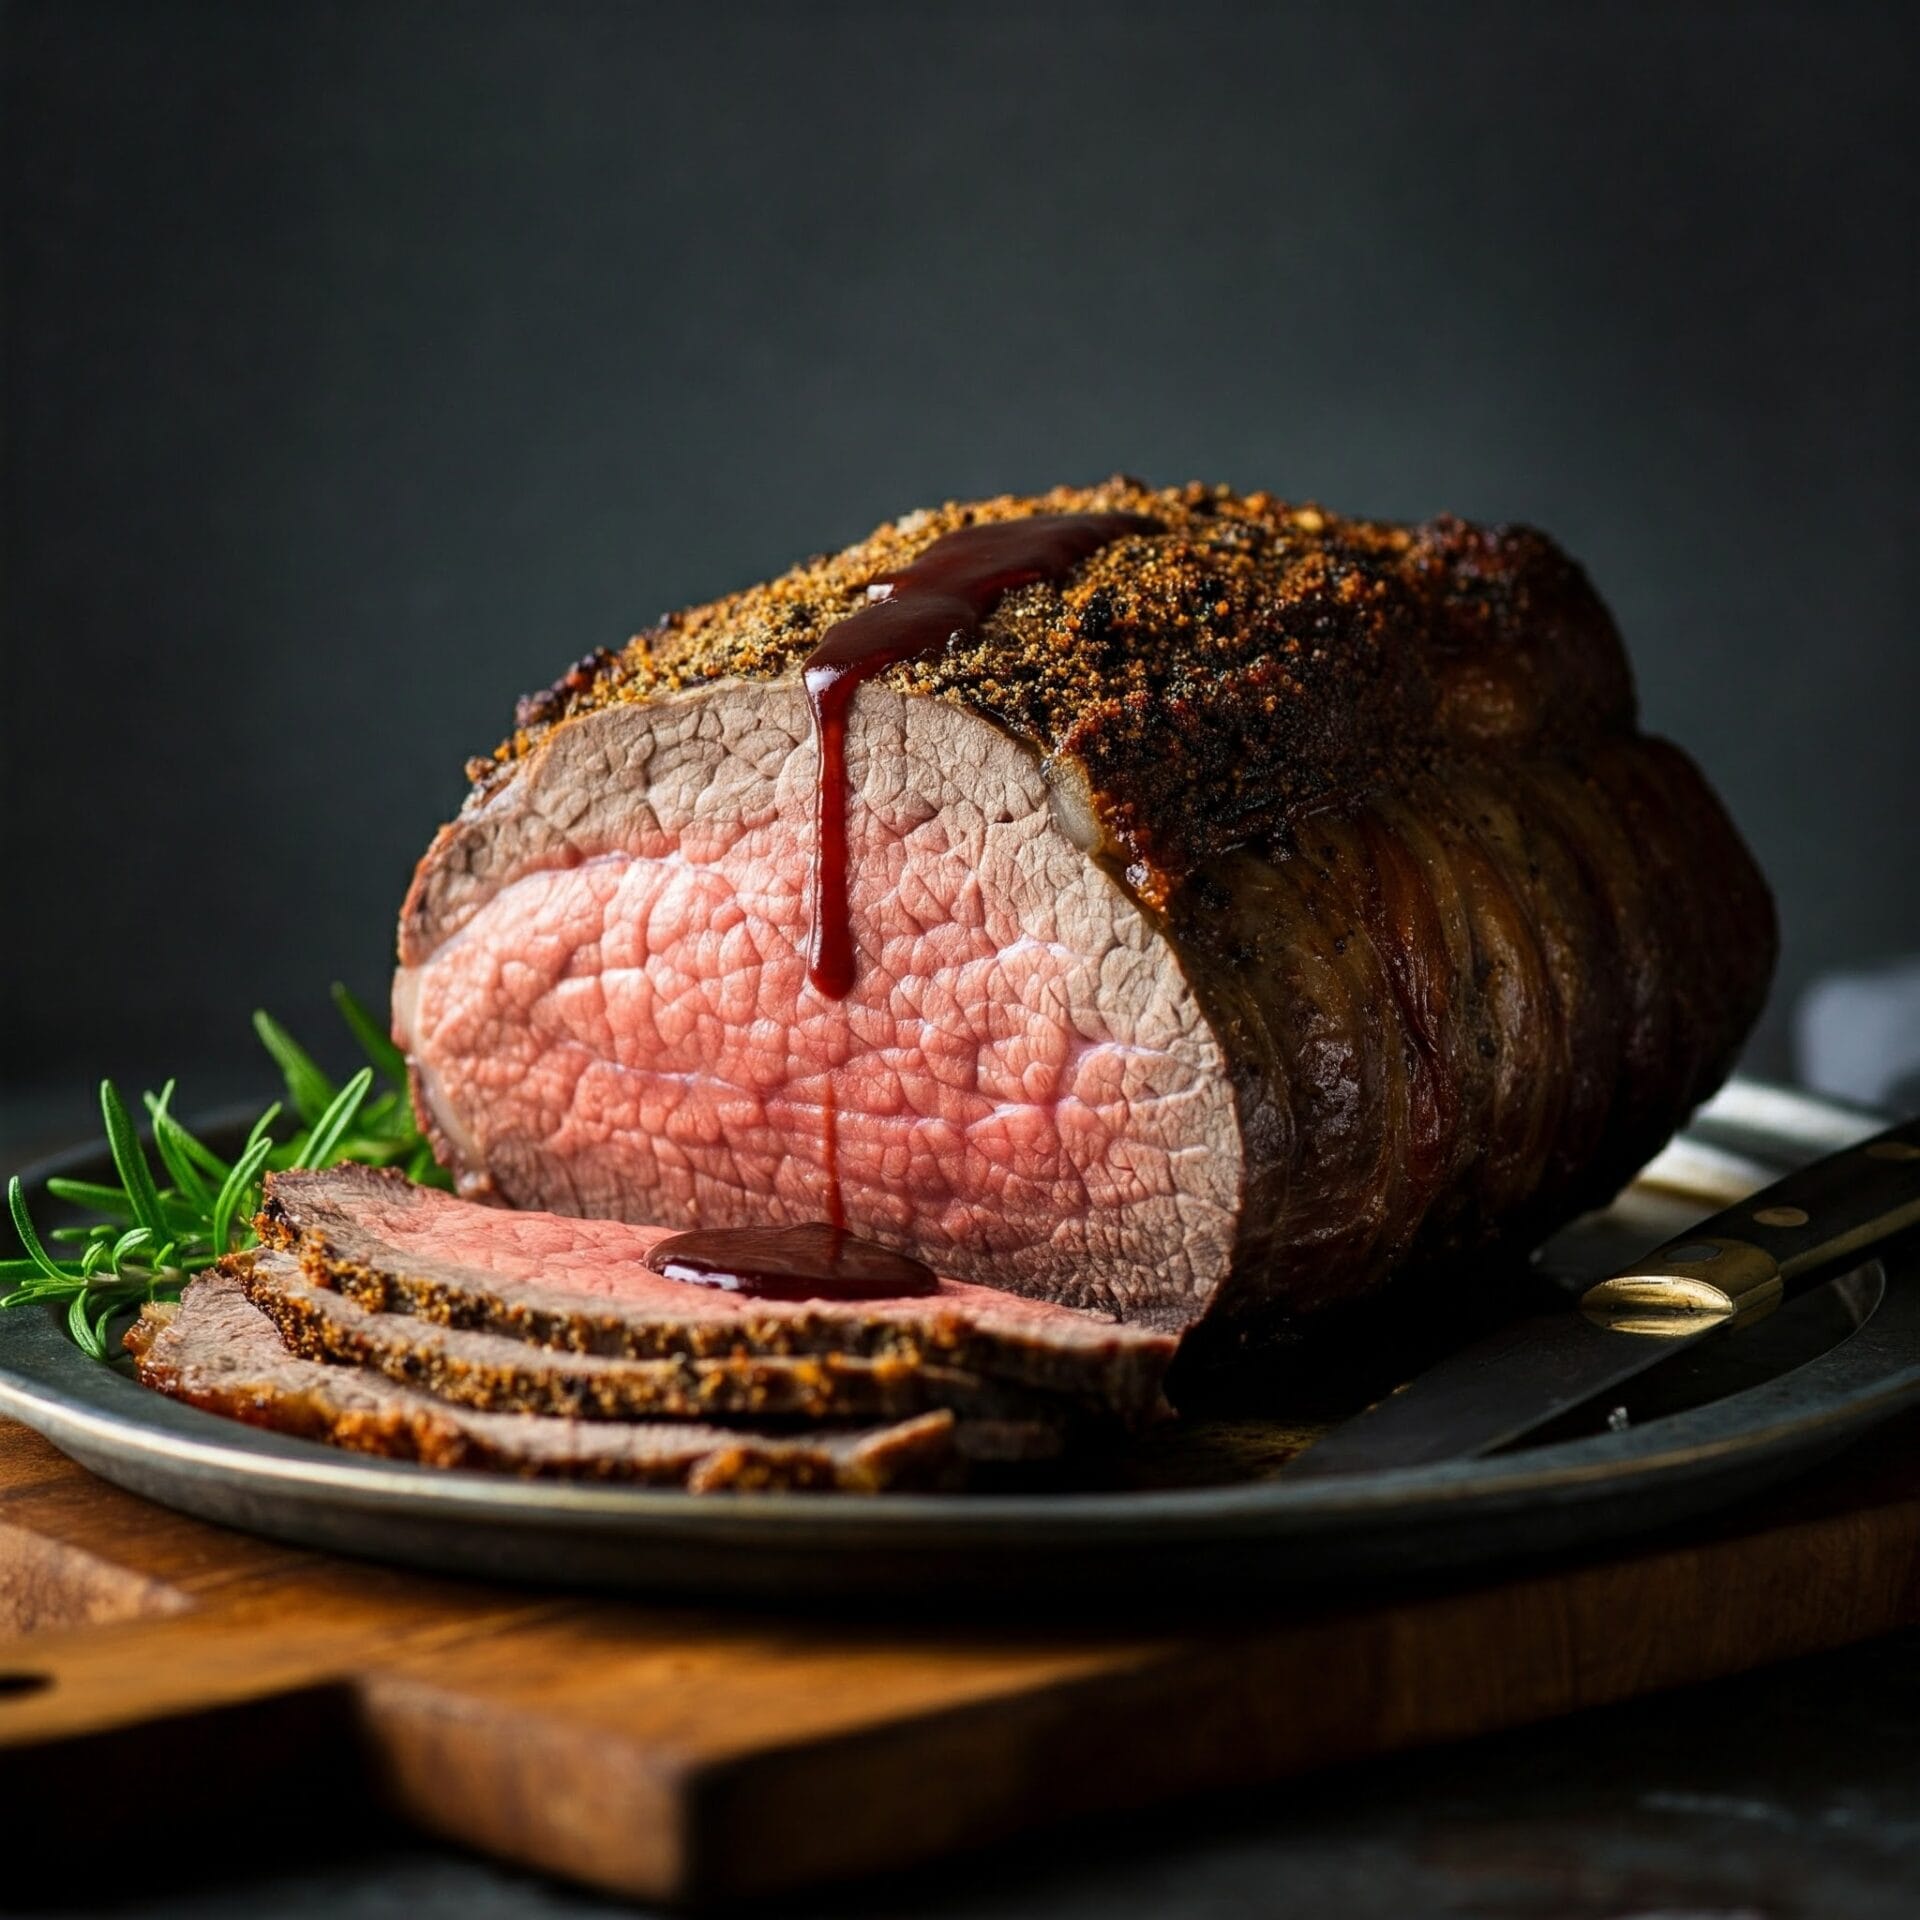
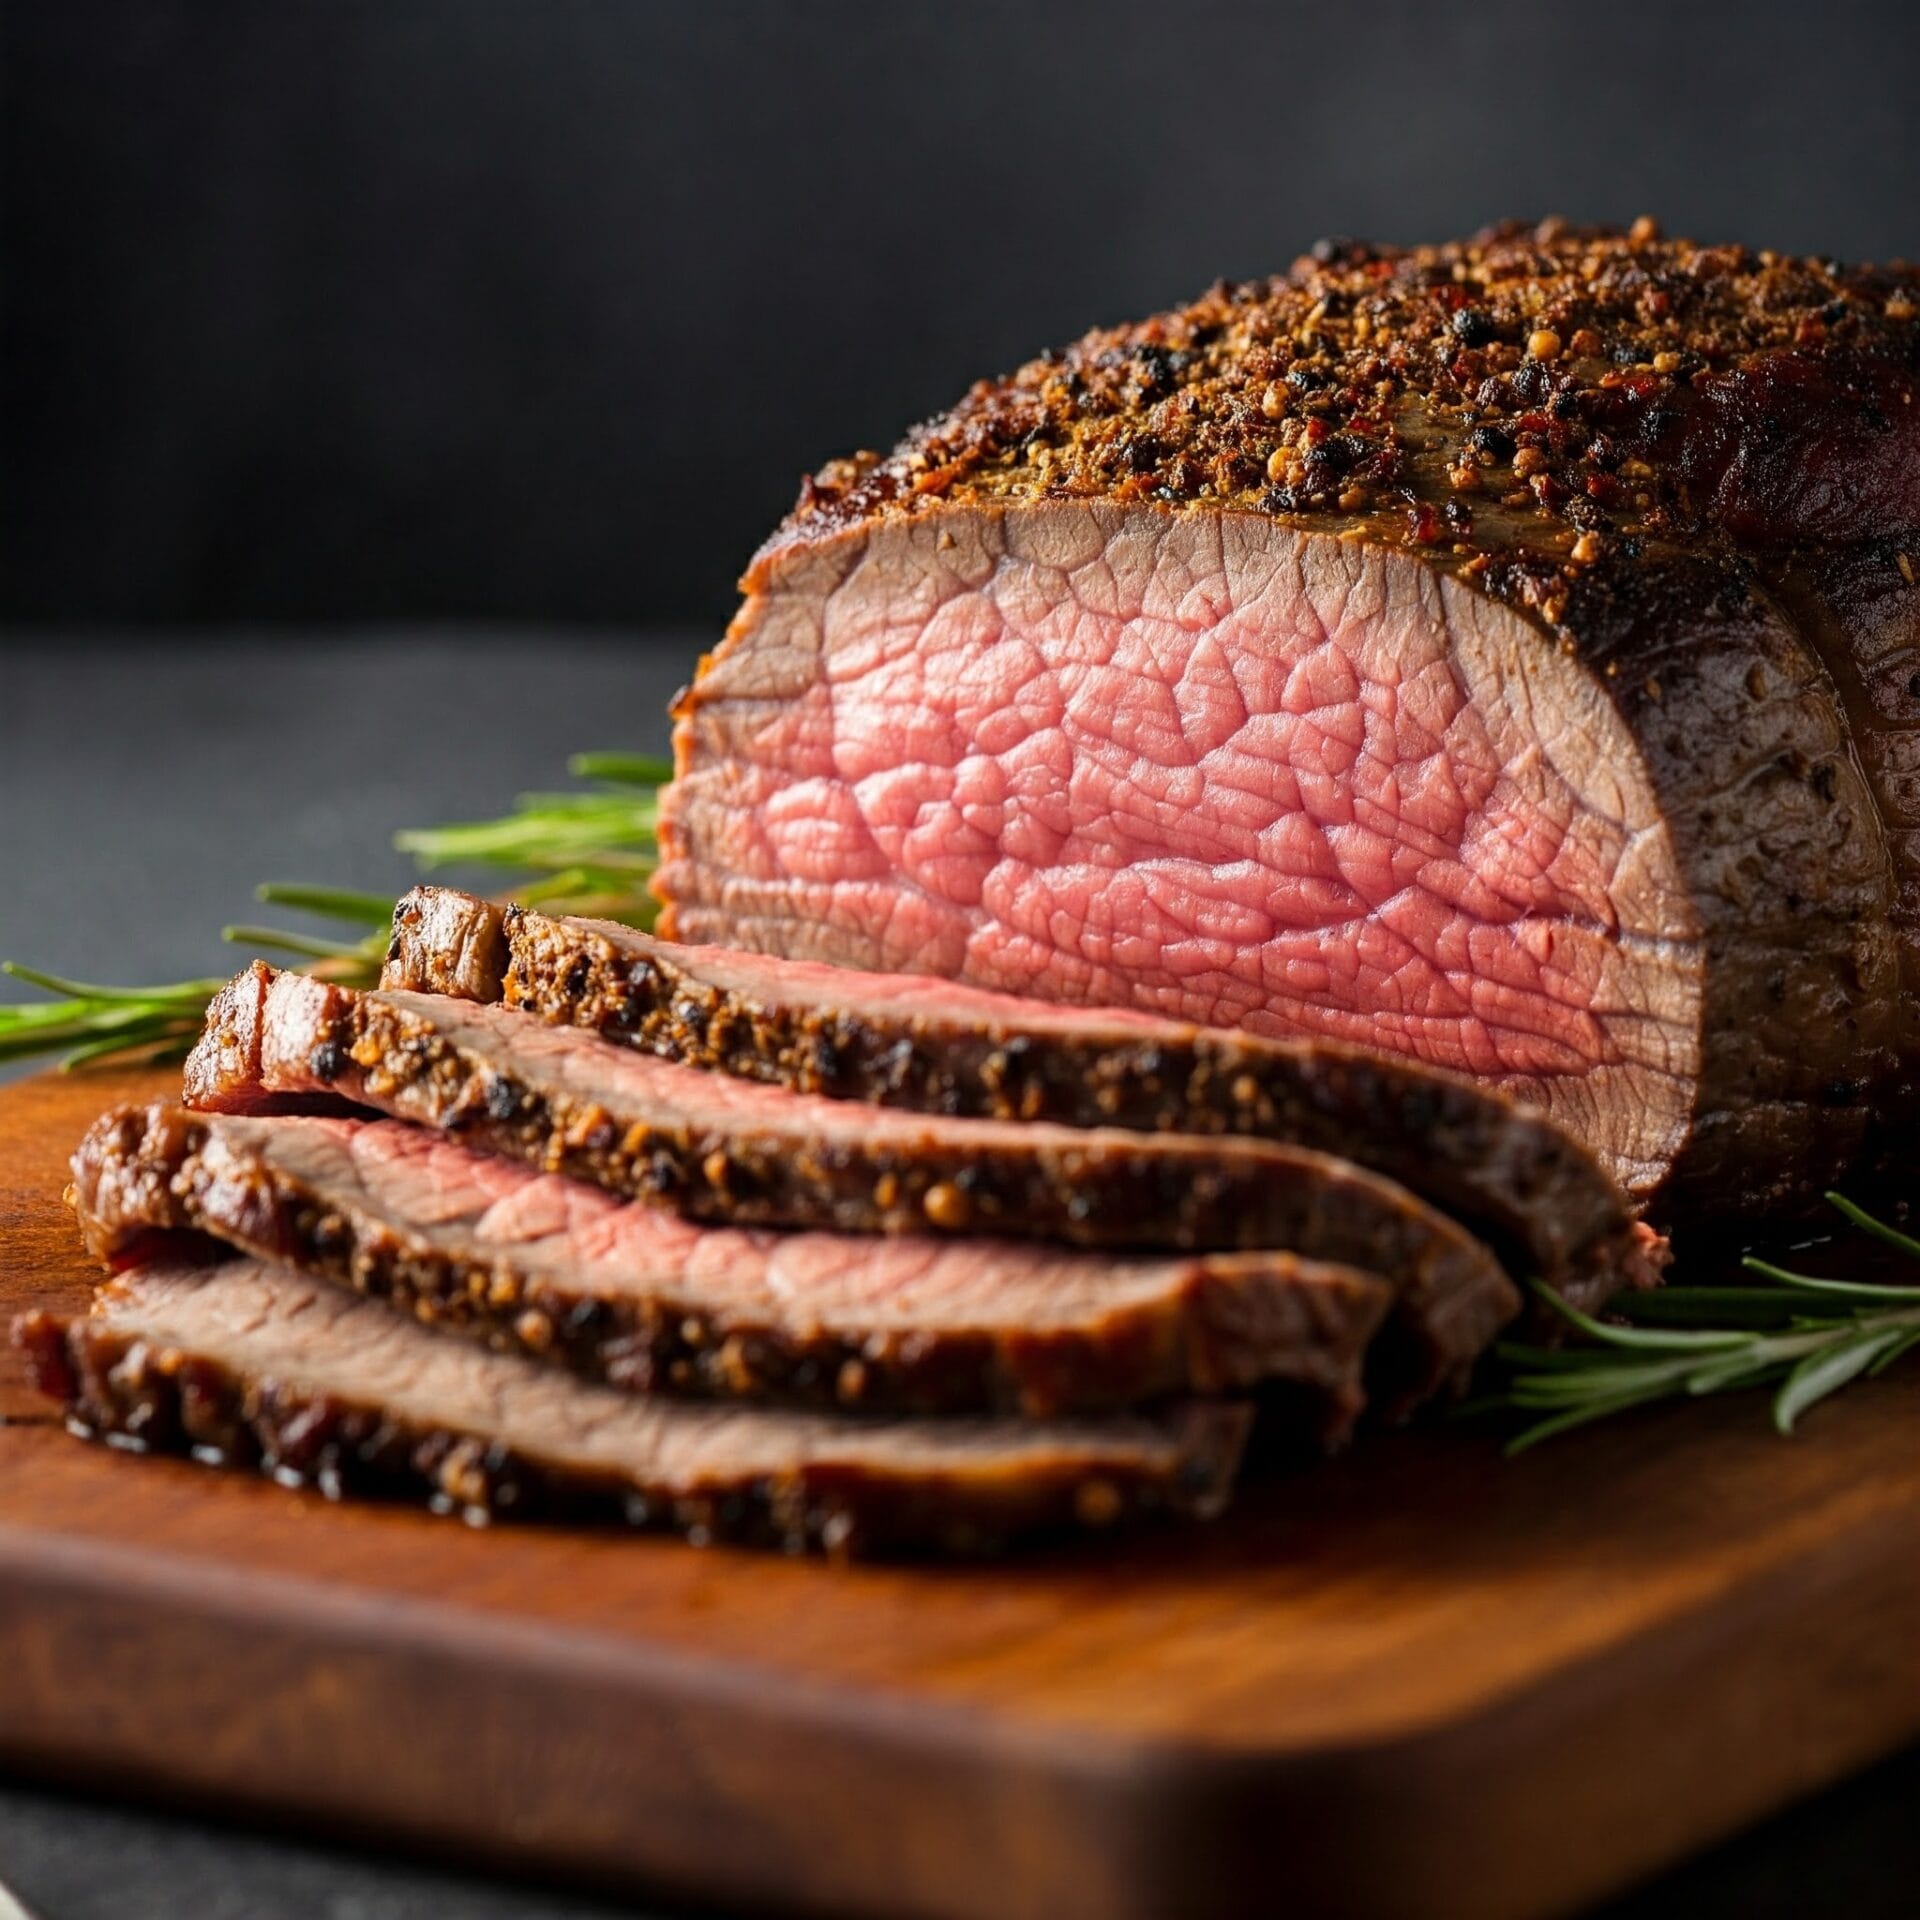
This Tender & Juicy Roast Beef is everything a classic roast should be — deeply flavorful, perfectly seasoned, and melt-in-your-mouth tender. Slow-roasted to lock in moisture, the beef is seared to a golden crust and cooked low and slow for a beautifully even doneness throughout.

Infused with garlic, herbs, and a touch of olive oil or butter, this roast is perfect for Sunday dinners, holiday feasts, or meal prep for the week. Serve it with pan drippings, gravy, or creamy horseradish sauce for a meal that feels elegant yet effortless.

Whether you slice it thick for hearty plates or paper-thin for sandwiches, this roast beef delivers on flavor and tenderness every single time.

Tender and Juicy Roast Beef

No ratings yet
This Tender and Juicy Roast Beef recipe is a classic for a reason! It's simple to follow, yet delivers a perfectly cooked roast that's tender on the inside and flavorful on the outside. Perfect for any occasion, from Sunday dinners to holiday feasts, this roast beef is sure to impress. The recipe often includes instructions for a delicious pan gravy, adding an extra layer of richness. It's a guaranteed crowd-pleaser!
Prep Time 2 hours 10 minutes
Cook Time 2 hours
Servings: 8 people
Course: Dinner, Lunch, Main Course
Cuisine: English
Calories: 287

Ingredients
  

  •  
    4 lb Round Roast
  • ¼ cup Extra Virgin Olive Oil
  • 3 Cloves Garlic minced
  •  
    1 Tbsp rosemary chopped fresh
  • 1 Tbsp Thyme chopped fresh
  • 4 tsp Kosher Salt
  • 1 tsp Ground Black Pepper

Method
 

  1. For a more flavorful and evenly cooked roast, it's recommended to let it sit uncovered in the refrigerator for at least 2 hours, or even better, overnight. Place the roast on a wire rack set in a baking sheet to allow air to circulate around the meat. This will help to dry out the surface of the roast, which will result in a better crust when it's cooked.
    4 lb Round Roast
  2. Start by preheating your oven to 450 degrees Fahrenheit. In a small bowl, combine the olive oil, minced garlic, chopped rosemary, thyme, salt, and pepper. Mix well to combine. Once the roast has been chilled, remove it from the refrigerator. Rub the oil and herb mixture all over the roast, making sure to coat all sides evenly. This will create a flavorful crust and infuse the roast with delicious aromas.
    ¼ cup Extra Virgin Olive Oil, 3 Cloves Garlic, 1 Tbsp rosemary, 1 Tbsp Thyme, 4 tsp Kosher Salt, 1 tsp Ground Black Pepper, 4 lb Round Roast
  3. Place the prepared roast in a roasting pan fitted with a roasting rack. This will allow air to circulate around the roast and promote even cooking. Place the roasting pan in the preheated oven and roast the beef at 450 degrees Fahrenheit for 15 minutes. This initial high heat will help to sear the outside of the roast, creating a flavorful crust. After 15 minutes, reduce the oven temperature to 325 degrees Fahrenheit and continue roasting the beef for 1 hour and 45 minutes for medium-rare. If you prefer your roast more well-done, you can roast it for longer, about 2 hours for medium-well. Use a meat thermometer to check the internal temperature of the roast to ensure it's cooked to your liking.
    4 lb Round Roast
  4. When the roast is cooked to your liking, remove it from the oven and transfer it to a carving board. Tent it loosely with aluminum foil to keep it warm. Let the roast rest for 15 to 30 minutes before carving. This resting period is important because it allows the juices to redistribute throughout the meat, resulting in a more tender and flavorful roast.
    4 lb Round Roast

Nutrition

Serving: 8ozCalories: 287kcalCarbohydrates: 1gProtein: 45gFat: 12gSaturated Fat: 3gPolyunsaturated Fat: 1gMonounsaturated Fat: 7gTrans Fat: 0.1gSodium: 1261mgPotassium: 848mgFiber: 0.3gSugar: 0.01gVitamin A: 51IUVitamin C: 2mgCalcium: 20mgIron: 5mg

Notes

Choosing the Roast:
  • Types of Roasts: There are various cuts suitable for roasting, including rib roast, tenderloin, top round, and sirloin tip. Each has a different texture and flavor, so choose one that suits your preference and budget.
  • Bone-In vs. Boneless: Bone-in roasts tend to have more flavor, while boneless roasts are easier to carve.
  • Quality: Look for a roast with good marbling (flecks of fat throughout the meat), as this will help keep it moist during cooking.
Preparing the Roast:
  • Chilling: Chilling the roast uncovered in the refrigerator for at least 2 hours, or even better, overnight, helps to dry out the surface, resulting in a better crust when roasted.
  • Seasoning: Use a generous amount of salt and pepper, along with your favorite herbs and spices, to create a flavorful crust.
  • Roasting Rack: Use a roasting rack to elevate the roast and allow for even cooking.
Roasting:
  • Preheat Oven: Make sure your oven is properly preheated to the correct temperature.
  • Searing: Starting the roast at a high temperature helps to sear the outside and create a flavorful crust.
  • Reduce Heat: Lowering the oven temperature after searing allows the roast to cook more evenly and gently.
  • Use a Thermometer: A meat thermometer is essential for determining doneness. Insert it into the thickest part of the roast, away from any bones.
  • Resting: Allow the roast to rest for at least 15 minutes after cooking. This allows the juices to redistribute, resulting in a more tender and flavorful roast.
Serving:
  • Carving: Carve the roast against the grain for maximum tenderness.
  • Gravy: Make a delicious gravy from the pan drippings to enhance the flavor.
  • Sides: Serve with classic sides like roasted potatoes, Yorkshire pudding, and vegetables.
Other Tips:
  • Don't Overcrowd the Pan: Make sure the roast has enough space in the roasting pan for even cooking.
  • Add Liquid: If you prefer a moister roast, you can add a bit of water or broth to the bottom of the roasting pan.
  • Leftovers: Leftover roast beef can be used for sandwiches, salads, or stir-fries.
With these tips, you'll be well on your way to creating a perfectly cooked and flavorful roast beef!

Tried this recipe?

Let us know how it was!

Related Recipes

Ingredients

For the Roast:

  • 3-4 pound boneless beef roast (such as a top round, sirloin tip, or eye of round)
  • 2 tablespoons olive oil
  • 4 cloves garlic, minced
  • 1 tablespoon chopped fresh rosemary
  • 1 tablespoon chopped fresh thyme
  • 2 teaspoons kosher salt
  • 1 teaspoon black pepper

Optional for Gravy:

  • 1 cup beef broth
  • 2 tablespoons all-purpose flour
  • 1 tablespoon butter

Image Gallery Tender & Juicy Roast Beef

Storage & Leftovers

Refrigerator:
Once cooled, store sliced or whole roast beef in an airtight container or wrap tightly in foil or plastic wrap. Keep in the fridge for up to 4–5 days.

Freezer:
Roast beef freezes well! Slice thin for easy portions, then wrap tightly in foil or freezer paper and place in a freezer-safe bag. Label and freeze for up to 3 months. For best results, freeze with a small amount of pan juices to prevent dryness.

Reheating:

  • Oven (best for slices): Place in a covered baking dish with a splash of broth or pan juices. Warm at 300°F (150°C) for 10–15 minutes, or until just heated through.

  • Stovetop: Heat gently in a skillet with a bit of beef broth to maintain moisture.

  • Microwave: Reheat in short bursts (20–30 seconds) at 50% power, covered with a damp paper towel to avoid drying out.

Serving Ideas for Leftovers:
Make roast beef sandwiches, French dip sliders, wraps, beef hash, or even stir it into pasta or grain bowls for easy weeknight meals.

Please follow and like us:
onpost_follow
fb-share-icon197
Tweet120
Pinterest20
Share 20
submit to reddit

Subscribe for New Recipes

* indicates required

Intuit Mailchimp

Round Roast Recipes

Round Roast Recipes

[digr_post_grid posts_number=”24″ post_display=”by_category” include_categories=”1513″ show_pagination=”on” use_number_pagination=”on” use_post_excerpt=”on” excerpt_length=”60″ show_readmore=”on” show_date=”on” show_categories=”off” enable_divider=”on” grid_column=”4″ enable_grid_row=”on” grid_row=”2″ _builder_version=”4.27.4″ _module_preset=”default” global_colors_info=”{}”][/digr_post_grid]

About Round Roast

Round roast, while often overlooked compared to more tender cuts, has a lot to offer! Here’s why it’s a great choice for many recipes:

1. Flavor:

  • Beefy: Round roast has a deep, rich, beefy flavor that’s perfect for hearty dishes. It’s often described as more intense than some of the more tender cuts.

2. Leanness:

  • Lower in Fat: Round roast is a lean cut of beef, making it a healthier option for those watching their fat intake.  
  • Less Shrinkage: Because it’s leaner, it tends to shrink less during cooking than fattier roasts.

3. Versatility:

  • Roasting: While it can be roasted, it’s best suited for slow roasting at lower temperatures to ensure tenderness.
  • Braising: This is an excellent method for round roast. Braising involves searing the meat, then cooking it slowly in liquid, resulting in a flavorful and tender dish.  
  • Pot Roast: Round roast is a classic choice for pot roast, where it’s cooked with vegetables and broth until fall-apart tender.
  • Other Uses: It can also be used for dishes like beef stew, Swiss steak, or even thinly sliced for sandwiches after cooking. 

4. Affordability:

  • Budget-Friendly: Round roast is often more affordable than other cuts of beef, making it a great option for those on a budget.  

Tips for Cooking Round Roast:

  • Low and Slow: Cook it low and slow to break down the tougher connective tissue and maximize tenderness. 
  • Moist Heat: Braising or using a slow cooker is ideal for keeping the roast moist and tender.
  • Add Flavor: Use plenty of seasonings, herbs, and vegetables to enhance the flavor of the roast.  
  • Rest: Allow the roast to rest before slicing to retain its juices.  

If you’re looking for a flavorful, versatile, and budget-friendly cut of beef, round roast is a great option. With the right cooking methods, it can be transformed into delicious and satisfying meals.

Please follow and like us:
onpost_follow
fb-share-icon197
Tweet120
Pinterest20
Share 20
submit to reddit

Explore Our Most Popular Sections with These Quick Links

Holidays & Occasions

Pesto Chicken & Mushroom Lasagna Roll-Ups

Pesto Chicken & Mushroom Lasagna Roll-Ups

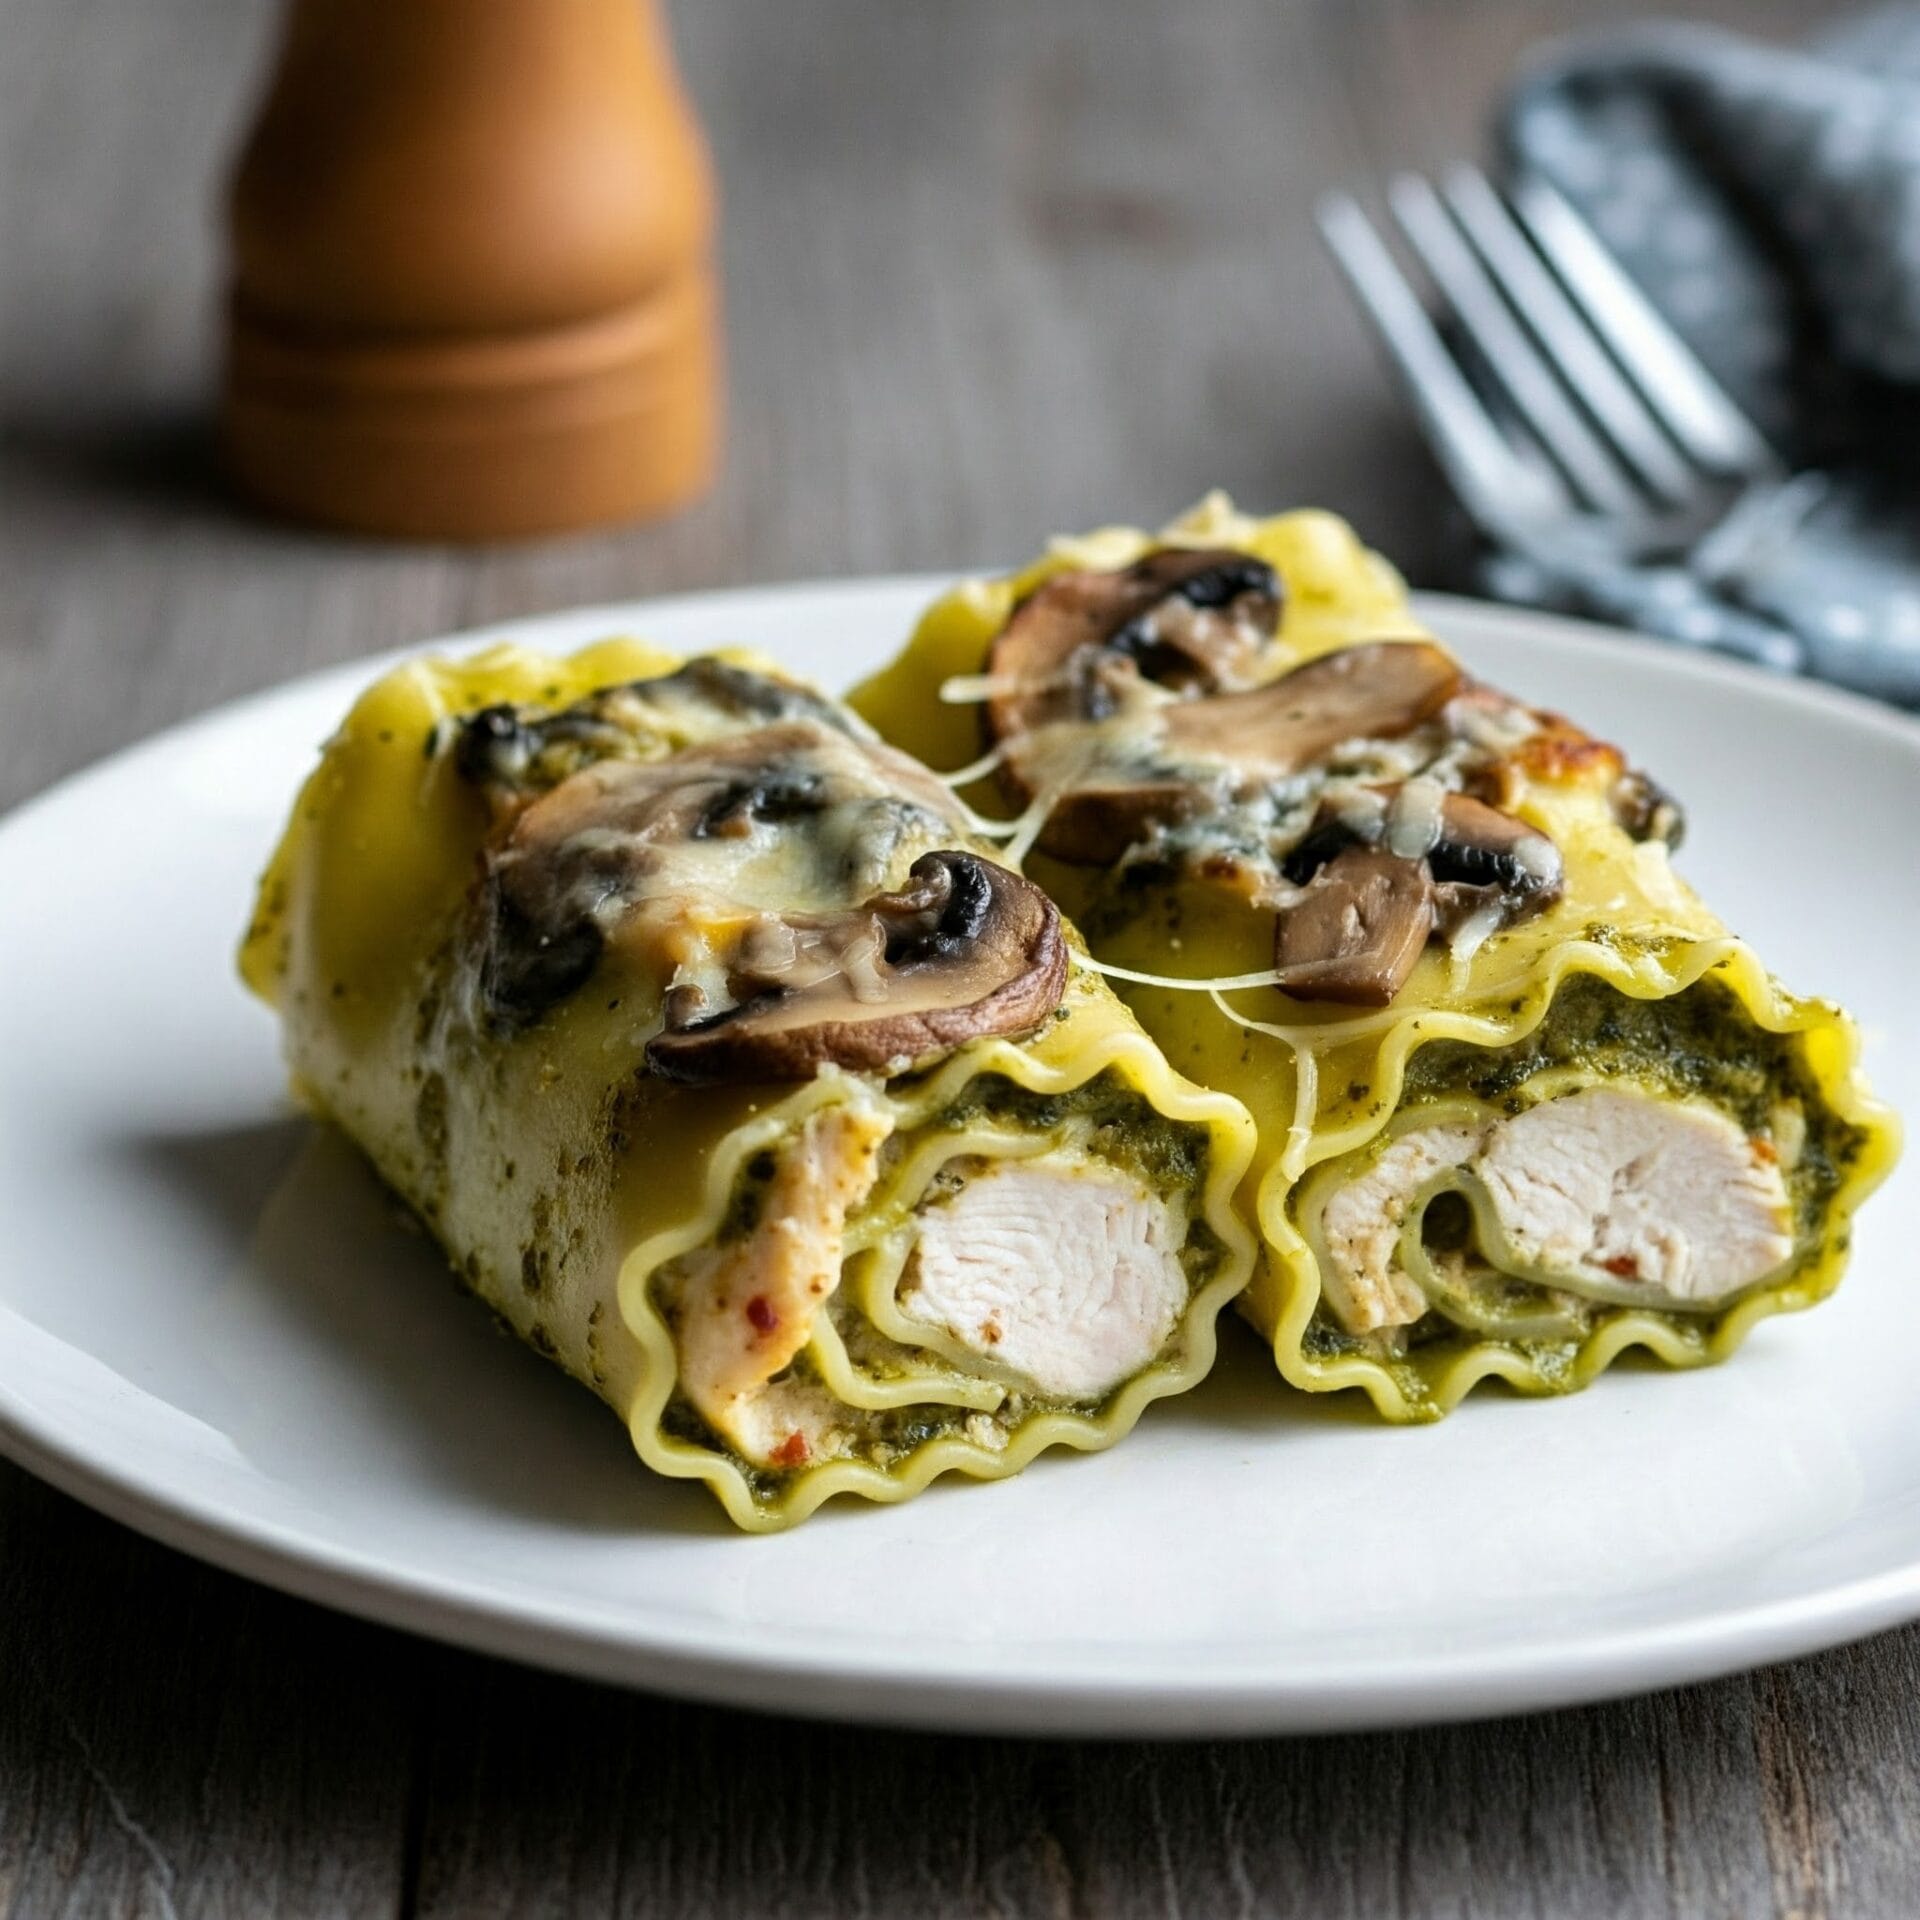
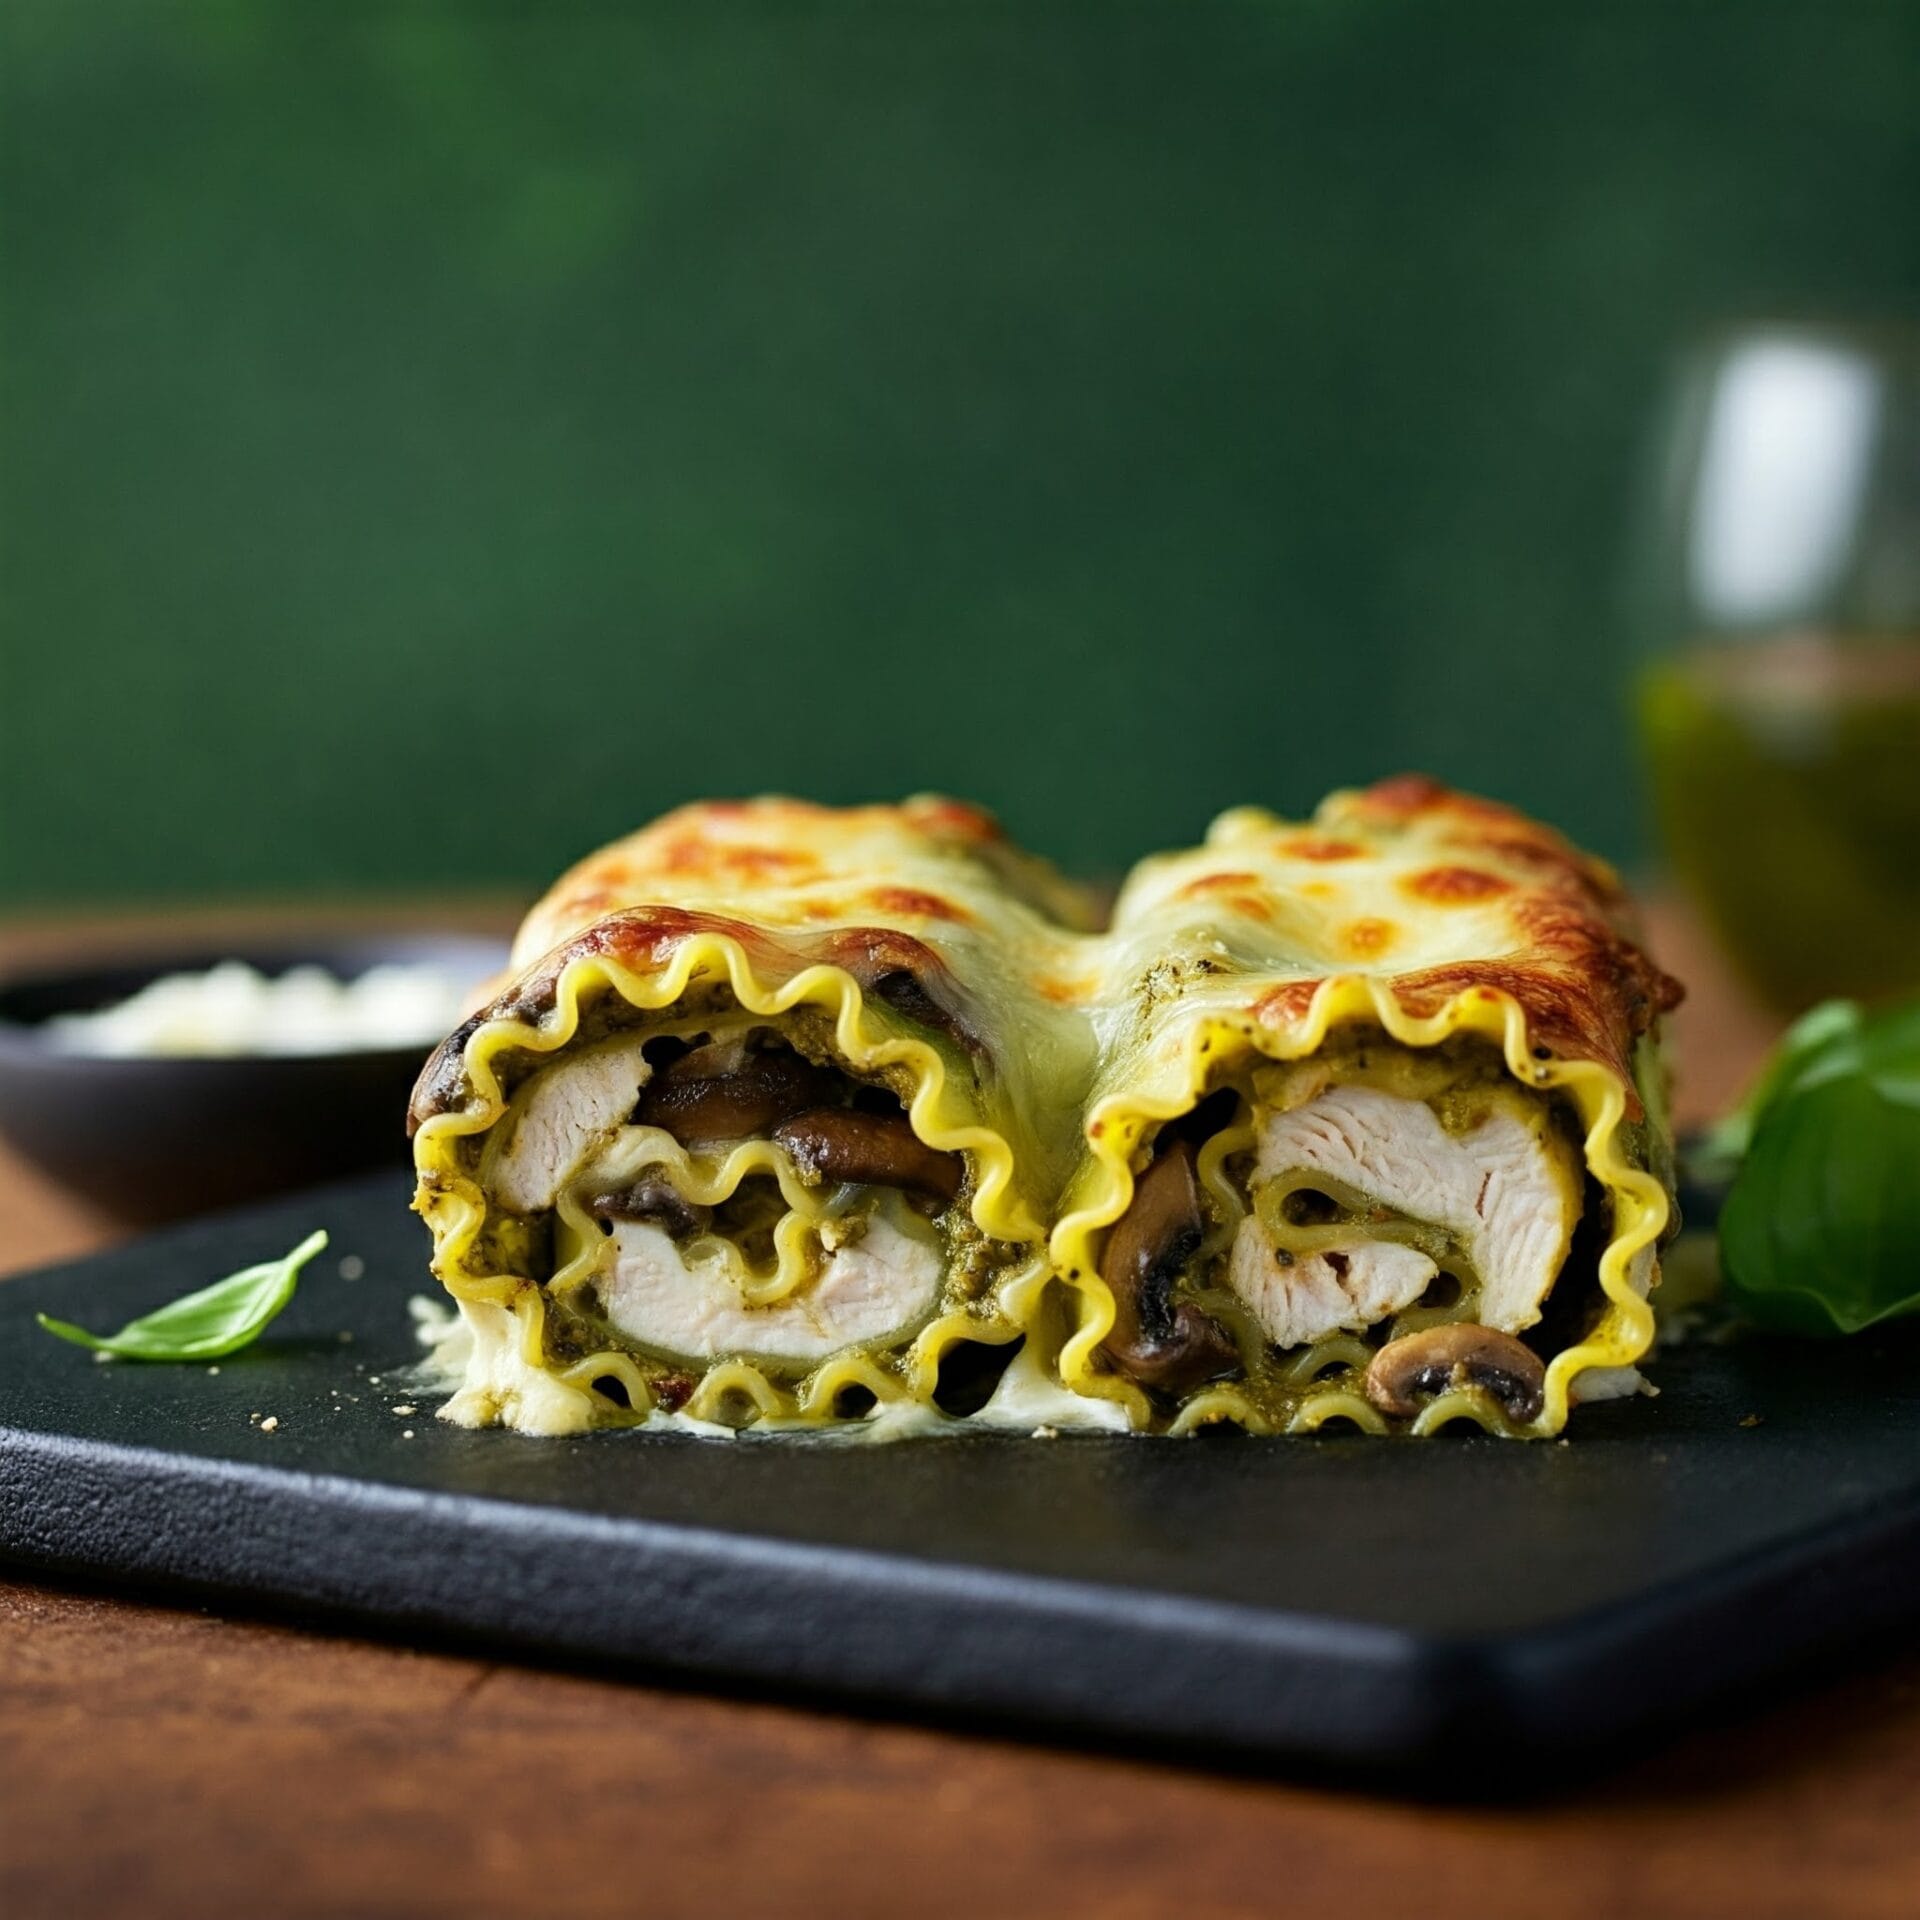
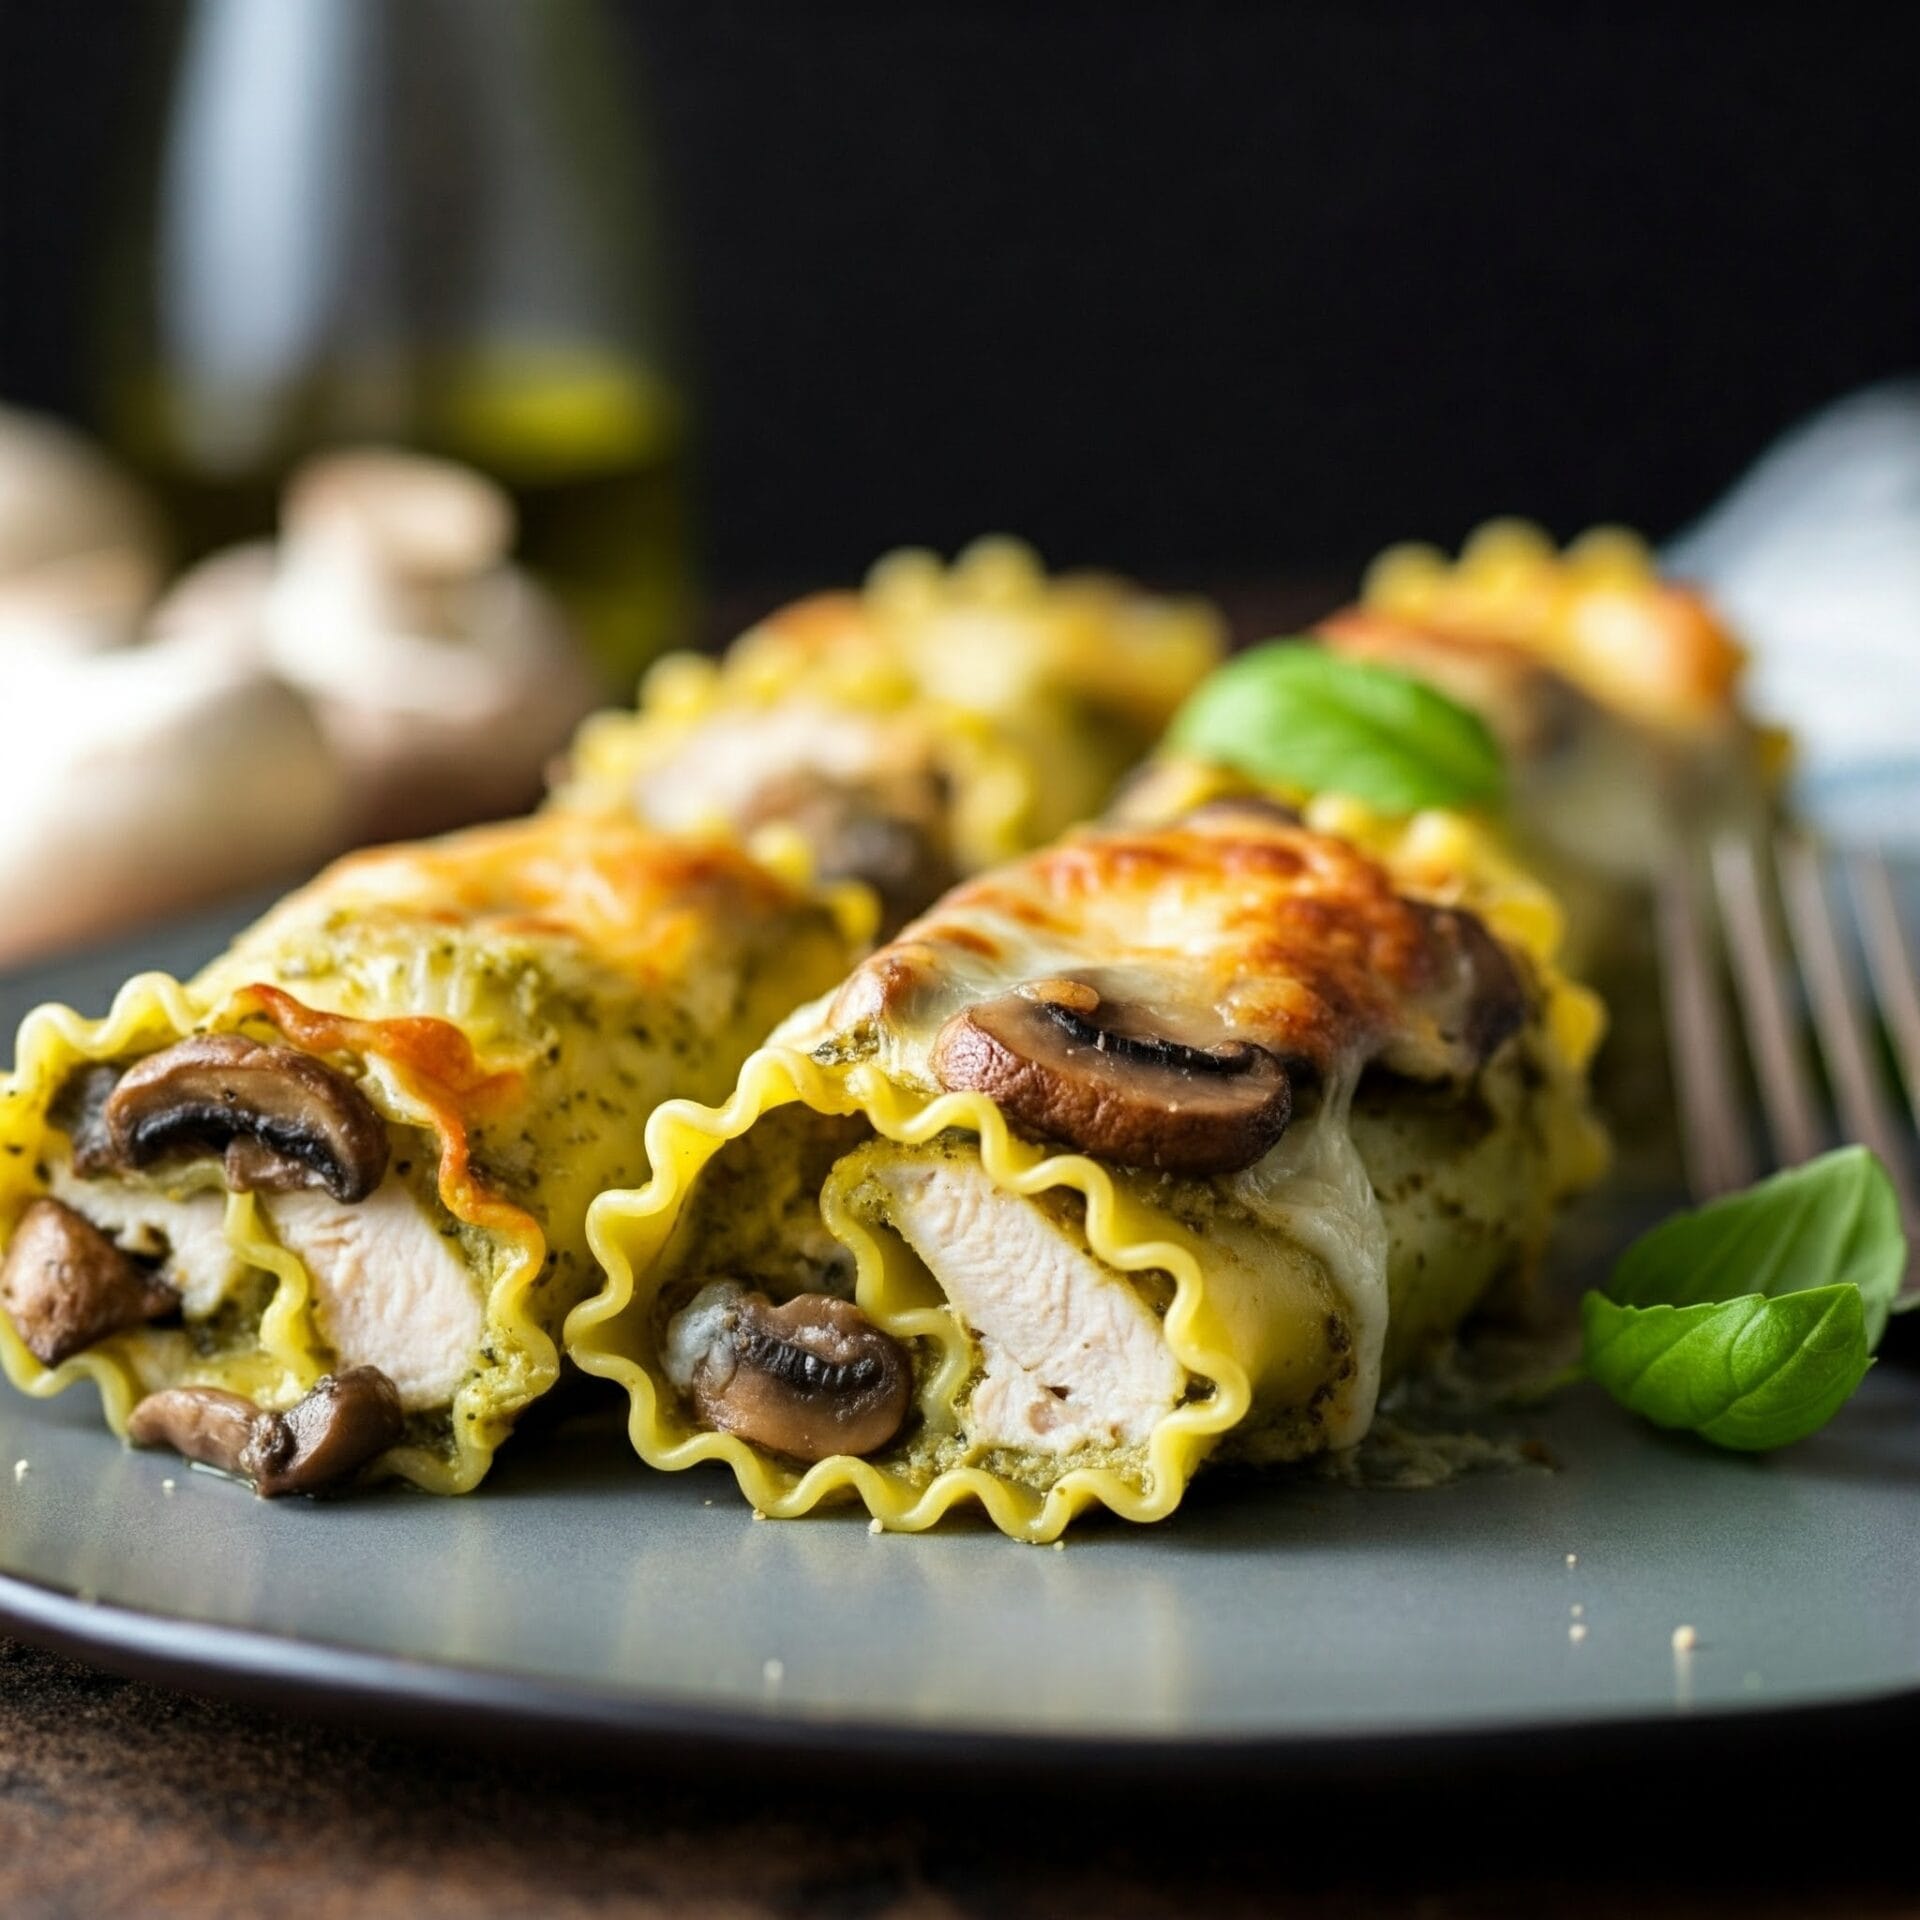
These Pesto Chicken & Mushroom Lasagna Roll-Ups are a flavorful twist on traditional lasagna — rolled, baked, and packed with creamy, herby goodness. Tender lasagna noodles are filled with shredded chicken, sautéed mushrooms, garlic, and a generous layer of pesto, then rolled up and smothered in a creamy béchamel or Alfredo-style sauce before being baked to bubbly, golden perfection.

Each roll delivers the comforting richness of lasagna with the freshness of basil pesto and the savory depth of mushrooms. It’s an elegant yet easy-to-make dish that works beautifully for weeknight dinners, make-ahead meals, or entertaining.

Cozy, creamy, and loaded with flavor — this is comfort food done right.

Pesto Chicken & Mushroom Lasagna Roll-Ups

5 from 1 vote
Pesto Mushroom Chicken Lasagna Roll Ups are a delightful and convenient twist on classic lasagna. Tender lasagna noodles are filled with a savory mixture of chicken, mushrooms, spinach, and a blend of cheeses, all infused with the fragrant flavors of pesto. These roll-ups are then baked to golden perfection, creating a dish that's both comforting and elegant. It's an easy-to-make meal that's perfect for a weeknight dinner or a special occasion.
Prep Time 25 minutes
Cook Time 50 minutes
Total Time 1 hour 15 minutes
Servings: 8
Course: Dinner, Lunch, Main Course
Cuisine: Italian America Fusion
Calories: 468

Ingredients
  

FOR THE MUSHROOMS
  • 8 oz Baby Bella Mushrooms sliced
  • 1 Tbsp Butter
  • ½ tsp Thyme
  • 1 Pinch Salt
  • 1 Pinch Ground Black Pepper freshly ground
FOR THE LASAGNA ROLL UPS
  •  
    8 Lasagna noodles
  • 2 Cups Chicken Breast cooked. shredded or finely chopped (about 1 lb.)
  •  
    1 Cup Mozzarella cheese shredded
FOR THE PESTO RICOTTA
  •  
    8 OZ Ricotta whole milk
  • 1 Large Egg
  •  
    Cup Basil pesto your favorite
  • ¼ tsp Garlic powder
  • 1 Pinch Salt freshly ground
  • 1 Pinch Ground Black Pepper freshly ground
FOR THE GARLIC PARMESAN CHEESE SAUCE
  • 2 Tbsp Unsalted Butter
  • ¼ Cup All-Purpose Flour all-purpose
  • Cup Milk whole milk
  • ½ cup Parmesan cheese grated
  • ½ tsp Garlic powder
  • 1 Pinch Salt freshly ground, to taste
  • 1 Pinch Ground Black Pepper freshly ground, to taste
FOR ON TOP
  •  
    ¼ cup Basil pesto your favorite
  •  
    ¾ cup Mozarella cheese shredded
TO GARNISH
  • 1 Pinch Parmesan Cheese grated
  • 1 Pinch Dried Basil fresh make into ribbons

Method
 

  1. Heat a medium skillet over medium-high heat. Add butter, then mushrooms, thyme, salt, and pepper. Cook, stirring occasionally, until mushrooms are golden brown.
    8 oz Baby Bella Mushrooms, 1 Tbsp Butter, 1/2 tsp Thyme, 1 Pinch Salt, 1 Pinch Ground Black Pepper
  2. To prepare the lasagna noodles, bring a large pot of water to a rolling boil. Add the lasagna noodles and cook them for about 6 minutes, or until they are slightly softened but still firm. Drain the noodles in a colander. To prevent the noodles from sticking together, immediately lay them flat on a baking sheet or cutting board that has been lightly oiled. Make sure the noodles are not touching each other. If you prefer not to boil the noodles, you can soak them in very warm (almost hot) water for 20-30 minutes until they are pliable.
    8 Lasagna noodles
  3. Start by preheating your oven to 350 degrees Fahrenheit. While the oven is heating up, prepare your baking dish. You can use a 2-quart casserole dish or a 7 x 11 inch baking dish. Grease the dish with nonstick cooking spray or olive oil. This will prevent the lasagna roll-ups from sticking to the dish during baking.
  4. In a medium bowl, add the ricotta cheese, egg, basil pesto, garlic powder, salt, and pepper. Use a fork or a whisk to mix the ingredients together thoroughly until they are fully combined and the mixture is smooth and creamy. This flavorful mixture will be the base of the filling for your lasagna roll-ups.
    8 OZ Ricotta , 1 Large Egg, ⅓ Cup Basil pesto , ¼ tsp Garlic powder, 1 Pinch Salt, 1 Pinch Ground Black Pepper
  5. Lay out the cooked lasagna noodles on a clean work surface. Spread 1-2 tablespoons of the pesto ricotta filling evenly over each noodle. Top the filling with the cooked mushrooms and shredded chicken, dividing the mixture evenly among the noodles. Sprinkle each noodle with about 2 tablespoons of shredded mozzarella cheese. Starting at one of the shorter ends, tightly roll up each lasagna noodle. Place the rolled-up noodles seam-down in the prepared baking dish. Make sure the rolls are snugly nestled together in the dish.
    8 oz Baby Bella Mushrooms, 1 Cup Mozzarella cheese, 2 Cups Chicken Breast
  6. To make the garlic Parmesan sauce, melt butter in the same skillet used for the mushrooms. Whisk in flour, then gradually add milk, alternating with more flour, whisking constantly. Bring to a boil, then simmer. Stir in Parmesan cheese, garlic powder, salt, and pepper.
    2 Tbsp Unsalted Butter, ¼ Cup All-Purpose Flour, 1¾ Cup Milk, ½ cup Parmesan cheese, ½ tsp Garlic powder, 1 Pinch Salt, 1 Pinch Ground Black Pepper
  7. Carefully pour the prepared garlic Parmesan sauce over the lasagna roll-ups in the baking dish, ensuring that each roll-up is coated in the sauce. Next, spread the basil pesto evenly over the top of the roll-ups. It's perfectly fine if some of the pesto mixes with the sauce; in fact, it adds an extra layer of flavor! Finally, sprinkle the shredded mozzarella cheese evenly over the top of the pesto.
    1/4 cup Basil pesto , 3/4 cup Mozarella cheese, 1 Pinch Parmesan Cheese
  8. Place the baking dish with the lasagna roll-ups in the preheated oven. Bake for 30-40 minutes, or until the sauce is bubbly and the cheese is melted and golden brown. The cooking time may vary depending on your oven. Once baked, remove the dish from the oven and let it cool slightly before serving. Garnish with a sprinkle of extra Parmesan cheese and some freshly chopped basil or julienned basil, if desired.
    1 Pinch Dried Basil, ½ cup Parmesan cheese

Nutrition

Serving: 10ozCalories: 468kcalCarbohydrates: 31gProtein: 28gFat: 26gSaturated Fat: 12gPolyunsaturated Fat: 1gMonounsaturated Fat: 5gTrans Fat: 0.2gCholesterol: 103mgSodium: 568mgPotassium: 491mgFiber: 2gSugar: 5gVitamin A: 982IUVitamin C: 1mgCalcium: 403mgIron: 1mg

Notes

Ingredients:
  • Chicken: Use cooked chicken. Leftovers or rotisserie chicken work great!
  • Mushrooms: Fresh mushrooms are best. Sauté them until golden brown and tender.
  • Pasta: Use oven-ready lasagna noodles.
  • Cheese: A combination of ricotta, Parmesan, and mozzarella provides a creamy and flavorful filling.   
  • Pesto: Use your favorite homemade or store-bought pesto.
  • Sauce: You'll make a simple garlic Parmesan sauce for the base.
  • Seasonings: Garlic powder, Italian seasoning, salt, and pepper are used for flavor. 
  • Optional Garnishes: Fresh basil and extra Parmesan cheese add a nice touch.
Cooking Tips:
  • Cook the Mushrooms: Sauté the mushrooms until they are golden brown and tender to enhance their flavor.
  • Prepare the Noodles: Cook the lasagna noodles according to package directions. Lay them flat on an oiled surface to prevent sticking.
  • Make the Filling: Combine the ricotta, egg, pesto, garlic powder, and seasonings for a flavorful filling.
  • Assemble the Roll-Ups: Spread the filling on the noodles, top with mushrooms, chicken, and mozzarella, then roll them up tightly.
  • Make the Sauce: Use the same skillet to make a simple garlic Parmesan sauce. Whisk the ingredients well to avoid lumps.
  • Layer and Bake: Pour the sauce over the roll-ups, spread with pesto, and top with mozzarella. Bake until bubbly and golden.
  • Rest Before Serving: Let the lasagna roll-ups rest for a few minutes before serving to allow the cheese to set slightly.
Serving Suggestions:
  • Garnish: Garnish with fresh basil and extra Parmesan cheese.
  • Sides: Serve with a side salad or garlic bread.
Variations:
  • Vegetables: Add other vegetables to the filling, such as spinach, bell peppers, or zucchini.
  • Spicy: Add a pinch of red pepper flakes to the filling or sauce for heat.
  • Meatless: Omit the chicken and use a vegetarian pesto for a meatless version.
With these tips, you'll be able to create delicious and satisfying Pesto Mushroom Chicken Lasagna Roll Ups!

Tried this recipe?

Let us know how it was!

Related Recipes

Ingredients

  • For the Mushrooms:

    • 8 ounces baby bella mushrooms, sliced
    • 1 tablespoon butter
    • ½ teaspoon thyme
    • Freshly ground salt and pepper
  • For the Lasagna Roll Ups:

    • 8 lasagna noodles
    • 2 cups shredded or finely chopped cooked chicken (about 1 pound)
    • 1 cup shredded mozzarella cheese
  • For the Pesto Ricotta Filling:

    • 8 ounces whole milk ricotta
    • 1 egg
    • ⅓ cup of your favorite basil pesto
    • ¼ teaspoon garlic powder
    • Freshly ground salt and pepper
  • For the Garlic Parmesan Cheese Sauce:

    • 2 tablespoons butter
    • ¼ cup all-purpose flour
    • 1 ¾ cups milk
    • ½ cup grated Parmesan cheese
    • ½ teaspoon garlic powder
    • Freshly ground salt and pepper, to taste
  • For Topping:

    • ¼ cup of your favorite basil pesto
    • ¾ cup shredded mozzarella
  • To Garnish:

    • Extra grated Parmesan cheese
    • Basil ribbons

Image Gallery Pesto Chicken & Mushroom Lasagna Roll-Ups

Storage & Leftovers

Refrigerator:
Allow roll-ups to cool completely, then store in an airtight container or cover the baking dish tightly with foil. They will keep well in the fridge for up to 4 days.

Freezer:
These lasagna roll-ups freeze beautifully! Wrap each roll individually in foil or store multiple in a freezer-safe dish. Freeze for up to 3 months. For best results, freeze before baking — but they can be frozen after baking as well.

Reheating:

  • Oven (recommended): Reheat covered at 350°F (175°C) for 20–25 minutes or until warmed through.

  • Microwave: Heat individual roll-ups in a microwave-safe dish for 1–2 minutes, covered loosely with a damp paper towel to retain moisture.

  • From Frozen: Thaw overnight in the fridge, then bake as above. If baking from frozen, add 10–15 minutes to the oven time and keep covered until hot.

Tip: Add a splash of milk or extra sauce before reheating to prevent dryness.

Please follow and like us:
onpost_follow
fb-share-icon197
Tweet120
Pinterest20
Share 20
submit to reddit

Subscribe for New Recipes

* indicates required

Intuit Mailchimp

Lasagna Noodle Recipes

Lasagna Noodle Recipes

[digr_post_grid posts_number=”24″ post_display=”by_category” include_categories=”1505″ show_pagination=”on” use_number_pagination=”on” use_post_excerpt=”on” excerpt_length=”60″ show_readmore=”on” show_date=”on” show_categories=”off” enable_divider=”on” grid_column=”4″ enable_grid_row=”on” grid_row=”2″ _builder_version=”4.27.4″ _module_preset=”default” global_colors_info=”{}”][/digr_post_grid]

About Lasagna Noodles

Lasagna noodles are those wide, flat pasta sheets that are essential for building a classic lasagna. But their culinary uses go far beyond just that one dish! Here’s why they’re so great in recipes:  

1. Shape and Structure:

  • Wide and Flat: This shape is perfect for layering in a traditional lasagna, but it also makes them ideal for rolling up with various fillings.   
  • Sturdy: Lasagna noodles hold their shape well during baking, which is essential for creating those beautiful layers or for holding fillings in roll-ups.

2. Texture:

  • Al Dente: When cooked properly, they have a satisfyingly firm texture that holds up well to sauces and baking.
  • Tender: They become tender when baked with sauce and cheese, creating a melt-in-your-mouth experience.

3. Versatility:

  • Classic Lasagna: Of course, they’re the foundation of a delicious lasagna!
  • Roll-Ups: They can be filled with various ingredients (meats, cheeses, vegetables) and baked into individual portions.
  • Casseroles: Broken lasagna noodles can be added to casseroles for a hearty and cheesy twist.
  • Soups: Some recipes even use broken lasagna noodles in soups for a fun variation on traditional pasta shapes.
  • Baked Dishes: They can be used as a base for baked pasta dishes with different sauces and toppings.

4. Flavor:

  • Neutral: Lasagna noodles have a relatively neutral flavor, allowing them to pair well with a wide range of ingredients and sauces.
  • Absorbent: They readily absorb the flavors of the sauces and ingredients they’re cooked with.

Tips for Using Lasagna Noodles:

  • Cooking: Cook them according to package directions until they are al dente (slightly firm to the bite).
  • Layering: If layering in a lasagna, make sure the noodles are properly coated with sauce to prevent them from drying out. 
  • Rolling: If making roll-ups, use slightly softened noodles for easier rolling. 
  • Breaking: For casseroles or soups, break the noodles into smaller pieces before adding them. 

Whether you’re a fan of classic lasagna or looking to explore new culinary creations, lasagna noodles are a versatile and delicious ingredient that can add a satisfying and flavorful dimension to your cooking.

Please follow and like us:
onpost_follow
fb-share-icon197
Tweet120
Pinterest20
Share 20
submit to reddit

Explore Our Most Popular Sections with These Quick Links

Holidays & Occasions