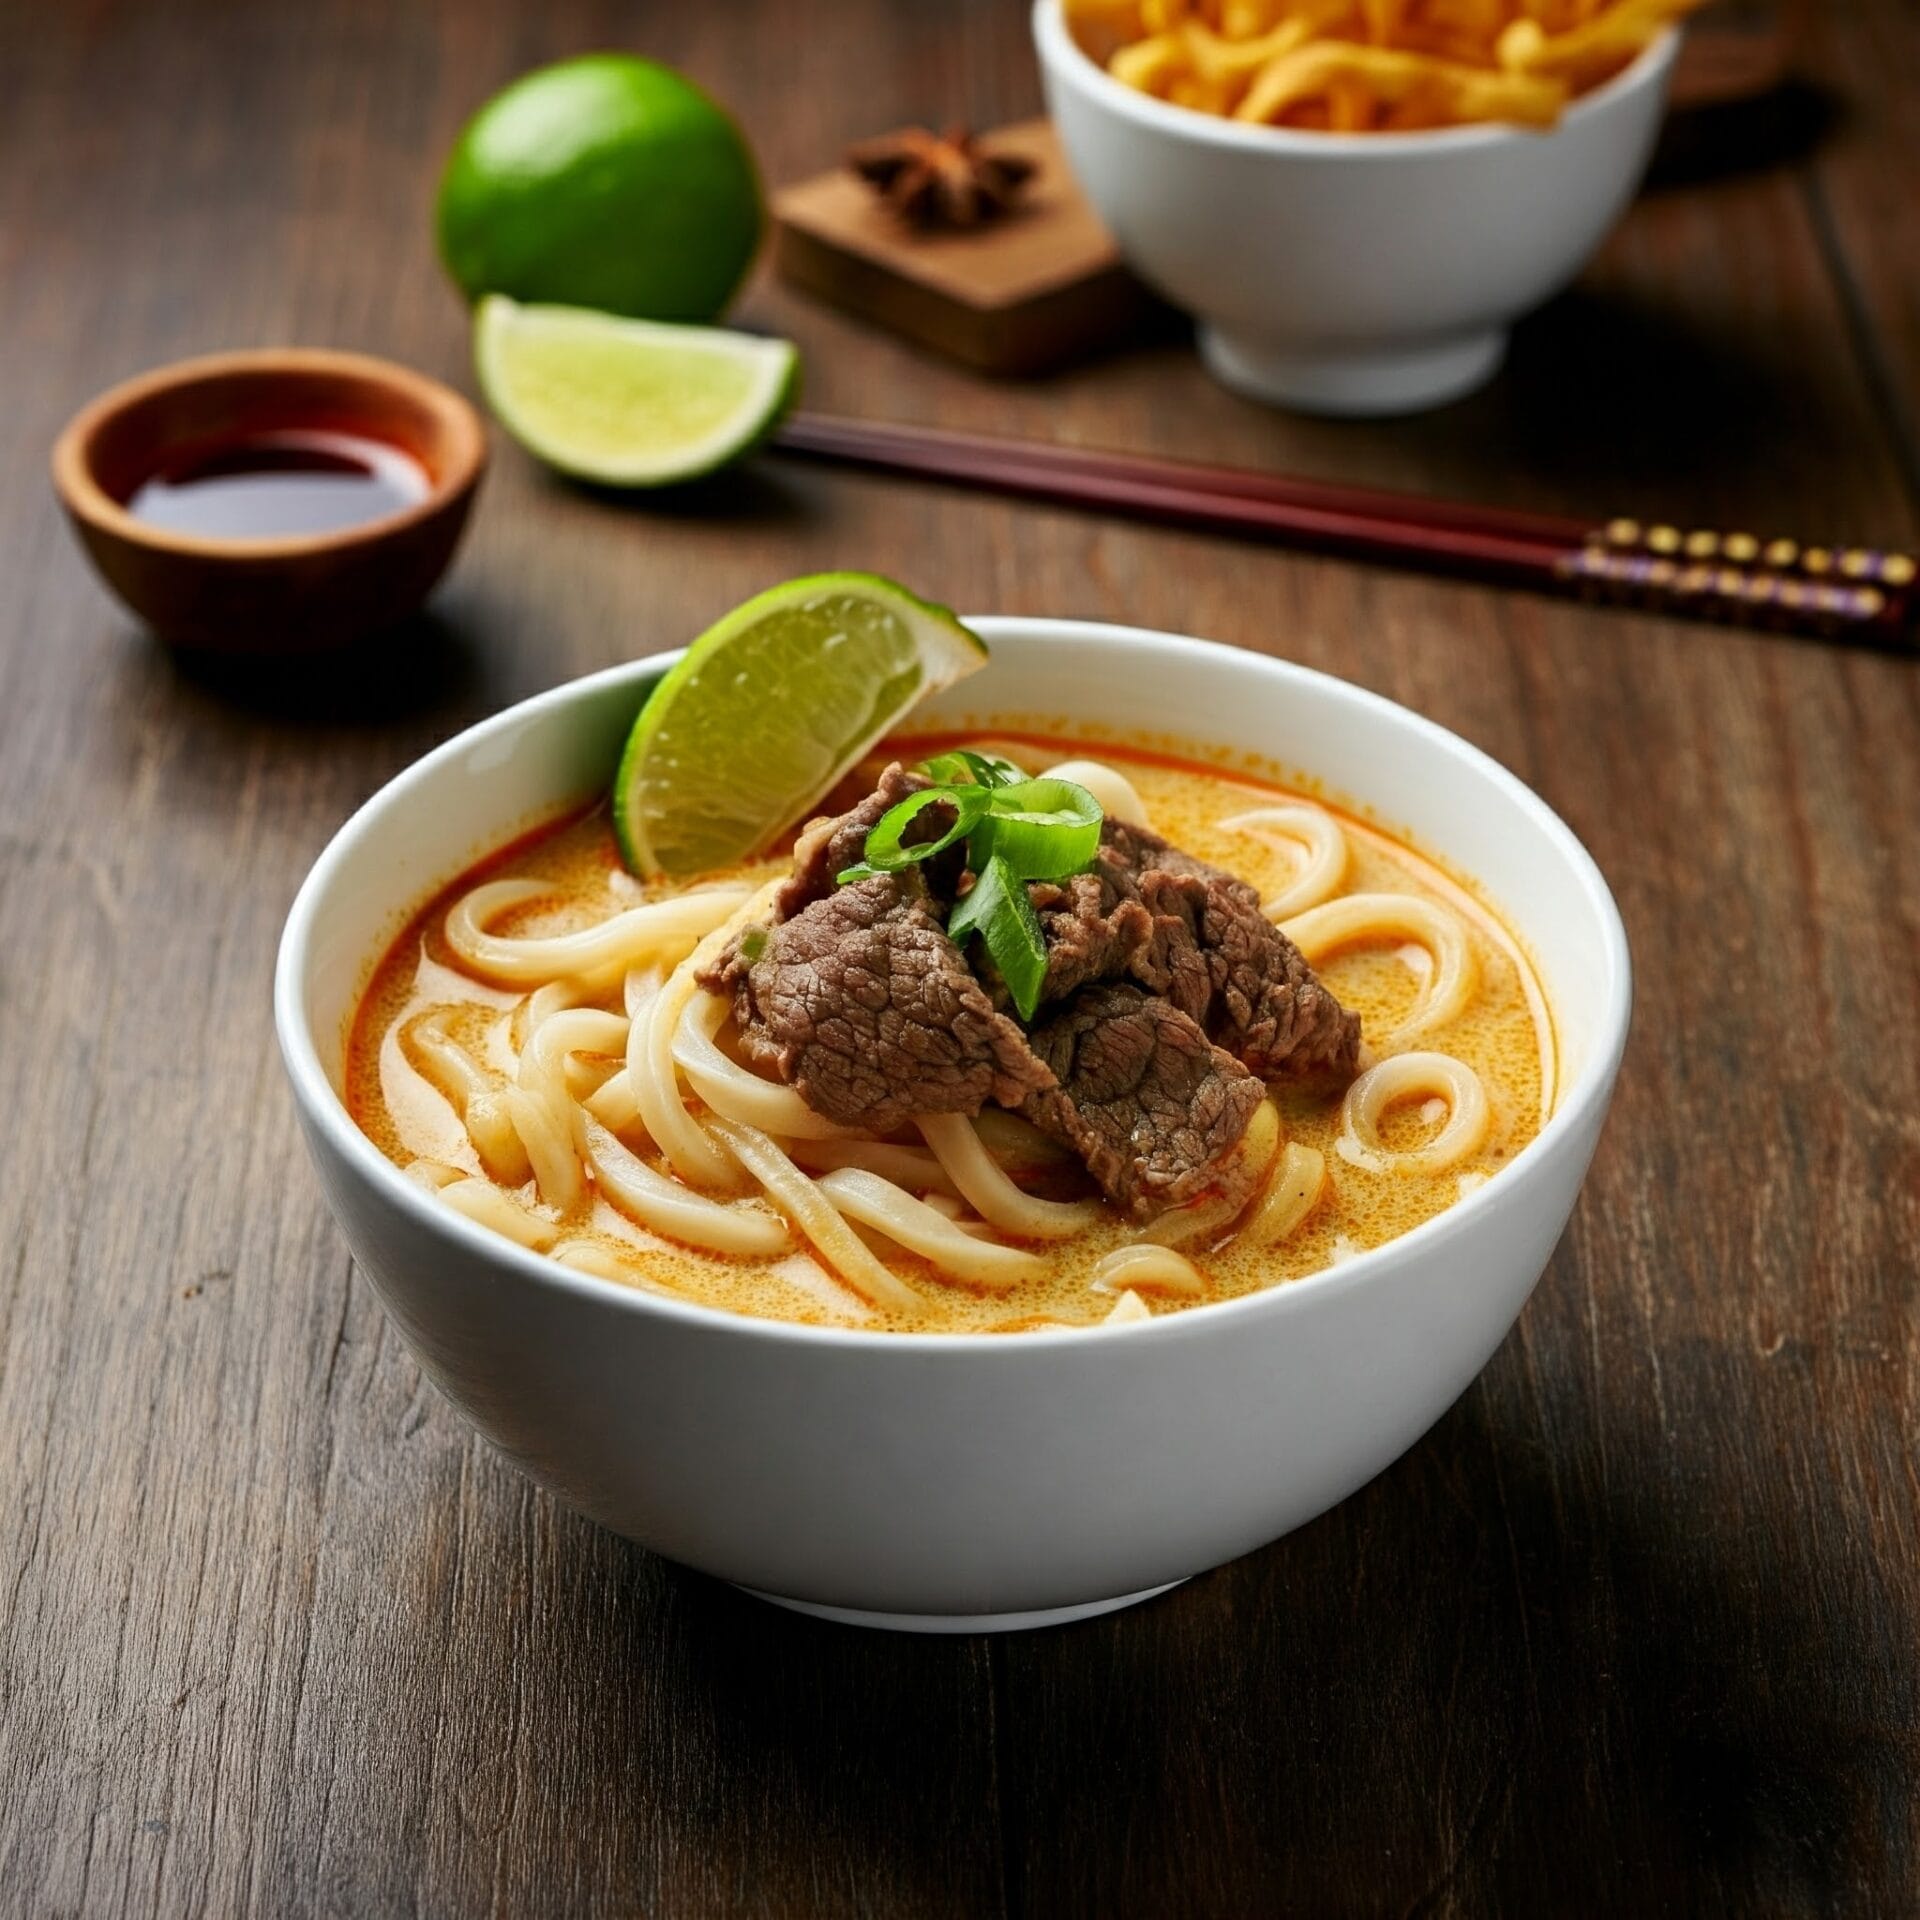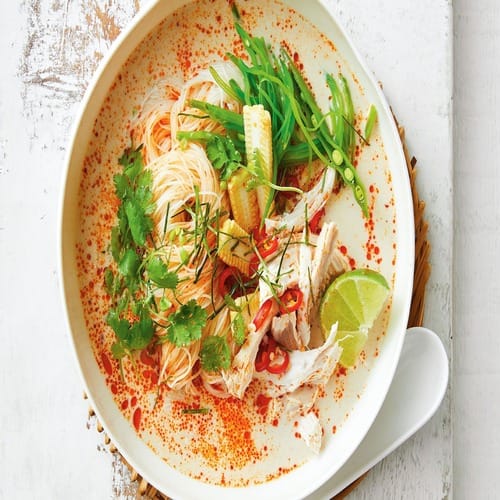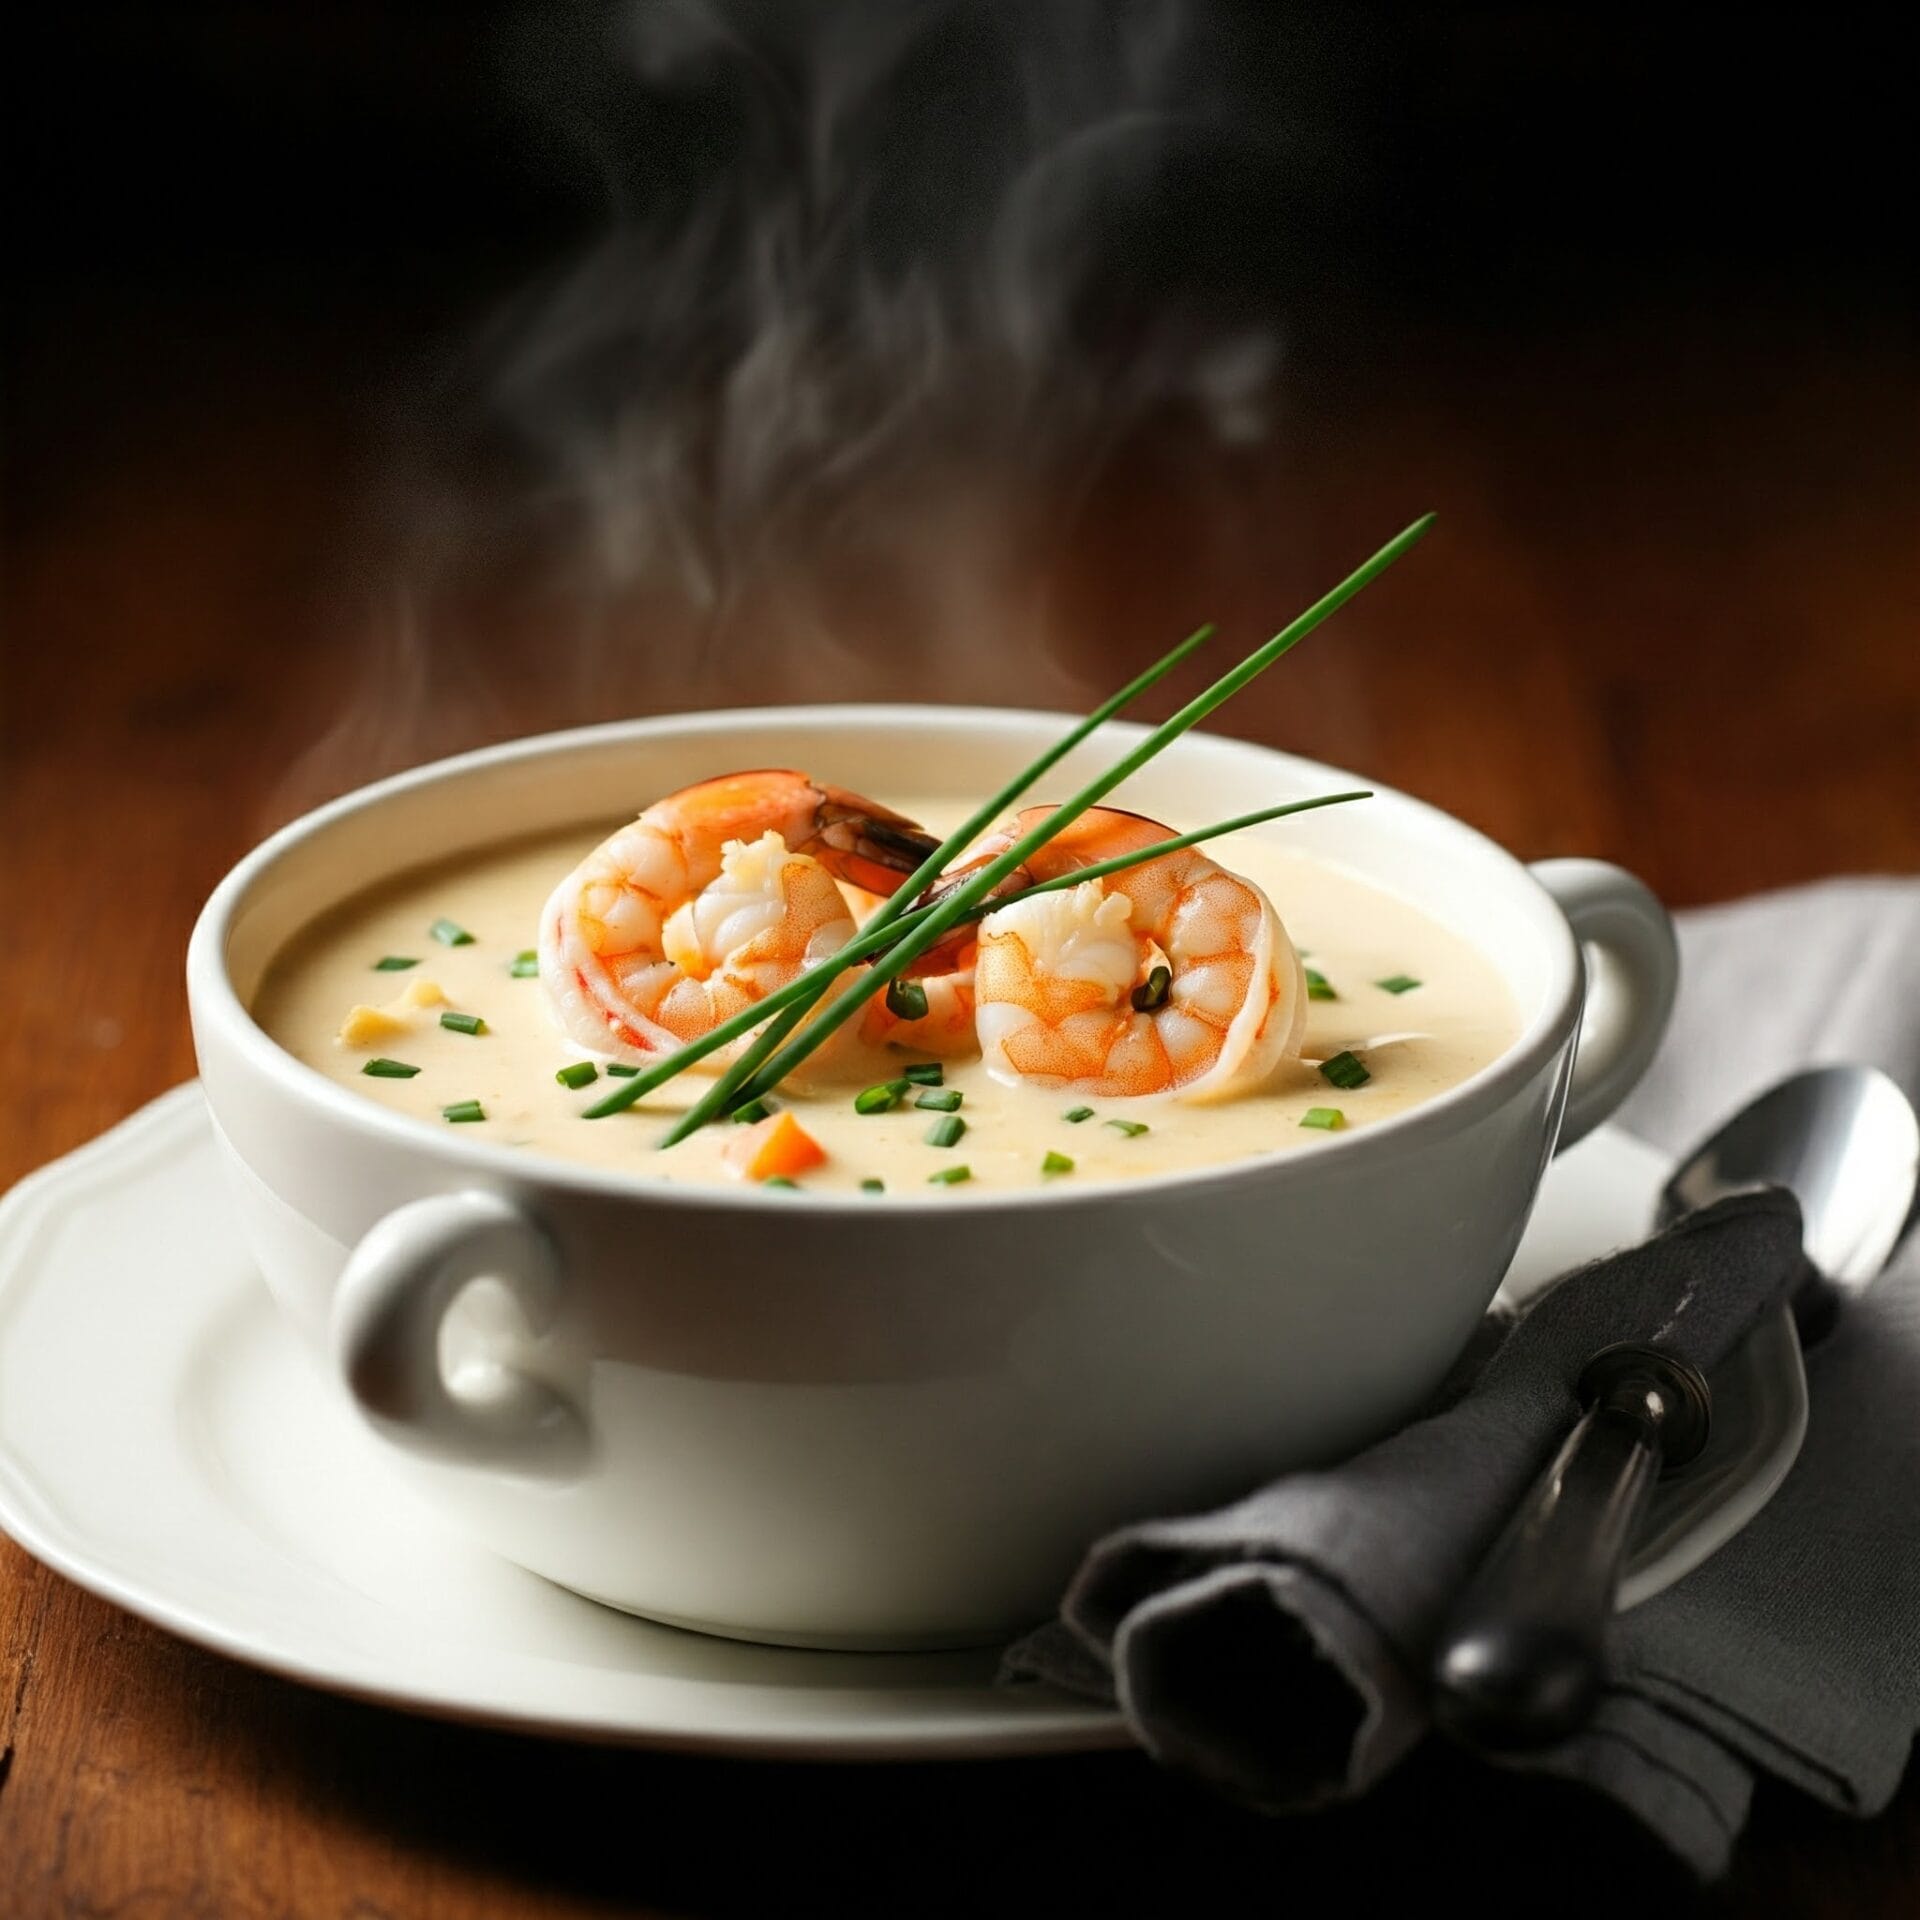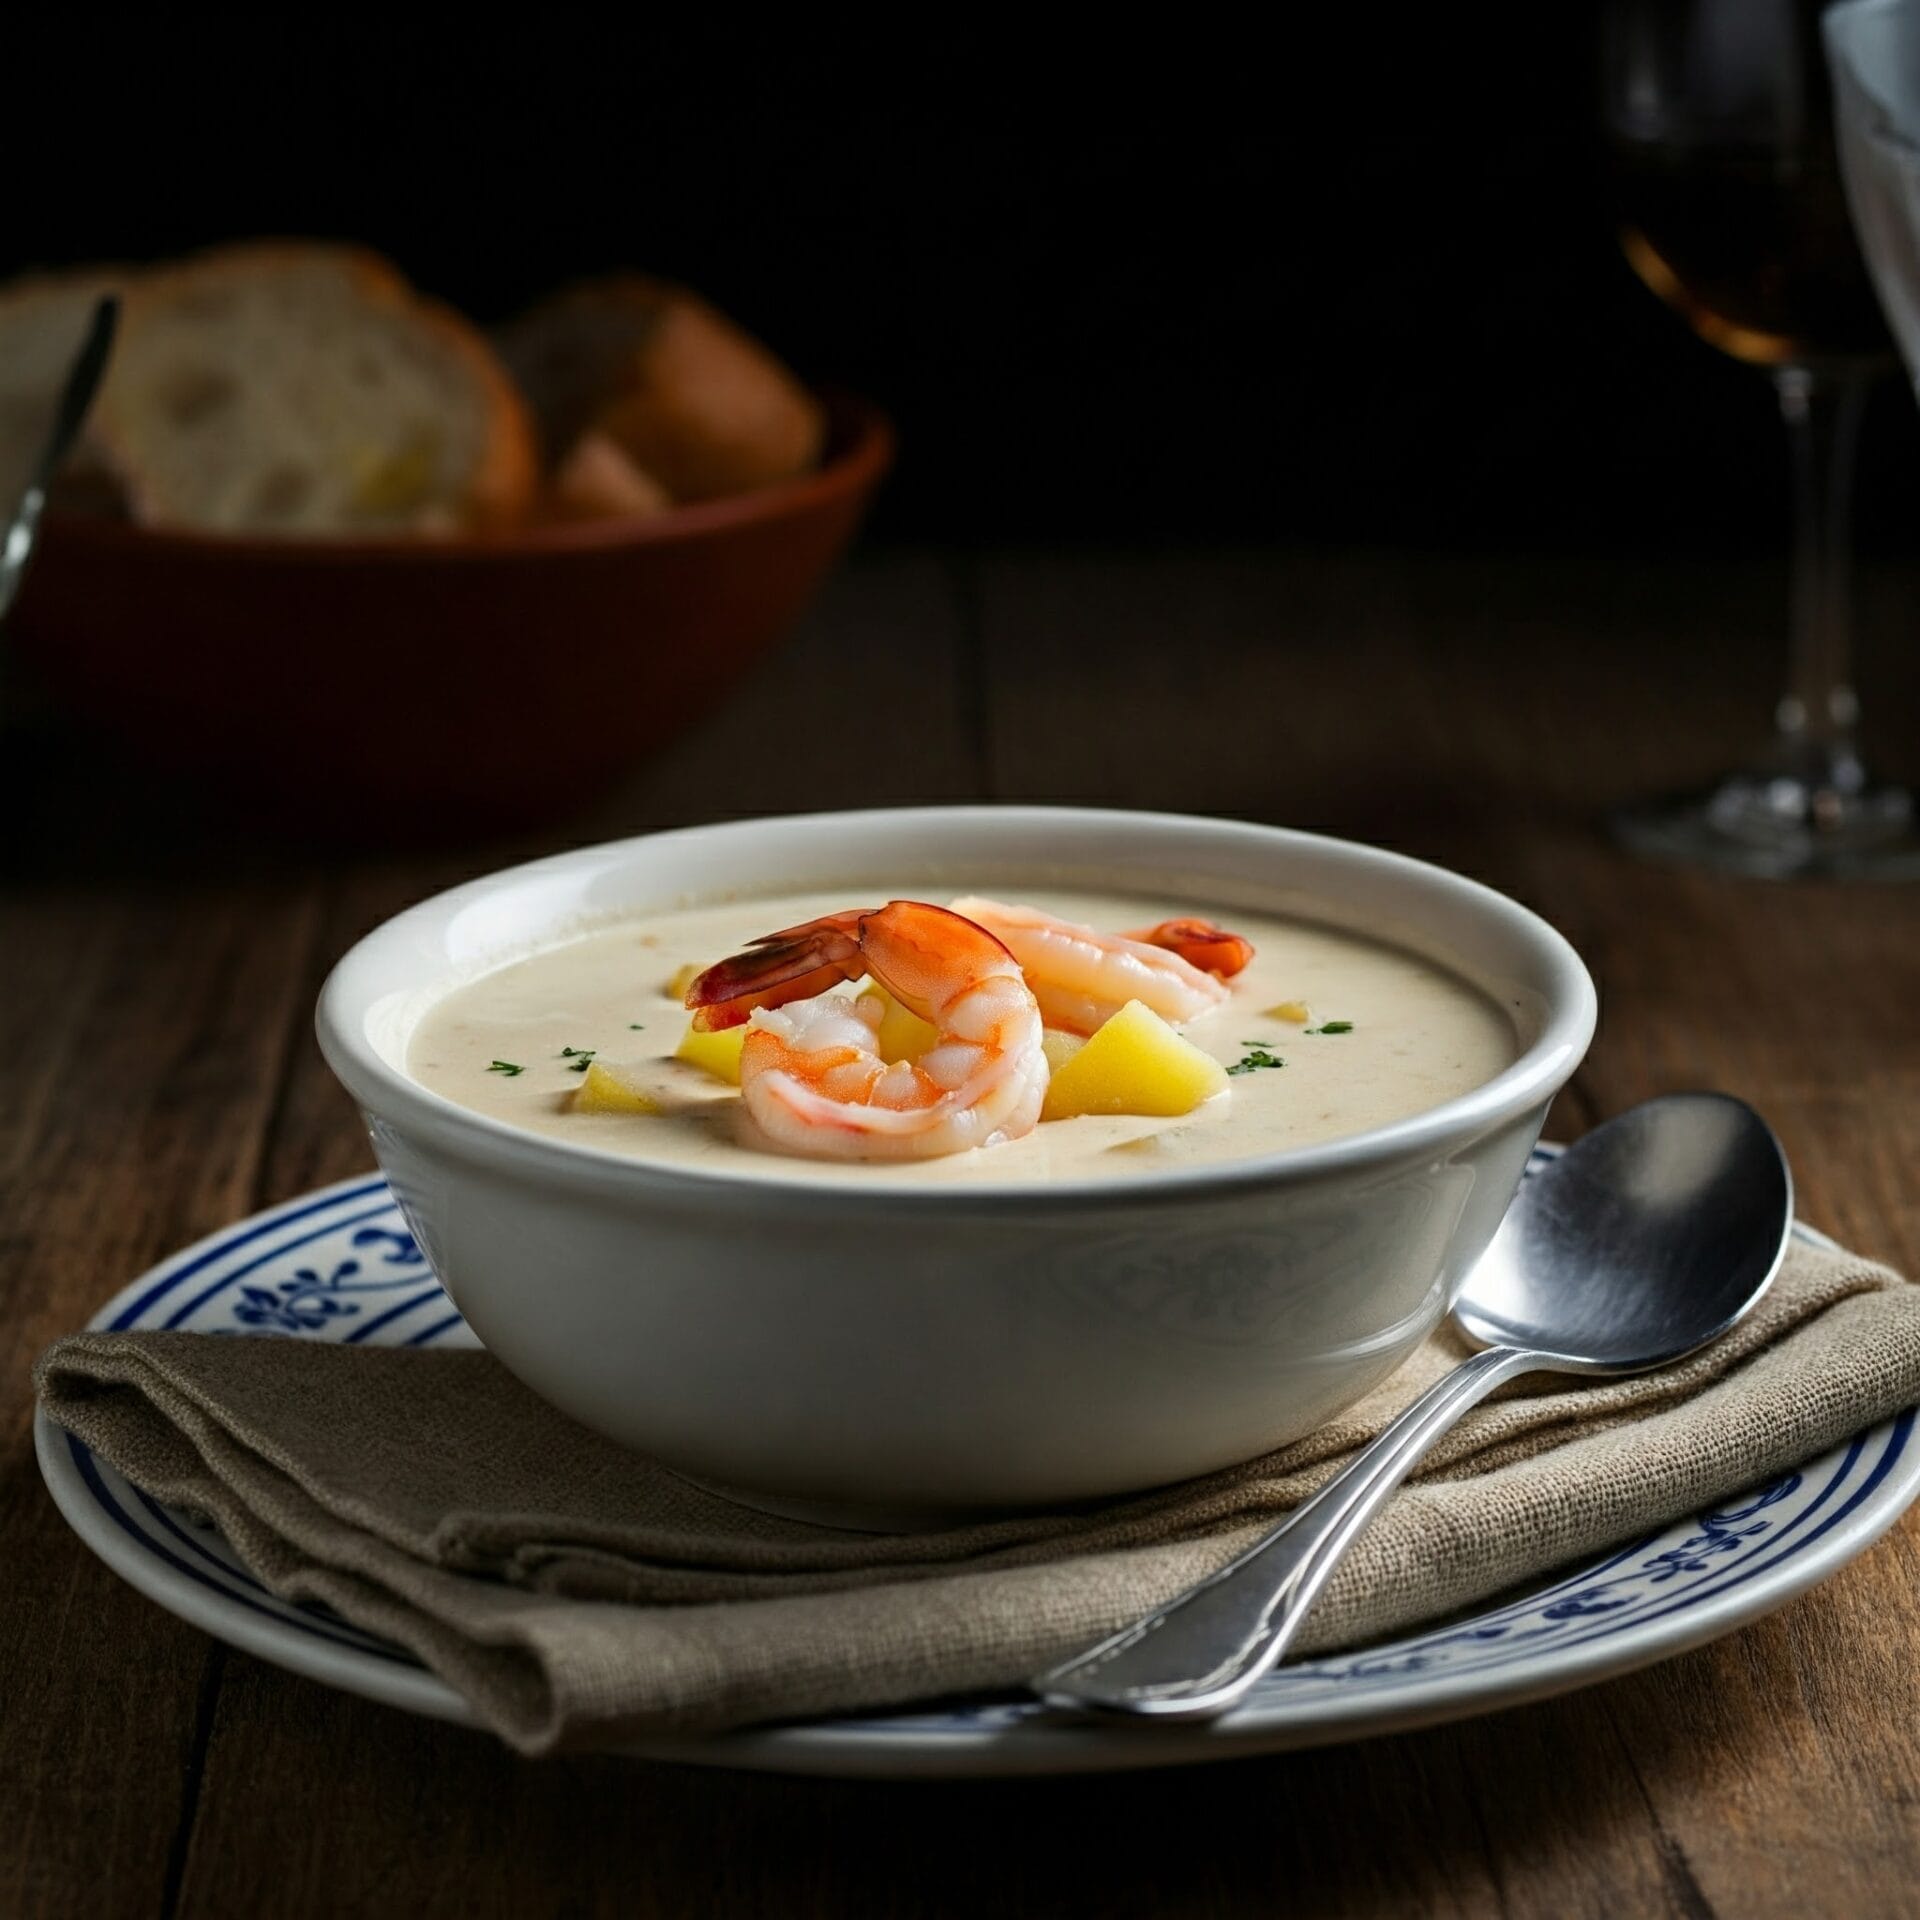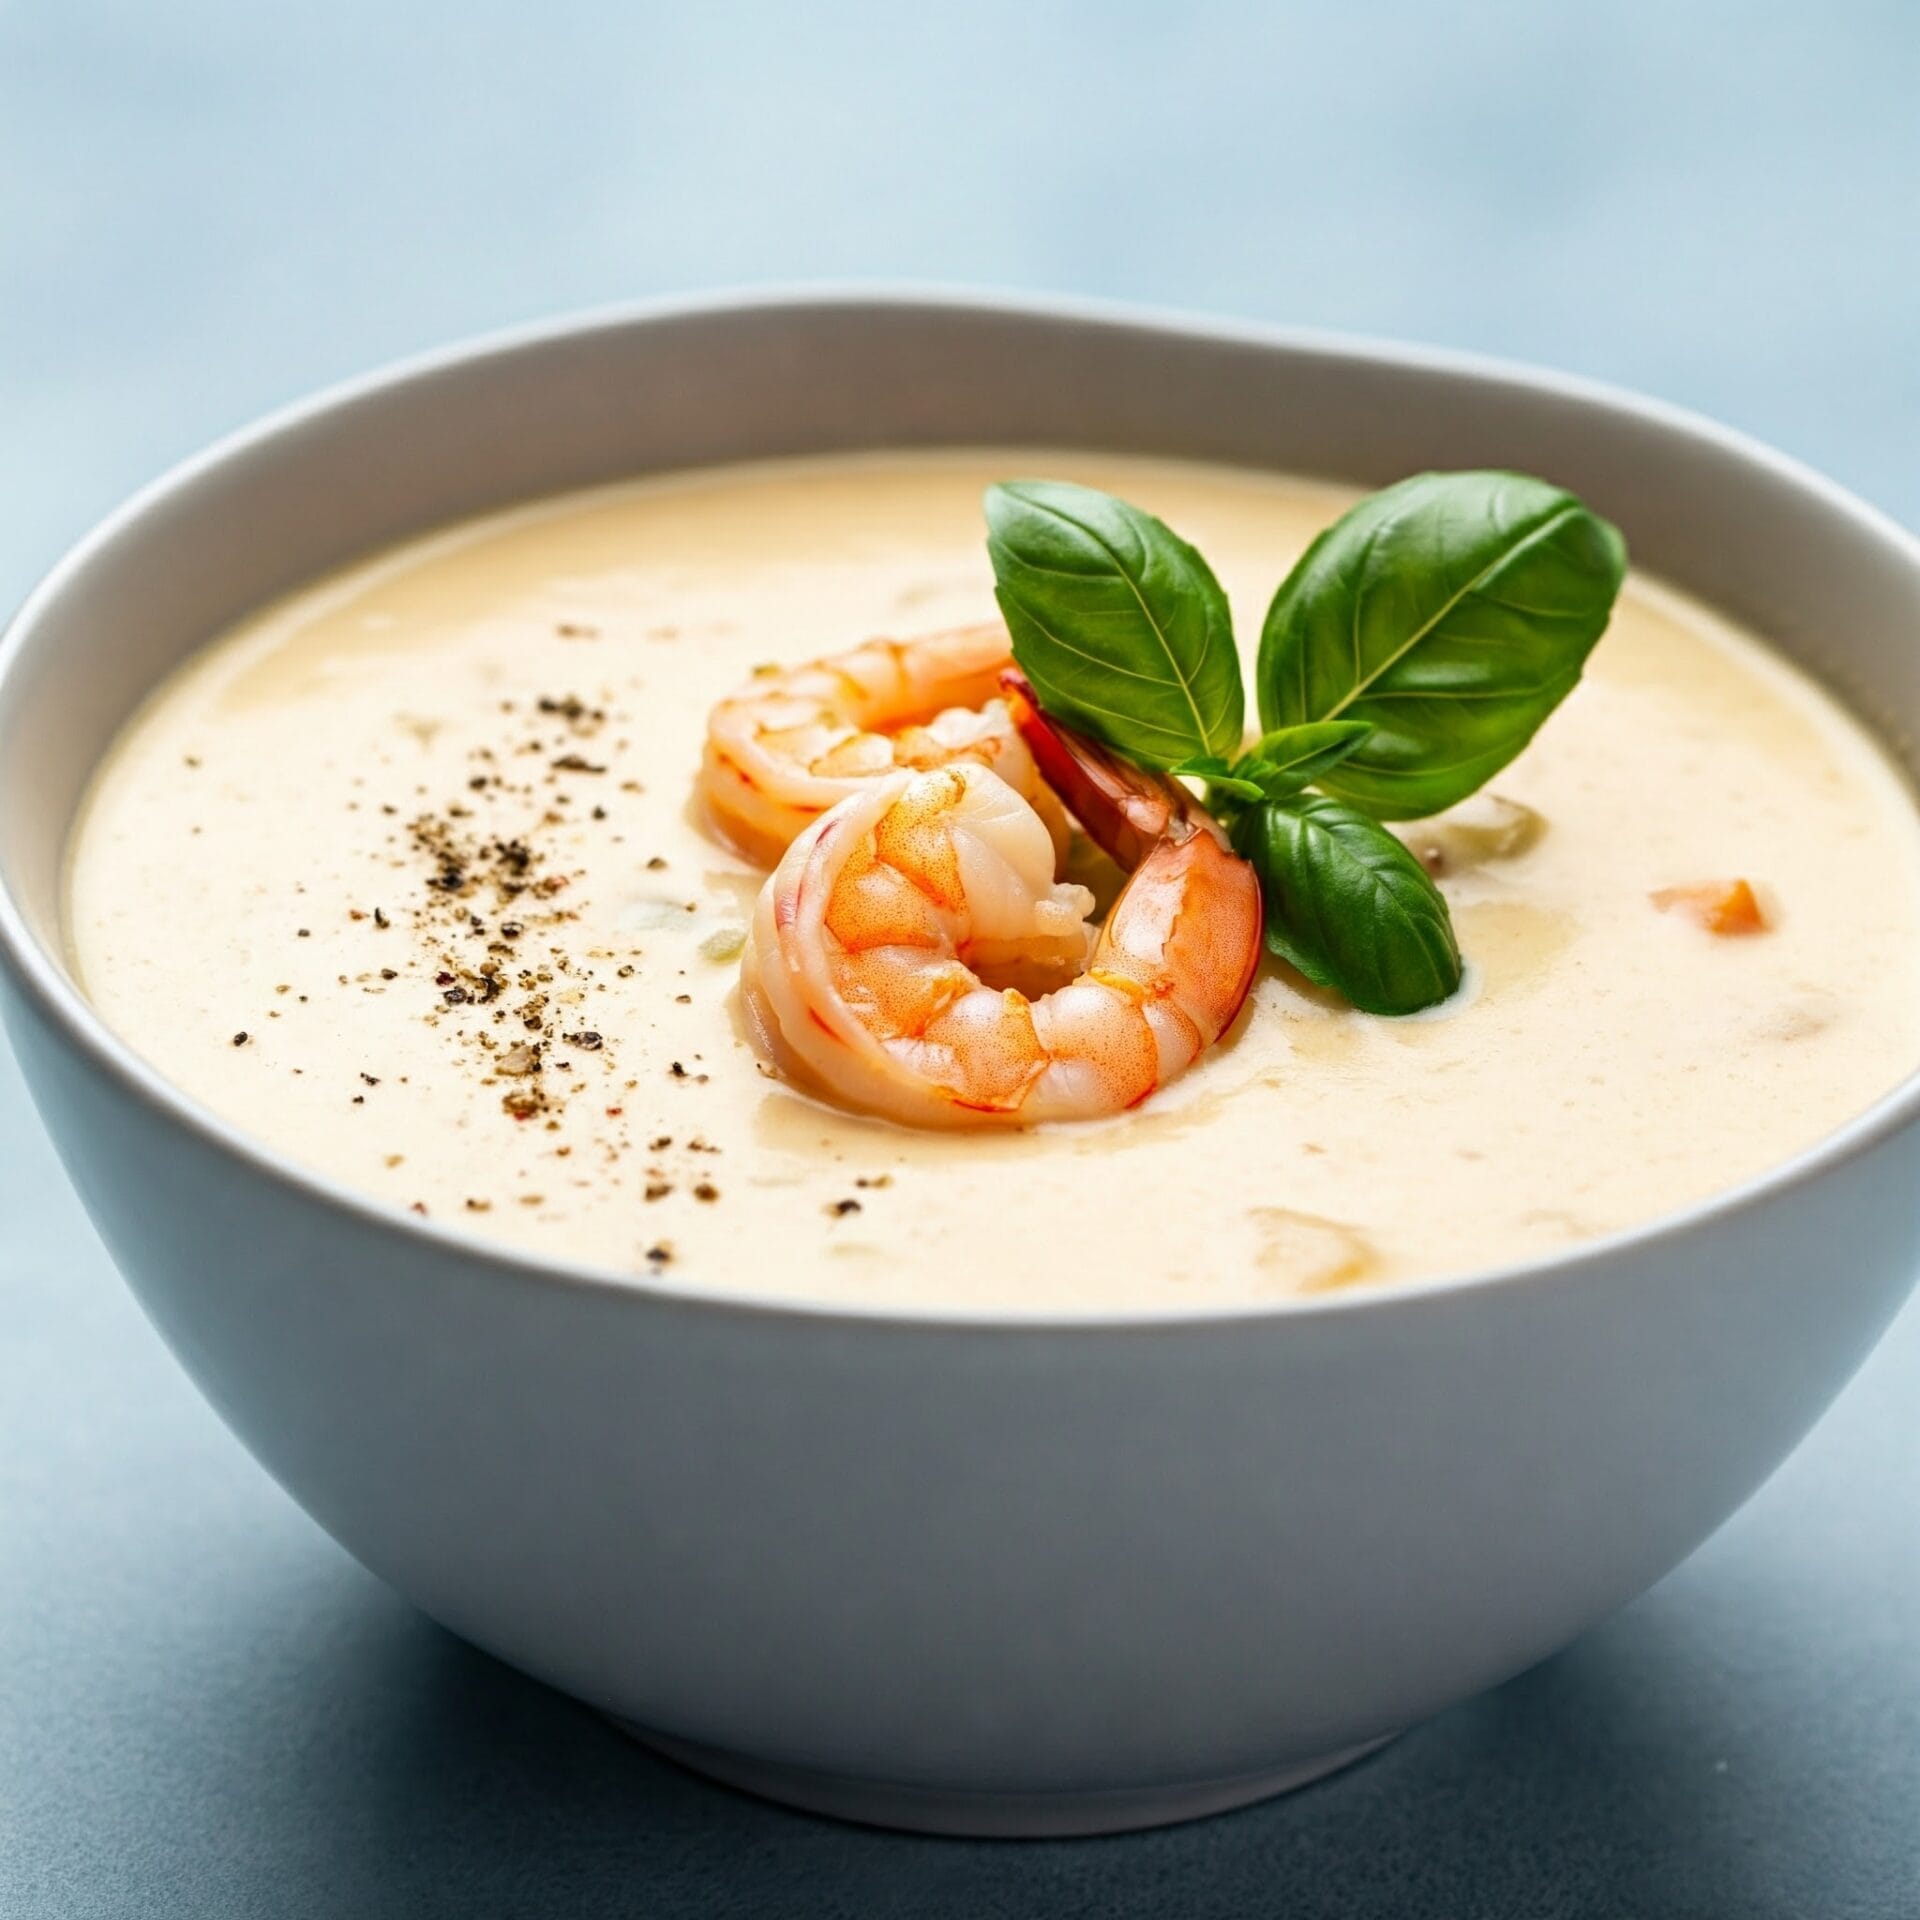
Thai Coconut Curry Noodle Soup

Thai Coconut Curry Noodle Soup

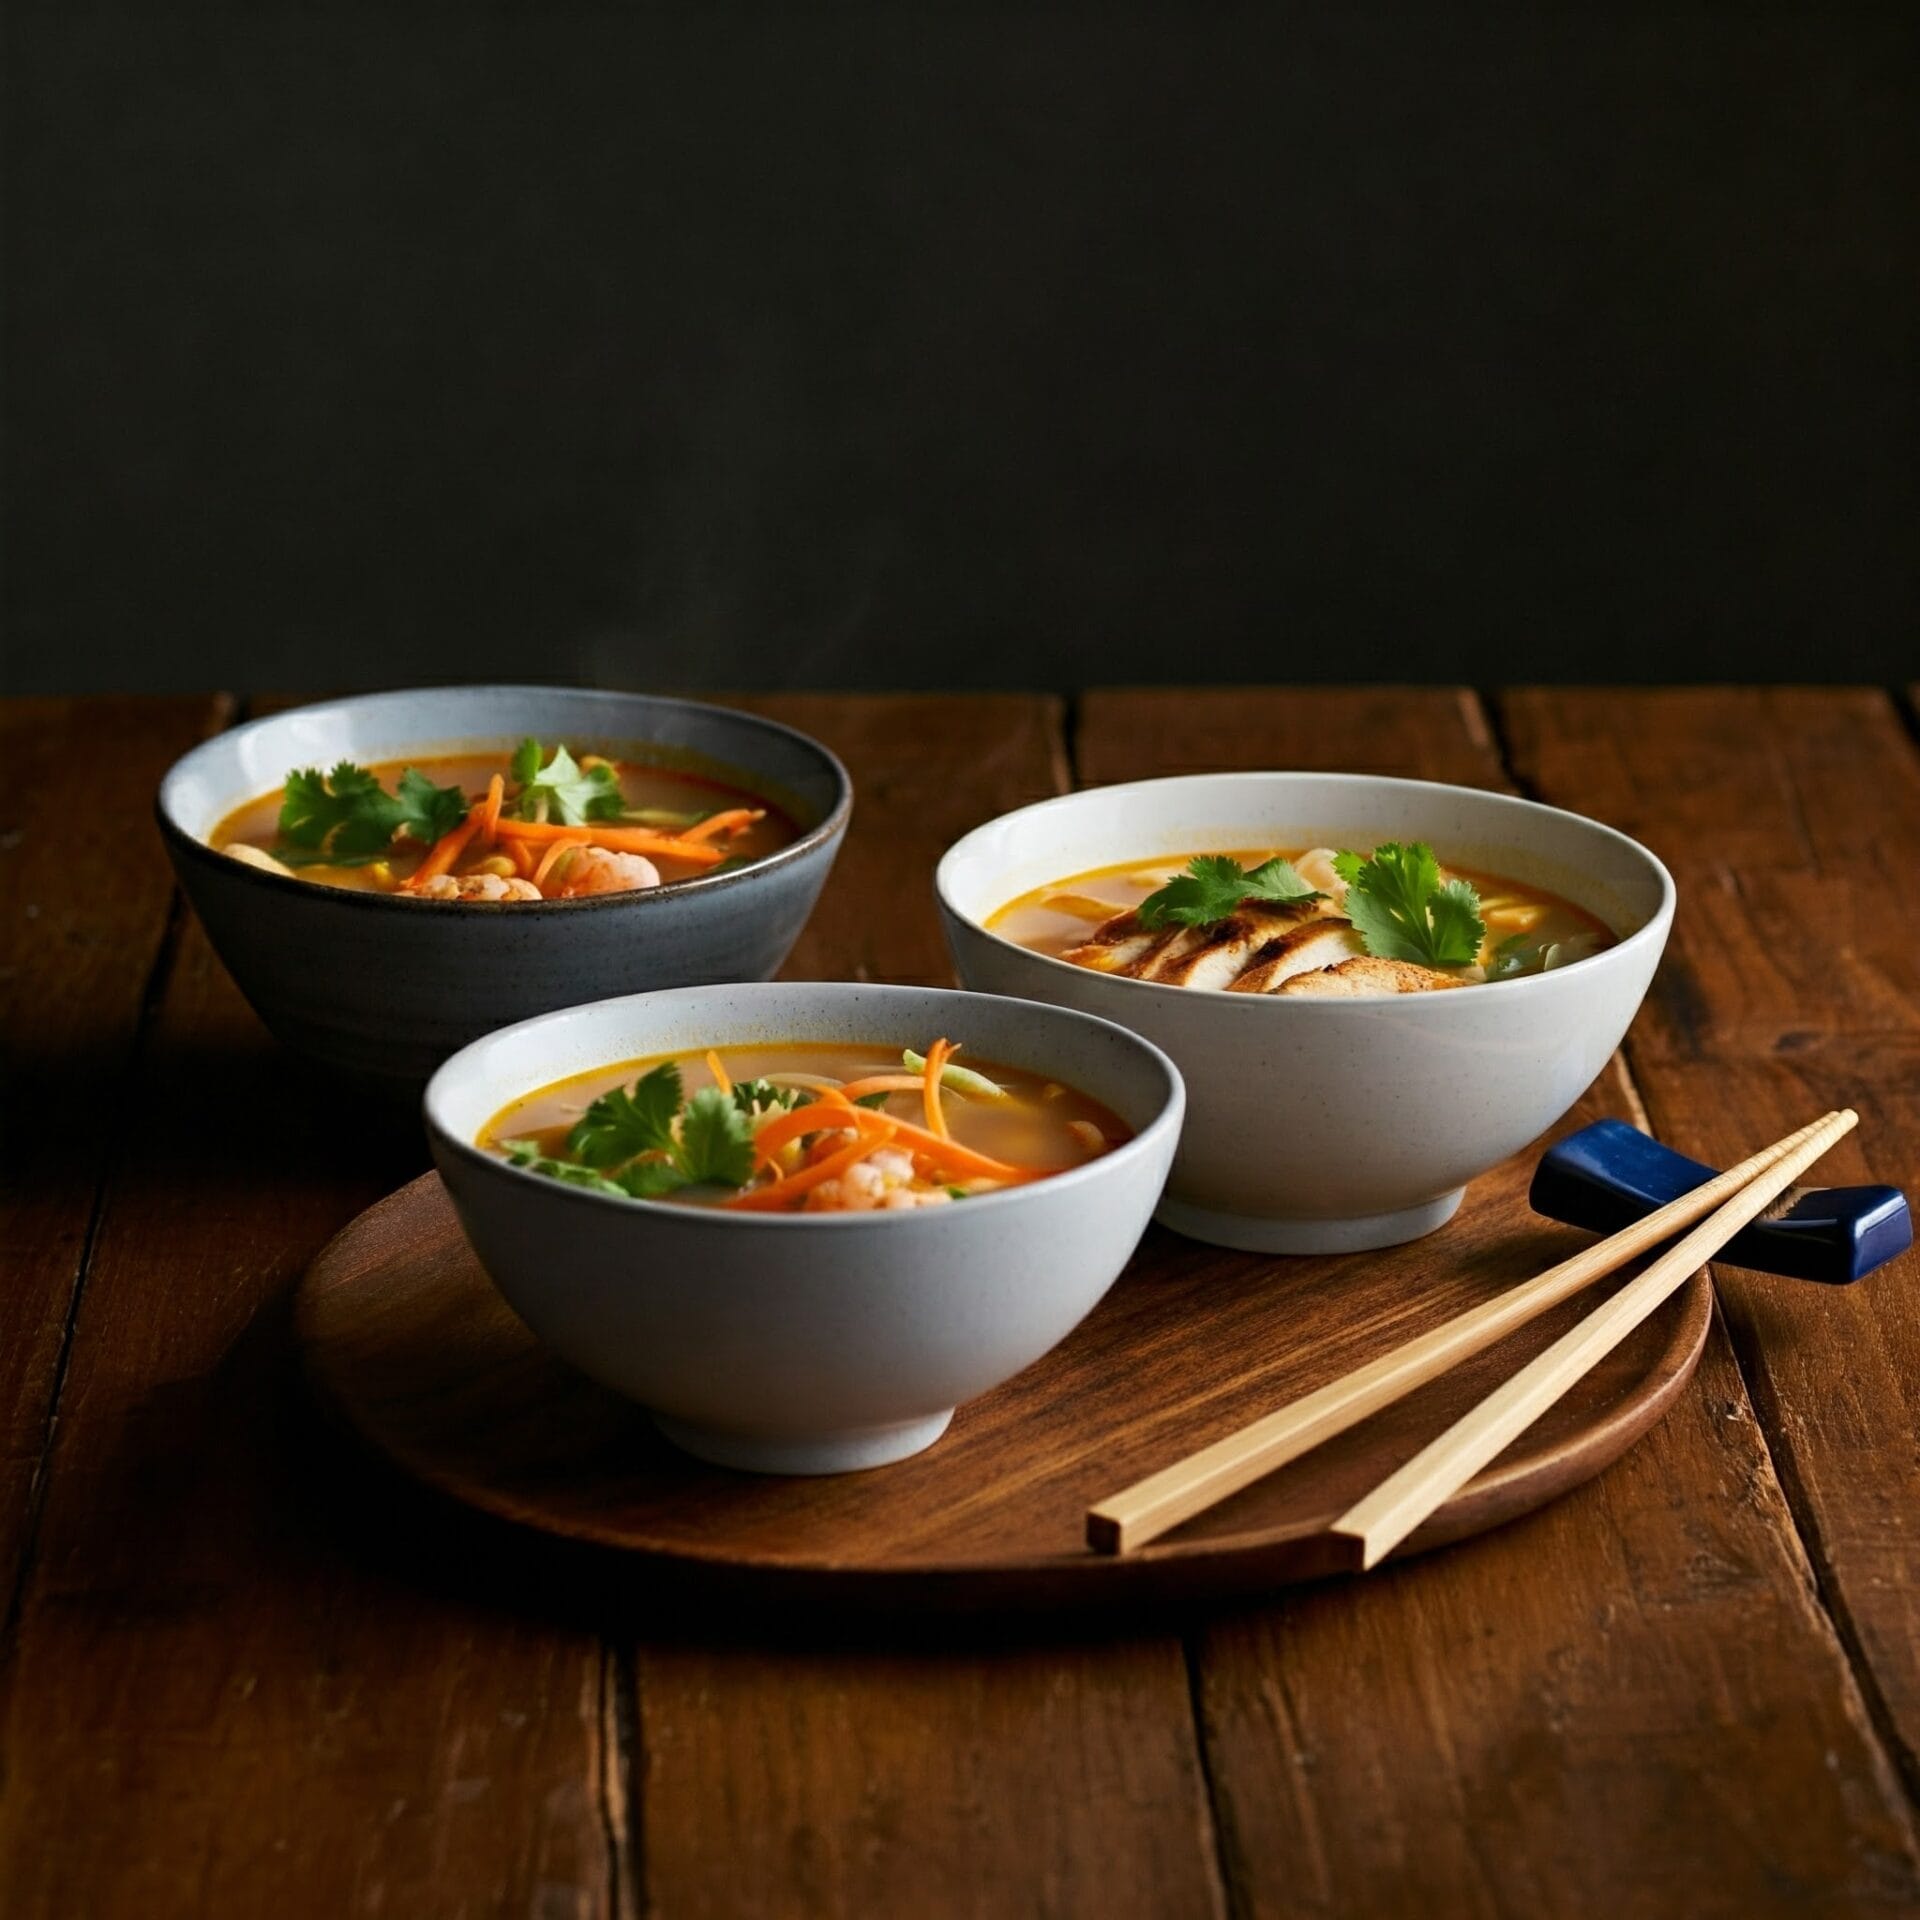
Transport your taste buds to Thailand with this bold and aromatic Thai Coconut Curry Noodle Soup. Creamy coconut milk meets fragrant red curry paste, creating a rich and spicy broth that’s bursting with flavor. Tender rice noodles, crisp vegetables, and your choice of protein (chicken, shrimp, or tofu) come together in one comforting, soul-warming bowl.

Balanced with a touch of lime, a hint of sweetness, and fresh herbs like cilantro and Thai basil, this soup is a perfect harmony of spicy, savory, and soothing. Whether you’re craving something cozy or looking to spice up your weeknight dinner routine, this one-pot wonder delivers big flavor with minimal effort.

Thai Coconut Curry Noodle Soup

No ratings yet
Thai coconut curry noodle soup is a vibrant and flavorful dish featuring creamy coconut milk, fragrant red curry paste, rice noodles, and colorful vegetables like peas, red peppers, and carrots. It's a satisfying and comforting meal with a touch of heat and a refreshing finish from lime juice and Thai basil.
Prep Time 10 minutes
Cook Time 10 minutes
Servings: 6 People
Course: Appetizer, Dinner, Lunch, Main Course
Cuisine: Asian, Northern Thailand, Thai
Calories: 351

Ingredients
  

  •  
    1 tbsp Coconut oil
  • ¼ Large Red Onion
  • 3 Cloves Garlic Minced
  •  
    3 tbsp Thai Red Curry Paste
  •  
    ½ tsp Turmeric
  •  
    Cups Coconut milk
  • 2 Cups Vegetable Broth
  • 2 tbsp Soy Sauce
  •  
    tsp sugar
  •  
    7 oz Dry Rice Noodles
  •  
    1 Cup Snap Peas frozen is fine
  •  
    4 Mini red pepper Sliced
  •  
    1 Cup Matchstick Carrots
  • 1 Large Lime Juiced
  •  
    1 Bunch Thai Basil

Method
 

  1. In a medium nonstick pot over medium heat, sauté onions in oil for 2 minutes. Add garlic and cook 1 minute more, being careful not to brown.
    1 tbsp Coconut oil, ¼ Large Red Onion, 3 Cloves Garlic
  2. Stir in red curry paste, turmeric, coconut milk, vegetable broth, soy sauce, and sugar. Bring the mixture to a simmer, then add your noodles and cook for about 4 minutes.
    3 tbsp Thai Red Curry Paste, ½ tsp Turmeric, 3½ Cups Coconut milk, 2 Cups Vegetable Broth, 2 tbsp Soy Sauce, 2½ tsp sugar, 7 oz Dry Rice Noodles
  3. Toss in the snap peas, red pepper, and carrot. Continue to simmer until the vegetables are tender-crisp and the noodles are cooked through, about 3-4 minutes.
    1 Cup Snap Peas, 4 Mini red pepper, 1 Cup Matchstick Carrots
  4. Turn off the heat and brighten the flavors with a splash of lime juice. Toss in fresh Thai basil and/or cilantro for an aromatic finish.
    1 Large Lime, 1 Bunch Thai Basil
  5. Ladle into bowls and savor the vibrant flavors immediately. For a heartier meal, top with grilled chicken, tofu, or shrimp.

Nutrition

Serving: 8ozCalories: 351kcalCarbohydrates: 33gProtein: 5gFat: 24gSaturated Fat: 21gPolyunsaturated Fat: 0.5gMonounsaturated Fat: 1gSodium: 618mgPotassium: 348mgFiber: 3gSugar: 4gVitamin A: 4278IUVitamin C: 9mgCalcium: 51mgIron: 4mg

Notes

Spice Level:
  • The amount of Thai red curry paste determines the spice level. Start with 2 tablespoons and adjust to your preference. You can always add more later if desired.
Protein Options:
  • While not included in the specific ingredients you listed, feel free to add protein like cooked chicken, shrimp, tofu, or tempeh for a more substantial meal.
Vegetable Variations:
  • The listed vegetables are just suggestions. You can add other vegetables like broccoli, mushrooms, zucchini, or baby corn for additional variety and nutrients.
Noodles:
  • Rice noodles are common, but you can experiment with other types like egg noodles or even ramen noodles. Adjust cooking time according to the specific noodle variety.
Sweetness & Acidity:
  • The sugar helps balance the savory and spicy flavors. Adjust the amount to your taste.
  • Lime juice adds a refreshing brightness. You can adjust the amount based on your preference.
Garnishes:
  • Fresh Thai basil is a classic garnish, but you can also use cilantro, chopped peanuts, or a dollop of chili oil for an extra kick.
Leftovers:
  • This soup reheats well, making it a great option for meal prep.
Additional Tips:
  • Use full-fat coconut milk for the richest flavor.
  • Simmer the soup gently to avoid curdling the coconut milk.
  • Taste the soup throughout and adjust seasonings as needed.
  • Serve with a side of rice or crusty bread for dipping.
By following these notes and personalizing the recipe to your liking, you can create a delicious and satisfying Thai coconut curry noodle soup that perfectly suits your taste buds!

Tried this recipe?

Let us know how it was!

Related Recipes

Ingredients

For the Soup:

  • 1 tablespoon coconut oil
  • ¼ large red onion, thinly sliced
  • 3 cloves garlic, minced
  • 3 tablespoons Thai red curry paste
  • ½ teaspoon turmeric
  • 3 ½ cups coconut milk
  • 2 cups vegetable broth
  • 2 tablespoons soy sauce
  • 2 ½ teaspoons sugar
  • 7 ounces dry rice noodles
  • 1 cup snap peas (fresh or frozen)
  • 4 mini red peppers, sliced
  • 1 cup matchstick carrots
  • 1 large lime, juiced
  • 1 bunch Thai basil, leaves picked

Image Gallery Thai Coconut Curry Noodle Soup
Storage & Leftovers

🧊 Storage:

  • Store leftover soup (without noodles, if possible) in an airtight container in the refrigerator for up to 3–4 days.

  • If noodles are already mixed in, they may absorb liquid and become soft—still tasty, but with a different texture.

🔥 Reheating:

  • Reheat gently on the stovetop over medium heat, stirring occasionally. Add a splash of coconut milk or broth to thin the soup if it thickened in the fridge.

  • Microwave in short bursts, stirring between intervals, until hot throughout.

🥡 Freezing:

  • You can freeze the broth only (without noodles or delicate veggies) for up to 2 months.

  • When ready to serve, reheat the broth and add fresh-cooked noodles for best texture.

💡 Pro Tip:
If meal prepping, store noodles separately and add them right before serving to keep them from getting mushy.

Please follow and like us:
onpost_follow
fb-share-icon197
Tweet120
Pinterest20
Share 20
submit to reddit

Subscribe for New Recipes

* indicates required

Intuit Mailchimp

Creamy Chicken Soup With Pasta & Spinach

Creamy Chicken Soup With Pasta & Spinach

Cozy up with a bowl of this hearty Creamy Chicken Soup, the ultimate feel-good meal for any day of the week. Tender shredded chicken, al dente pasta, and baby spinach are simmered in a rich, velvety broth flavored with garlic, herbs, and a splash of cream. It’s nourishing, filling, and packed with comfort—perfect for chilly nights, meal prep, or when you just need something soul-soothing and delicious. One pot, easy to make, and impossible to resist.

Creamy Chicken Soup With Pasta & Spinach

No ratings yet
Creamy chicken soup with pasta and spinach is a comforting and flavorful dish that combines tender chicken, hearty pasta, and nutritious spinach in a rich and creamy broth. It's a versatile soup that can be adapted to different tastes and preferences, making it a popular choice for a quick and satisfying meal.
Prep Time 15 minutes
Cook Time 25 minutes
Servings: 6 people
Course: Lunch, Main Course
Cuisine: American, Northeast
Calories: 691

Ingredients
  

  • 1 lb Chicken Breast shredded or chopped
  • 4 Cups Chicken Broth low sodium (or vegetable broth)
  • 2 tsp Olive Oil
  • ½ Cup Yellow Onion chopped fine
  • 1 Cup Carrots small diced
  • ½ Cup Celery fine dice
  • 2 Cloves Garlic minced
  • Cups Mild Cheddar Cheese
  •  
    1 Cup Cream Cheese softened
  • ½ Cup Heavy Cream
  • ½ tsp Kosher Salt to taste
  • ½ tsp Ground Black Pepper to taste
  •  
    2 Cups Ditalini Pasta or comparable small pasta
  • 2 Cups Spinach Chopped
Garnish
  • ½ Cup Parmesan Cheese

Method
 

  1. Heat your pot or Dutch oven, then add the vegetables and get those aromatics going! Stir them around as they cook until they're nice and tender.
  2. Now, introduce the cooked chicken to the pan. Let it heat through and absorb the flavors of the vegetables for a couple of minutes, stirring occasionally.
  3. It's time to build the creamy base. Pour in the rich broth, followed by the heavy cream and cream cheese. Give it a stir, then cover the pot and bring the soup to a boil. Once it's bubbling, reduce the heat and let it simmer gently for 15 minutes, allowing the flavors to meld.
  4. Now, add the pasta to the simmering soup. Let it bubble away gently until the pasta is cooked to your liking, usually around 8-10 minutes. Once the pasta is ready, stir in the cheddar cheese, allowing it to melt into the creamy broth and create a luscious texture.
  5. As the pasta reaches perfect tenderness, it's time to add the spinach. Gently fold it into the simmering soup, watching as it wilts and releases its vibrant color. Be sure to taste and adjust the seasoning with a sprinkle of salt and a grind of black pepper. Then, ladle the soup into bowls and savor the comforting flavors.

Nutrition

Serving: 12ozCalories: 691kcalCarbohydrates: 51gProtein: 38gFat: 37gSaturated Fat: 20gPolyunsaturated Fat: 2gMonounsaturated Fat: 10gTrans Fat: 0.01gCholesterol: 147mgSodium: 1354mgPotassium: 709mgFiber: 3gSugar: 6gVitamin A: 5796IUVitamin C: 7mgCalcium: 402mgIron: 2mg

Notes

Chicken:
  • Cooked chicken is key: Using pre-cooked chicken (rotisserie, leftover, etc.) saves time and ensures tender results.
  • Dark meat for flavor: While chicken breasts work, using some dark meat (thighs, legs) adds richness.
  • Shred or dice: Shredding creates a more integrated texture, while dicing offers more defined bites.
Vegetables:
  • Aromatics are essential: The classic trio of onions, carrots, and celery builds flavor.
  • Sautéing is key: Don't skip this step! It develops depth and sweetness in the vegetables.
  • Garlic for punch: Freshly minced garlic is best for its pungent aroma and flavor.
  • Spinach at the end: Add spinach towards the end of cooking to preserve its color and nutrients.
Creamy Base:
  • Broth choice matters: Homemade or low-sodium store-bought broth is ideal.
  • Cream content: Heavy cream or half-and-half create richness. Adjust the amount for desired creaminess.
  • Cream cheese for tang: Cream cheese adds a subtle tang and helps thicken the soup.
  • Cheese matters: Cheddar adds sharpness, Parmesan adds saltiness. Consider a blend!
Pasta:
  • Small shapes are best: Ditalini, orzo, mini shells, etc., cook quickly and hold the sauce well.
  • Cook to al dente: Slightly firm pasta is ideal. Overcooked pasta can make the soup mushy.
Seasoning:
  • Salt and pepper are essential: Season to taste throughout the cooking process.
  • Herbs and spices: Fresh or dried herbs (thyme, Italian seasoning) add complexity.
  • Optional extras: A pinch of red pepper flakes or a squeeze of lemon juice can brighten the flavors.
Other Tips:
  • Don't overcook: Simmer gently to avoid curdling the dairy or overcooking the chicken and vegetables.
  • Adjust consistency: If the soup is too thick, add more broth. If it's too thin, simmer uncovered to reduce or use a cornstarch slurry.
  • Garnish generously: Fresh parsley, a sprinkle of cheese, or croutons add visual appeal and flavor.

Tried this recipe?

Let us know how it was!

Related Recipes

Ingredients

Ingredients:

  1. 1 lb (450g) cooked shredded or chopped chicken breast (rotisserie chicken works great!)
  2. 4 cups (1L) low-sodium chicken broth (or vegetable broth)
  3. 2 teaspoons olive oil
  4. 1/2 cup chopped onion
  5. 1 cup diced carrots
  6. 1/2 cup diced celery
  7. 2 garlic cloves, minced
  8. 1 1/2 cups shredded mild cheddar cheese
  9. 1 cup cream cheese, softened
  10. 1/2 cup heavy cream
  11. 1/2 teaspoon kosher salt
  12. Fresh black pepper (to taste)
  13. 2 cups uncooked ditalini pasta (or any other small pasta)
  14. 2 cups chopped spinach
  15. 1/2 cup parmesan cheese for garnish (optional)


Image Gallery Creamy Chicken Soup With Pasta & Spinach

Storage & Leftovers

Storage:

  • Refrigerator:
    Let the soup cool completely, then store in an airtight container in the fridge for up to 4 days.

  • Freezer:
    Freeze in individual portions (without the pasta if possible) for up to 2 months. Creamy soups can sometimes separate when frozen, so stir well when reheating. Cooked pasta may become soft, so consider freezing the soup without it and adding fresh pasta when serving.

Reheating:

  • Stovetop (Best Method):
    Reheat over medium-low heat, stirring often. Add a splash of broth or milk to loosen the soup if it has thickened.

  • Microwave:
    Heat in 1-minute intervals, stirring between each, until hot. Add a little liquid if needed.

Pro Tips:

  • If prepping ahead, cook and store the pasta separately to avoid it becoming mushy.

  • Add a handful of fresh spinach right before serving leftovers to revive the vibrant texture and flavor.

  • Garnish with a fresh grind of black pepper or grated parmesan for a just-made feel.

Please follow and like us:
onpost_follow
fb-share-icon197
Tweet120
Pinterest20

Share 20
submit to reddit

Subscribe for New Recipes

* indicates required

Intuit Mailchimp

Beef Stroganoff Soup

Beef Stroganoff Soup

This hearty and comforting Beef Stroganoff Soup transforms the classic dish into a rich, soul-warming bowl of goodness. Tender ground beef is simmered with savory mushrooms and aromatic onions in a creamy beef broth infused with garlic, Worcestershire sauce, and tangy sour cream. Swirls of egg noodles soak up all the flavor, making every spoonful creamy, beefy, and deeply satisfying. Finished with a sprinkle of fresh parsley, this soup is the perfect fusion of cozy comfort and bold flavor—ideal for chilly nights or an easy weeknight dinner.

Beef Stroganoff Soup

No ratings yet
This Beef Stroganoff Soup is a flavor adventure! Tender beef and earthy mushrooms swim in a rich, savory broth, all brought together with a touch of red wine and a swirl of creamy sour cream. It's comfort food with a sophisticated twist, perfect for a cozy night in.
With simple ingredients and easy-to-follow instructions, this recipe is a winner for seasoned cooks and beginners alike. Each bite is an explosion of texture and taste, from the tender beef to the chewy egg noodles. You'll be amazed at how quickly this soup disappears from your bowls!
Prep Time 15 minutes
Cook Time 1 hour
Servings: 6 people
Course: Dinner, Lunch, Main Course
Cuisine: Eastern European, Ukraine
Calories: 361

Ingredients
  

  • 1 Tbsp Unsalted Butter
  • 3 Tbsp Olive Oil divided
  • 1 lb Stew Beef
  • 8 oz Cremini mushrooms sliced
  • 1 Cup Yellow Onion diced
  • 3 Cloves Garlic minced
  • 2 Tbsp Tomato Paste
  • 1 Tbsp Worcestershire Sauce
  • ½ Cup Dry Red Wine
  • 6 Cups Beef Stock low sodium
  • 2 Cups Egg noodles
  • ½ Cup Sour Cream
  • 2 Tbsp All-Purpose Flour
  • 1 Bunch Parsley fresh, for garnish
  • 1 pinch Kosher Salt to taste
  • 1 pinch Ground Black Pepper to taste

Method
 

  1. In a Dutch oven, melt the butter with 2 tablespoons of olive oil over medium-high heat. Add the beef, season with salt and pepper, and cook until browned on all sides. Remove the beef from the pot and set it aside.
  2. Add the onion to the pot with the remaining oil and cook until softened. Then, add the mushrooms and cook until they are tender.
  3. Stir in the tomato paste and Worcestershire sauce, making sure they are evenly distributed throughout the mushroom and onion mixture.
  4. Carefully pour the red wine into the pot, ensuring it covers the bottom, to deglaze. Bring the mixture to a boil over medium-high heat, then let the wine simmer and reduce for approximately 1-2 minutes, or until slightly thickened.
  5. Gently return the browned beef to the pot and pour in 5 cups of rich beef stock. Over medium-high heat, bring the liquid to a rolling boil. Once boiling, reduce the heat to low, cover the pot snugly, and let it simmer for 35-40 minutes. The beef will be perfectly tender and infused with flavor.
  6. Stir in the noodles, cover the pot, and simmer for 5-7 minutes, or until the noodles reach your desired level of tenderness.
  7. While the noodles cook, combine the sour cream and flour in a small bowl. Ladle 2 cups of the hot soup into the bowl and whisk until well combined. Return the mixture back into the pot and simmer for 1-2 minutes, stirring frequently, until thickened. If the noodles absorbed too much liquid, add more broth.
  8. Finish the soup with a sprinkle of salt and freshly ground black pepper according to your preference. Just before serving, stir in a handful of chopped fresh parsley for a bright, herbaceous lift.

Nutrition

Serving: 12ozCalories: 361kcalCarbohydrates: 22gProtein: 26gFat: 17gSaturated Fat: 6gPolyunsaturated Fat: 1gMonounsaturated Fat: 8gTrans Fat: 0.1gCholesterol: 74mgSodium: 628mgPotassium: 1112mgFiber: 2gSugar: 5gVitamin A: 1072IUVitamin C: 17mgCalcium: 93mgIron: 4mg

Notes

Beef Choice & Prep:
  • Cut: Use a tender cut of beef like sirloin, tenderloin, or New York strip.
  • Slicing: Slice the beef against the grain for maximum tenderness. Aim for thin, bite-sized pieces.
  • Don't overcrowd the pan: When searing the beef, work in batches to ensure proper browning. Overcrowding will cause the beef to steam instead of sear.
Flavor Boosters:
  • Umami: Don't be afraid to add a splash of Worcestershire sauce or a dollop of tomato paste to deepen the savory flavors.
  • Mushrooms: While not traditional in every stroganoff, mushrooms add a wonderful earthy note. Use cremini, button, or even wild mushrooms.
  • Aromatics: Sautéing onions and garlic with the mushrooms builds a flavorful foundation for the soup.
  • Herbs: Fresh thyme or a bay leaf simmered with the broth adds subtle complexity.
Texture & Consistency:
  • Noodles: Egg noodles are classic, but you can experiment with pappardelle, wide egg noodles, or even small pasta shapes.
  • Sour cream: For the creamiest texture, use full-fat sour cream.
  • Tempering: To prevent the sour cream from curdling, temper it by gradually whisking in a small amount of the hot soup before adding it to the pot.
  • Thickness: If your soup is too thin, you can thicken it with a cornstarch slurry (cornstarch mixed with a little cold water or broth).
Serving Suggestions:
  • Garnishes: Fresh parsley is a must, but you can also try chives, dill, or a dollop of crème fraîche.
  • Sides: Serve with crusty bread, a simple salad, or roasted vegetables.
Other Tips:
  • Broth: Use a good quality beef broth for the best flavor. Homemade is ideal, but a store-bought low-sodium broth works well too.
  • Simmering: Don't rush the simmering process. This allows the beef to become tender and the flavors to meld.
  • Salt & Pepper: Season gradually throughout the cooking process, tasting and adjusting as needed.
Enjoy your delicious homemade beef stroganoff soup!

Tried this recipe?

Let us know how it was!

Related Recipes

Ingredients

Ingredients:

  • 1 tablespoon unsalted butter
  • 3 tablespoons olive oil, divided
  • 1 pound stew beef, cut into 1-inch cubes
  • 8 ounces cremini mushrooms, sliced
  • 1 cup yellow onion, diced
  • 3 cloves garlic, minced
  • 2 tablespoons tomato paste
  • 1 tablespoon Worcestershire sauce
  • ½ cup dry red wine
  • 6 cups beef stock, low sodium
  • 2 cups egg noodles
  • ½ cup sour cream
  • 2 tablespoons all-purpose flour
  • 1 bunch fresh parsley, for garnish
  • Kosher salt, to taste
  • Ground black pepper, to taste

Image Gallery Beef Stroganoff Soup

Storage & Leftovers

Refrigerator:
Let the soup cool to room temperature, then transfer to an airtight container. Store in the refrigerator for up to 4 days. The noodles may absorb more liquid over time, so you can add a splash of broth or water when reheating to restore the consistency.

Freezer:
For best results, freeze the soup without the noodles (they can become mushy). Store the base in freezer-safe containers for up to 2 months. When ready to eat, thaw overnight in the fridge, reheat gently, and stir in freshly cooked noodles.

Reheating:
Warm leftovers on the stovetop over medium heat or microwave in short bursts, stirring in between. Add broth or milk as needed to loosen the soup. Stir in a spoonful of sour cream after reheating if you’d like to refresh the creaminess.

Please follow and like us:
onpost_follow
fb-share-icon197
Tweet120
Pinterest20
Share 20
submit to reddit

Subscribe for New Recipes

* indicates required

Intuit Mailchimp

Shrimp Chowder

Shrimp Chowder

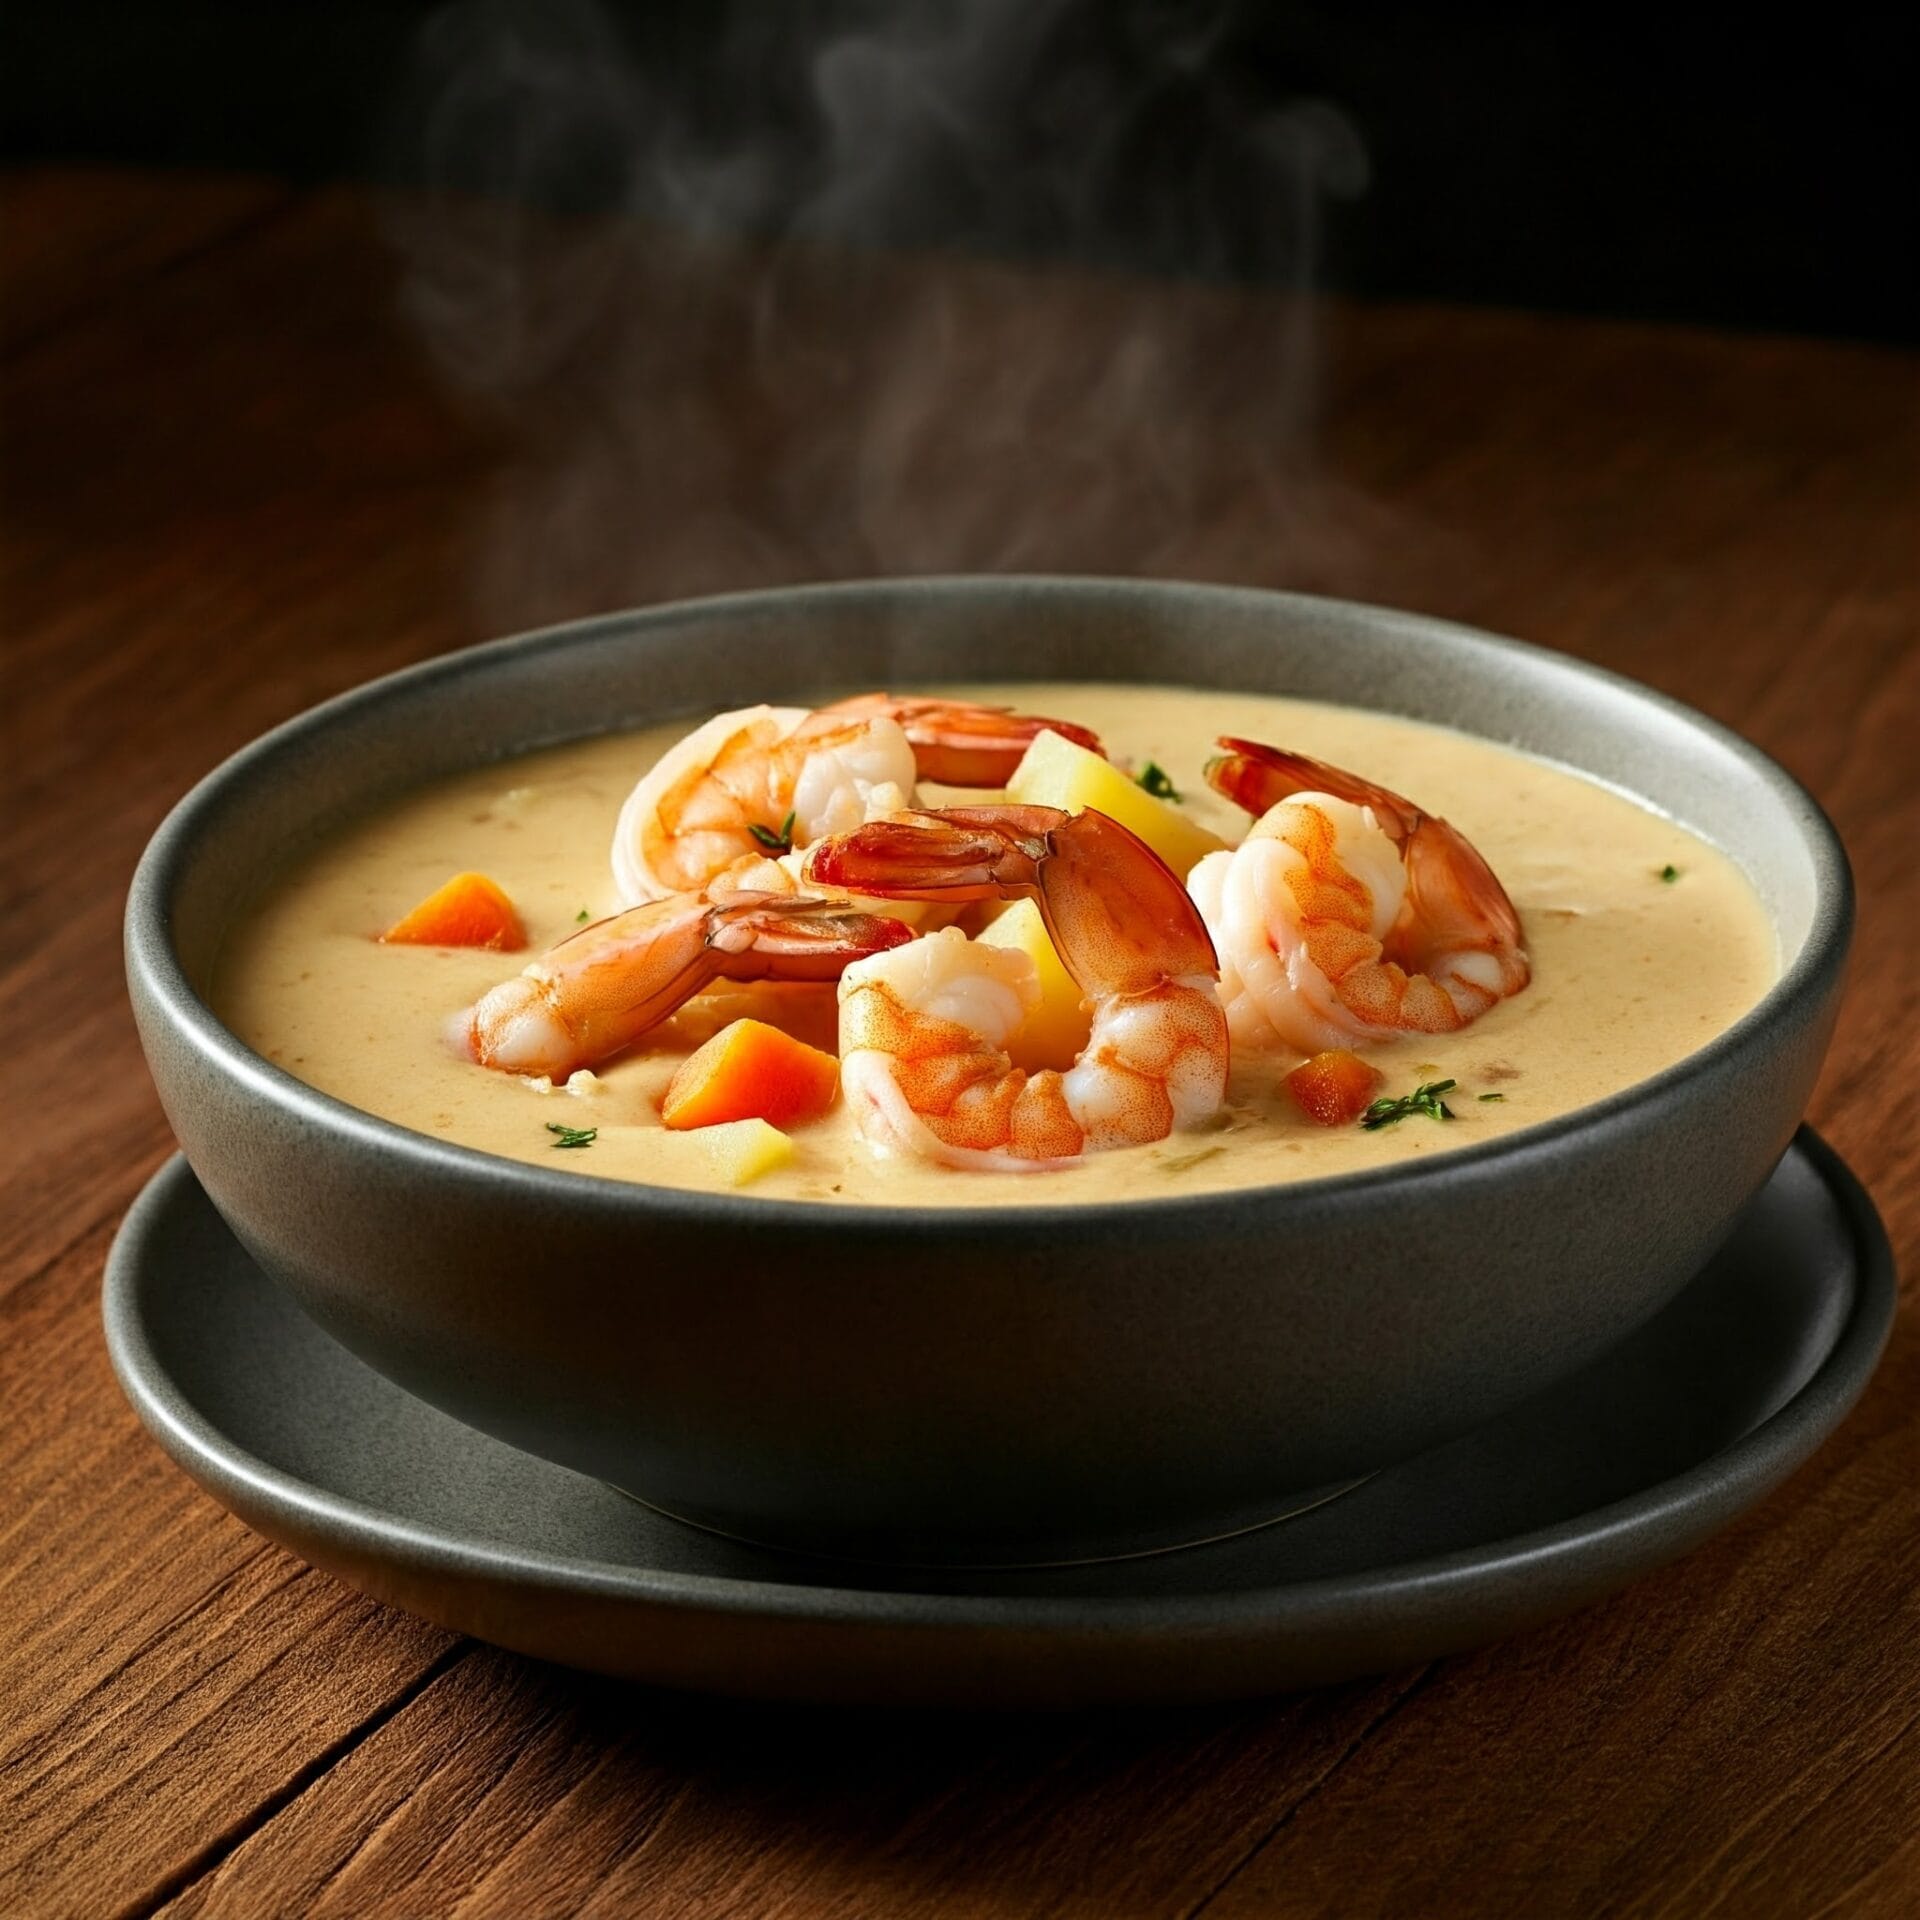
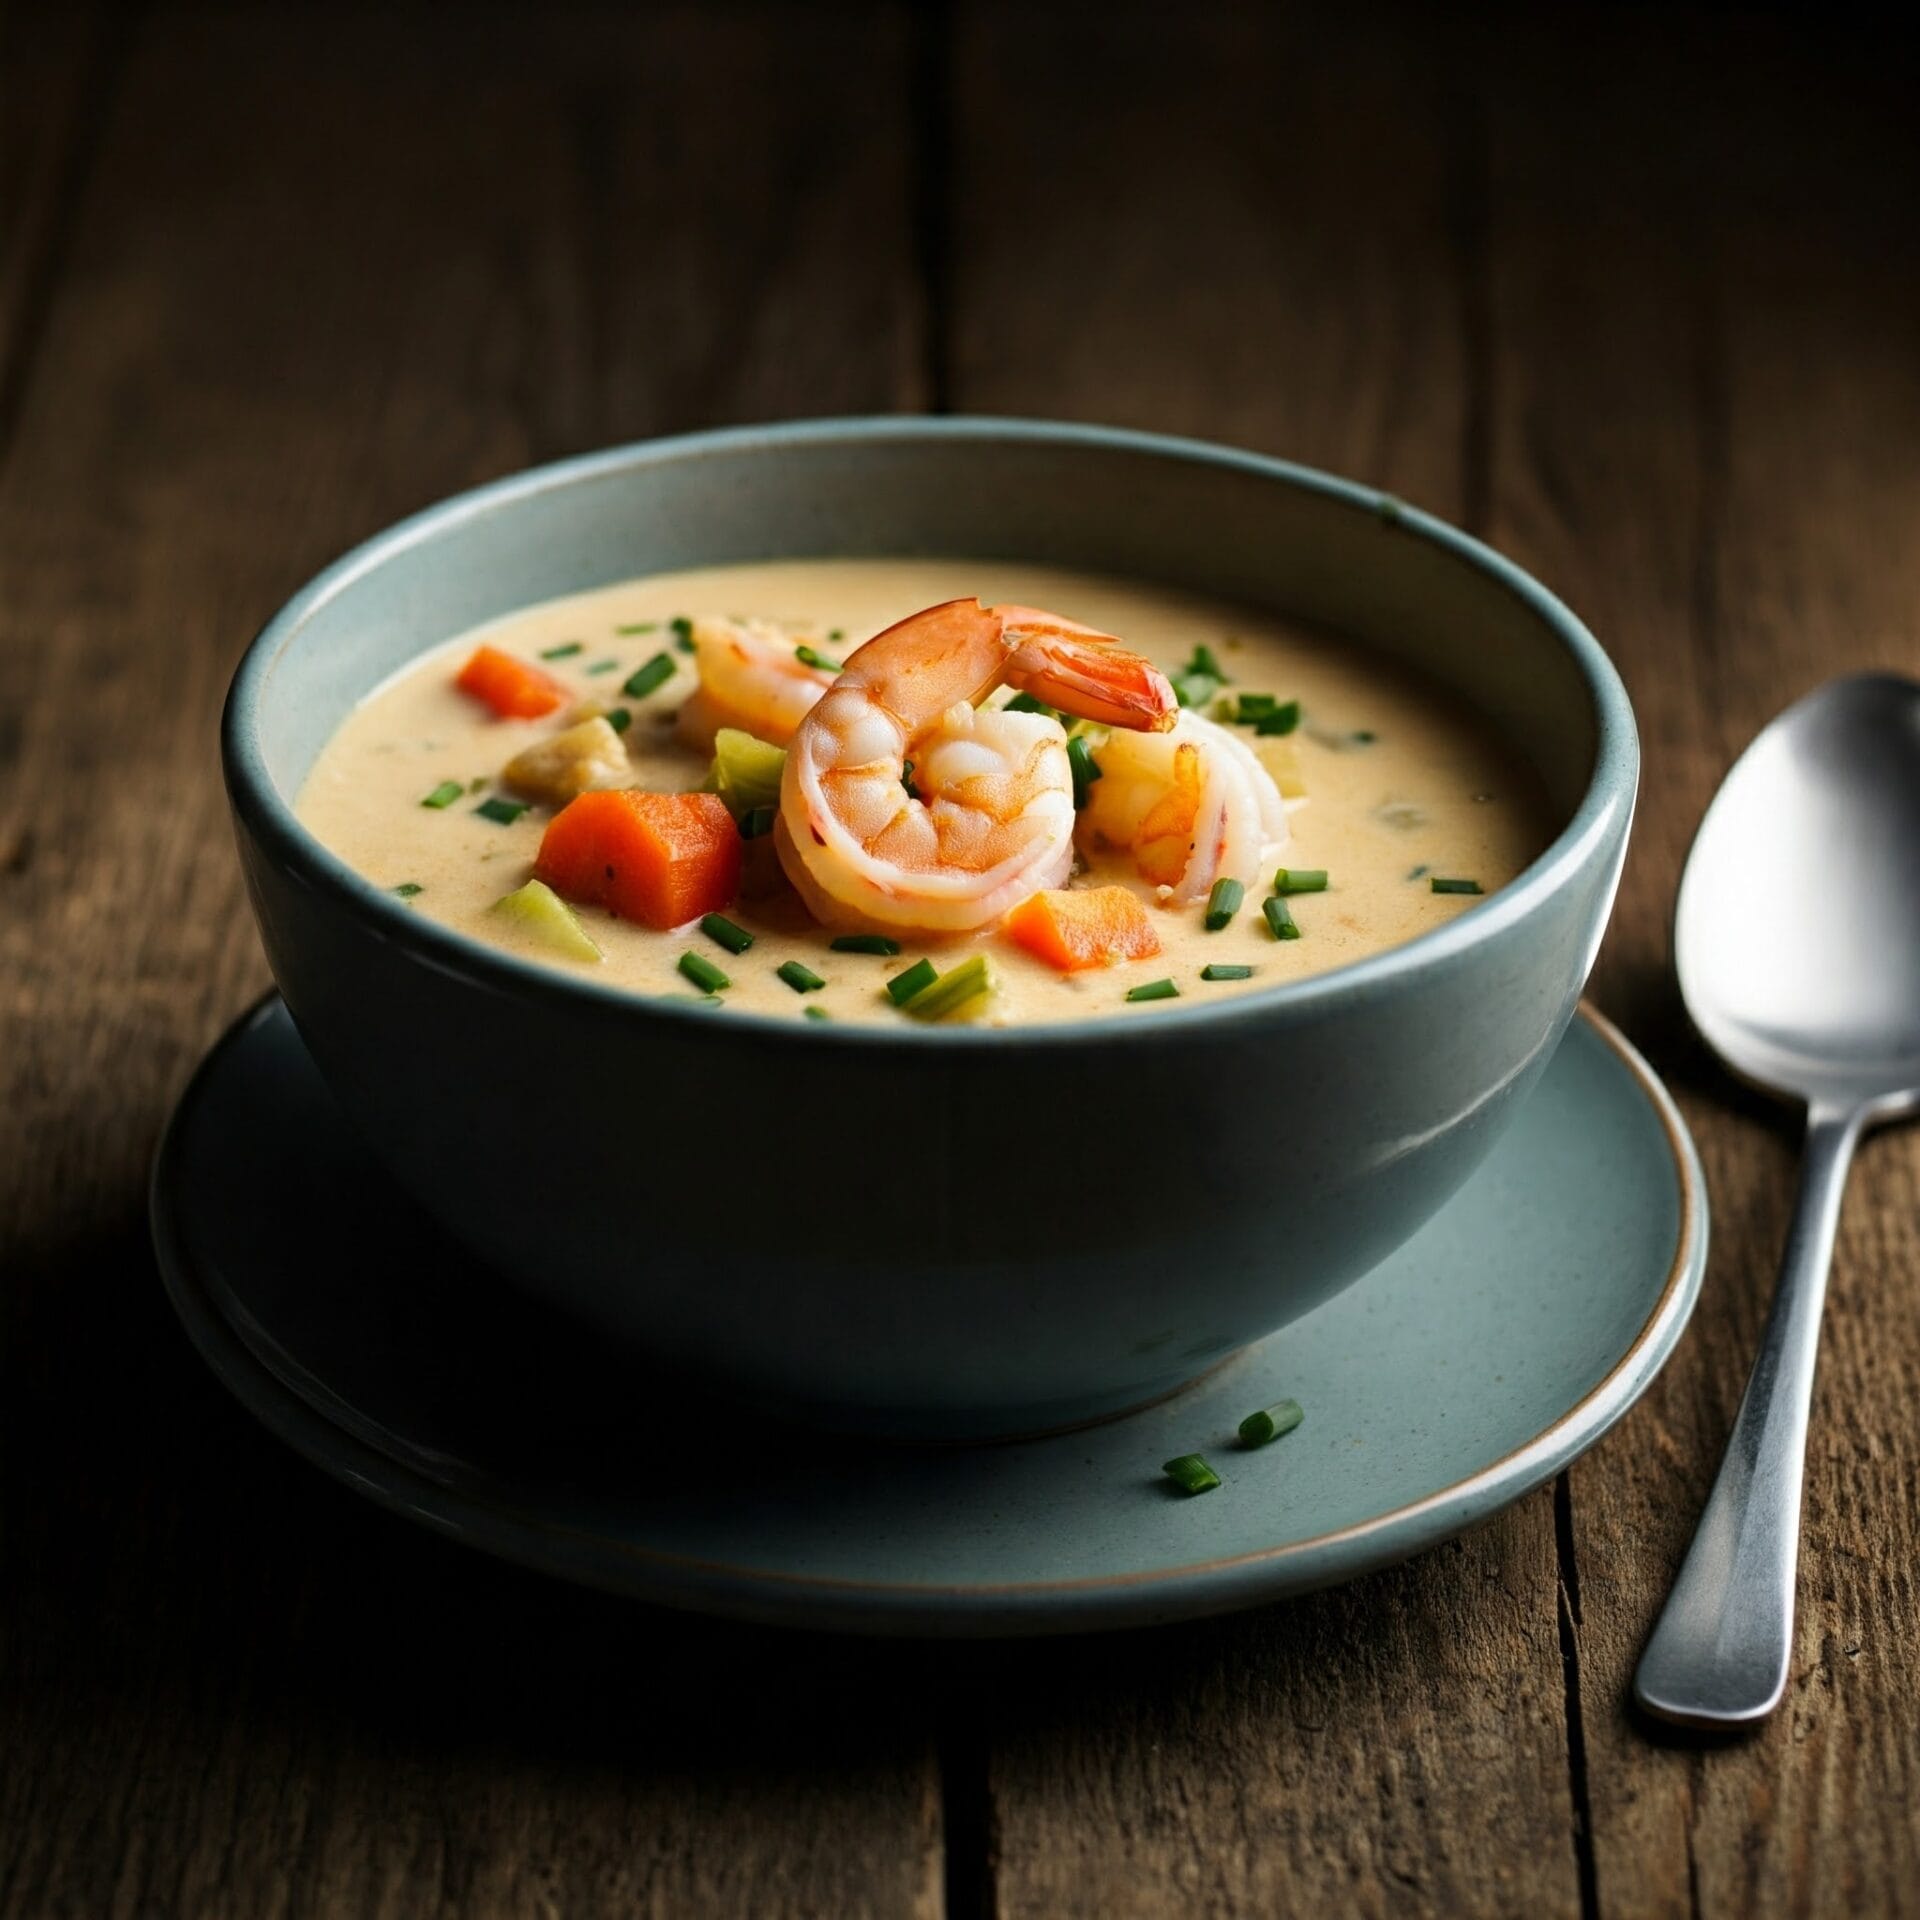
This Shrimp Chowder is a creamy coastal dream in a bowl! Tender, juicy shrimp swim in a rich, flavorful broth alongside hearty chunks of potato and sweet bursts of corn—each spoonful delivering a comforting medley of textures and seaside flavor.

It’s a celebration of simple ingredients done right: plump shrimp, velvety potatoes, and a whisper of smoky bacon to deepen the flavor. Whether you’re a seafood lover or just craving something soul-warming, this chowder is sure to hit the spot.

Why You’ll Love It:
🦐 Flavorful – A perfect balance of creamy, savory, and subtly sweet.
🥔 Hearty – Loaded with shrimp, potatoes, and corn for a filling, satisfying meal.
Weeknight-friendly – Quick and easy to make, yet elegant enough for guests.

Grab a spoon and dive in—this homemade Shrimp Chowder brings the cozy charm of a seaside kitchen straight to your table.

Shrimp Chowder

No ratings yet
Shrimp chowder is a creamy, comforting soup packed with tender shrimp, potatoes, and often other vegetables like corn and celery. It's a flavorful and satisfying dish, perfect for a cozy meal.
Prep Time 15 minutes
Cook Time 25 minutes
Servings: 4 people
Course: Dinner, Main Course
Cuisine: New England, Northeast
Calories: 397

Ingredients
  

  • 2 Slices Bacon chopped
  • 1 Tbsp Extra Virgin Olive Oil a little extra for drizzling
  • 1 small Yellow Onion chopped
  • 1 tsp Tomato Paste
  • 3 Tbsp All-Purpose Flour
  • 3 Cups Chicken Broth low Sodium
  • 2 Cups Half and Half
  • 1 lb Red Skinned Potatoes halved or quartered if large
  • 12 oz Medium Shrimp
  • ½ Cup Fresh Basil Loosely packed and torn into pieces
  • 1 pinch Kosher Salt to taste
  • 1 pinch Ground Black Pepper to taste

Method
 

  1. Cook the bacon in a Dutch oven over medium heat, stirring occasionally, until it becomes crispy. Add the oil and onion to the pot and cook until the onion softens. Stir in the tomato paste and cook briefly until it darkens slightly. Sprinkle in the flour and cook, stirring constantly, to create a roux.
    2 Slices Bacon, 1 Tbsp Extra Virgin Olive Oil, 1 small Yellow Onion, 1 tsp Tomato Paste, 3 Tbsp All-Purpose Flour
  2. Gradually whisk in the broth and half-and-half, stirring constantly until the mixture is smooth and there are no lumps of flour remaining. Add the potatoes, 1 teaspoon of salt, and 1/2 teaspoon of pepper. Bring the chowder to a boil over medium-high heat, then reduce the heat to medium-low, cover the pot, and simmer until the potatoes are tender, about 15 minutes.
    3 Cups Chicken Broth, 2 Cups Half and Half, 1 lb Red Skinned Potatoes, 1 pinch Kosher Salt, 1 pinch Ground Black Pepper
  3. Gently stir in the shrimp and cook until they turn pink and opaque, about 4 minutes. Taste the chowder and adjust the seasoning with more salt and pepper if needed. If the chowder is too thick, thin it out with a little bit of water. Ladle the chowder into bowls, drizzle with a touch of olive oil, and garnish with fresh basil leaves and a sprinkle of black pepper.
    1 Tbsp Extra Virgin Olive Oil, 12 oz Medium Shrimp, ½ Cup Fresh Basil, 1 pinch Ground Black Pepper

Nutrition

Serving: 12ozCalories: 397kcalCarbohydrates: 31gProtein: 26gFat: 20gSaturated Fat: 9gPolyunsaturated Fat: 2gMonounsaturated Fat: 7gTrans Fat: 0.003gCholesterol: 184mgSodium: 941mgPotassium: 995mgFiber: 3gSugar: 8gVitamin A: 630IUVitamin C: 13mgCalcium: 217mgIron: 2mg

Notes

Ingredients:
  • Shrimp: Use fresh or frozen shrimp, peeled and deveined. If using frozen, thaw them completely before adding to the chowder.
  • Bacon: Bacon adds a smoky depth of flavor. You can use pancetta or salt pork as substitutes. 
  • Vegetables: The classic base includes onions, celery, and potatoes. You can add other vegetables like corn, carrots, or bell peppers for variety.  
  • Tomato Paste: Tomato paste adds richness and depth of flavor. Make sure to cook it briefly to remove any raw taste.  
  • Flour: Flour is used to thicken the chowder. All-purpose flour is common, but you can use a gluten-free blend if needed.
  • Broth: Use a good-quality chicken or seafood broth. Homemade broth will add the most flavor.
  • Half-and-Half: This adds creaminess. You can use whole milk or a combination of milk and cream as alternatives.
  • Potatoes: Russet or Yukon Gold potatoes work well in chowder.
  • Seasonings: Salt and pepper are essential. Some recipes also add herbs like thyme or bay leaves.  
  • Garnishes: Fresh basil is a classic garnish. You can also use parsley, chives, or a squeeze of lemon juice.
Cooking Tips:
  • Crisp the Bacon: Cook the bacon until it's nice and crispy to render out the fat and add maximum flavor.  
  • Don't Overcrowd the Pot: When sautéing the vegetables, make sure the pot isn't overcrowded. This will ensure they cook evenly.
  • Cook the Tomato Paste: Cook the tomato paste briefly until it darkens slightly to remove any raw taste.
  • Make a Roux: Cooking the flour with the bacon fat and vegetables creates a roux, which helps to thicken the chowder.
  • Simmer Gently: Simmer the chowder gently to allow the potatoes to cook through and the flavors to meld.
  • Don't Overcook the Shrimp: Add the shrimp towards the end of cooking and cook just until they turn pink and opaque. Overcooked shrimp will be tough.
  • Adjust Consistency: If the chowder is too thick, thin it out with a little water or broth.
  • Taste and Adjust: Always taste the chowder before serving and adjust the seasonings to your liking.
Serving Suggestions:
  • Bread: Serve with crusty bread or oyster crackers for dipping.
  • Salad: A simple green salad is a refreshing accompaniment.
  • Sides: Coleslaw or cornbread also pair well with shrimp chowder.  
Variations:
  • Spicy: Add some diced jalapeños or a pinch of cayenne pepper for heat.
  • Smoked: Use smoked paprika or chipotle powder for a smoky flavor.
  • Corn Chowder: Add corn kernels for a sweeter, summery twist.
With these tips, you'll be well on your way to making a delicious and satisfying shrimp chowder!

Tried this recipe?

Let us know how it was!

Related Recipes

Ingredients

Ingredients:

  • 2 Slices Bacon, chopped: The bacon adds a smoky, savory flavor to the soup.
  • 1 Tbsp Extra Virgin Olive Oil: Olive oil is used to sauté the onion and create a flavorful base.
  • 1 small Yellow Onion, chopped: The onion adds sweetness and depth of flavor.
  • 1 tsp Tomato Paste: Tomato paste adds a rich, concentrated tomato flavor.
  • 3 Tbsp All-Purpose Flour: The flour is used to thicken the soup.
  • 3 Cups Chicken Broth (low sodium): Chicken broth forms the base of the soup.
  • 2 Cups Half and Half: Half and half adds creaminess and richness to the soup.
  • 1 lb Red Skinned Potatoes, halved or quartered if large: Potatoes add substance and a comforting texture to the soup.
  • 12 oz Medium Shrimp: The shrimp is the star of the show, adding a delicate seafood flavor.
  • ½ Cup Fresh Basil, loosely packed and torn into pieces: Fresh basil adds a bright, herbaceous flavor.
  • 1 pinch Kosher Salt: Salt enhances the flavors of the soup.
  • 1 pinch Ground Black Pepper: Black pepper adds a subtle warmth and depth of flavor.

Tips for the Best Shrimp Chowder:

  • Don’t overcook the shrimp: Cook the shrimp just until they turn pink and are cooked through. Overcooking can make them tough and rubbery.
  • Use fresh ingredients: Fresh ingredients make a big difference in the flavor of the soup.
  • Don’t overcook the potatoes: Cook the potatoes until they are tender but not mushy.
  • Season to taste: Taste the soup as you go and adjust the seasonings as needed.
  • Garnish with fresh herbs: A sprinkle of fresh herbs like parsley or chives adds a beautiful finishing touch.
  • Serve hot: Serve the soup hot with a side of crusty bread or crackers.

Enjoy your homemade Shrimp Chowder! Let me know if you have any questions or want help with the instructions. 🥣😊

Image Gallery Shrimp Chowder

Storage & Leftovers

Storage

  • Cool it down: Before storing, allow the chowder to cool completely. This prevents condensation, which can lead to bacterial growth and affect the texture.
  • Refrigerator: Transfer the cooled chowder to an airtight container and store it in the refrigerator for up to 2-3 days.
  • Freezer: Freezing Shrimp Chowder isn’t generally recommended as dairy-based soups can separate and become grainy upon thawing. However, if you do freeze it, do so before adding the half and half. Store it in a freezer-safe container or bag for up to 1 month.

Reheating

  • Stovetop: The best way to reheat this chowder is gently on the stovetop over low heat. Stir occasionally to prevent sticking. If the chowder has thickened in the refrigerator, add a splash of milk or broth to thin it out.
  • Microwave: You can reheat it in the microwave, but do so in short bursts, stirring frequently, to prevent overheating and separation.

Tips and Tricks

  • Portioning: If you plan to freeze the chowder, consider freezing it in individual portions for easy grab-and-go meals.
  • Separation: If the chowder separates slightly after refrigeration, don’t worry! A quick whisk or a blend with an immersion blender can often restore its creamy texture.
  • Flavor Boost: When reheating, consider adding a squeeze of fresh lemon juice or a pinch of your favorite herbs to brighten the flavors.
  • Garnish Fresh: If you’re using any fresh herbs as a garnish, add them just before serving to maintain their freshness and flavor.
  • Freshness: Always check for any signs of spoilage before consuming leftovers. Look for any off-putting smells, discoloration, or mold.

By following these tips, you can enjoy your homemade Shrimp Chowder even a couple of days after making it!

Please follow and like us:
onpost_follow
fb-share-icon197
Tweet120
Pinterest20
Share 20
submit to reddit

Subscribe for New Recipes

* indicates required

Intuit Mailchimp

Sopa De Lima

Sopa De Lima

Ditch the ordinary and dive into a bowl of sunshine with Sopa de Lima—Mexico’s bold and beautiful answer to chicken soup! This is no plain bowl of broth. It’s a flavor fiesta, bursting with tangy lime, tender chicken, warm spices, and the satisfying crunch of crispy tortilla strips.

Each spoonful is like a mini vacation for your taste buds, transporting you straight to the colorful streets of the Yucatán.

Why You’ll Love This Recipe:
🌞 Flavor Fusion – Bright lime meets savory chicken with subtle notes of cinnamon and clove—unexpected, unforgettable, and oh-so-delicious.
🌶️ Comfort Food with a Kick – Warm and soothing, yet lively enough to keep you on your toes.
👩‍🍳 Beginner-Friendly – Exotic flavors, simple steps. You’ll be a sopa superstar in no time!
💪 Healthy & Nourishing – Lean protein, fresh veggies, and a vibrant, feel-good broth.
🎉 Crowd-Pleaser – Great for gatherings or a cozy solo night in. Seconds are basically guaranteed.

So grab your limes, crank up the mariachi music, and bring the magic of Sopa de Lima to your kitchen!

Sopa de Lima

No ratings yet
Sopa de lima is a traditional Mexican soup that originates from the Yucatán Peninsula. It's known for its refreshing and zesty flavor, thanks to the prominent use of lime juice. The soup typically features a light chicken or turkey broth, shredded meat (often turkey), and a blend of vegetables and spices.
Prep Time 10 minutes
Cook Time 45 minutes
Servings: 6 people
Course: Soup, Starter
Cuisine: Mexican
Calories: 139

Ingredients
  

  • 2 Tbsp Olive Oil
  • 2 Roma Tomatoes
  • 1 Large Yellow Onion fine dice
  • 1 Anahiem Pepper
  • ¼ tsp Ground Cinnamon
  • tsp Ground Cloves
  • 2 tsp Kosher Salt
  • 3 Cloves Garlic minced
  • l lbs Chicken Breast boneless & skinless
  • 8 Cups Chicken Broth
  • ½ Cup Lime Juice fresh squeezed
For Topping
  • 1 Corn Tortillas cut into strips and fry
  • 1 Avocado diced

Method
 

  1. Heat the olive oil in a large pot or Dutch oven over medium-high heat. Add the chopped tomatoes, onion, and bell peppers. Cook, stirring occasionally, until the vegetables are softened and slightly caramelized.
  2. Add the ground cinnamon, cloves, and kosher salt to the pot. Stir well to incorporate the spices into the vegetables. Continue cooking for another 5 minutes, allowing the flavors to meld.
  3. Stir in the minced garlic and cook until it becomes aromatic and softens slightly, about 1 minute.
  4. Pour the chicken broth into the pot, then add the chicken breasts. Bring the mixture to a boil over high heat. Once boiling, reduce the heat to low, cover the pot, and simmer for 20 minutes. Remove the pot from the heat.
  5. Remove any foam or impurities from the surface of the soup. Shred the cooked chicken with two forks and set it aside.
  6. Add the shredded chicken back to the pot. Stir in the lime juice. Taste the soup and add more salt if needed.
  7. Now, ladle the steaming soup into bowls and finish with a sprinkle of crispy tortilla strips and some creamy diced avocado. Enjoy!

Nutrition

Serving: 12ozCalories: 139kcalCarbohydrates: 10gProtein: 3gFat: 10gSaturated Fat: 1gPolyunsaturated Fat: 1gMonounsaturated Fat: 7gCholesterol: 6mgSodium: 1961mgPotassium: 360mgFiber: 3gSugar: 4gVitamin A: 310IUVitamin C: 25mgCalcium: 33mgIron: 1mg

Notes

Ingredients:
  • Broth: While chicken broth is most common, you can use turkey broth for a more traditional Yucatecan flavor. Homemade broth will add the most depth.
  • Meat: Shredded chicken is widely used, but turkey is more traditional in the Yucatán. You can use leftover cooked poultry or poach chicken breasts specifically for the soup.
  • Vegetables: The classic base includes tomatoes, onions, and bell peppers. Some recipes also add carrots or jalapeños for a bit of heat.
  • Spices: Oregano is essential. Cumin, cloves, and cinnamon are also common additions.
  • Lime Juice: Freshly squeezed lime juice is key for the signature tart flavor. Use plenty!
  • Tortilla Strips: These add a wonderful crunch. You can use store-bought or make your own by frying or baking corn tortillas.
  • Avocado: Diced avocado is a popular garnish, adding creaminess and a contrasting flavor.
Cooking Tips:
  • Sauté the Vegetables: Don't rush the sautéing of the vegetables. Allow them to soften and develop a bit of sweetness.
  • Bloom the Spices: Cooking the spices briefly in the oil helps to intensify their flavor.
  • Simmer Gently: Simmering the soup allows the flavors to meld and the chicken to become tender.
  • Skim the Broth: Skim off any foam or impurities that rise to the surface of the soup for a clearer broth.
  • Lime Juice at the End: Add most of the lime juice towards the end of cooking to preserve its fresh flavor.
  • Taste and Adjust: Taste the soup before serving and adjust the seasonings (especially salt and lime juice) to your liking.
Serving Suggestions:
  • Garnish: Don't forget the tortilla strips and avocado! Cilantro sprigs and lime wedges are also nice additions.
  • Sides: Sopa de lima is often served with warm tortillas or crusty bread for dipping.
  • Pairings: It's a great starter for heavier Mexican dishes like enchiladas, tacos, or mole.
Variations:
  • Spicy: Add some diced jalapeños or serrano peppers to the soup for extra heat.
  • Vegetarian: Omit the chicken or turkey and use vegetable broth. You can add more vegetables like zucchini or corn.
  • Hearty: Add cooked rice or noodles to the soup for a more filling meal.
With these tips, you'll be able to make a delicious and authentic sopa de lima that captures the essence of Yucatecan cuisine!

Tried this recipe?

Let us know how it was!

Related Recipes

Ingredients

Ingredients:

  • 2 tablespoons olive oil
  • 1 large yellow onion, finely diced
  • 2 Roma tomatoes, chopped
  • 1 Anaheim pepper, seeded and chopped
  • ¼ teaspoon ground cinnamon
  • ⅛ teaspoon ground cloves
  • 2 teaspoons kosher salt
  • 3 cloves garlic, minced
  • 1 pound boneless, skinless chicken breasts
  • 8 cups chicken broth
  • ½ cup freshly squeezed lime juice

For Topping:

  • 1 corn tortilla, cut into strips and fried
  • 1 avocado, diced

Image Gallery Sopa de Lima

Storage & Leftovers

Storing Your Leftover Sopa de Lima:

  • Cool it Down: Before storing, let the soup cool to room temperature. This prevents condensation, which can make the soup watery.
  • The Right Container: Use an airtight container to keep the soup fresh and prevent it from absorbing other flavors in your fridge. 
  • Refrigerator Storage: Store leftover sopa de lima in the refrigerator for 3 to 4 days.
  • Freezer-Friendly: You can freeze it for up to 2 months. For best results, freeze the soup without the toppings, as they might not hold up well in the freezer.

Reheating Tips:

  • Thaw if Frozen: Thaw the soup in the refrigerator overnight or in a bowl of cold water.
  • Stovetop Reheating: Reheat gently in a saucepan over medium-low heat, stirring occasionally.
  • Microwave Reheating: Heat in short bursts, stirring between each burst, until warmed through.  
  • Adjust Consistency: If the soup is too thick after reheating, add a little chicken broth or water to thin it out.

Topping Tips:

  • Tortilla Strips: Store leftover tortilla strips separately in an airtight container at room temperature to maintain their crispiness.
  • Avocado: Add fresh avocado when serving the reheated soup, as it tends to brown quickly.

Extra Tips for Sopa Savvy:

  • Separate Storage: If possible, store the toppings (tortilla strips and avocado) separately from the soup to prevent them from getting soggy.
  • Flavor Boost: When reheating, add a squeeze of fresh lime juice and a sprinkle of fresh cilantro to brighten the flavors.

With these tips, you can enjoy your homemade sopa de lima even days after you’ve made it! 🍲

Please follow and like us:
onpost_follow
fb-share-icon197
Tweet120
Pinterest20
Share 20
submit to reddit

Subscribe for New Recipes

* indicates required

Intuit Mailchimp

Gallo Pinto

Gallo Pinto

Gallo Pinto is more than a meal—it’s a cultural treasure of Central America, especially beloved in Costa Rica and Nicaragua. This humble yet flavorful dish combines rice and black beans, sautéed with onions, bell peppers, and fresh cilantro. The name, which means “spotted rooster,” comes from the speckled look of beans nestled in fluffy white rice.

But Gallo Pinto is more than meets the eye. In Costa Rica, the saying “Más tico que el gallo pinto” (“More Costa Rican than Gallo Pinto”) reflects just how iconic it is. It’s not just food—it’s part of the national identity.

Why You’ll Love Gallo Pinto:
🍚 Flavorful Simplicity – A perfect balance of savory beans, aromatic veggies, and fresh herbs.
🍳 Versatile – Serve it for breakfast with eggs and plantains, or pair it with grilled meats, tortillas, or salad for lunch and dinner.
🧂 Salsa Lizano Magic – This signature Costa Rican sauce gives it a tangy, slightly sweet depth that makes every bite unforgettable.

If you’re craving comfort food with cultural roots and bold flavor, Gallo Pinto is a must-try. It’s simple, satisfying, and pure Central American soul food.

Gallo Pinto (Costa Rican Rice & Beans)

No ratings yet
Gallo pinto: a simple yet satisfying dish that showcases the culinary traditions of Costa Rica and Nicaragua. Explore the history, variations, and cultural significance of this beloved rice and bean dish.
Prep Time 5 minutes
Cook Time 15 minutes
Servings: 6 people
Course: Breakfast, Dinner, Lunch, Main Course, Snacks
Cuisine: Central American Cuisine, Costa Rican
Calories: 480

Ingredients
  

  • 2 Tbsp Canola oil
  • 1 Medium Yellow Onion fine chop
  • 2 Cloves Garlic minced
  • 3 Cups White rice
  • 2 Cups Black Beans cooked & drained
  • 1 tsp Ground Cumin
  • 1 tsp Ground Coriander
  • 3 Tbsp Worcestershire Sauce
  • 1 pinch Salt to taste
  • 1 pinch Black Pepper to taste
Optional
  • 1 bunch Fresh Cilantro fresh and chopped
  • 1 bunch Green Onions sliced

Method
 

  1. Place a large skillet over medium heat and add the oil. Heat the oil until it shimmers.
    2 Tbsp Canola oil
  2. Add the onion to the hot oil. Cook, stirring often, until the onion softens slightly and takes on a light golden color.
    1 Medium Yellow Onion
  3. Stir in the garlic and cook until the onion is golden brown and the garlic is fragrant, about 5 minutes more.
    2 Cloves Garlic
  4. Add the spices and Worcestershire sauce to the pan. Stir well to combine with the onion and garlic.
    1 tsp Ground Cumin, 1 tsp Ground Coriander, 3 Tbsp Worcestershire Sauce, 1 pinch Salt, 1 pinch Black Pepper
  5. Next, add the drained and rinsed beans to the pot. Then, pour in the rice.
    3 Cups White rice, 2 Cups Black Beans
  6. Gently stir the rice and beans together, ensuring they are evenly distributed in the pot. Cook until the mixture is heated through.
  7. Taste the gallo pinto and adjust the seasonings with salt and pepper as needed. Serve hot, and enjoy!
    1 pinch Black Pepper, 1 pinch Salt
  8. If you'd like, you can garnish your gallo pinto with a bit of chopped cilantro or green onions. It adds a lovely touch!
    1 bunch Fresh Cilantro, 1 bunch Green Onions

Nutrition

Serving: 12ozCalories: 480kcalCarbohydrates: 93gProtein: 12gFat: 6gSaturated Fat: 1gPolyunsaturated Fat: 2gMonounsaturated Fat: 3gTrans Fat: 0.02gSodium: 132mgPotassium: 441mgFiber: 7gSugar: 2gVitamin A: 145IUVitamin C: 4mgCalcium: 66mgIron: 3mg

Notes

Notes on Ingredients:
  • Beans: While black beans are common in Nicaragua, Costa Ricans often use red or small black beans. Feel free to experiment! If using canned beans, rinse them well to remove excess sodium. If using dried beans, soak and cook them according to package directions.
  • Rice: Day-old cooked rice is ideal, as it's drier and less likely to become mushy. Long-grain white rice is the most common choice.  
  • Onion and Garlic: These aromatics form the flavor base of the dish. Use a yellow or white onion, and mince the garlic finely.
  • Spices: The classic blend includes cumin, coriander, and sometimes a touch of paprika or chili powder. Feel free to adjust to your taste.
  • Worcestershire Sauce: This adds a savory depth of flavor. Soy sauce can be used as a substitute.
  • Oil: Use a neutral oil with a high smoke point, like vegetable or canola oil.
  • Salt and Pepper: Season to taste at the end.
Cooking Tips:
  • Don't Overcrowd the Pan: When sautéing the onions and garlic, make sure the pan isn't overcrowded. This will ensure they brown properly and don't steam.
  • Cook in Stages: Sauté the onions first until softened, then add the garlic and cook briefly until fragrant. This prevents the garlic from burning.
  • Bloom the Spices: Cooking the spices briefly in the oil helps to release their flavors and aromas.
  • Adjust Liquid: If the mixture seems dry, add a tablespoon or two of water or broth to help create a slightly saucy consistency.
  • Heat Through: Make sure the rice and beans are heated through before serving.
  • Garnish: Fresh cilantro or green onions add a nice finishing touch.
Serving Suggestions:
  • Breakfast: Serve with fried or scrambled eggs, tortillas, sour cream, hot sauce, and fried plantains.
  • Lunch/Dinner: Serve as a side dish to grilled meats, fish, or stews.
  • Casado: Include gallo pinto as part of a traditional Costa Rican casado, along with rice, beans, plantains, salad, and a protein like grilled chicken or fish.
Variations:
  • Spicy: Add some diced jalapeños or a pinch of cayenne pepper for extra heat.
  • Veggie-Packed: Sauté some bell peppers, carrots, or other vegetables along with the onions and garlic.
  • Hearty: Add cooked chorizo or bacon to the mix for a richer flavor.
With these tips, you'll be well on your way to making a delicious and authentic gallo pinto!

Tried this recipe?

Let us know how it was!

Related Recipes

Ingredients

Ingredients:

  • 2 tablespoons canola oil
  • 1 medium yellow onion, finely chopped
  • 2 cloves garlic, minced
  • 3 cups cooked white rice
  • 2 cups cooked black beans, drained
  • 1 teaspoon ground cumin
  • 1 teaspoon ground coriander
  • 3 tablespoons Worcestershire sauce
  • Salt, to taste
  • Black pepper, to taste

Optional:

  • 1 bunch fresh cilantro, chopped
  • 1 bunch green onions, sliced
  • Salsa Lizano (for serving)

Image Gallery Gallo Pinto (Costa Rican Rice & Beans)

Storage & Leftovers

Storing Your Leftover Gallo Pinto:

  • Cool Down: Let the gallo pinto cool to room temperature before storing. This helps prevent condensation, which can make it soggy.
  • Airtight Container: Store it in an airtight container to maintain freshness and prevent it from absorbing other flavors in your fridge.
  • Refrigerator Storage: Gallo pinto can be stored in the refrigerator for 3 to 4 days.
  • Freezer-Friendly: You can freeze it for up to 2 months.

Reheating Tips:

  • Thaw if Frozen: If you’ve frozen your gallo pinto, thaw it in the refrigerator overnight or in a bowl of cold water.
  • Stovetop Reheating: Reheat gently in a pan over medium-low heat, stirring occasionally. You might need to add a splash of water or broth to moisten it up.
  • Microwave Reheating: Heat in short bursts, stirring between each burst, until warmed through.

Extra Tips for Gallo Pinto Greatness:

  • Portion Control: When freezing, consider freezing individual portions for easy grab-and-go meals.
  • Add Freshness: When reheating, consider adding a squeeze of fresh lime juice or a sprinkle of fresh cilantro to brighten the flavors.
  • Crispy Perfection: For extra crispy gallo pinto, reheat it in a skillet with a little oil until it’s heated through and slightly crispy on the edges.

With these tips, you can enjoy your homemade gallo pinto even days after you’ve made it!

Please follow and like us:
onpost_follow
fb-share-icon197
Tweet120
Pinterest20
Share 20
submit to reddit

Subscribe for New Recipes

* indicates required

Intuit Mailchimp