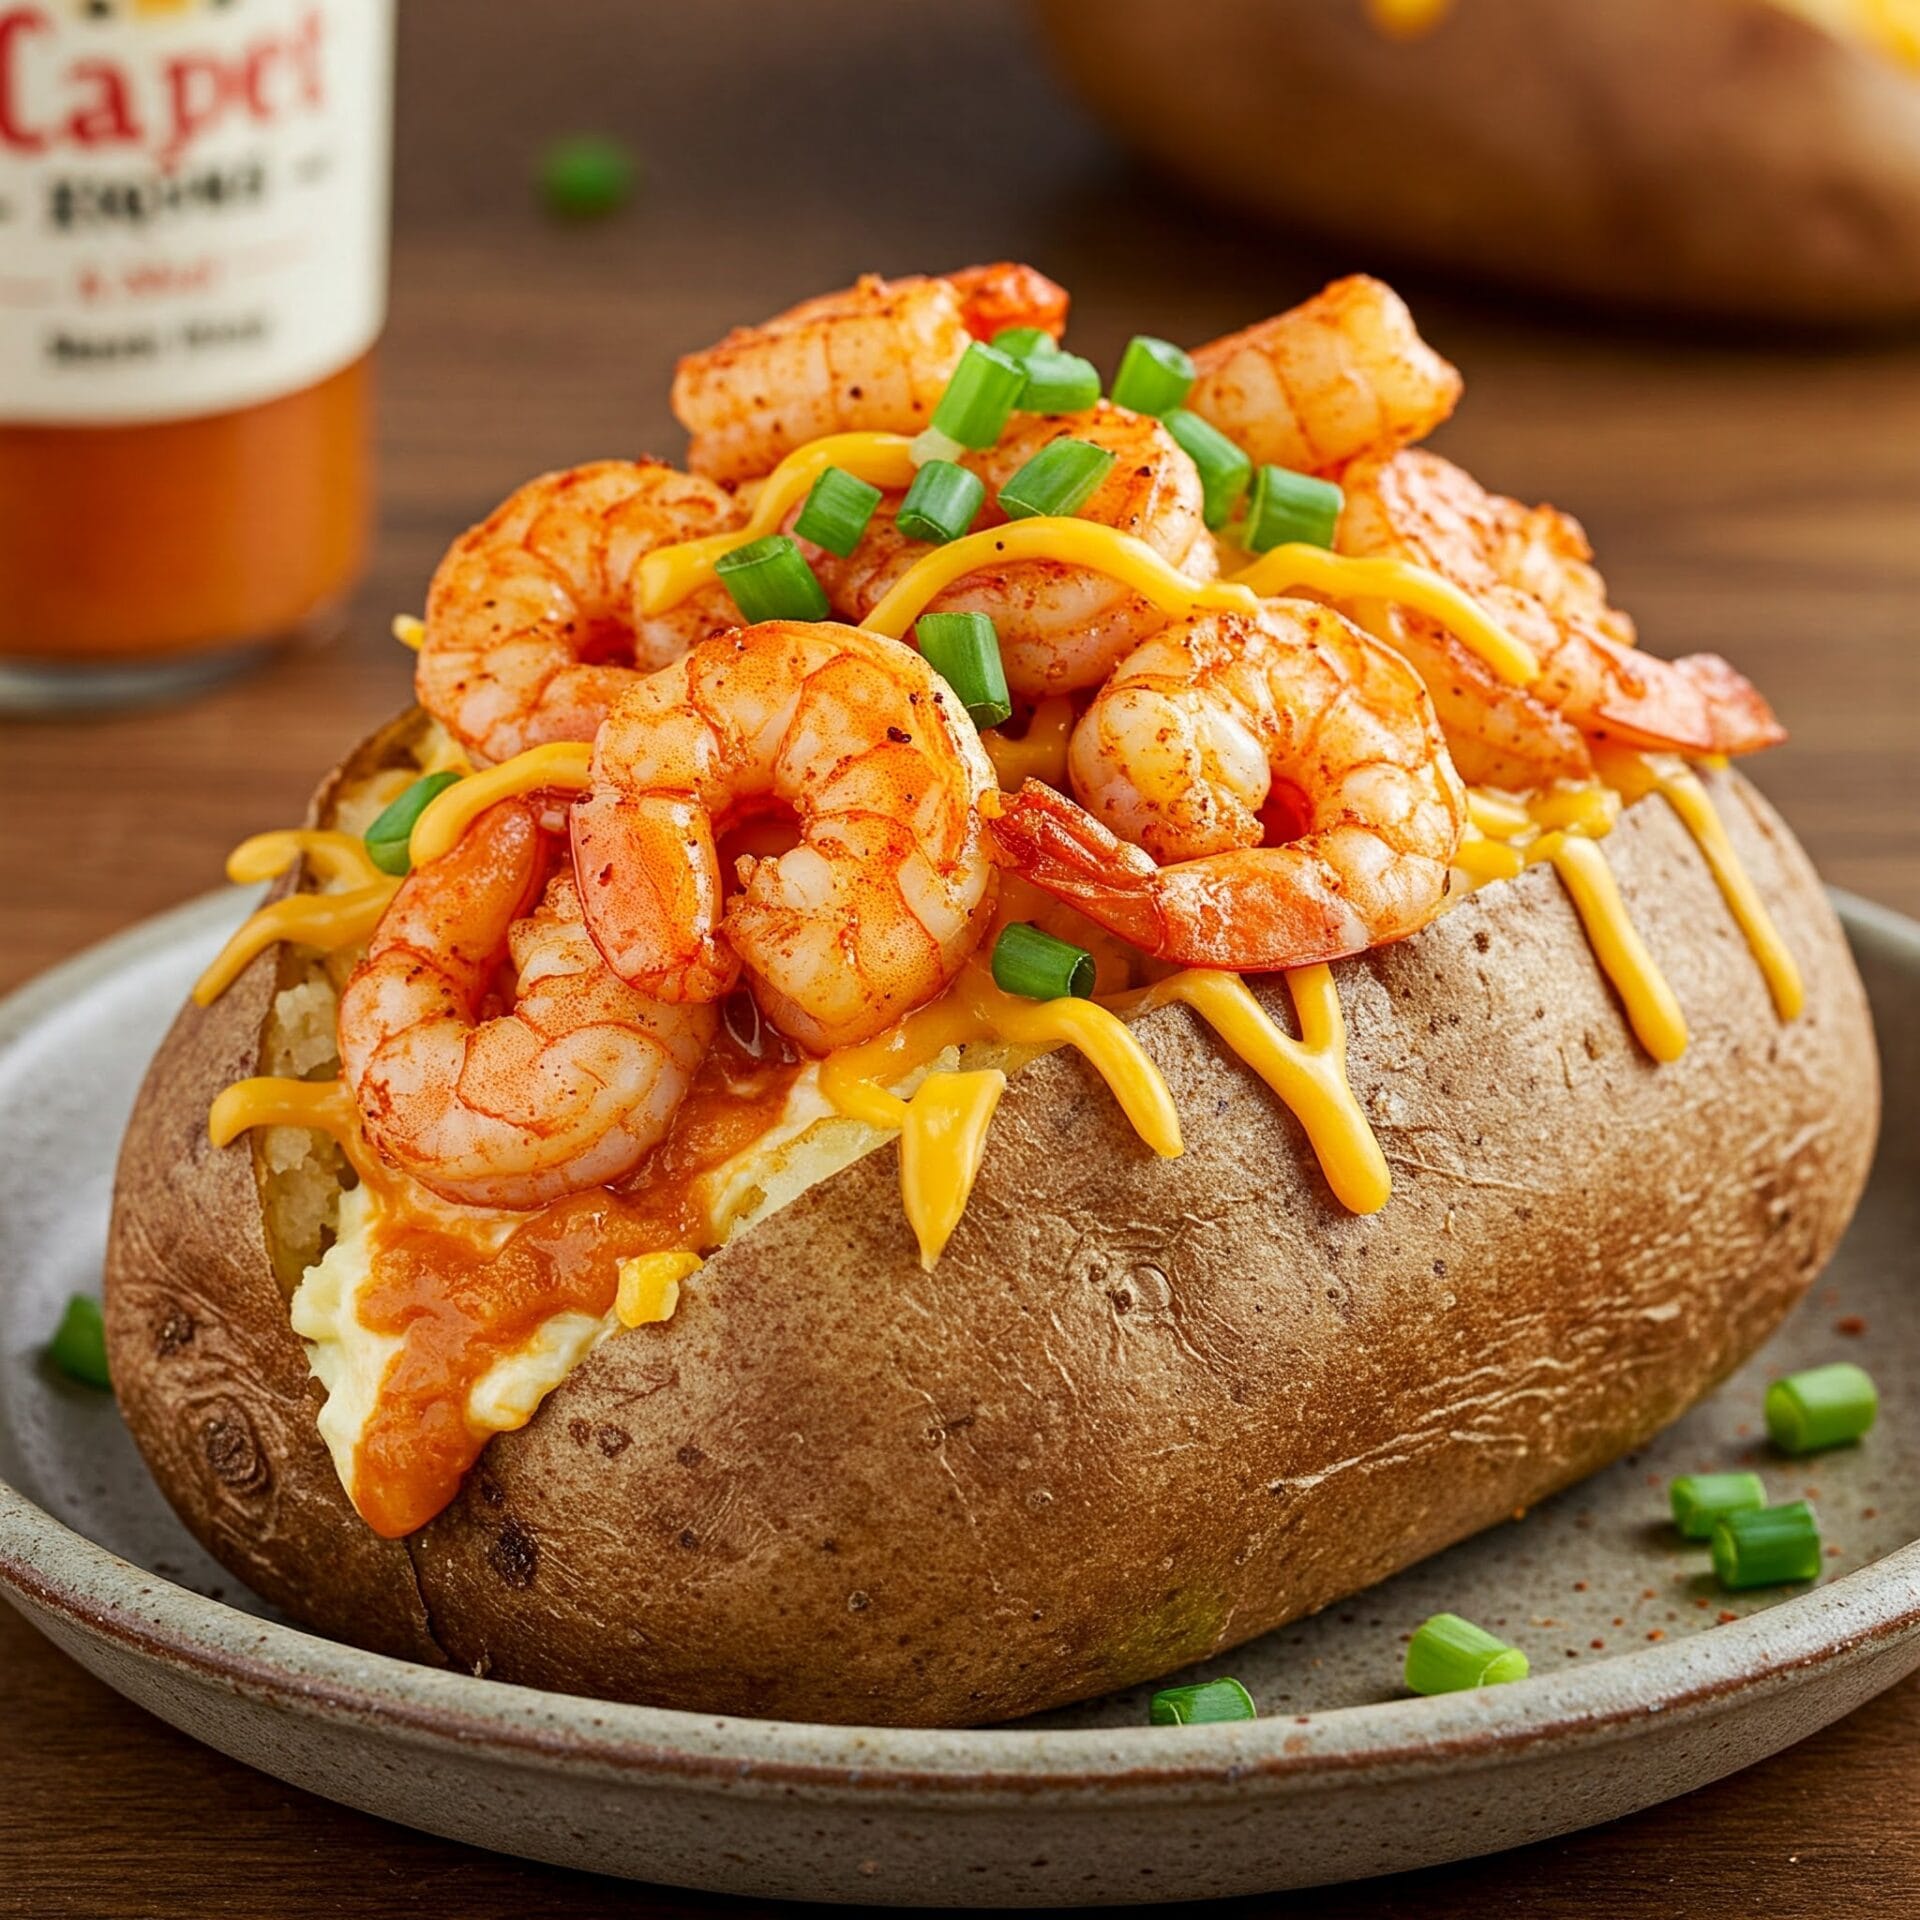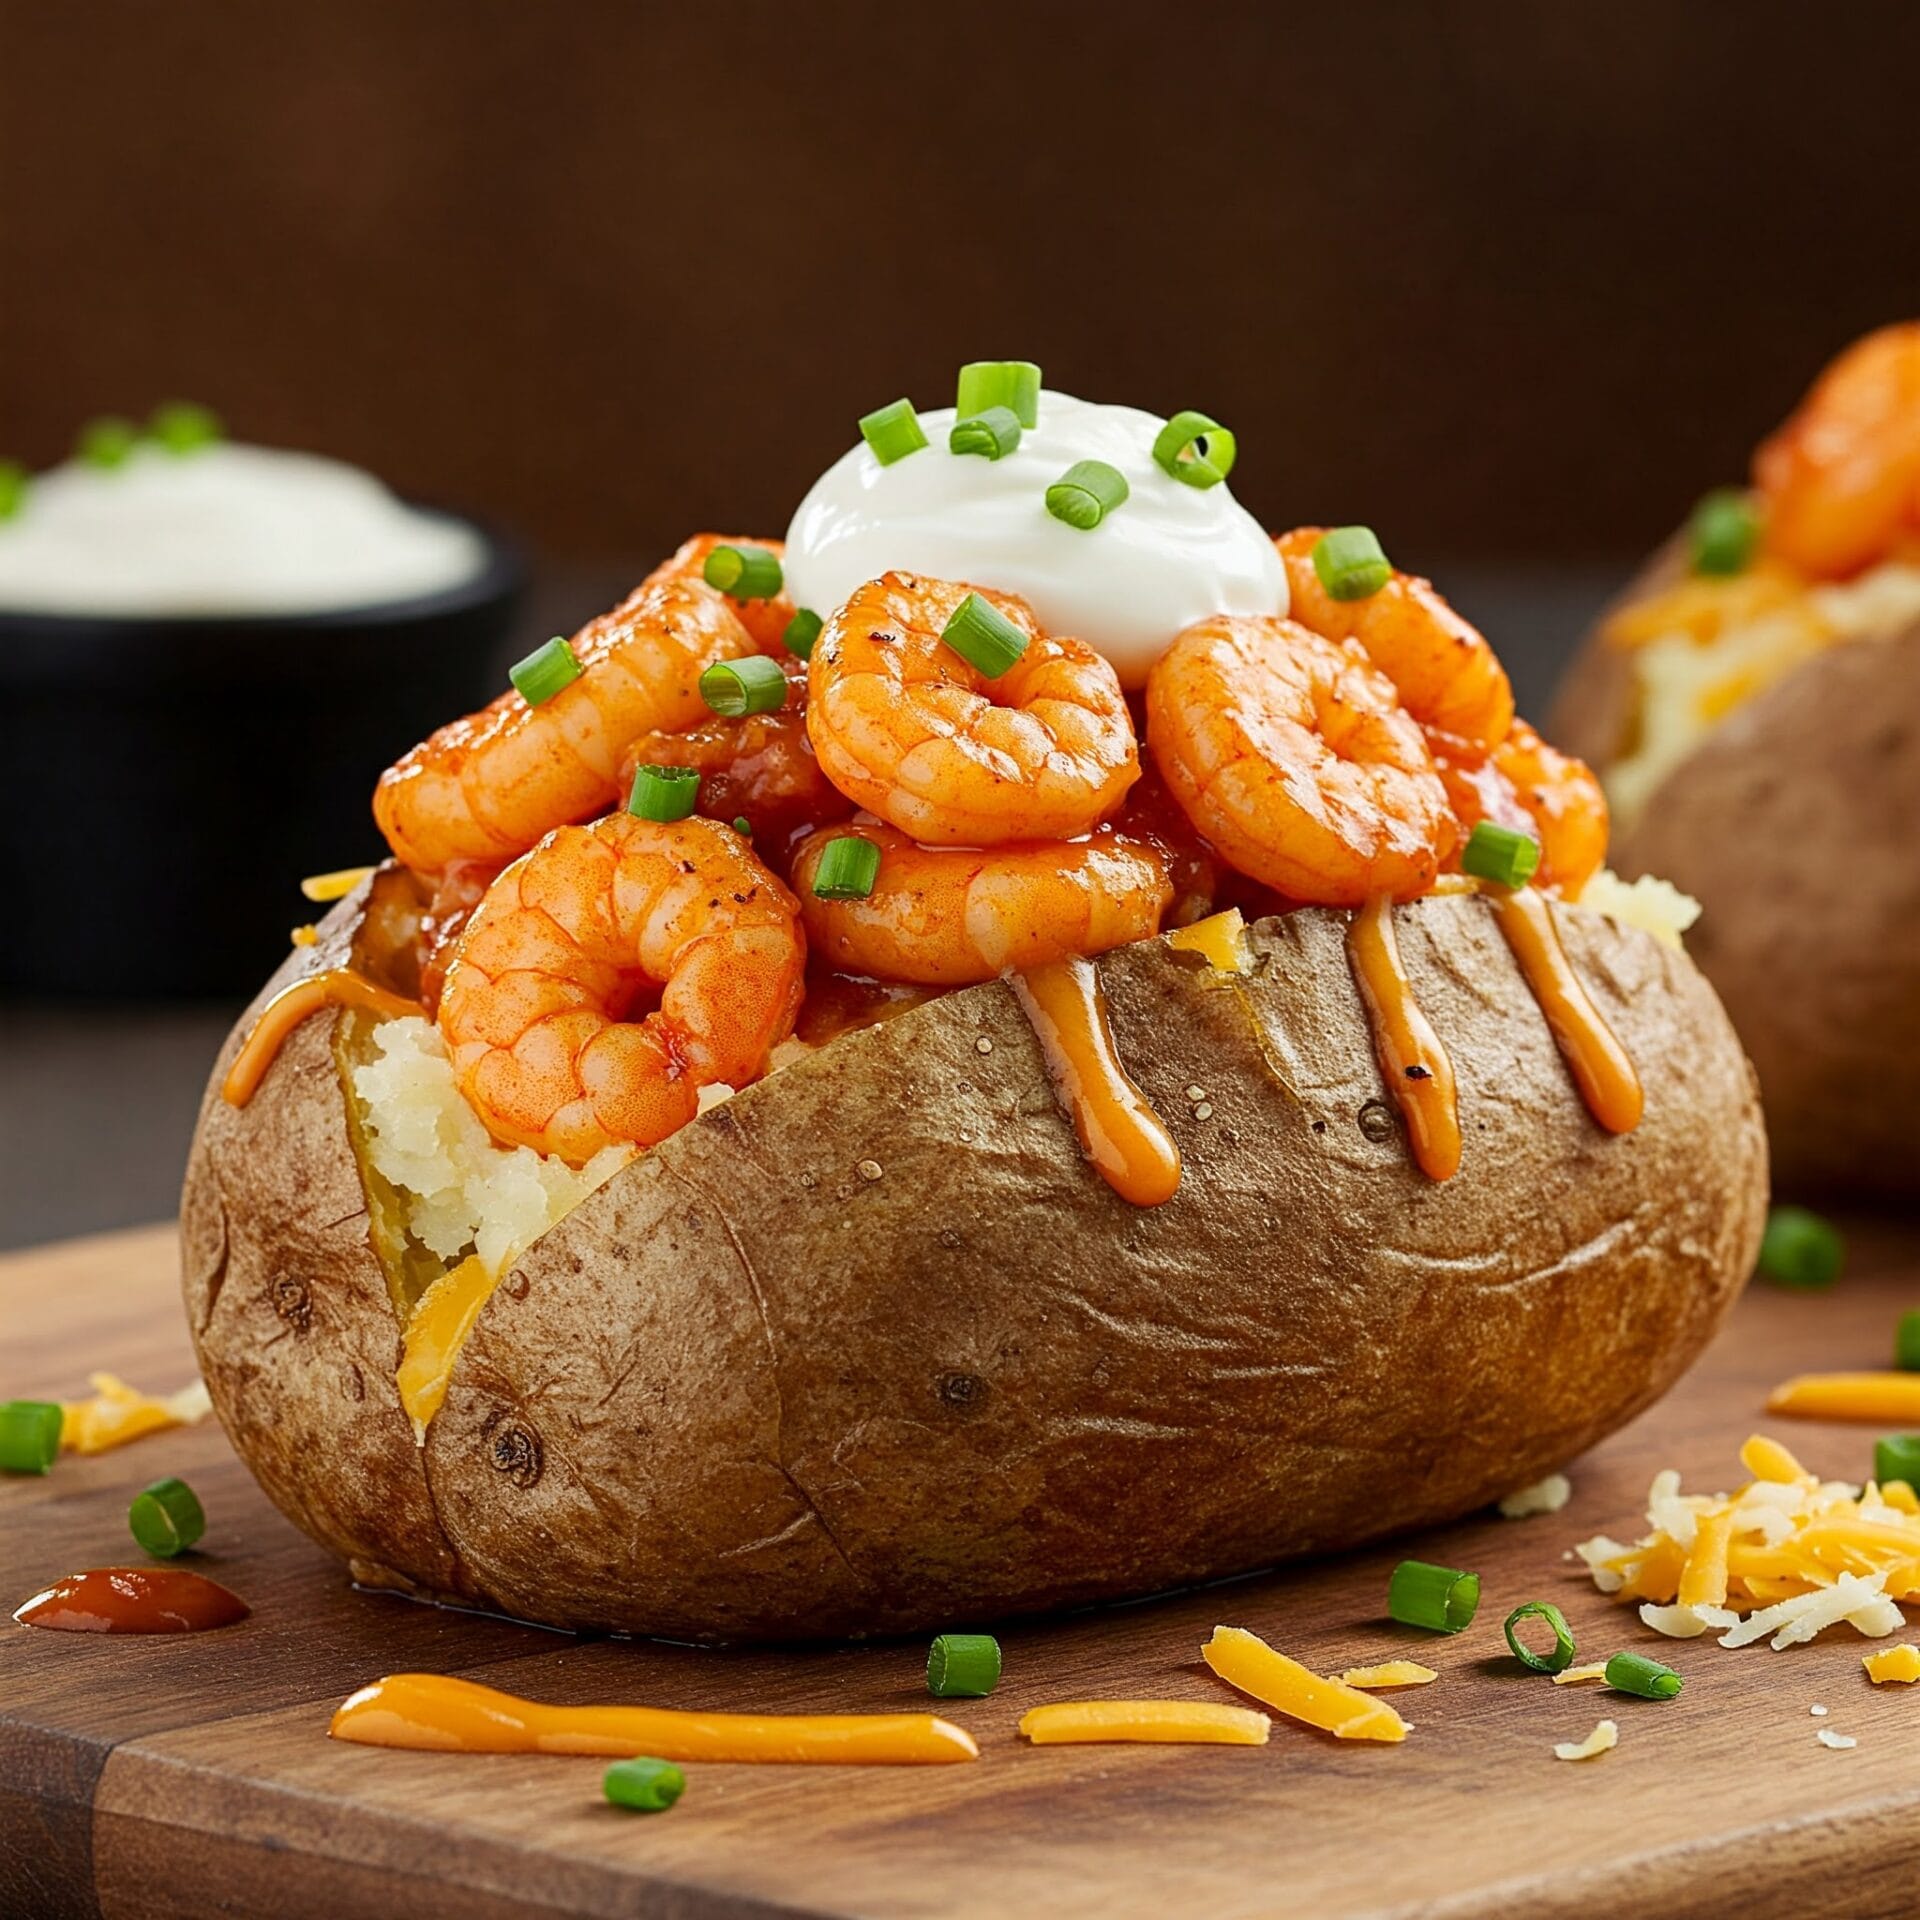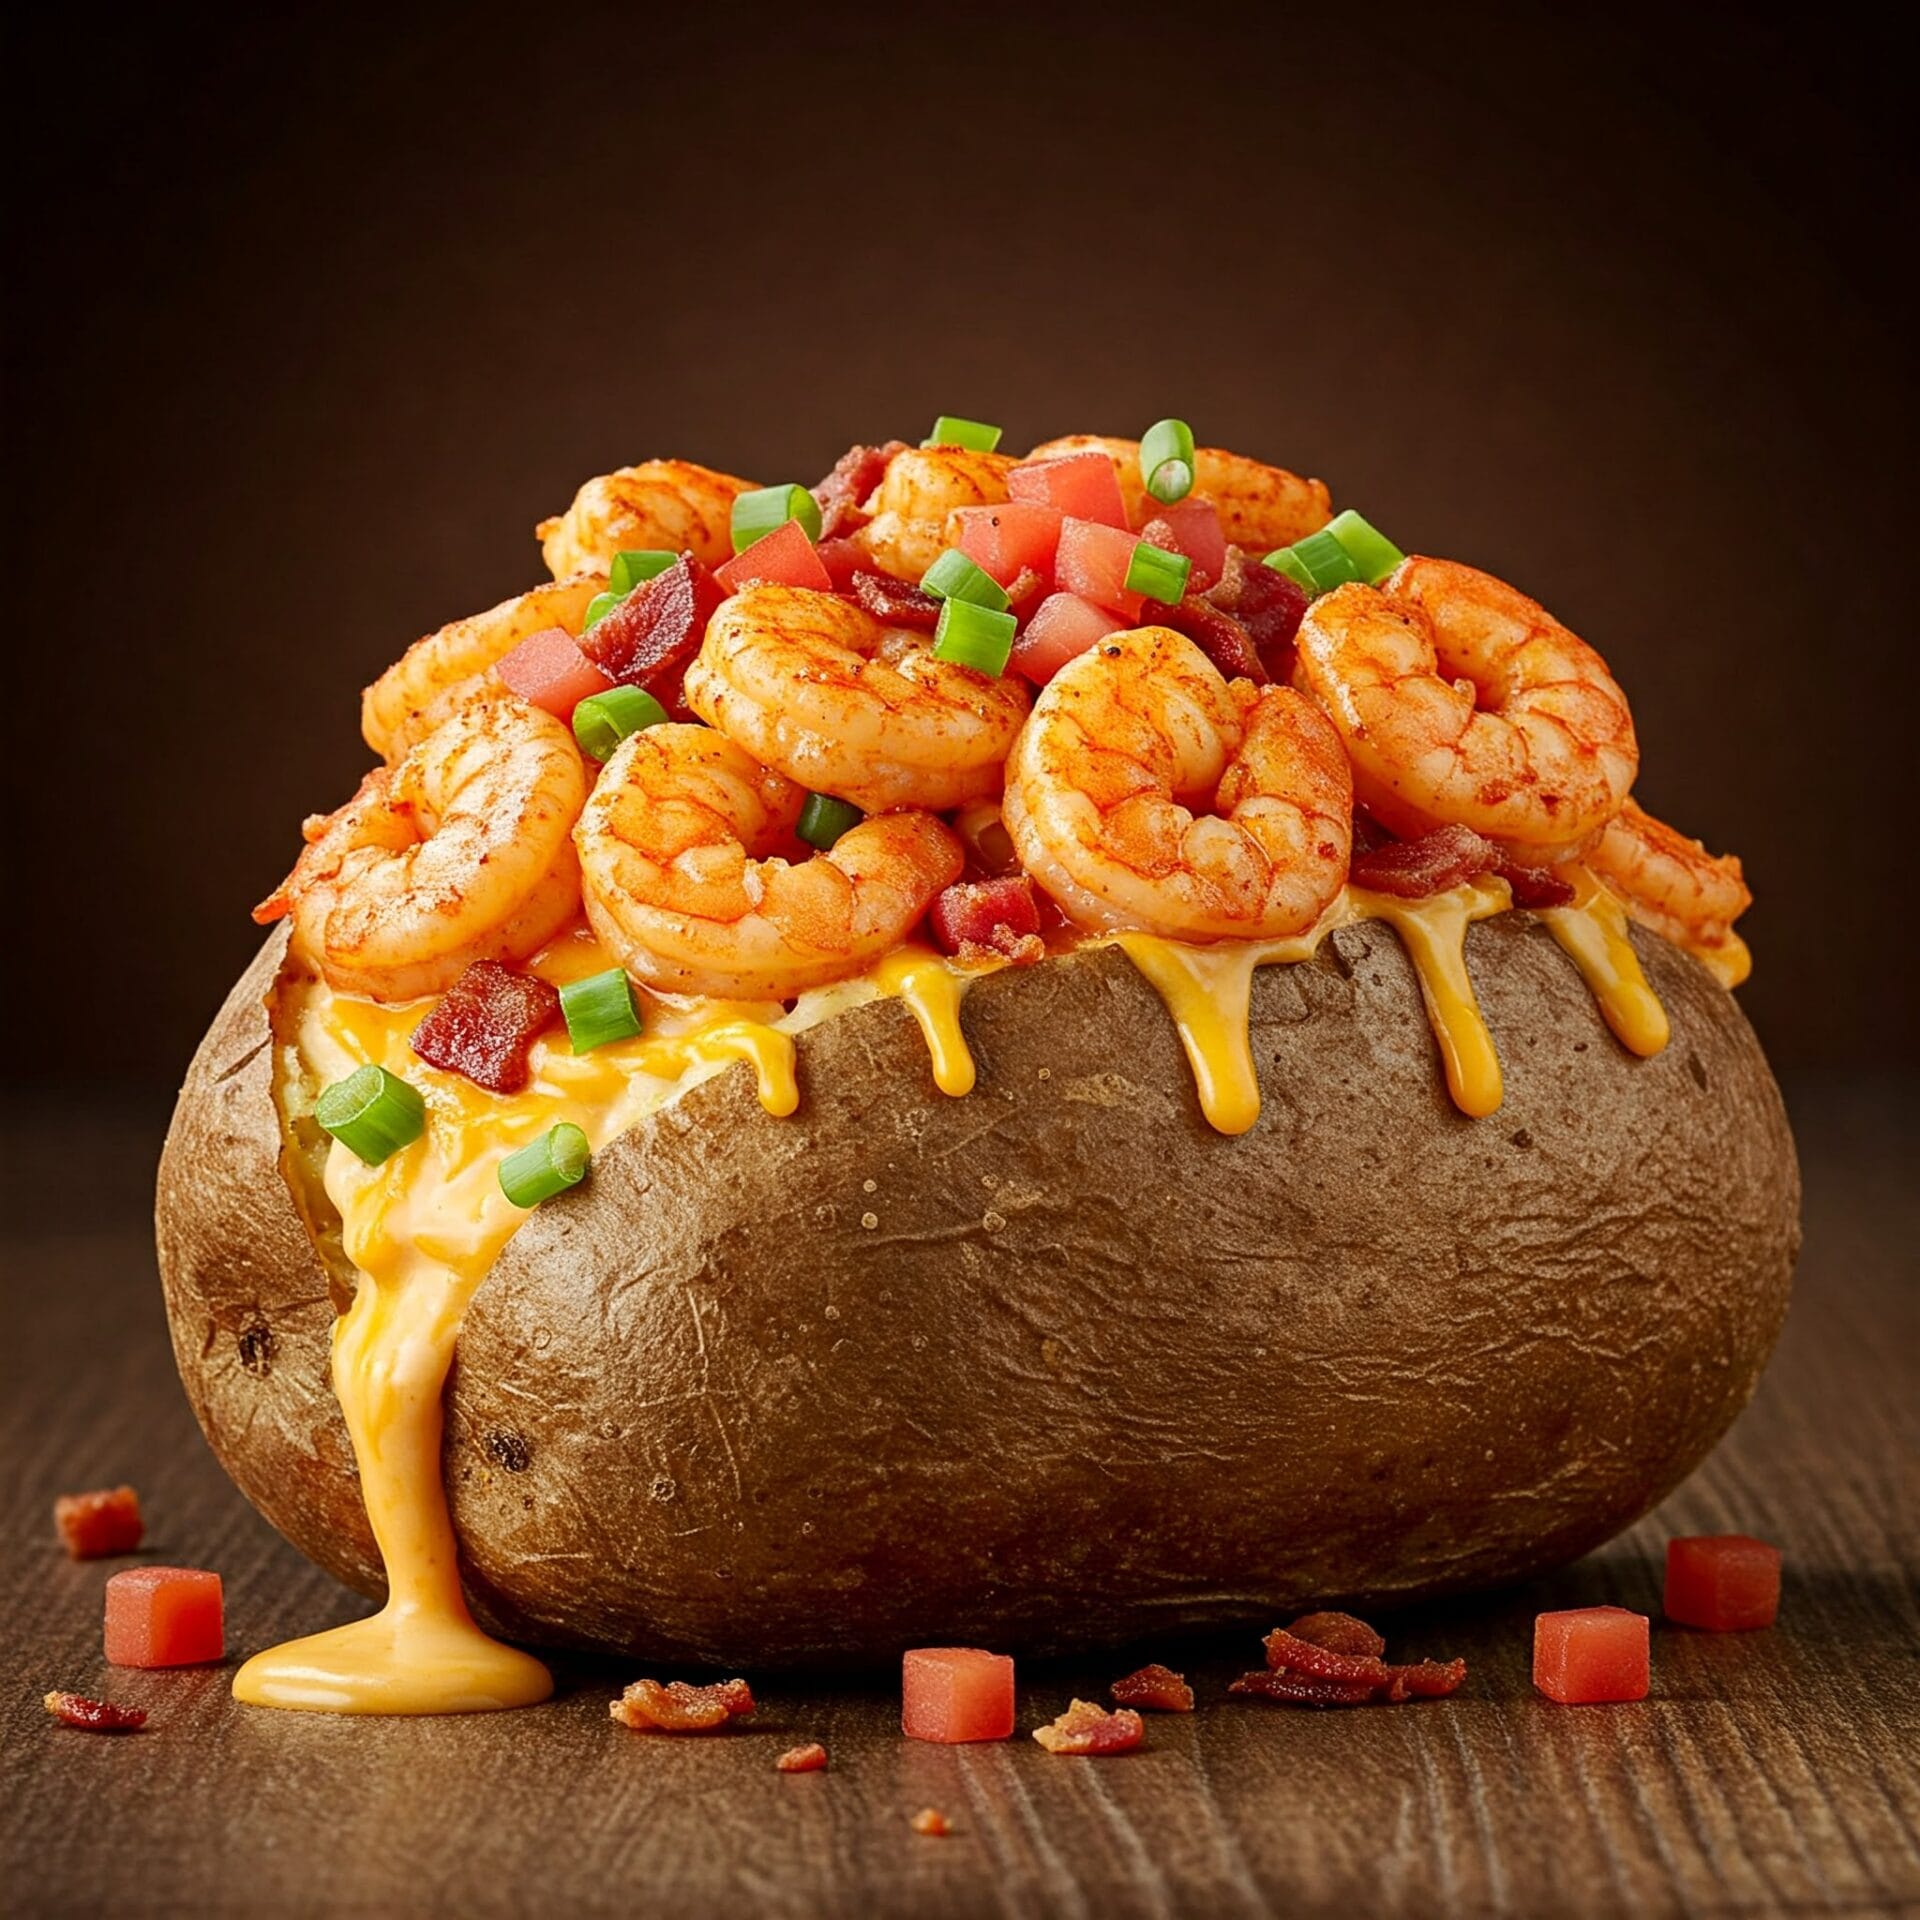
Cajun Shrimp Loaded Baked Potato

Cajun Shrimp Loaded Baked Potato
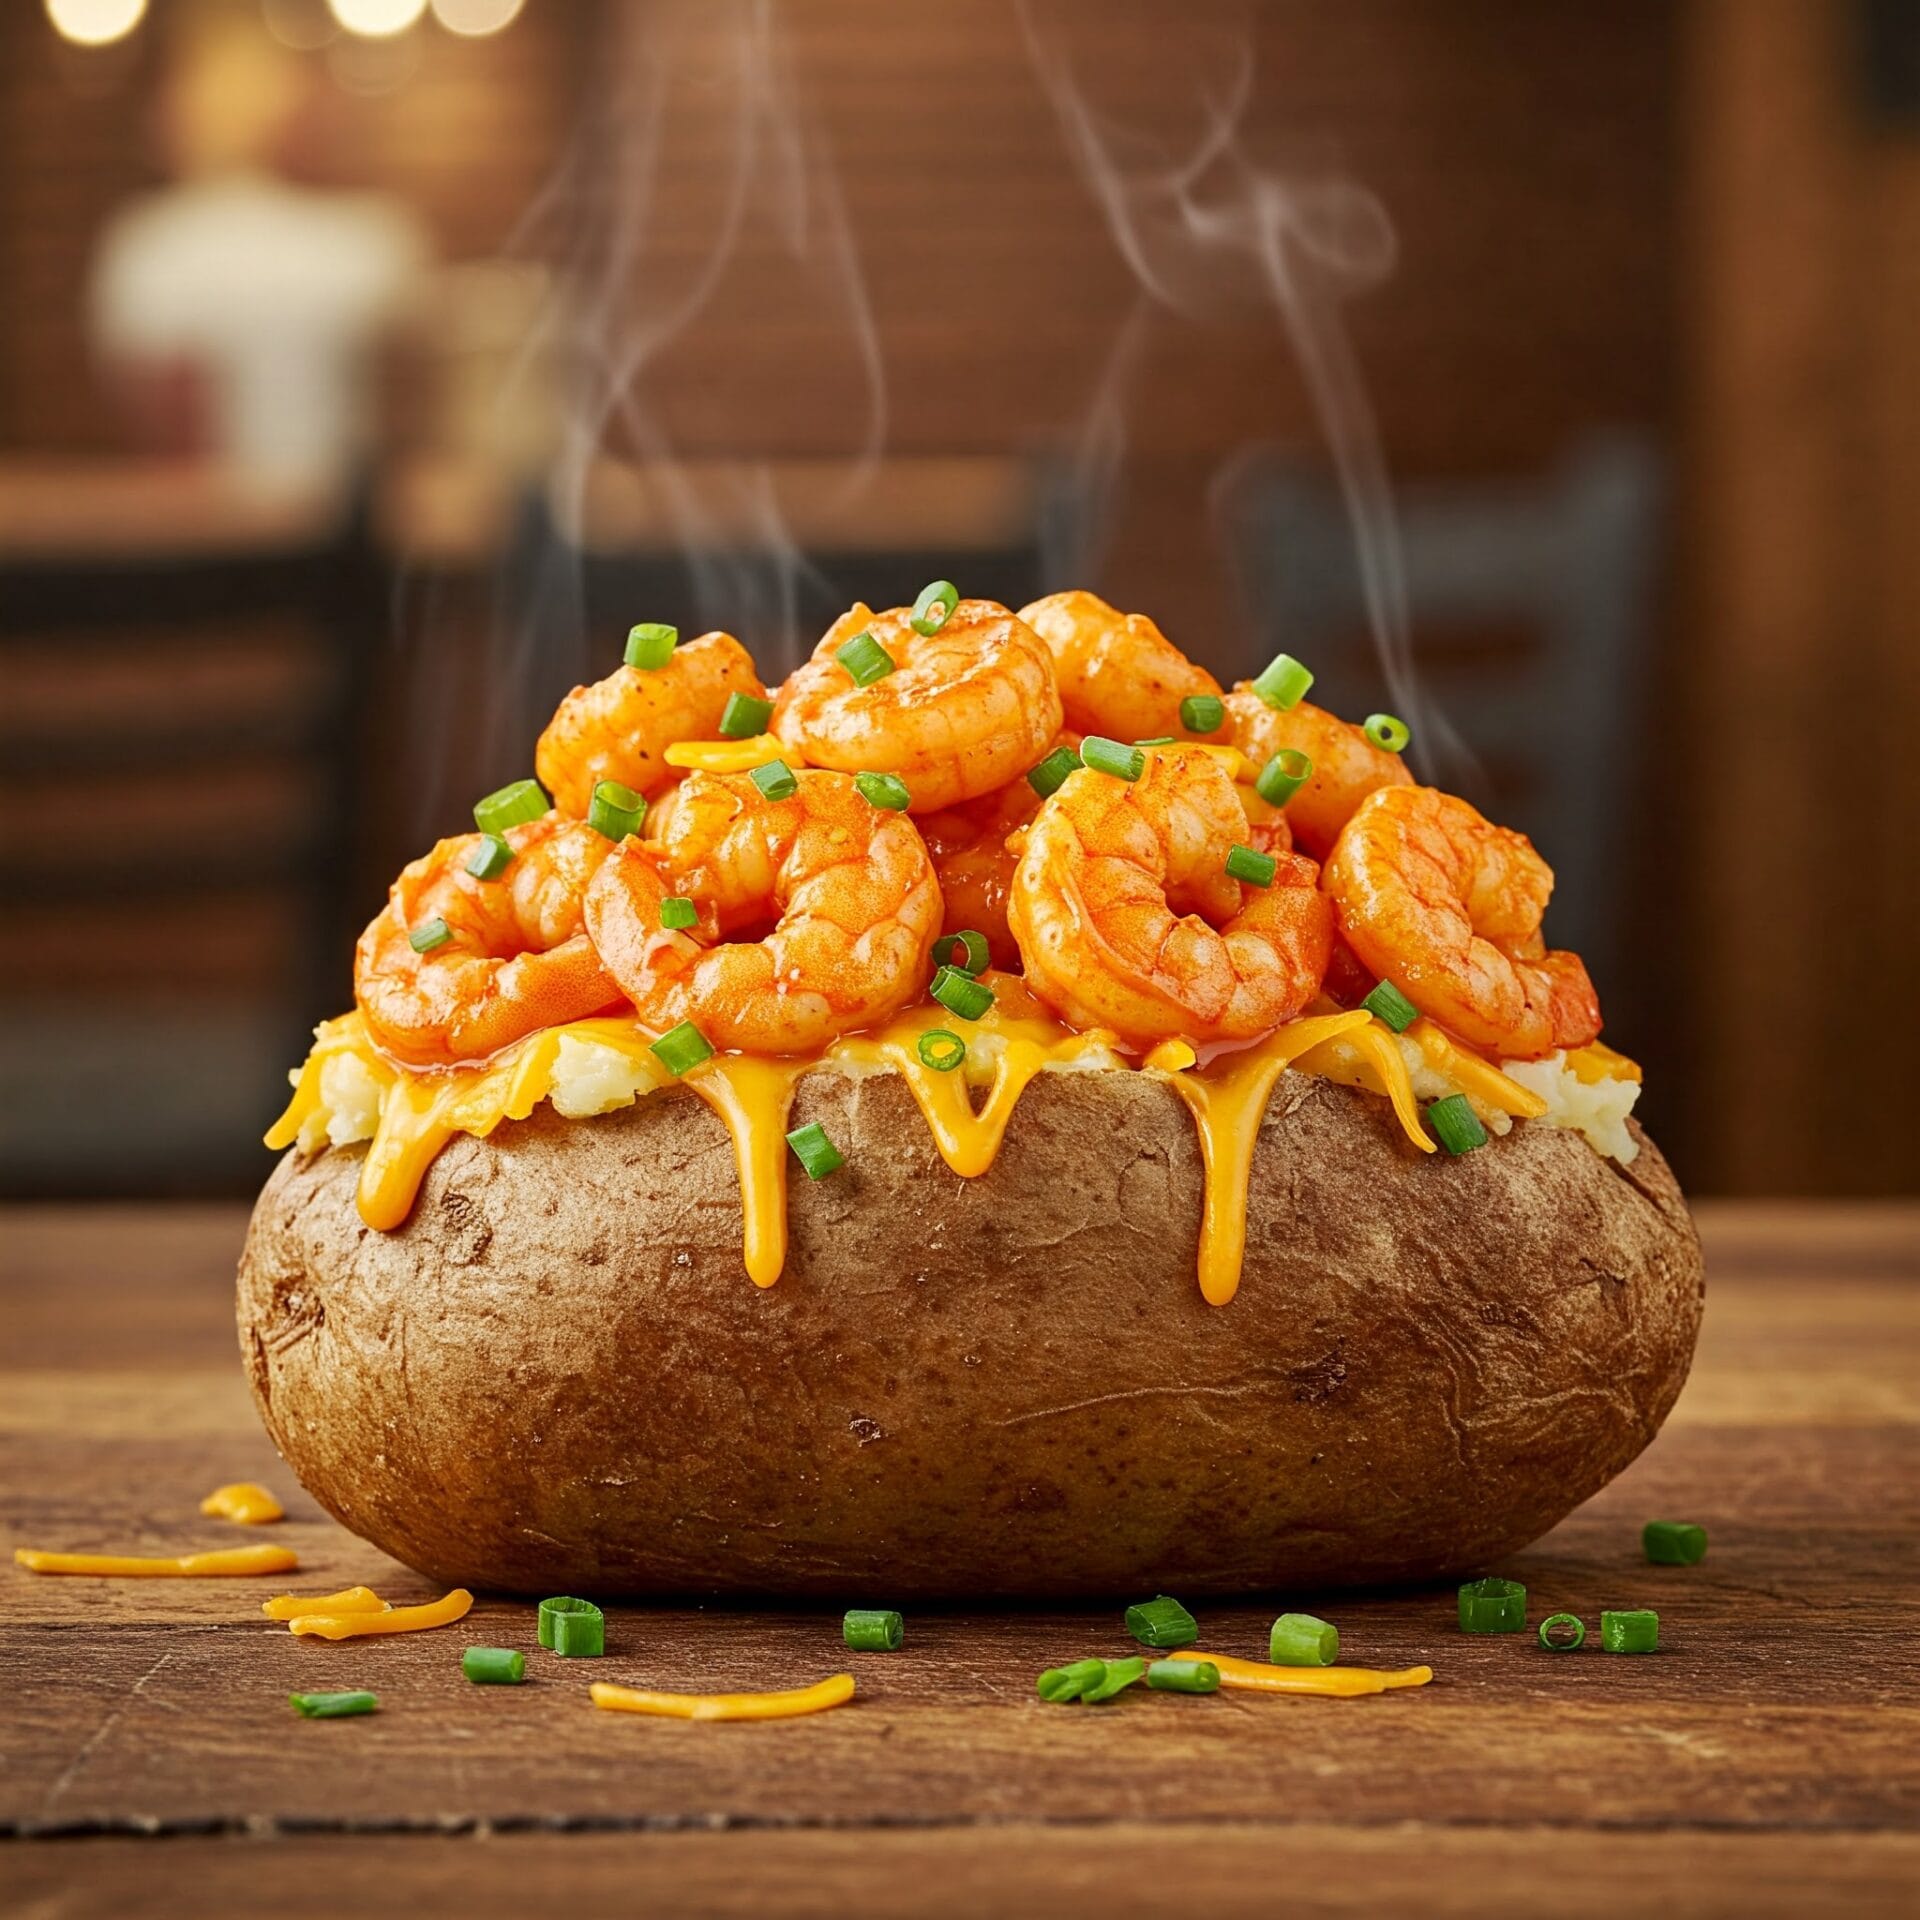
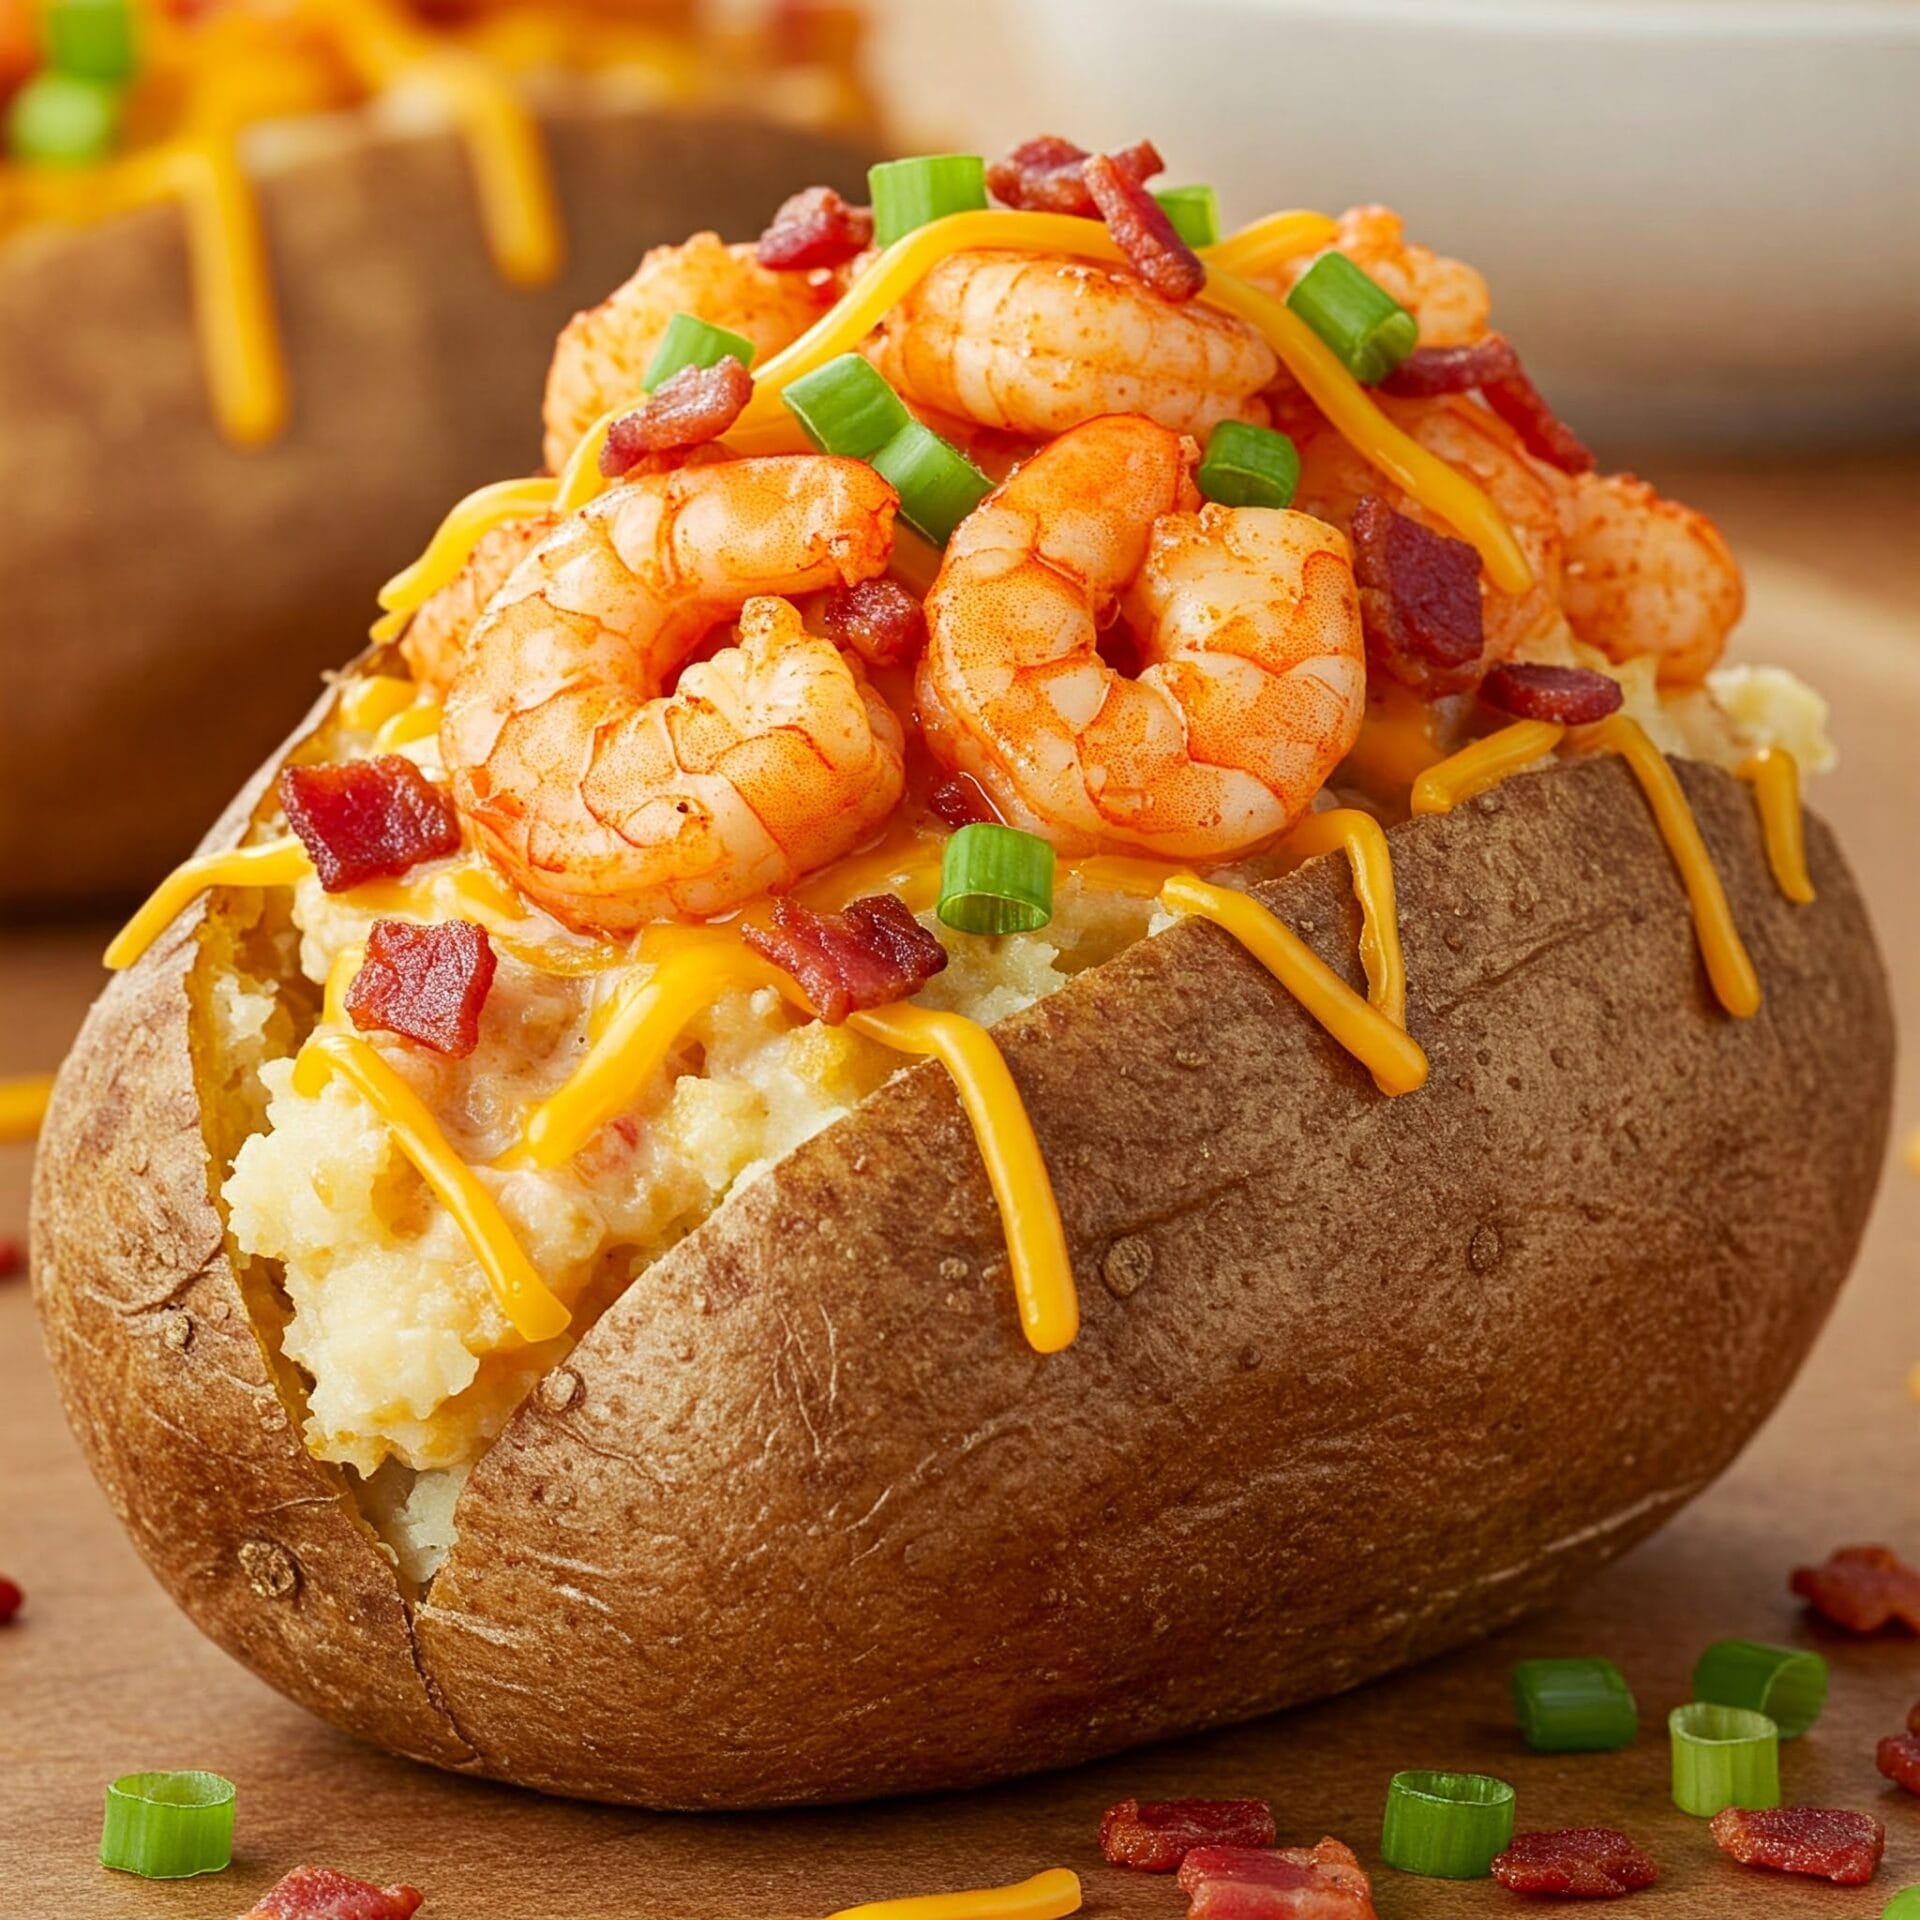
Spice up your comfort food game with this bold and satisfying Cajun Shrimp Loaded Baked Potato! A fluffy, oven-baked potato is split open and generously stuffed with creamy, seasoned mashed potato filling, then piled high with juicy Cajun-spiced shrimp sautéed to perfection. Finished with a drizzle of zesty garlic butter, a sprinkle of shredded cheese, crisp green onions, and smoky crumbled bacon, this dish is the ultimate fusion of Southern heat and cozy indulgence. Whether it’s a weeknight dinner or a hearty weekend treat, this recipe delivers big flavor in every bite.
Cajun Shrimp Loaded Baked Potato

No ratings yet
This isn't your average loaded potato. We're talking about a flavor explosion where Cajun spice meets fluffy potato goodness! Imagine tender, juicy shrimp coated in a fiery Cajun spice blend, piled high on a perfectly baked potato. It's a symphony of textures and tastes that will transport you straight to the heart of Louisiana!
Prep Time 25 minutes
Cook Time 1 hour 20 minutes
Servings: 4 people
Course: Dinner, Main Course
Cuisine: American, Cajun
Calories: 3784

Ingredients
  

POTATO & STUFFING
  • 4 Large Russet Potatoes
  • ½ lb Medium shrimp peeled & deveined, leaving tail on
  •  
    8 oz Italian Blend Cheese shredded
  • 1 Olive oil
  • Cajun Seasoning to taste
SHERRY CREAM SAUCE
  • 3 tbsp Butter unsalted
  • 2 lg Garlic minced
  •  
    2 med Shallots diced
  •  
    ¼ cup Brandy flambeed (ignite) is optional
  •  
    2 cups Sherry wine
  •  
    1 cup Shrimp stock
  •  
    ¼ cup Crawfish juice drained from crawfish packaging
  • 1 cup Heavy Cream
  •  
    1 cup Crawfish tail meat save the juice
  • ½ cup Green onions sliced for garnish
  • 3 Tbsp Lemon Juice

Method
 

  1. Before you start on the sauce, get those potatoes baking! Preheat your oven to 400°F (200°C). Wash and dry your potatoes, then prick them all over with a fork. Place them on a baking sheet lined with parchment paper or foil, giving them some space to breathe. Gently coat with olive oil. Then bake for 50-60 minutes, or until a fork slides easily into the center. You want those potatoes soft and fluffy, ready for their delicious toppings.
    4 Large Russet Potatoes, 1 Olive oil
  2. let's get that sauce started! Melt 1 tablespoon of butter in a saucepan over medium-high heat. Once the butter is melted and bubbly, add the garlic and shallots. Now, for a touch of drama (and flavor!), pour in the brandy. Carefully ignite the brandy to flambé it, stirring constantly until the flames subside. This will create a wonderful depth of flavor in the sauce.
    3 tbsp Butter, 2 lg Garlic, 2 med Shallots, 1/4 cup Brandy
  3. Pour in the wine, shrimp stock, and crawfish juice. Bring the mixture to a boil, then reduce the heat to maintain a gentle simmer. Cook until the liquid has reduced by half, which will concentrate the flavors. Then, stir in the heavy cream and continue to simmer until the sauce reaches a smooth, velvety consistency. Remove the pan from the heat and swirl in the remaining butter, stirring until it's fully incorporated and the sauce is glossy.
    3 tbsp Butter, 2 cups Sherry wine, 1 cup Shrimp stock, 1/4 cup Crawfish , 1 cup Heavy Cream
  4. Now, let's get those shrimp sizzling! Heat a tablespoon of butter in a medium-sized skillet over high heat. Once the butter is hot and shimmering, add the shrimp in a single layer. As the shrimp sizzle and start to turn pink, sprinkle them with Cajun seasoning and a squeeze of fresh lemon juice. Stir everything together to ensure the shrimp are evenly coated and infused with that vibrant Cajun flavor. Keep a close eye on them—shrimp cook quickly! As soon as they turn opaque and curl up, remove the skillet from the heat to prevent overcooking. Set the shrimp aside while you finish preparing the other components of this dish.
    1/2 lb Medium shrimp, 3 tbsp Butter, 3 Tbsp Lemon Juice, Cajun Seasoning
  5. Gently fold in the remaining crawfish tail meat. Cook for just 2 minutes more, allowing the crawfish to warm through and absorb the flavors of the sauce. The sauce should have a lovely, smooth consistency, similar to Alfredo sauce. Mix 1/2 of the sauce with the cooked shrimp. keep the shrimp warm.
    1 cup Crawfish
  6. If you find the sauce is a bit too thick for your liking, you can easily adjust the consistency by stirring in a little warm chicken broth, a tablespoon at a time, until it reaches the desired thickness.
  7. Spoon a generous amount of that luscious crawfish sauce over each prepared potato. Then, sprinkle a layer of shredded cheese on top. Place the potatoes on a baking sheet and bake in the preheated 400°F (200°C) oven for about 6 to 8 minutes, or until the cheese is melted, bubbly, and golden brown.
    8 oz Italian Blend Cheese
PLATING
  1. It's time to plate this masterpiece! Divide the remaining crawfish sauce among 4 plates, spooning it directly onto the middle of each plate. Place a glorious baked potato in the center of the sauce. Then, generously spoon the sauce mixed with the shrimp over each potato, ensuring every nook and cranny is coated. For a final touch of freshness and color, garnish with a sprinkle of chopped green onions.
    1/2 cup Green onions

Nutrition

Serving: 12ozCalories: 3784kcalCarbohydrates: 292gProtein: 200gFat: 187gSaturated Fat: 88gPolyunsaturated Fat: 8gMonounsaturated Fat: 33gTrans Fat: 1gCholesterol: 1185mgSodium: 1972mgPotassium: 8334mgFiber: 21gSugar: 19gVitamin A: 5774IUVitamin C: 117mgCalcium: 1262mgIron: 21mg

Notes

Potato Perfection:
  • Potato choice: Russet potatoes are ideal for baking because of their fluffy interior and sturdy skin.  
  • Wash and dry: Give those potatoes a good scrub and pat them dry before baking. This helps create a crispy skin.
  • Prick it: Don't forget to prick the potatoes with a fork before baking. This allows steam to escape and prevents them from exploding in the oven.  
  • Oil and salt: Rubbing the potatoes with oil and salt helps create a crispy skin and seasons the flesh.  
  • Baking time: Baking time can vary depending on the size of your potatoes. Start checking for doneness at around 50 minutes. A fork should easily slide into the center of a fully baked potato.  
  • Rest them: Once baked, let the potatoes rest for a few minutes before slicing them open. This allows the steam to escape and makes them easier to handle.
Shrimply the Best:
  • Shrimp size: Medium-sized shrimp are perfect for this recipe. They cook quickly and are easy to eat.
  • Pat them dry: Before cooking, pat the shrimp dry with paper towels. This helps them sear properly and prevents excess moisture in the sauce.
  • Don't overcrowd the pan: Cook the shrimp in a single layer to ensure even cooking. If you have too many shrimp, cook them in batches.
  • Watch the clock: Shrimp cook quickly! Keep a close eye on them to avoid overcooking. They should be opaque and slightly curled when done.
Sauce Savvy:
  • Stock matters: Using homemade shrimp stock or crawfish juice adds a depth of flavor that you can't get from store-bought broth.
  • Reduce for richness: Simmering the sauce until it reduces by half concentrates the flavors and creates a richer consistency.
  • Creamy dreamy: Use full-fat heavy cream for the best results. It creates a luscious, velvety sauce.
  • Butter me up: Don't skip the final swirl of butter! It adds richness and glossiness to the sauce.
  • Adjust as needed: If the sauce becomes too thick, thin it out with a little warm chicken broth.
Topping Tips:
  • Cheese choices: Use a combination of cheeses for a more complex flavor. Cheddar, Monterey Jack, and Gruyère are all good options.
  • Bacon bliss: Crispy bacon bits add a salty, smoky crunch.
  • Green onions: Chopped green onions provide a fresh, oniony bite.
  • Other toppings: Get creative with your toppings! Jalapeños, sour cream, chives, and avocado are all delicious additions.
Bonus Tip:
  • Make it ahead: The potatoes and sauce can be made ahead of time and reheated when ready to serve. This makes it a great option for entertaining.
With these tips and tricks, you'll be well on your way to creating the ultimate Cajun Shrimp Loaded Baked Potato! Enjoy! 🥔🍤🔥

Tried this recipe?

Let us know how it was!

Related Recipes

Ingredients

Ingredients:

Potato & Stuffing:

  • 4 large Russet Potatoes
  • ½ lb Medium Shrimp, peeled & deveined (tails on)
  • 8 oz shredded Italian Blend Cheese
  • Olive Oil
  • Cajun Seasoning, to taste

Sherry Cream Sauce:

  • 3 tbsp unsalted Butter
  • 2 large cloves Garlic, minced
  • 2 medium Shallots, diced
  • ¼ cup Brandy (optional, for flambéing)
  • 2 cups Sherry Wine
  • 1 cup Shrimp Stock
  • ¼ cup Crawfish Juice (drained from crawfish packaging)
  • 1 cup Heavy Cream
  • 1 cup Crawfish Tail Meat (reserve the juice)
  • ½ cup Green Onions, sliced (for garnish)
  • 3 Tbsp Lemon Juice

A few notes:

  • Shrimp: It’s great idea to keep the tails on for presentation!
  • Crawfish: Using both crawfish tail meat and the juice from the packaging will add a ton of flavor to the sauce.
  • Sherry: This is an interesting twist! Using sherry instead of white wine will add a nutty complexity to the sauce.

Image Gallery Shrimp Chowder

Storage & Leftovers

Storage Smarts:

  • Separate is best: Store the potato, shrimp, and sauce separately in airtight containers. This helps maintain the texture of each component and prevents the potato from becoming soggy.
  • Potato prep: If you have leftover baked potatoes, let them cool completely before storing. You can also scoop out the flesh and store it separately from the skins.
  • Fridge life: Your leftovers will be good in the fridge for 3-4 days.

Reheating Hacks:

  • Potato power: Reheat the potato in the oven or microwave until warmed through. For a crispier skin, reheat in the oven.
  • Shrimp revival: Gently reheat the shrimp and sauce in a saucepan over low heat, stirring occasionally. You can add a splash of water or broth if the sauce needs thinning.
  • Microwave magic: If you’re short on time, you can reheat individual portions in the microwave. Just be sure to use a microwave-safe dish and heat in short bursts, stirring in between, to prevent overcooking.

Leftover Love:

  • Twice-baked potatoes: Scoop out the flesh of the leftover potatoes, mash it with some butter and cheese, then stuff it back into the skins and bake until golden brown.
  • Shrimp salad: Chop the leftover shrimp and mix it with mayonnaise, celery, and onion for a delicious shrimp salad.
  • Soup-erb idea: Add leftover shrimp and sauce to a creamy potato soup for a flavor boost.

Extra Tips:

  • Freeze the sauce: The sauce freezes beautifully! Just let it cool completely and store it in a freezer-safe container for up to 3 months. Thaw it in the fridge overnight before reheating.
  • Portion control: Store leftovers in individual portions for grab-and-go lunches or quick dinners.

With these tips, your Cajun Shrimp Loaded Baked Potatoes will be a hit, whether you’re enjoying them fresh or as delicious leftovers! 😋

Please follow and like us:
onpost_follow
fb-share-icon197
Tweet120

Pinterest20
Share 20
submit to reddit

Subscribe for New Recipes

* indicates required

Intuit Mailchimp

Cuban Picadillo

Cuban Picadillo

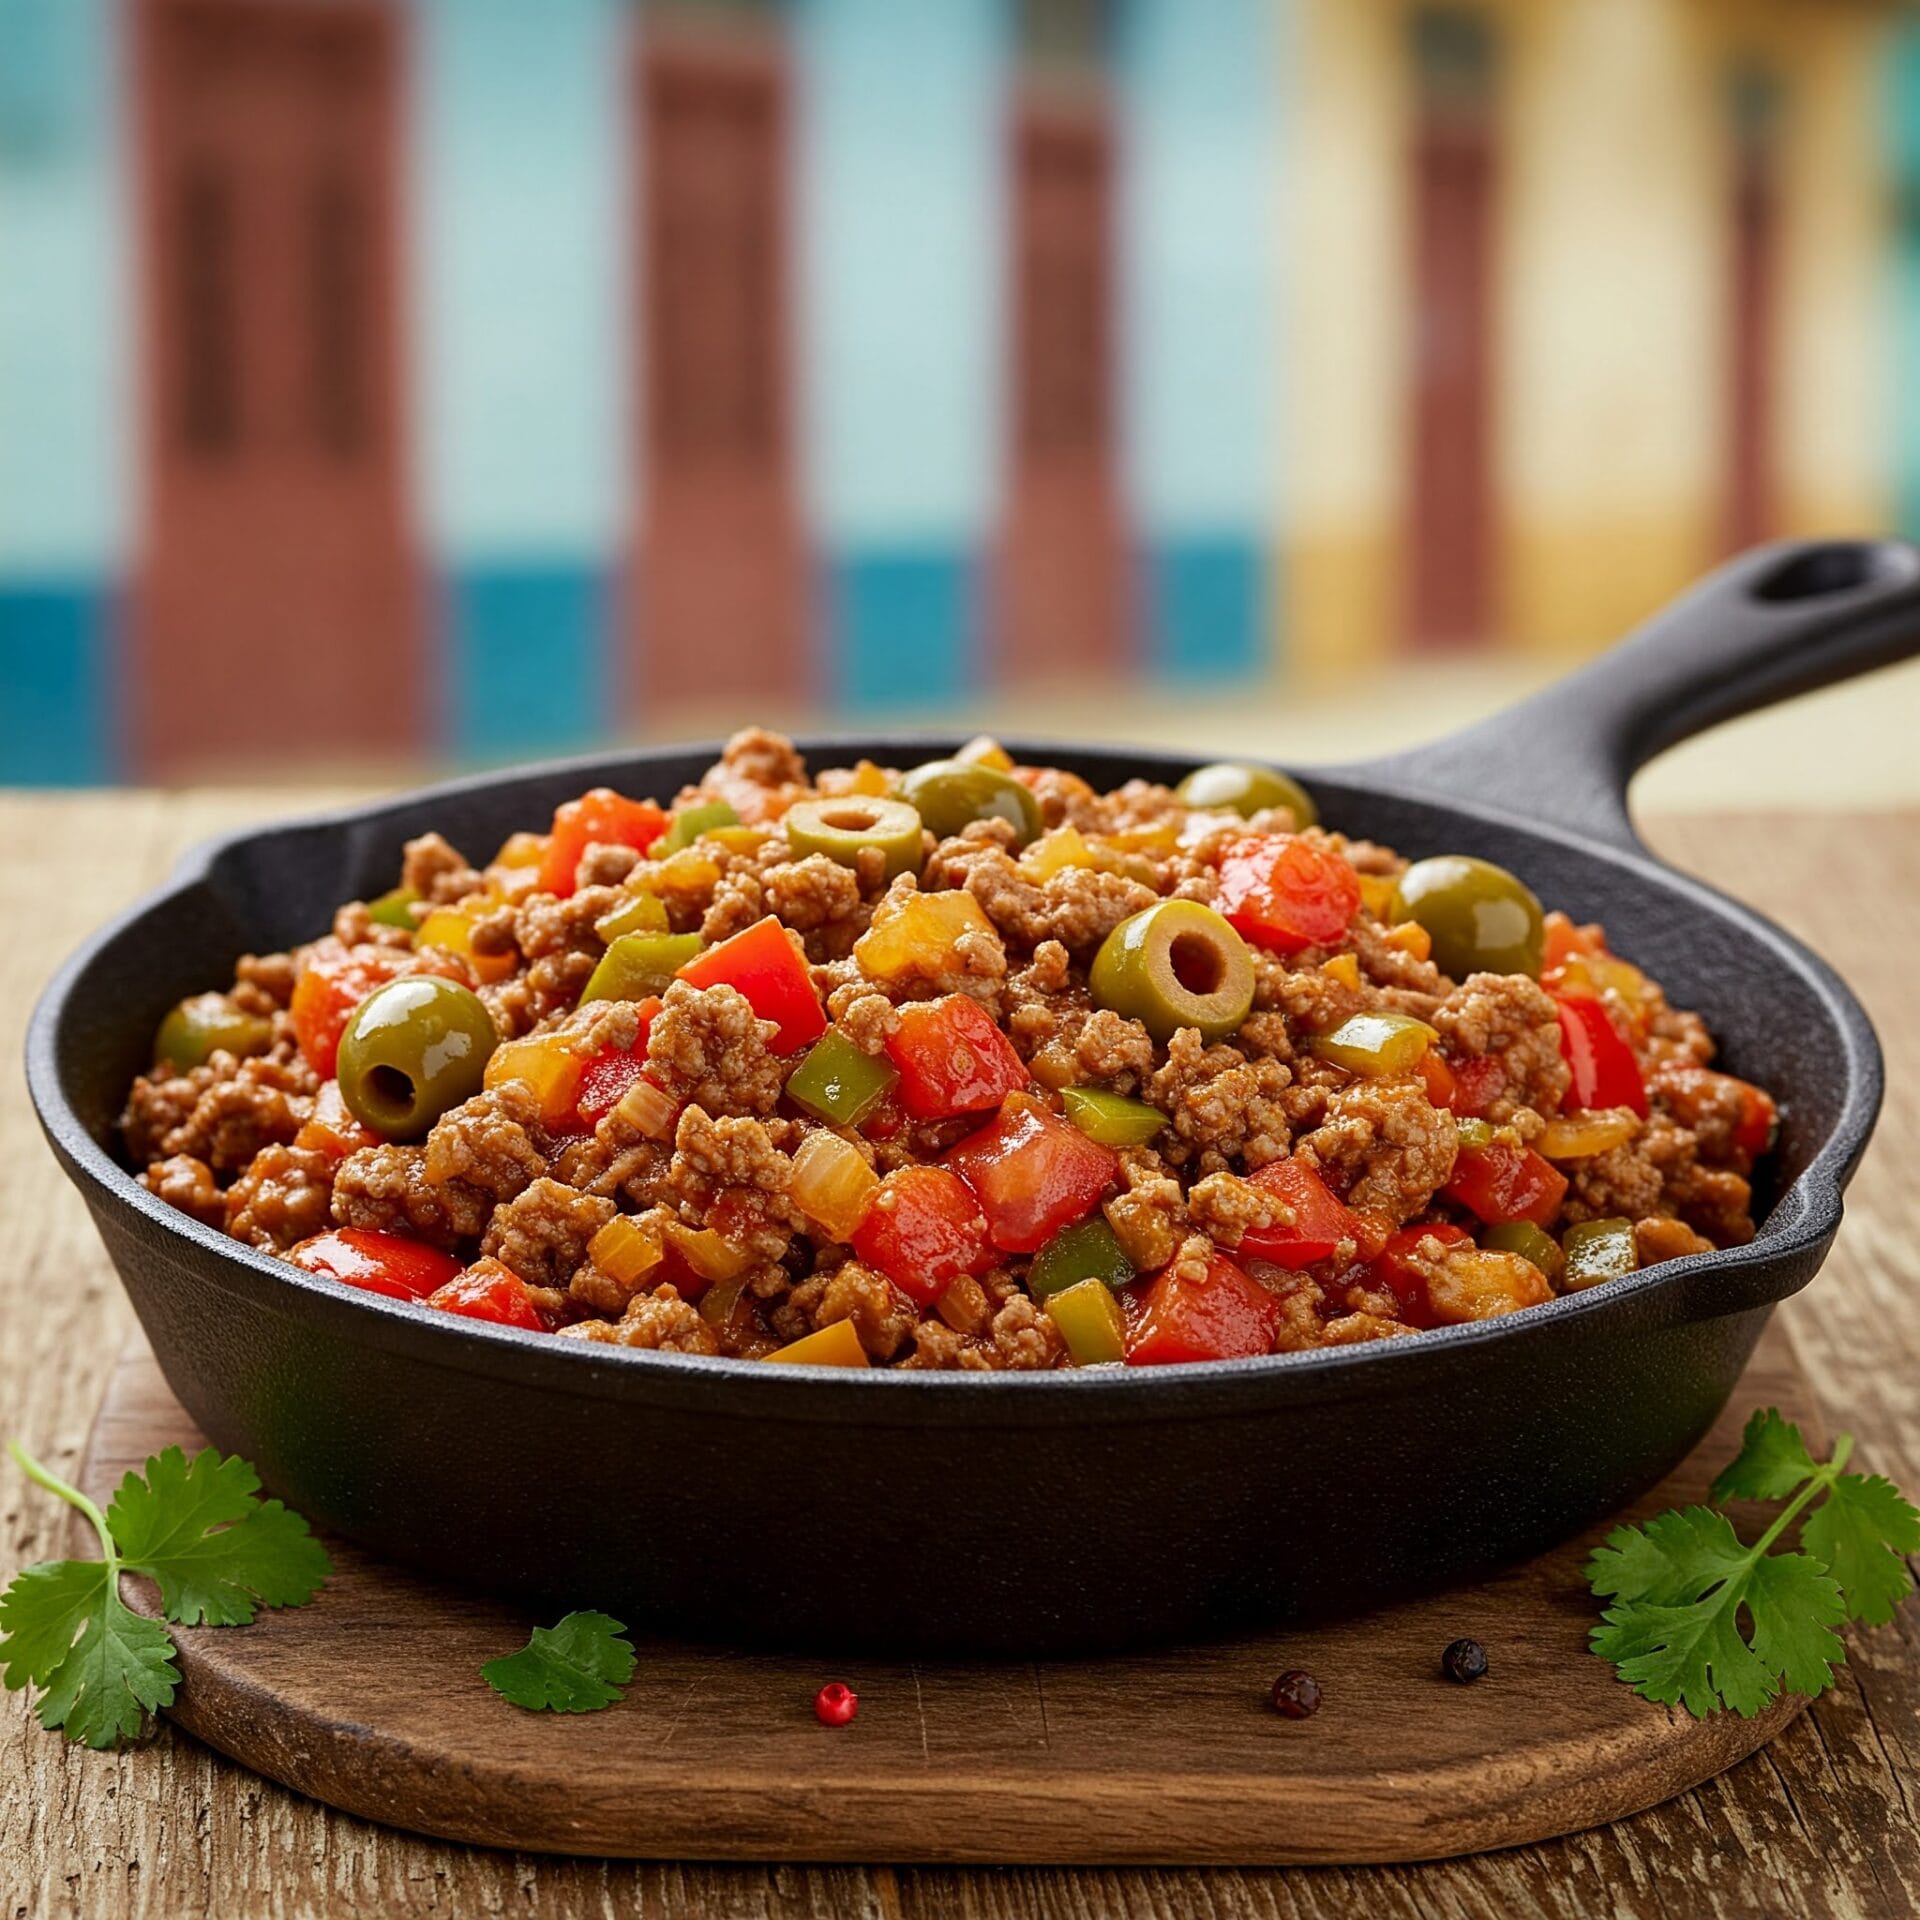
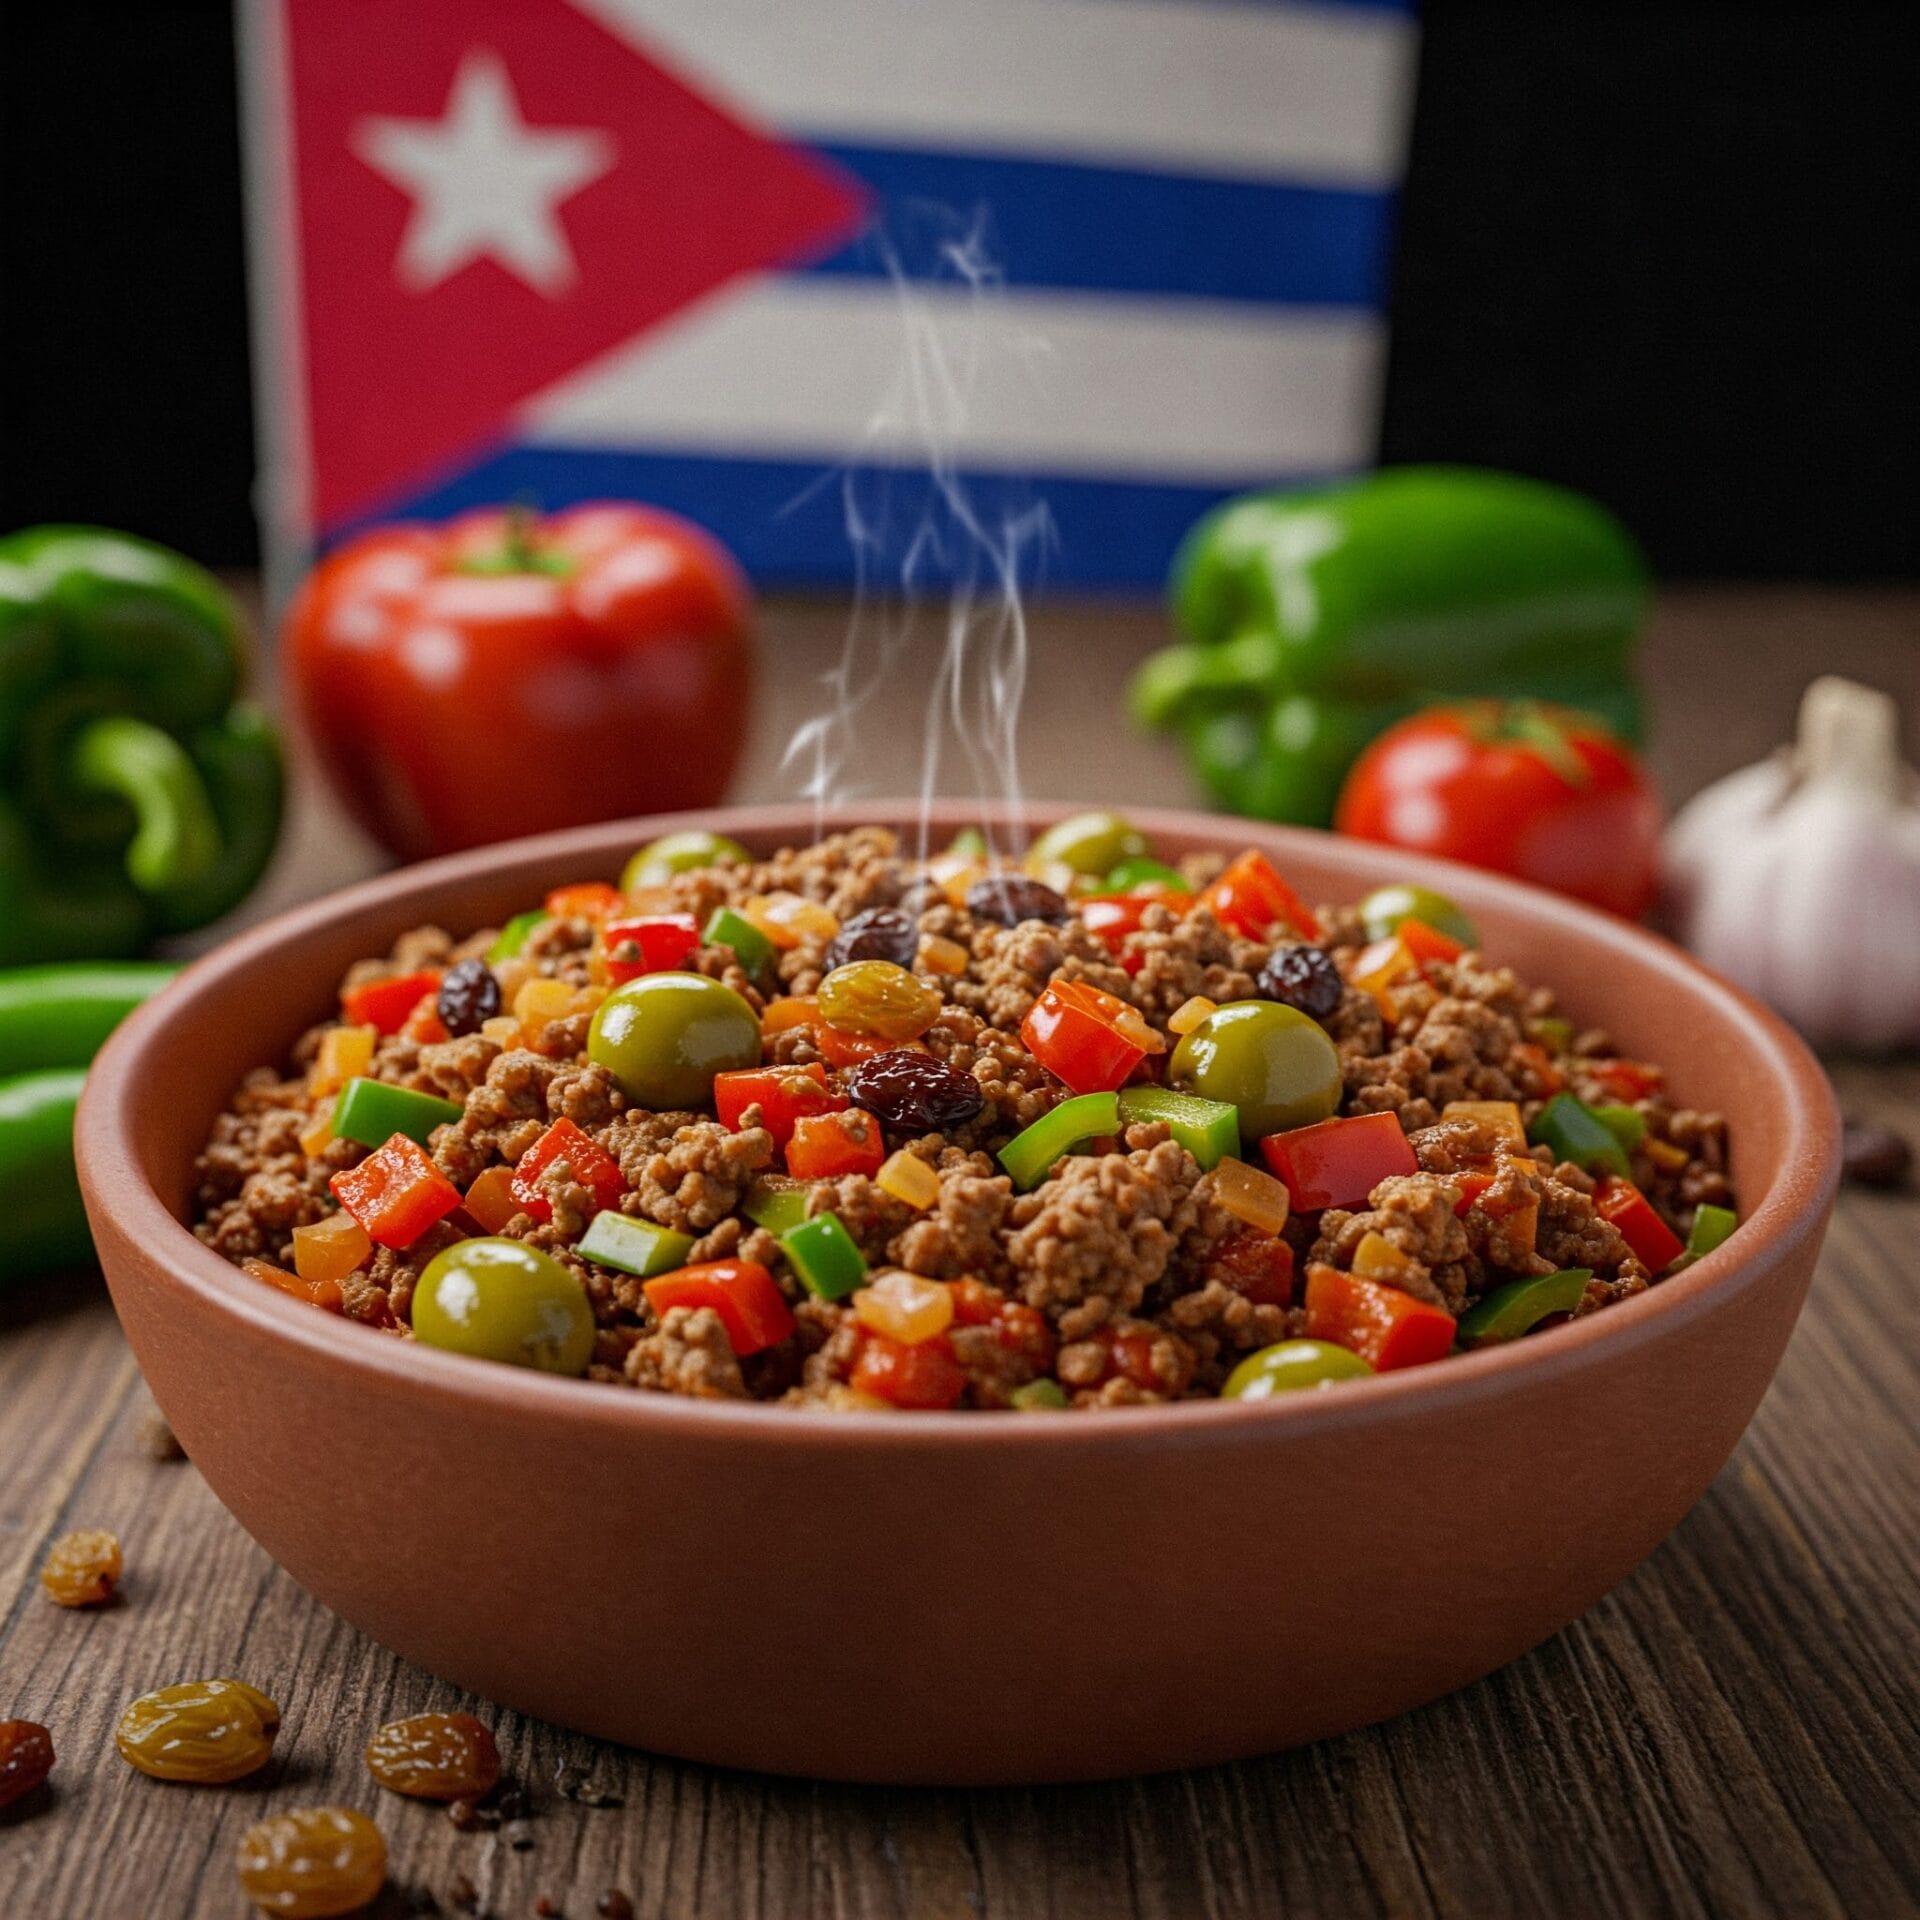
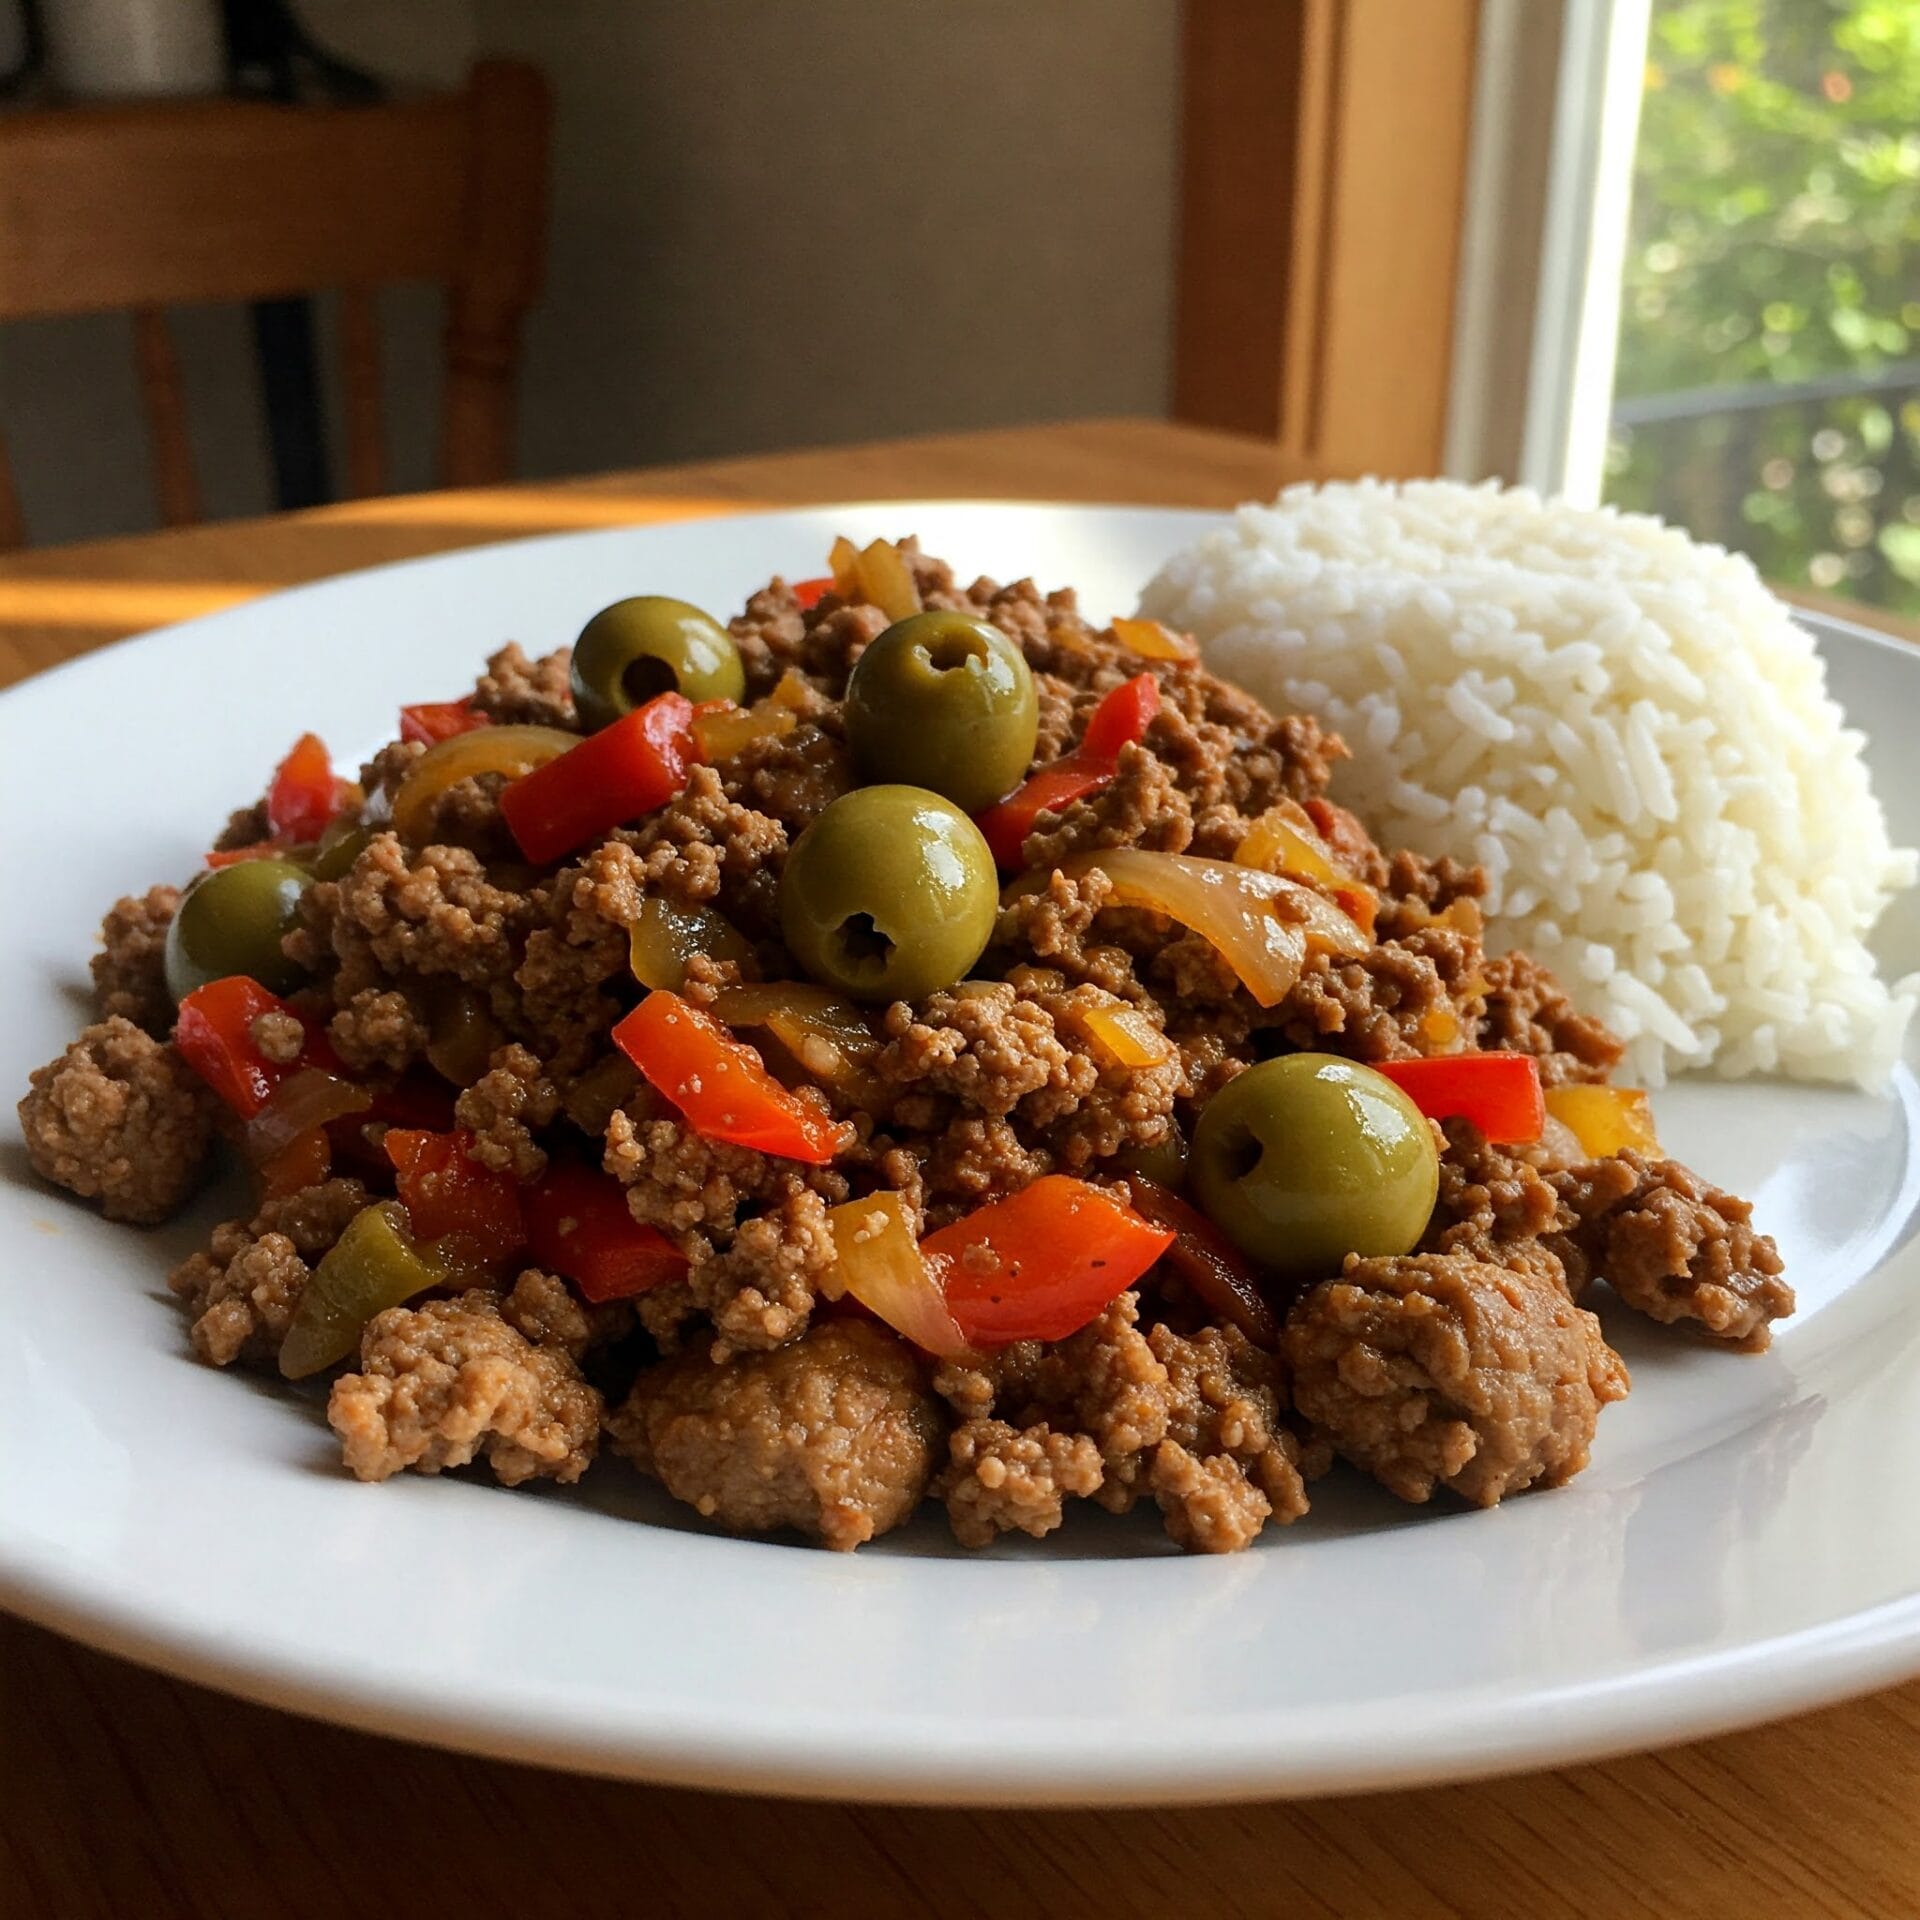
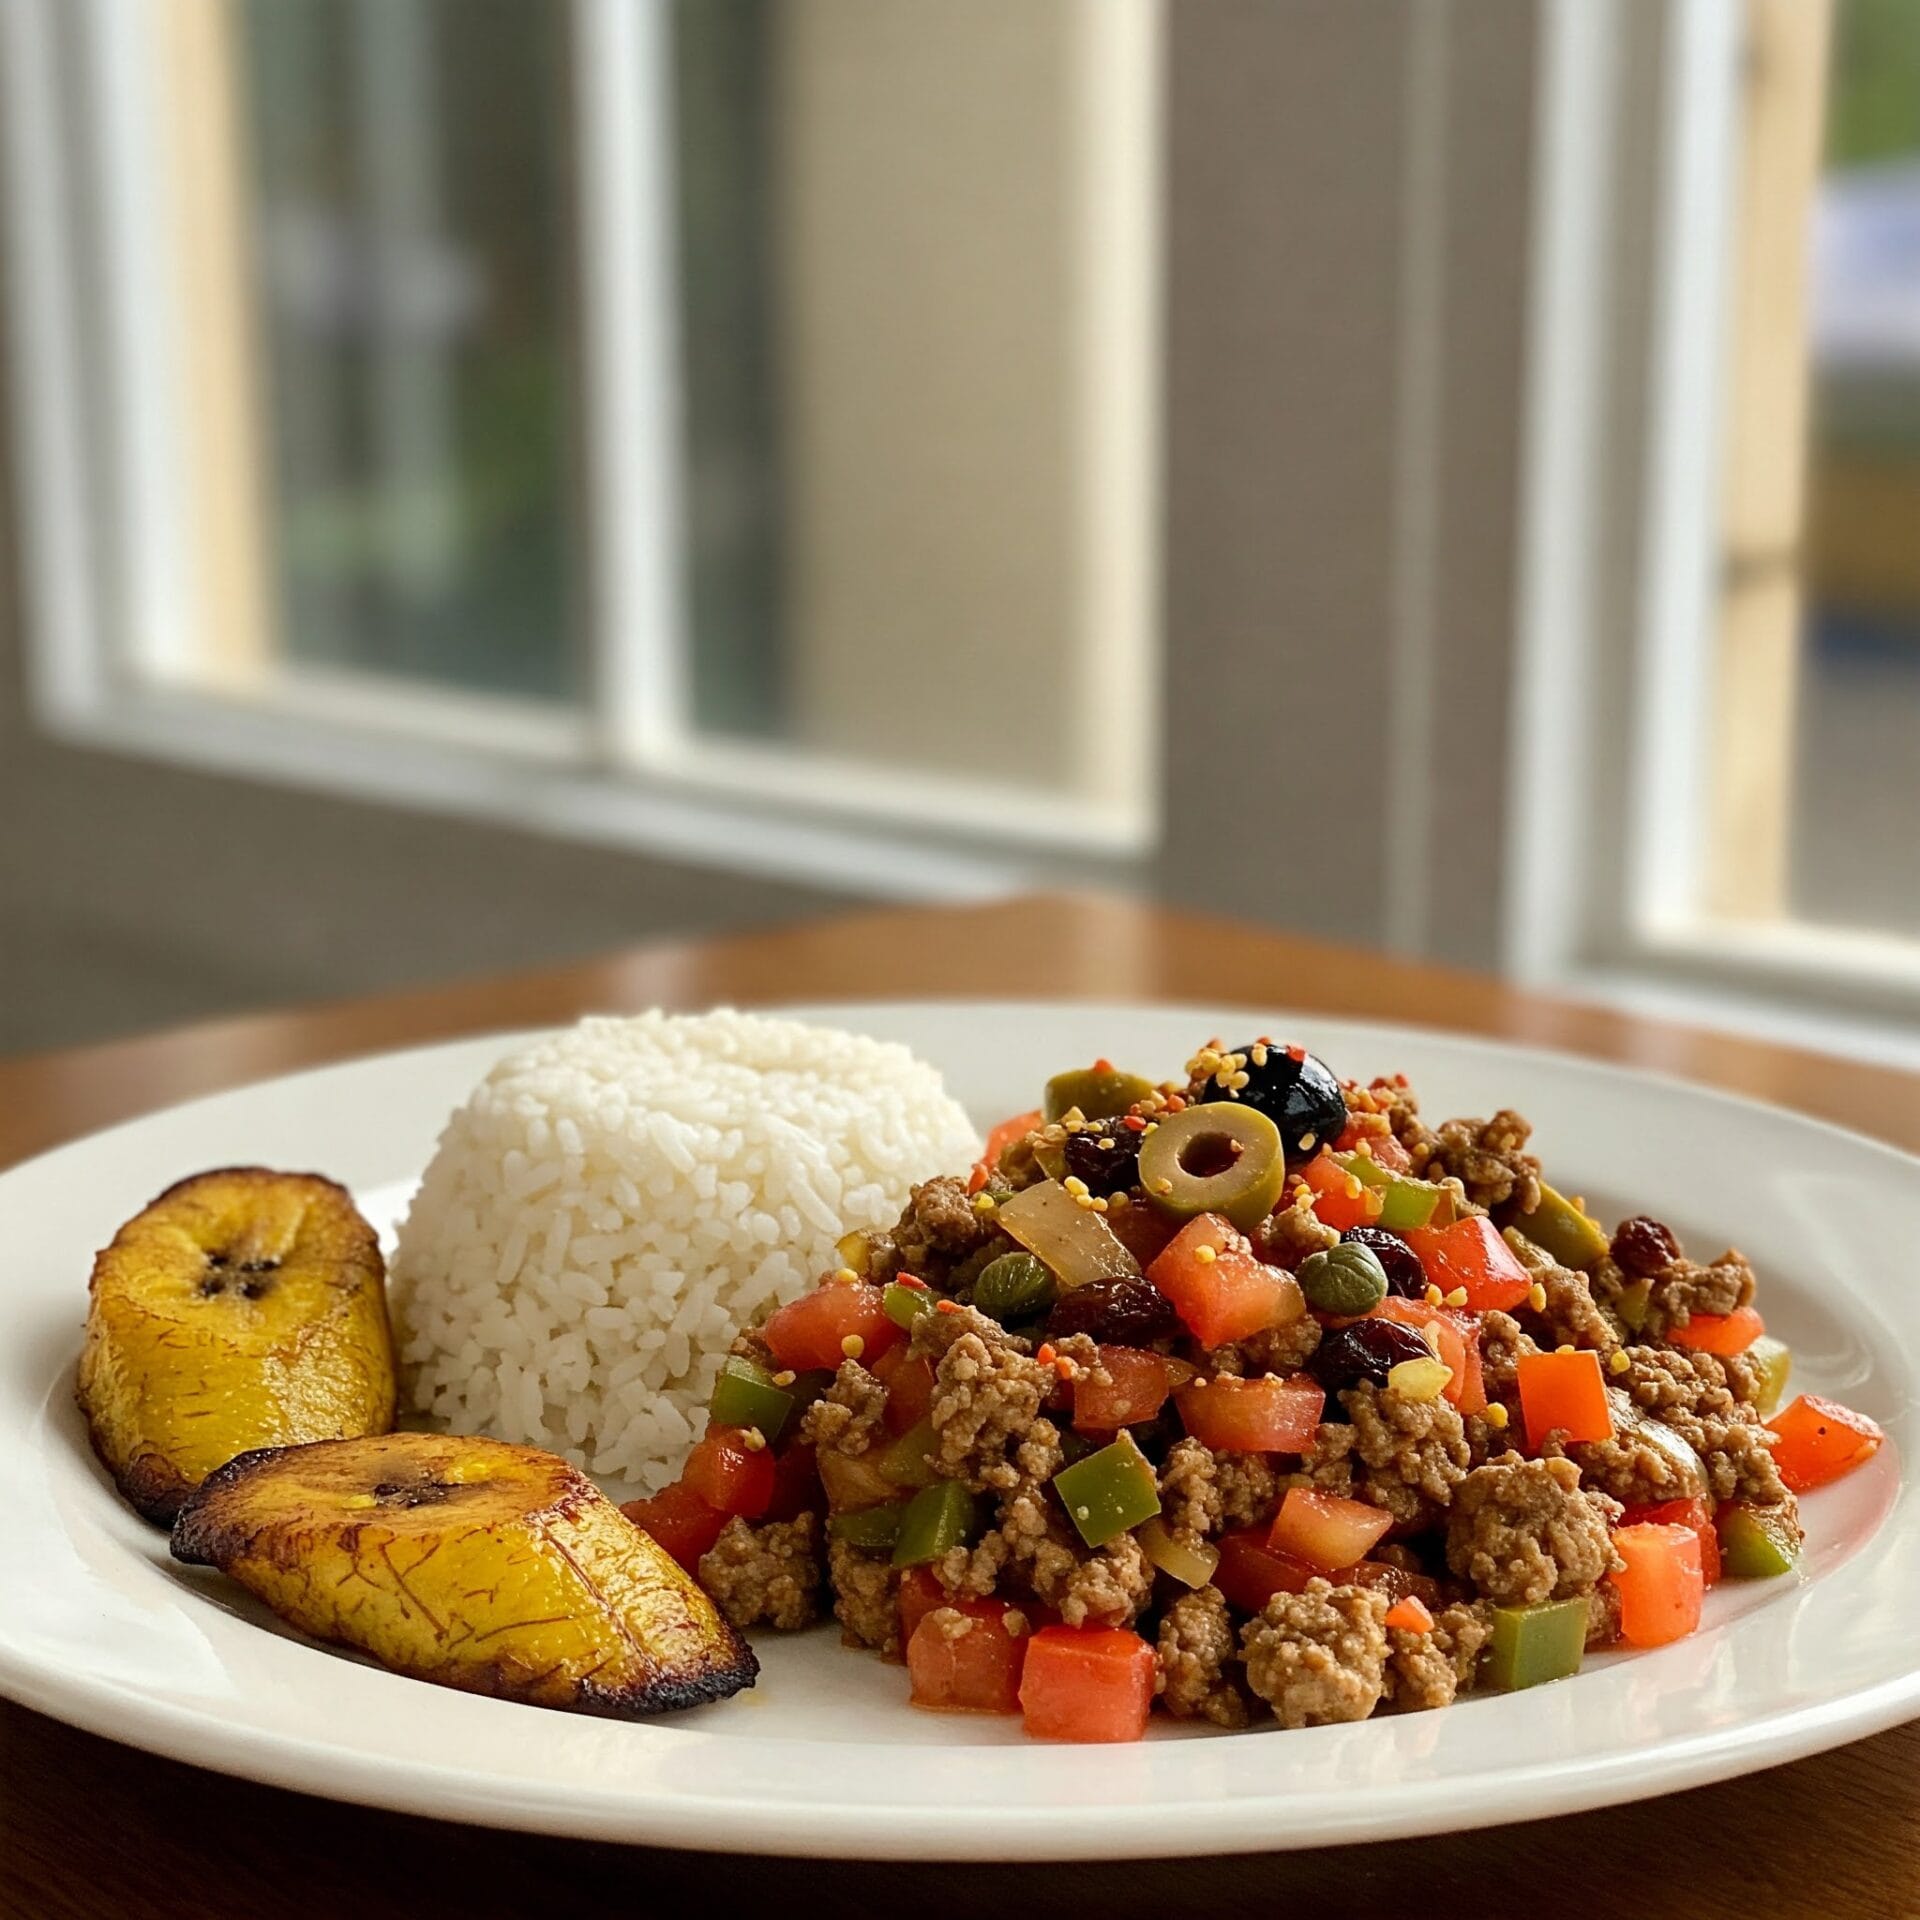
Cuban Picadillo is a comforting, savory dish that brings bold, home-cooked flavor to your table with every bite. Ground beef is simmered with onions, garlic, bell peppers, and tomatoes, then infused with the signature sweetness of raisins and the briny bite of green olives for a perfectly balanced dish. Warm spices like cumin and oregano give it authentic depth, while a splash of vinegar adds a subtle tang. Traditionally served over fluffy white rice or alongside fried plantains, this one-pan wonder is both hearty and deeply satisfying — a taste of Cuba’s rich culinary soul.

Cuban Picadillo

No ratings yet
Ah, Picadillo! A classic Cuban dish that's as comforting as it is flavorful. It's basically a savory ground beef hash, simmered with tomatoes, onions, garlic, and a touch of sweetness from raisins and olives.
Prep Time 10 minutes
Cook Time 35 minutes
Servings: 6 people
Course: Dinner, Main Course
Cuisine: Cuban
Calories: 411

Ingredients
  

  • 3 Tbsp Vegetable Oil
  • 1 medium Yellow Onion diced
  • 1 Green Bell Pepper diced
  • 2 lg Garlic minced
  • 2 tsp Oregano dried
  • 1 tsp Salt
  • ¼ tsp Black pepper
  • lbs Ground Beef (ground chuck or ground sirloin)
  •  
    1 8 oz Tomato sauce can
  • ¼ cup White Wine
  • ¼ cup Water
  •  
    ½ cup Green Olives Pimento Stuffed, sliced in half crosswise
  •  
    cup Raisins

Method
 

  1. Place a medium-sized pot over medium heat and add the oil. Once hot, add the onion and green pepper, cooking and stirring them until they soften slightly (about 5 minutes). Stir in the garlic and cook for another minute.
    3 Tbsp Vegetable Oil, 1 medium Yellow Onion, 1 Green Bell Pepper, 2 lg Garlic
  2. Sprinkle in the oregano, salt, and pepper, and sauté for 30 seconds more, until fragrant. Add the ground beef to the pot. As it cooks, use the side of a spoon to break it down into very fine pieces. Continue cooking until the beef loses most of its pink color, about 5 minutes.
    2 tsp Oregano, 1 tsp Salt, ¼ tsp Black pepper, 1½ lbs Ground Beef
  3. It's time to add the remaining ingredients: tomato sauce, white wine, and water will create the sauce, while the olives and raisins bring a touch of sweetness and acidity. Bring to a boil, then cover and simmer over low heat for 35-40 minutes. This allows the flavors to meld and deepen. Serve over rice for a complete and satisfying meal.
    1 8 oz Tomato sauce, ¼ cup White Wine, 1/4 cup Water, ½ cup Green Olives, ⅓ cup Raisins

Nutrition

Serving: 12ozCalories: 411kcalCarbohydrates: 10gProtein: 20gFat: 31gSaturated Fat: 10gPolyunsaturated Fat: 5gMonounsaturated Fat: 13gTrans Fat: 1gCholesterol: 81mgSodium: 744mgPotassium: 457mgFiber: 2gSugar: 1gVitamin A: 131IUVitamin C: 18mgCalcium: 48mgIron: 3mg

Notes

Flavor Boosters:
  • Toast the spices: Before adding them to the pot, toast your cumin and oregano in a dry skillet for a minute or two until fragrant. This intensifies their flavor and adds depth to the dish.
  • Don't be afraid of the sofrito: Take your time building a flavorful sofrito. Cook the onions, garlic, and peppers slowly over medium heat until they're softened and slightly caramelized. This creates a delicious foundation for the Picadillo.
  • Wine matters: Use a dry white wine like Sauvignon Blanc or Pinot Grigio for a bright acidity that complements the other flavors.
  • Tomato paste power: For a richer, more intense tomato flavor, add a tablespoon or two of tomato paste to the sofrito along with the garlic.
  • Adjust the sweetness: Taste the Picadillo as it simmers and adjust the sweetness by adding a pinch of sugar or a splash of dry sherry if needed.
Texture Tips:
  • Ground beef choice: Use ground beef with a higher fat content (like 80/20) for a juicier and more flavorful Picadillo.
  • Break it down: Make sure to break up the ground beef into very small pieces as it cooks. This creates a finer texture that's characteristic of Cuban Picadillo.
  • Simmer, simmer, simmer: Don't rush the simmering process. The longer the Picadillo simmers, the more the flavors will meld and deepen.
Serving Suggestions:
  • Rice is king: Serve your Picadillo over fluffy white rice to soak up all the delicious sauce.
  • Plantain perfection: Fried sweet plantains (maduros) are a classic accompaniment to Picadillo.
  • Add some crunch: For a textural contrast, top your Picadillo with some toasted almonds or chopped cilantro.
  • Get creative: Use Picadillo as a filling for empanadas, arepas, or even baked potatoes for a fun twist.
Bonus Tip:
  • Make it ahead: Picadillo tastes even better the next day! Make a big batch and enjoy it for leftovers throughout the week.
With these tips and tricks, you'll be well on your way to making a truly delicious and authentic Cuban Picadillo. ¡Buen provecho! 😋

Tried this recipe?

Let us know how it was!

Related Recipes

Ingredients

  • 3 Tbsp Vegetable Oil
  • 1 medium Yellow Onion, diced
  • 1 Green Bell Pepper, diced
  • 2 large cloves Garlic, minced
  • 2 tsp dried Oregano
  • 1 tsp Salt
  • ¼ tsp Black Pepper
  • 1 ½ lbs Ground Beef (ground chuck or ground sirloin)
  • 1 (8 oz) can Tomato Sauce
  • ¼ cup White Wine
  • ¼ cup Water
  • ½ cup Green Olives (pimento-stuffed), sliced in half crosswise
  • ⅓ cup Raisins

Image Gallery Cuban Picadillo

Storage & Leftovers

Please follow and like us:
onpost_follow
fb-share-icon197
Tweet120
Pinterest20
Share 20
submit to reddit

Subscribe for New Recipes

* indicates required

Intuit Mailchimp

Loaded Sour Cream & Onion Waffle Fries

Loaded Sour Cream & Onion Waffle Fries

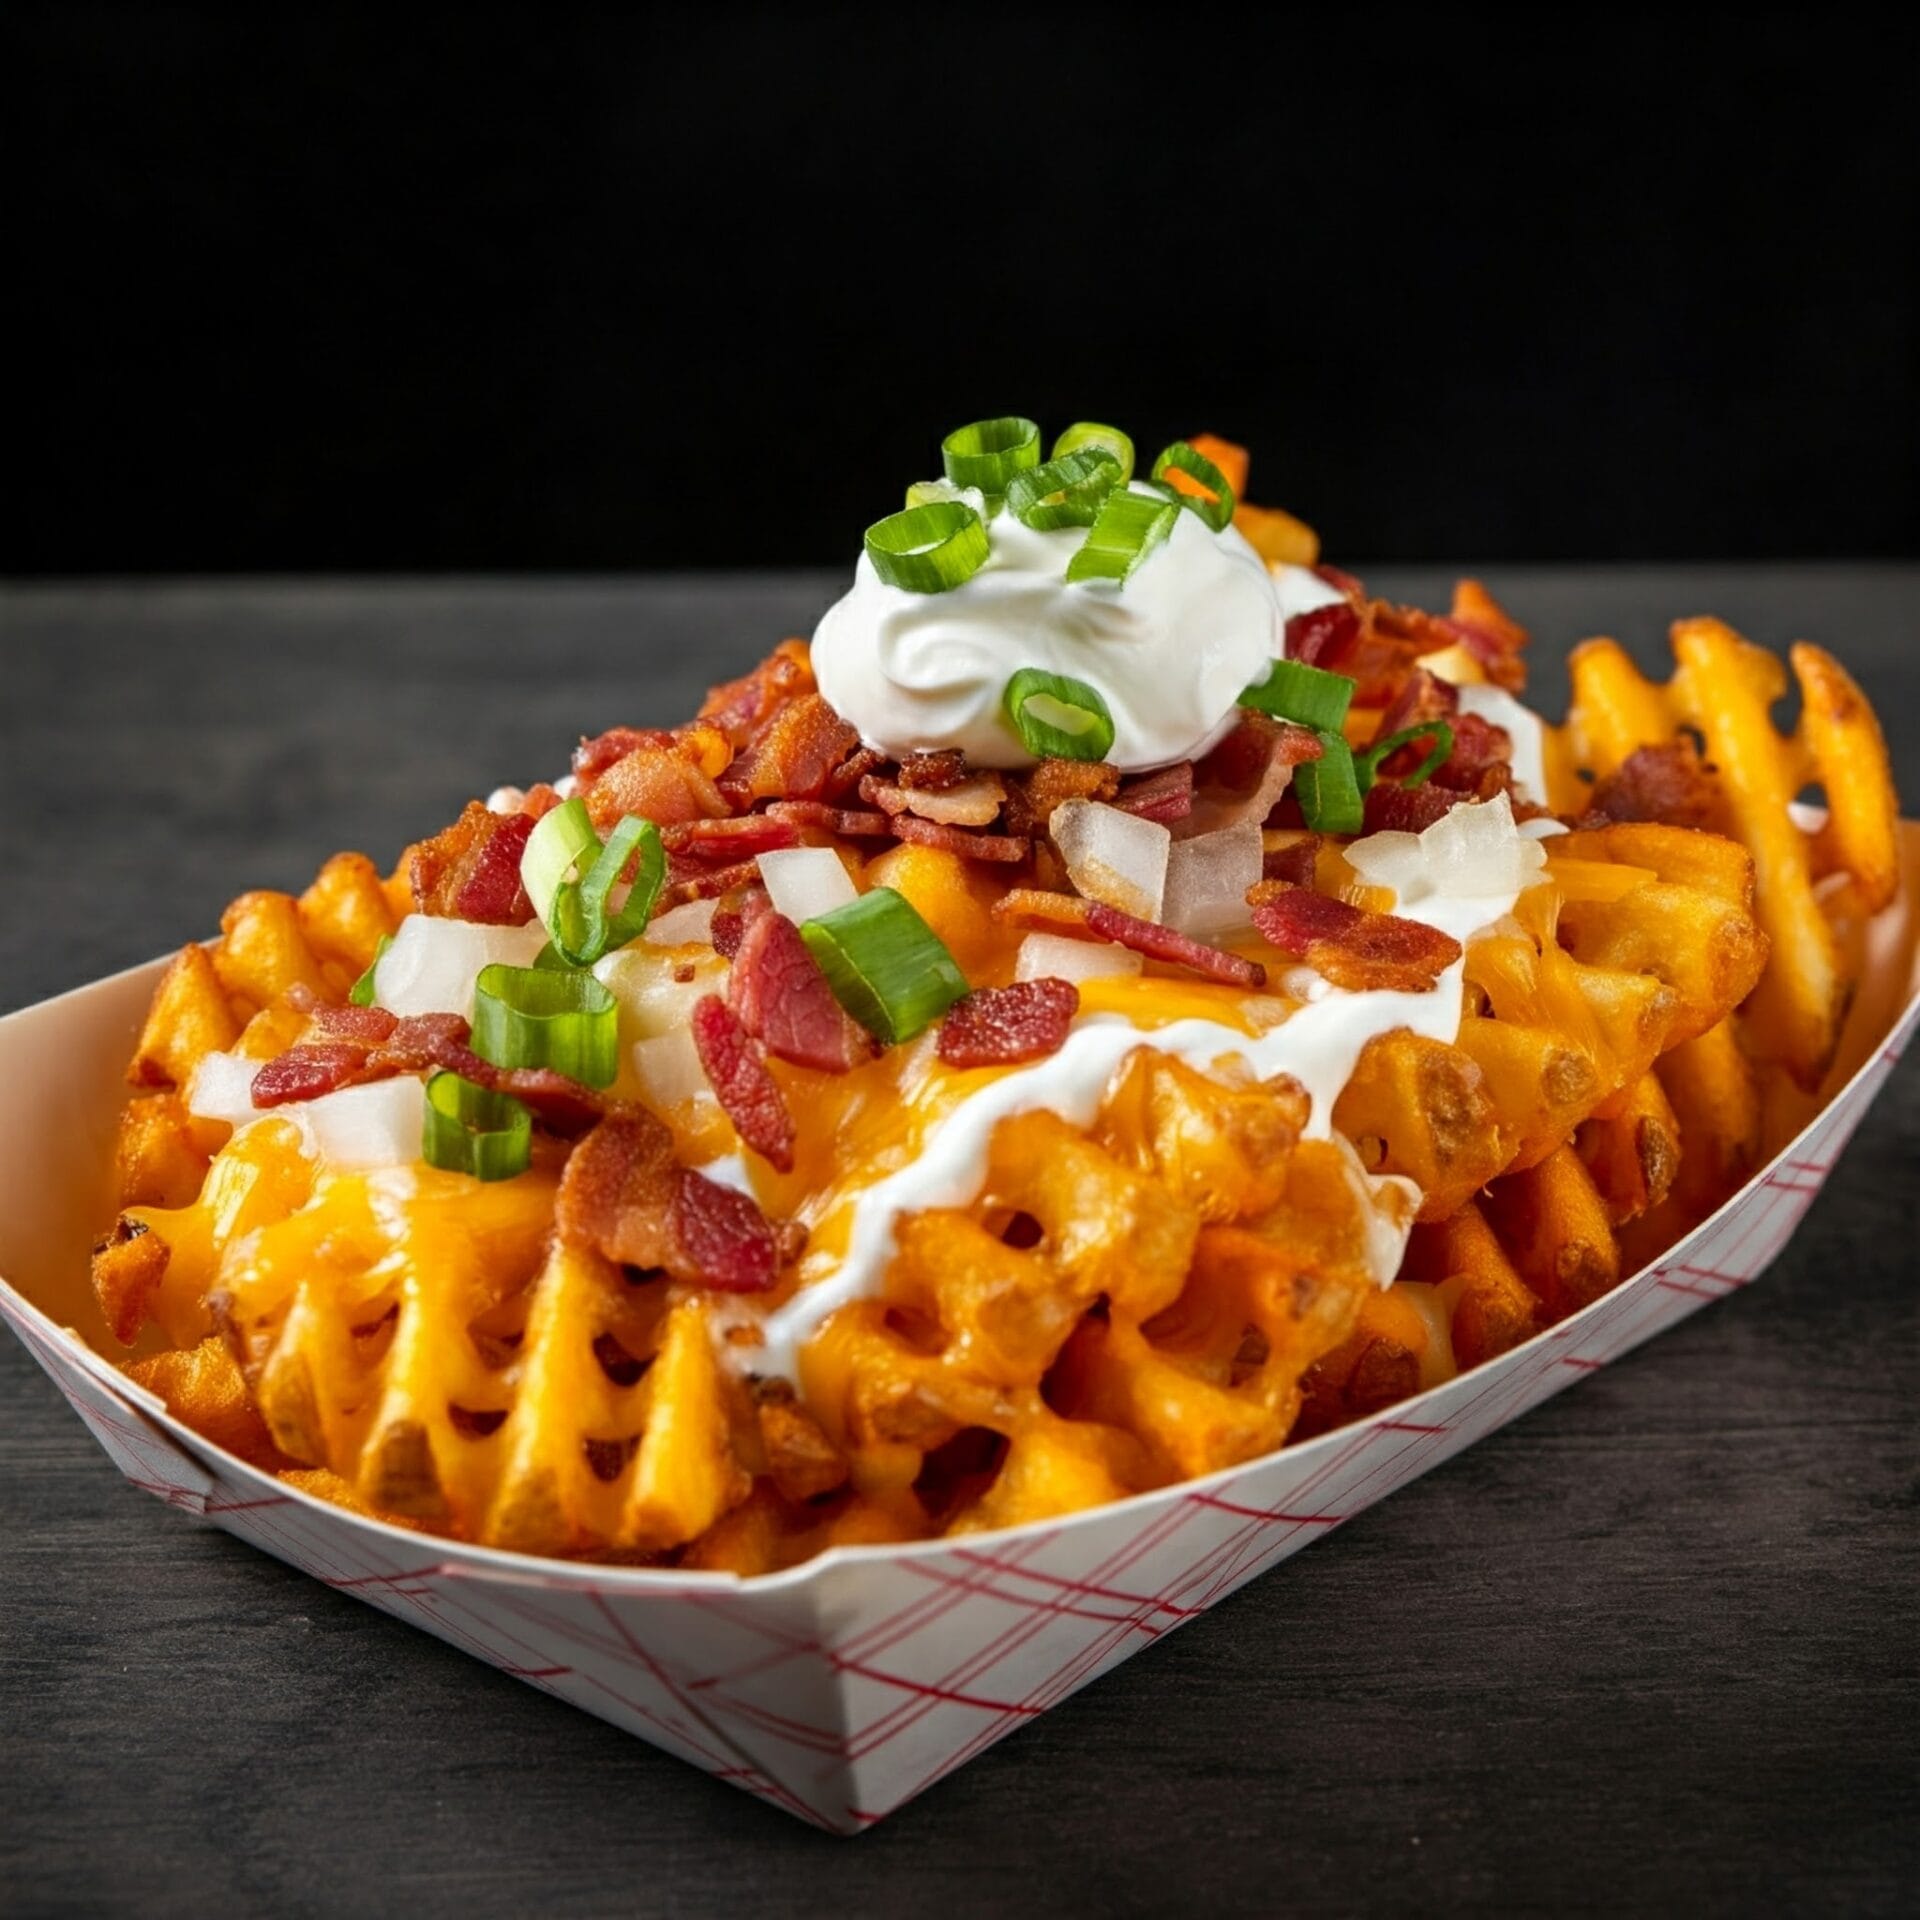
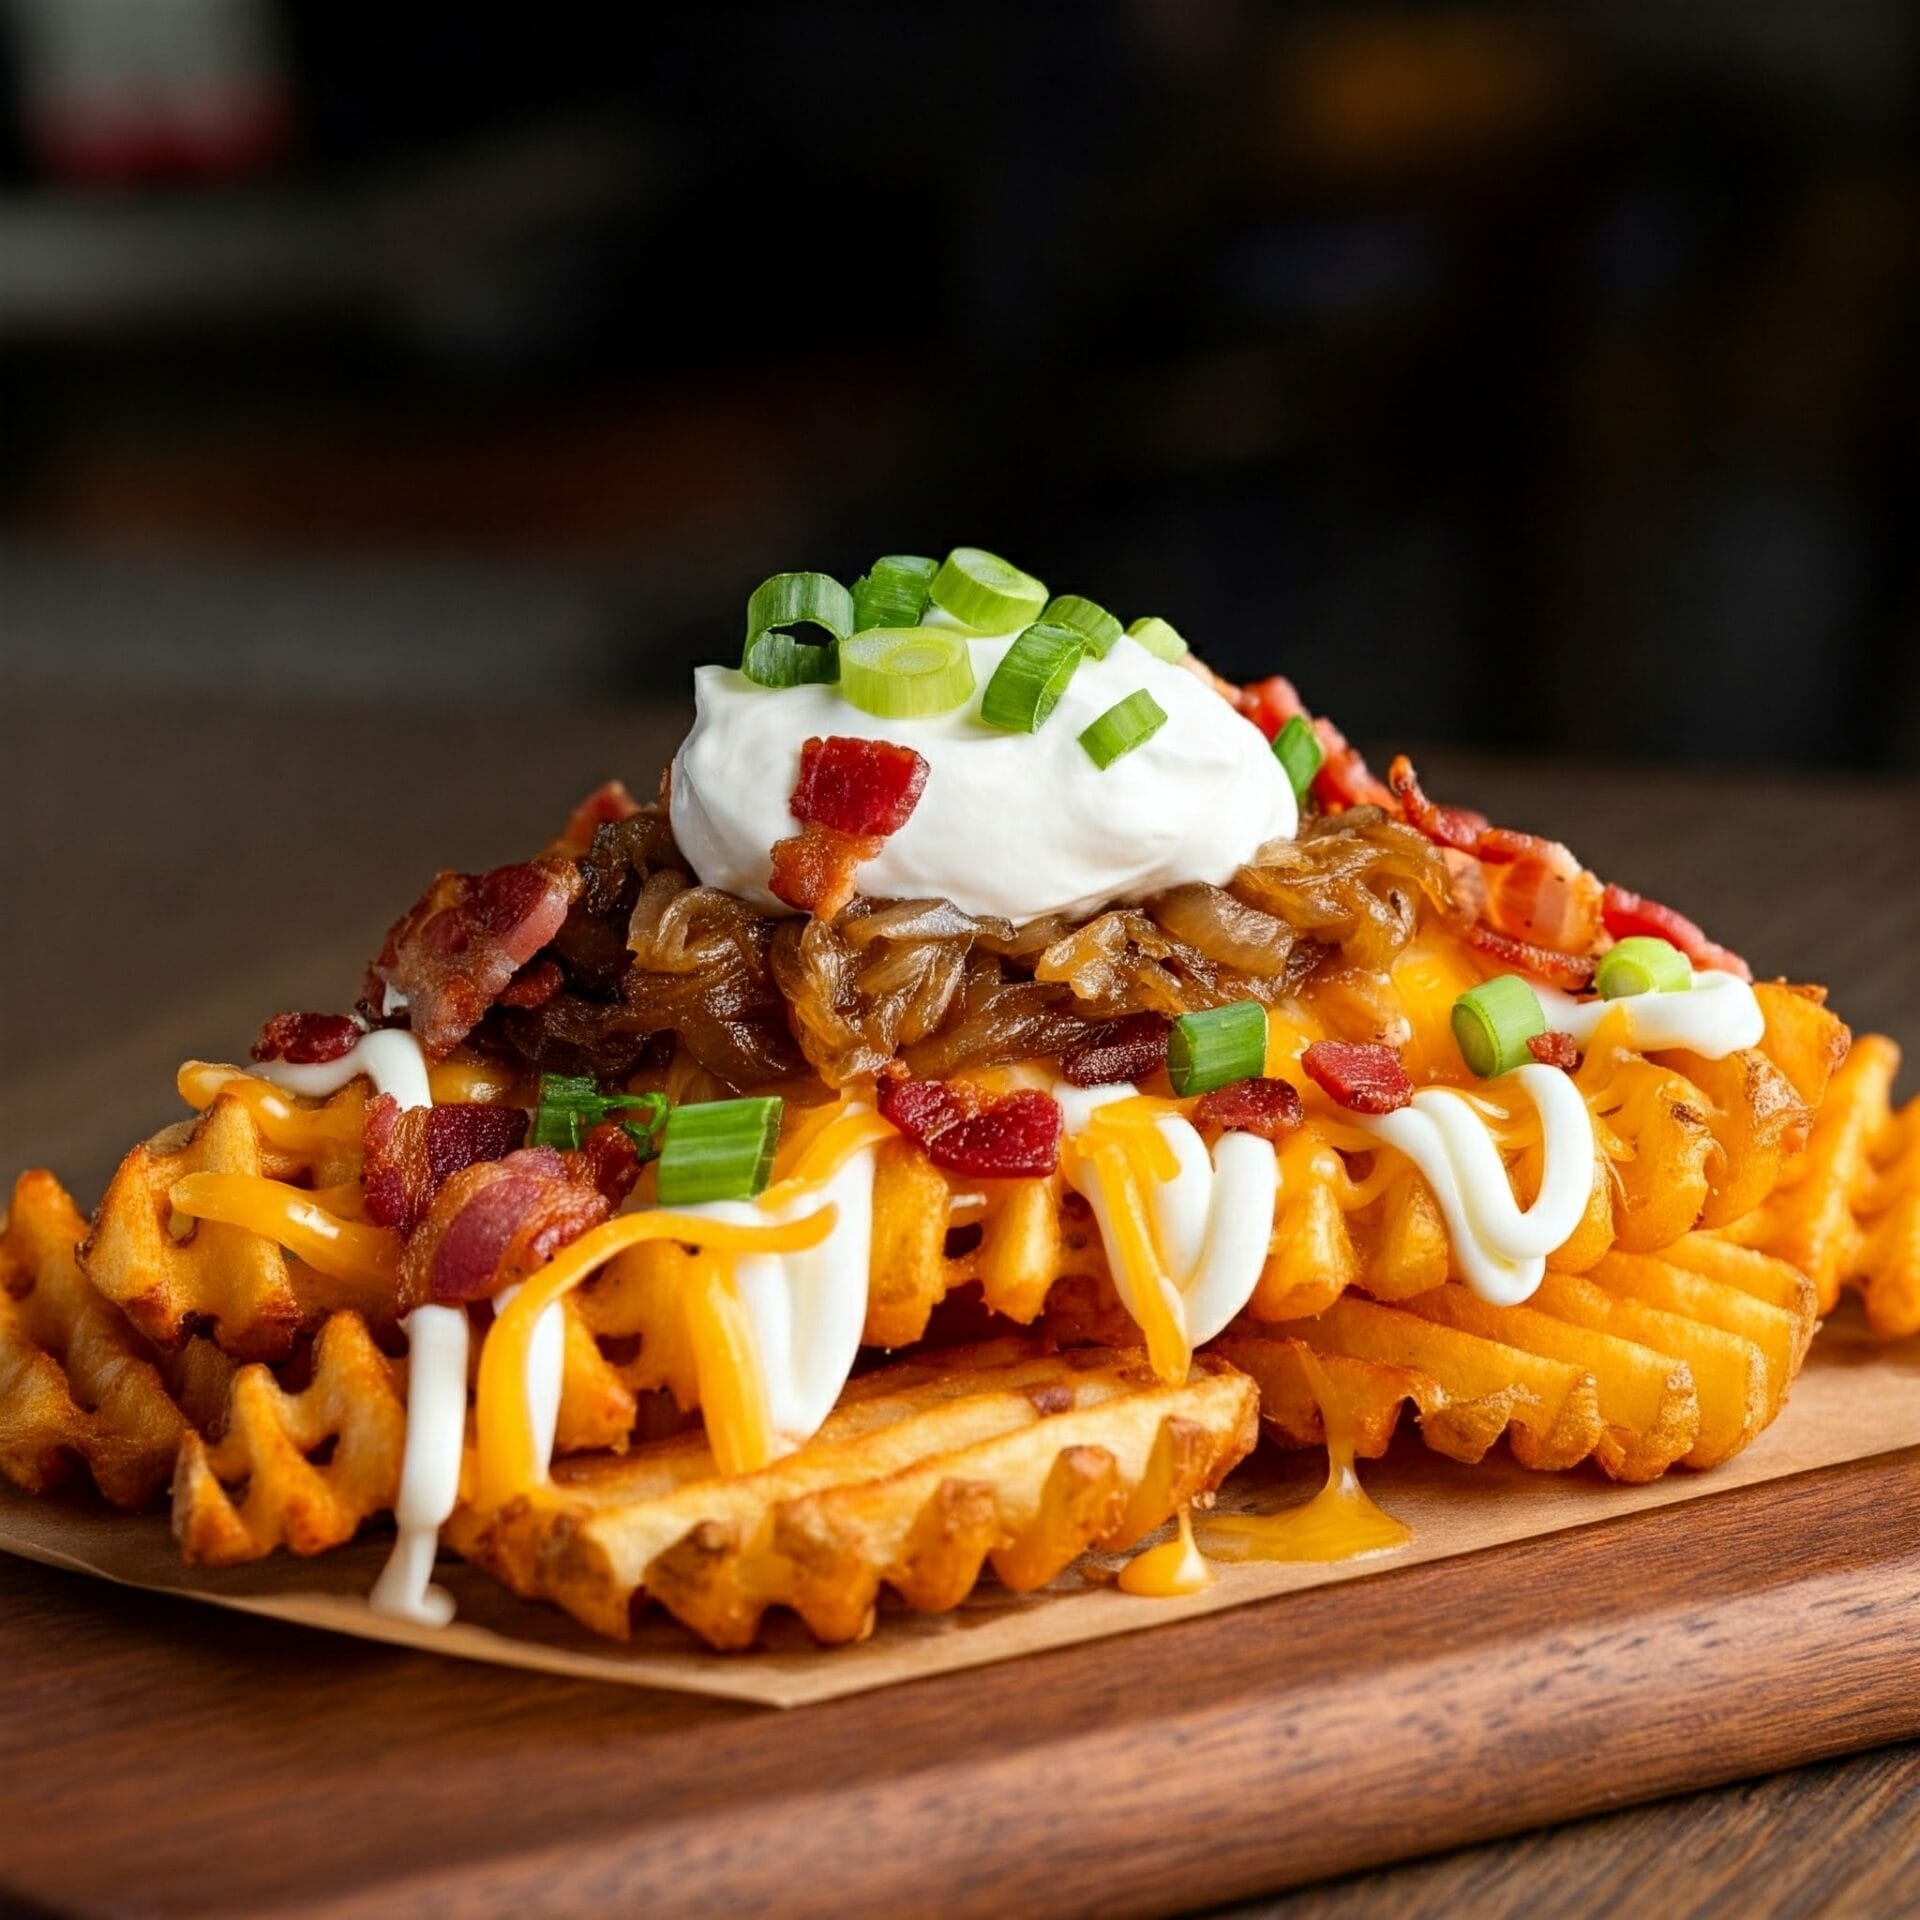
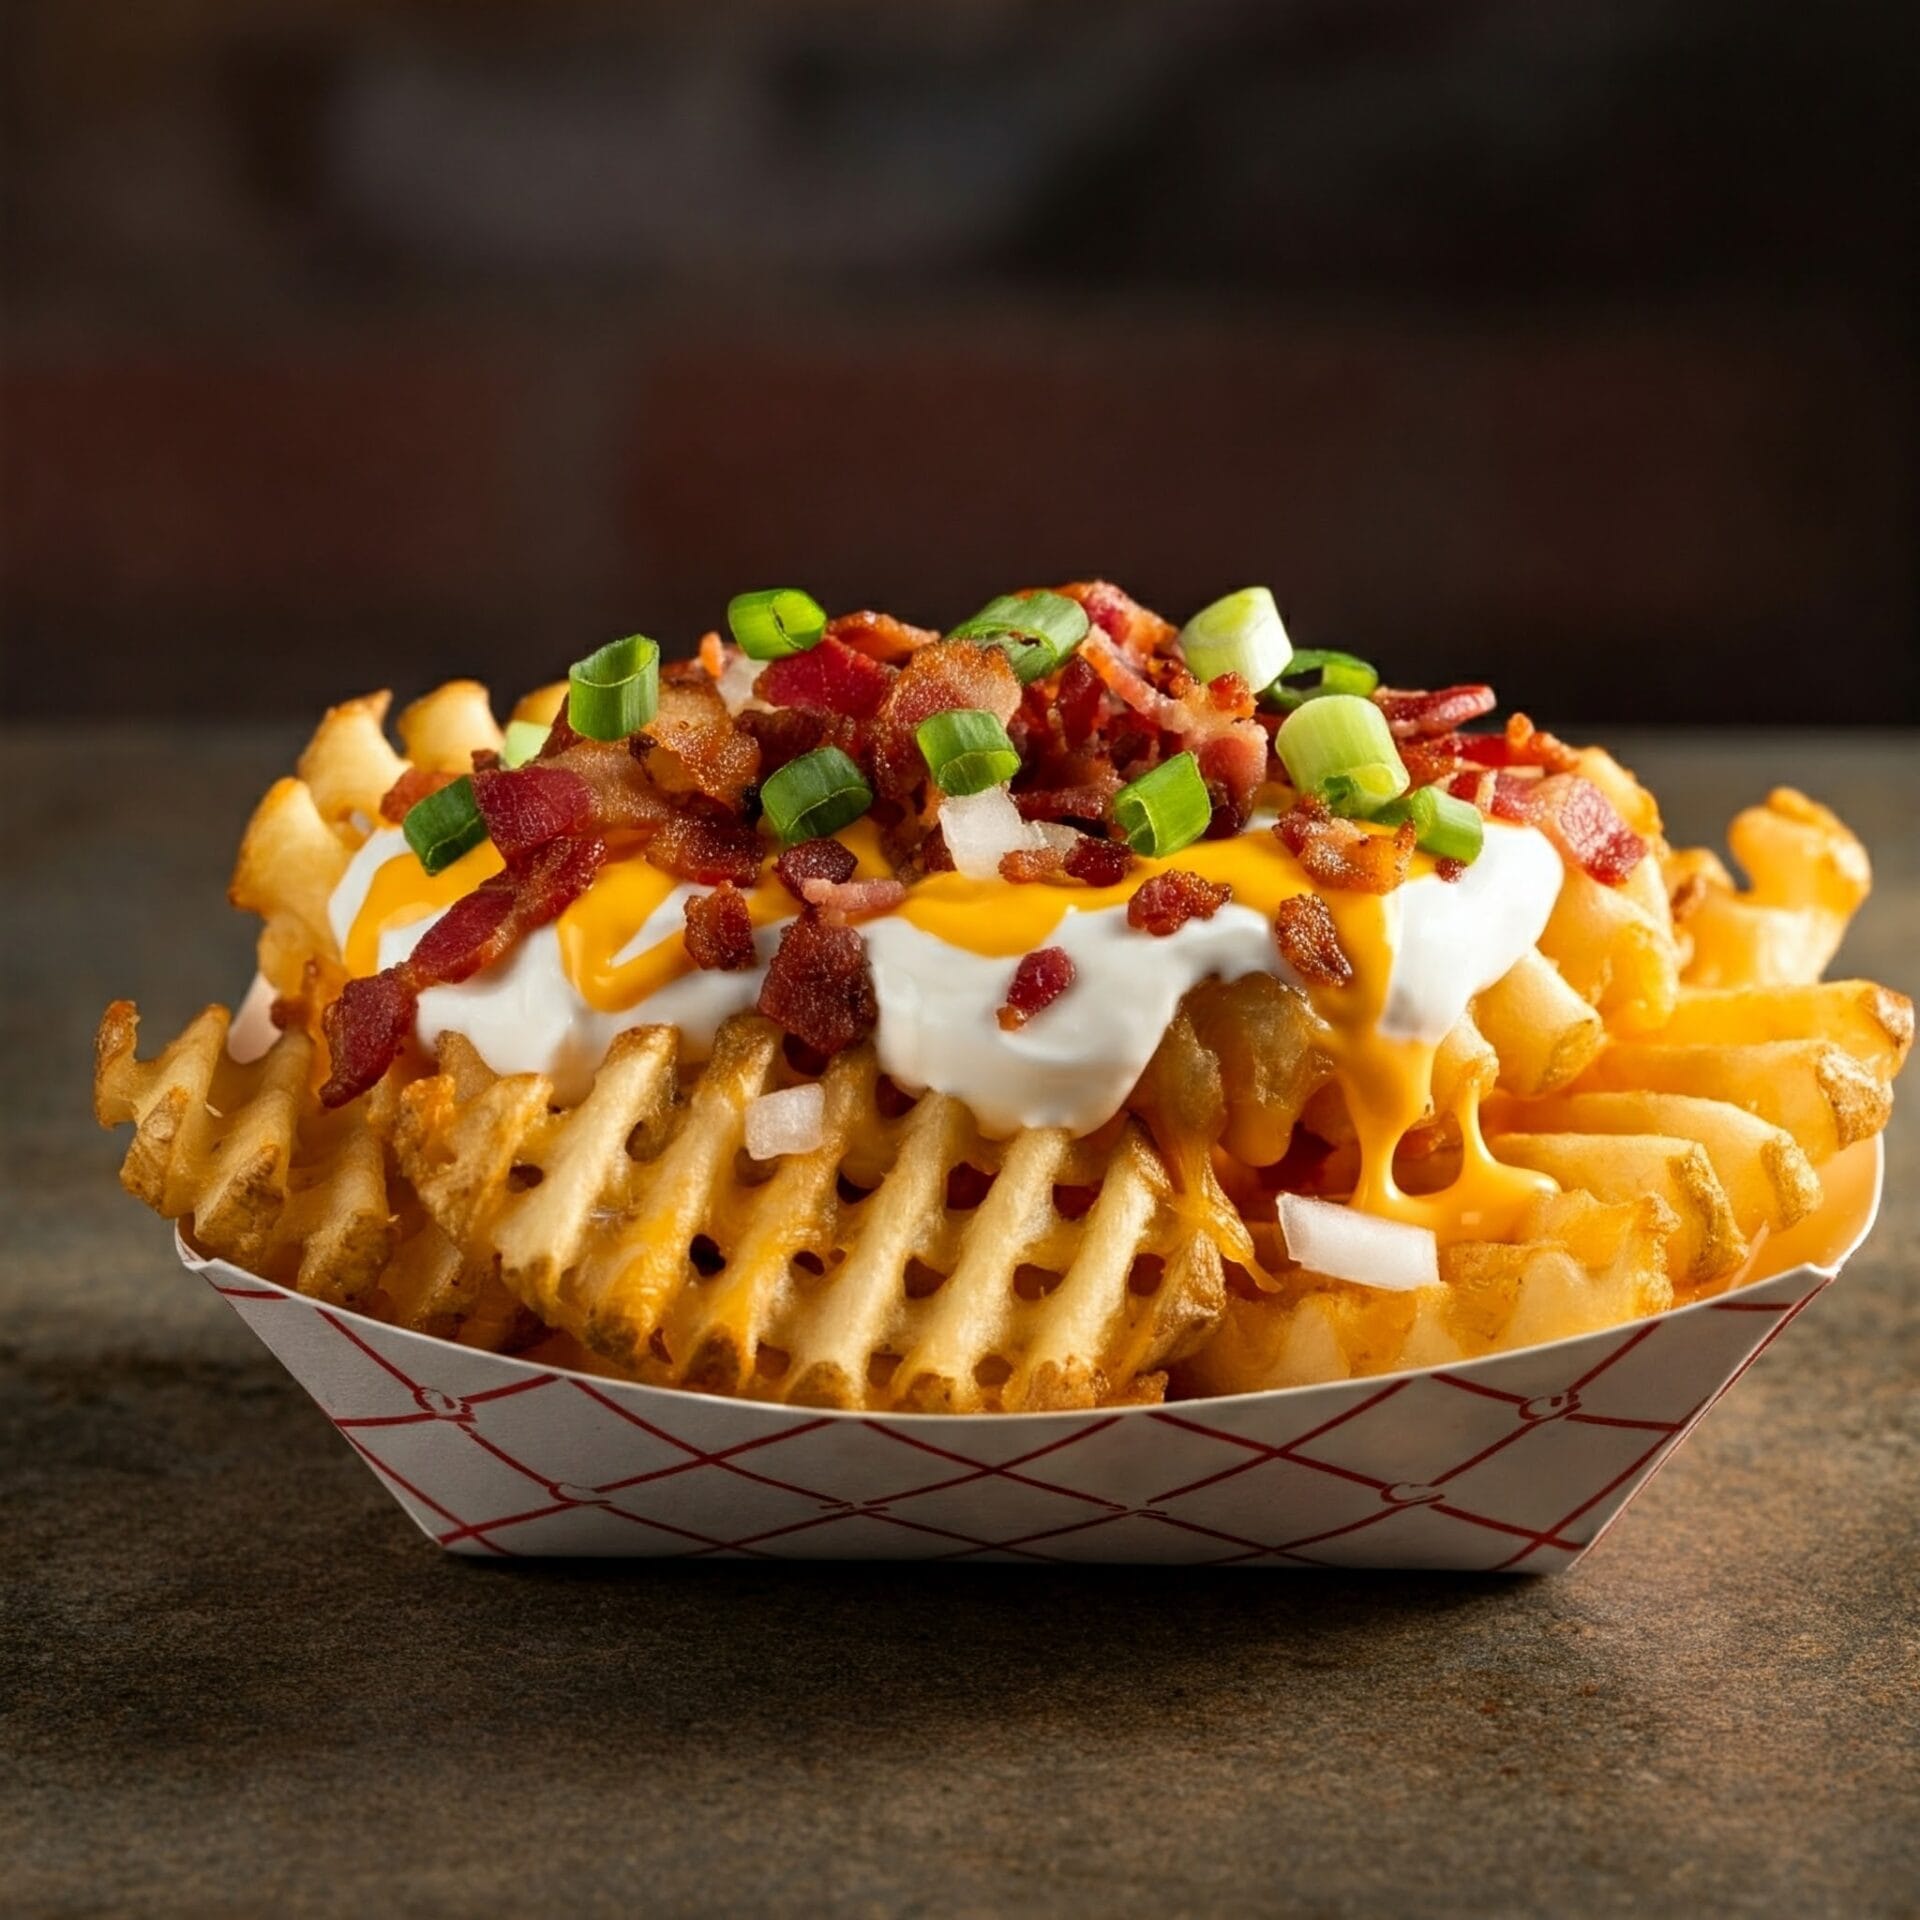
Get ready for a flavor explosion! These Loaded Sour Cream & Onion Waffle Fries are a symphony of crispy, golden perfection. Imagine perfectly seasoned waffle fries piled high with a creamy blend of sour cream and onion, then generously showered with melty cheese, crispy bacon bits, and fresh green onions. 🍟🧀🧅 This irresistible combination of textures and flavors is sure to tantalize your taste buds and leave you craving more. Whether you’re hosting a game day party, enjoying a movie night, or simply indulging in a well-deserved treat, these loaded fries are the perfect way to satisfy your cravings. 🤤

Loaded Sour Cream and Onion Waffle Fries

No ratings yet
Loaded Sour Cream and Onion Waffle Fries are the ultimate comfort food! Crispy waffle fries are piled high with a creamy sour cream and onion sauce, melted cheddar cheese, crispy bacon, and a sprinkle of fresh green onions. It's a flavor explosion that's perfect for game day or any occasion.
Prep Time 15 minutes
Cook Time 35 minutes
Servings: 6 people
Course: Appetizer, Snacks
Cuisine: American, American Fusion
Calories: 527

Ingredients
  

  •  
    2 tsp Buttermilk Powdered
  • 1 tsp Garlic Powder
  • 1 tsp Parsley dried
  • 1 tsp Granulated Sugar
  • 1 tsp Salt
  • ½ tsp Onion Powder
Waffle Fries
  •  
    22 oz Waffle Fries frozen
  • 2 Tbsp Olive Oil
  • 7 Slices Bacon
  •  
    2 Cups White Cheddar Cheese shredded
  • 2 Large Green Onions thinly sliced
  • ¼ Cup Sour Cream

Method
 

  1. Start by preheating your oven to 450 degrees Fahrenheit. In a small bowl, add the powdered buttermilk, garlic powder, parsley, sugar, salt, and onion powder. Use a whisk or a fork to thoroughly mix the ingredients together until they are evenly distributed and well combined. This flavorful mixture will be used to season the waffle fries.
    2 tsp Buttermilk, 1 tsp Garlic Powder, 1 tsp Parsley, 1 tsp Granulated Sugar, 1 tsp Salt, ½ tsp Onion Powder
  2. Pour the frozen waffle fries into a large bowl. Drizzle the fries with olive oil and toss gently to coat them evenly. This will help them crisp up in the oven. Sprinkle the sour cream and onion seasoning mix over the fries and toss again to ensure that the fries are evenly coated with the seasoning. Spread the waffle fries out in a single layer on the prepared baking sheet. This will prevent them from steaming and ensure they bake evenly. Bake the fries in the preheated oven until they are lightly golden brown and crispy, following the cooking instructions on the package. This usually takes about 20-26 minutes, but keep an eye on them to prevent burning.
    22 oz Waffle Fries, 2 Tbsp Olive Oil
  3. While the waffle fries are baking, it's time to cook the bacon. Place the bacon strips in a large skillet in a single layer. Cook over medium-high heat, turning the slices occasionally, until they are evenly browned and crispy. This should take about 10 minutes. Once the bacon is cooked, transfer the slices to a plate lined with paper towels to drain off any excess grease. When the bacon is cool enough to handle, crumble it into small pieces and set it aside.
    7 Slices Bacon
  4. Once the waffle fries are golden brown and crispy, remove the baking sheet from the oven. Sprinkle the shredded cheddar cheese and crumbled bacon evenly over the fries. Return the baking sheet to the oven and bake for an additional 3 minutes, or until the cheese is melted and bubbly. Remove the fries from the oven and top with the chopped green onions and a dollop of sour cream. Serve the loaded waffle fries immediately while they are hot and the cheese is gooey.
    2 Cups White Cheddar Cheese, 2 Large Green Onions, ¼ Cup Sour Cream

Nutrition

Serving: 12ozCalories: 527kcalCarbohydrates: 36gProtein: 14gFat: 38gSaturated Fat: 14gPolyunsaturated Fat: 4gMonounsaturated Fat: 16gCholesterol: 44mgSodium: 1290mgPotassium: 531mgFiber: 5gSugar: 1gVitamin A: 531IUVitamin C: 8mgCalcium: 303mgIron: 2mg

Notes

Ingredients:
  • Waffle Fries: Use frozen waffle fries for convenience. Look for ones that are seasoned with sour cream and onion flavor for extra flavor.
  • Olive Oil: A light drizzle of olive oil helps the fries crisp up in the oven.
  • Seasoning: Use a pre-made sour cream and onion seasoning mix, or make your own with powdered buttermilk, garlic powder, parsley, sugar, salt, and onion powder.
  • Bacon: Cook the bacon until crispy for the best texture and flavor.
  • Cheese: Shredded cheddar cheese adds a classic cheesy flavor.
  • Toppings: Chopped green onions and sour cream are essential toppings. You can also add other toppings like chives, bacon bits, or jalapeños.
Cooking Tips:
  • Preheat Oven and Baking Sheet: Preheat your oven to 450°F and line a baking sheet with parchment paper for easy cleanup.
  • Toss Fries with Oil and Seasoning: Make sure the fries are evenly coated with olive oil and seasoning.
  • Bake in a Single Layer: Spread the fries out in a single layer on the baking sheet to ensure they cook evenly and become crispy.
  • Cook Bacon: While the fries are baking, cook the bacon in a skillet until crispy. Drain on paper towels and crumble.
  • Add Cheese and Bacon: Sprinkle the cooked fries with cheese and bacon, and return them to the oven to melt the cheese.
  • Top and Serve: Top the loaded fries with green onions and sour cream, and serve immediately while they're hot and crispy.
Serving Suggestions:
  • Dipping Sauces: Serve with extra ranch dressing, ketchup, or your favorite dipping sauce.
  • Sides: Pair with other game-day snacks or appetizers.
  • Presentation: Arrange the loaded waffle fries on a platter or in a basket for a fun and casual presentation.
Variations:
  • Spicy: Add a pinch of cayenne pepper or your favorite hot sauce to the seasoning mix or the toppings.
  • Deluxe: Add other toppings like chili, jalapeños, or shredded lettuce.
  • Vegetarian: Omit the bacon for a vegetarian version.
With these tips, you'll be able to create delicious and crowd-pleasing Loaded Sour Cream and Onion Waffle Fries that are perfect for any occasion!

Tried this recipe?

Let us know how it was!

Related Recipes

Ingredients

Here’s a list of ingredients for your Loaded Sour Cream & Onion Waffle Fries:

  • 2 tsp Buttermilk Powdered
  • 1 tsp Garlic Powder
  • 1 tsp Parsley dried
  • 1 tsp Granulated Sugar
  • 1 tsp Salt
  • ½ tsp Onion Powder
  • 22 oz Waffle Fries (frozen)
  • 2 Tbsp Olive Oil
  • 7 Slices Bacon
  • 2 Cups White Cheddar Cheese, shredded
  • 2 Large Green Onions, thinly sliced
  • ¼ Cup Sour Cream

Image Gallery Loaded Sour Cream & Onion Waffle Fries

Storage & Leftovers

Loaded Sour Cream & Onion Waffle Fries – Storage & Leftovers Tips and Tricks

  • Cool Before Storing: Allow waffle fries to cool completely at room temperature before refrigerating. This prevents condensation, keeping them crispy and avoiding sogginess.

  • Separate Toppings (If Possible): For best results, store toppings (like sour cream, onions, bacon bits, and cheese sauce) separately from the waffle fries. This maintains freshness and texture for easy reheating.

  • Use Airtight Containers: Place leftover fries and toppings in airtight containers or tightly wrap with plastic wrap to maintain flavor and prevent them from absorbing other fridge odors.

  • Reheating for Crispiness: For reheating, skip the microwave and use an oven, toaster oven, or air fryer at 375°F (190°C) for 5–8 minutes, or until hot and crispy again.

  • Refresh the Toppings: After reheating, freshen up leftovers with an extra sprinkle of chopped green onions, shredded cheese, or a fresh dollop of sour cream to revive flavor and presentation.

  • Consume Promptly: For optimal taste and quality, enjoy leftover Loaded Sour Cream & Onion Waffle Fries within 2–3 days of refrigeration.

Follow these simple tips to ensure your loaded fries remain irresistibly crispy and delicious—even the second time around!

Please follow and like us:
onpost_follow
fb-share-icon197
Tweet120
Pinterest20
Share 20
submit to reddit

Subscribe for New Recipes

* indicates required

Intuit Mailchimp

Dinner Recipes

Dinner Recipes

[digr_post_grid posts_number=”24″ post_display=”by_category” include_categories=”1674″ show_pagination=”on” use_number_pagination=”on” use_post_excerpt=”on” excerpt_length=”60″ show_readmore=”on” show_date=”on” show_categories=”off” enable_divider=”on” grid_column=”4″ enable_grid_row=”on” grid_row=”2″ _builder_version=”4.27.4″ _module_preset=”default” hover_enabled=”0″ global_colors_info=”{}” sticky_enabled=”0″][/digr_post_grid]
Please follow and like us:
onpost_follow
fb-share-icon197
Tweet120
Pinterest20
Share 20
submit to reddit

What's for Dinner

Dinner: The Star of the Show!

Dinner is more than just a meal; it’s a celebration of flavors, a time to connect with loved ones, and a chance to unwind after a long day. And here at [Your Page Name], we’re passionate about making dinner the star of your show!

We’ve curated a collection of mouthwatering dinner recipes that will tantalize your taste buds and inspire your inner chef. From comforting classics to exciting global flavors, we’ve got something for everyone. Whether you’re craving a quick and easy weeknight meal or a show-stopping feast for a special occasion, our recipes will help you create culinary magic in your own kitchen.

So, gather around the table, share delicious food, and make memories that will last a lifetime. Dinner is calling, and we’ve got the recipes to answer!

Explore our collection of dinner recipes and discover your new favorite dish!

Explore Our Most Popular Sections with These Quick Links

Holidays & Occasions

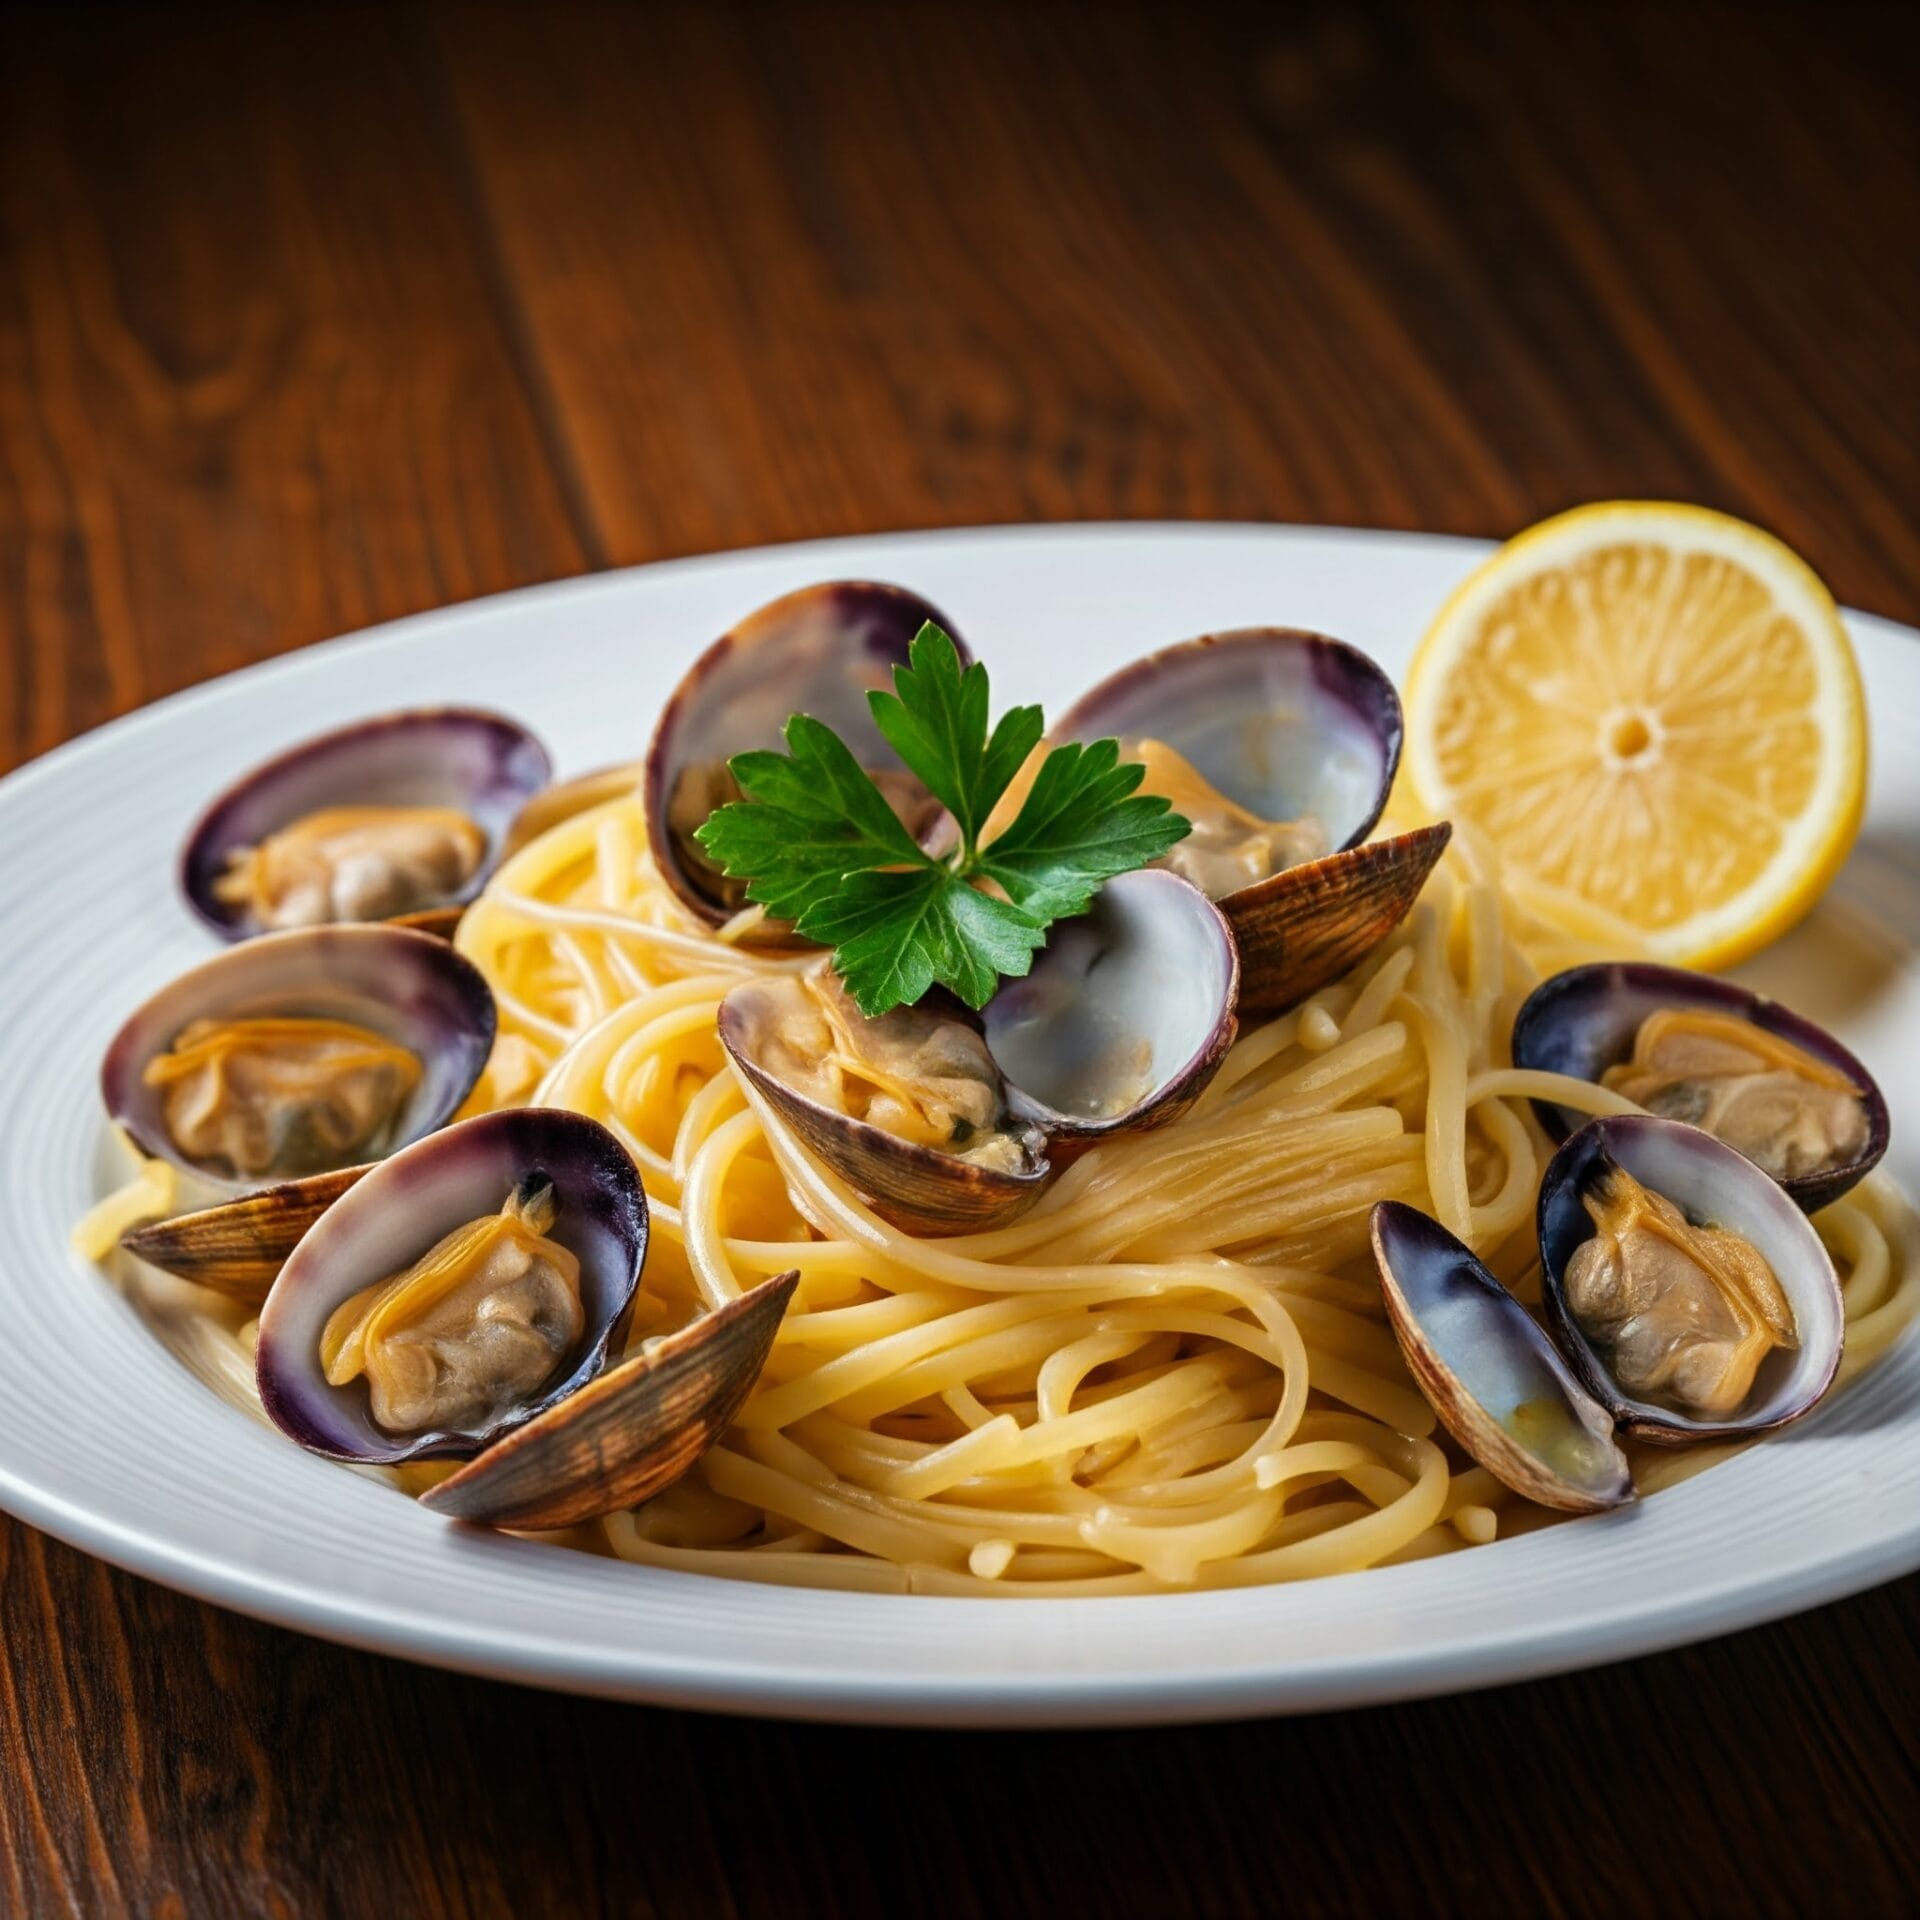
Linguine With Clams

Linguine & Clams – A Coastal Italian Classic

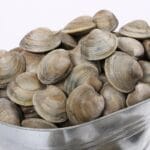
Delicate linguine tossed with tender clams, garlic, white wine, and a hint of chili flakes—this timeless Italian dish brings the flavors of the coast straight to your table. Light, flavorful, and elegantly simple, it’s a seafood lover’s dream.

Craving something light, elegant, and packed with flavor? Look no further than our Linguine & Clams—a beloved Italian classic that never goes out of style. This dish pairs al dente linguine with briny, tender clams, all bathed in a fragrant sauce made from garlic, white wine, olive oil, and just a touch of heat from red pepper flakes. It’s the perfect balance of simplicity and sophistication.

Whether you’re cooking for a special dinner or just want to treat yourself to something truly delicious, this recipe delivers. The ingredients are easy to find, and the preparation is surprisingly quick, making it ideal for weeknights or last-minute dinner guests. Plus, with the fresh parsley garnish and the natural beauty of open clam shells, it looks just as stunning as it tastes.

From the first twirl of noodles to the last savory bite, Linguine & Clams brings a taste of the sea to your kitchen. So gather your ingredients, pour a glass of crisp white wine, and let’s make something unforgettable—one clam at a time. 🍝🦪✨

💛 Why You’ll Love This Recipe

🕒 Elegant Yet Easy – A classy dinner that’s ready in under 30 minutes!

🧄 Garlicky, Briny Flavor – Fresh clams, white wine, and garlic create a rich, savory sauce that sings.

🌿 Light but Satisfying – Bright herbs and silky pasta make this feel indulgent without being heavy.

🍽️ Minimal Cleanup – One pan, one pot—maximum flavor, minimal mess!

🇮🇹 Authentic Italian Vibes – Brings the charm of an Italian seaside trattoria right to your table.

🔪 How to Make Linguine & Clams

Boil the Pasta 🍝
Cook linguine in salted water until al dente. Reserve some pasta water before draining.

Sauté the Aromatics 🧄
In a large pan, heat olive oil and sauté garlic, red pepper flakes, and shallots until fragrant.

Add the Clams & Wine 🥂
Toss in fresh clams and pour in dry white wine. Cover and steam until clams open—about 6–8 minutes.

Toss with Pasta 🔄
Add the drained linguine to the pan, toss everything together, and add a splash of pasta water if needed for extra sauciness.

Finish & Serve 🍋🌿
Stir in chopped parsley, a squeeze of lemon, and drizzle with more olive oil. Serve hot with crusty bread!

Jump to Section

📱 Follow Us 

📬 Subscribe for Updates

* indicates required

Intuit Mailchimp

Linguine With Clams

No ratings yet
This classic Italian dish is a true symphony of flavor and texture. Linguine with clams combines the briny sweetness of the sea with the simplicity of rustic pasta cooking. 🍝 Delicate strands of linguine are gently tossed with plump, juicy clams in a fragrant sauce made from garlic, white wine, olive oil, and fresh herbs. 🌿
The result? A dish that’s both comforting and sophisticated—perfect for an elegant date night, a cozy family dinner, or when you just want to bring a taste of the coast to your table. 🥂 Whether you’re a seasoned seafood lover or trying clams for the first time, this easy yet elevated meal never disappoints.
Prep Time 10 minutes
Cook Time 20 minutes
Servings: 4 people
Course: Appetizer, Dinner, First Course, Lunch, Main Course
Cuisine: Italian
Calories: 479

Ingredients
  

  • Pinch Kosher Salt
  •  
    12 Oz. Linguine
  • 4 Tbsp. Unsalted Butter
  • 4 Cloves Garlic finely chopped
  • 2 Tbsp Parsley chopped
  • 1 Pinch Crushed Red Pepper Flakes crushed
  • 2 Dozen Littleneck Clams (about 2 lbs.) scrubbed
  • ½ Cup White Wine dry
  • 1 Large Lemon juice of lemon, plus wedges for serving
  • Pinch Ground Black Pepper freshly ground
  • ¼ Cup Parmesan Cheese for service

Equipment

1 Large Sauté Pan with Lid (For steaming clams and building the flavorful sauce.)
1 Large pot ( Essential for boiling the linguine to al dente perfection.)
1 Tongs (Helps toss and serve the pasta without breaking the clams.)
1 Garlic Press (Speeds up prep if you’re using lots of garlic.)
1 Measuring Cups (For wine, pasta water, or clam juice if you're adjusting the sauce.)
1 Ladle (Handy for scooping reserved pasta water.)
1 Serving Bowl (Makes a gorgeous presentation, especially with shell-on clams.)

Method
 

  1. Cook linguine in a large pot of salted boiling water according to package directions, stirring occasionally until al dente. Drain, reserving ¾ cup of the starchy cooking liquid.
    12 Oz. Linguine, Pinch Kosher Salt
  2. In a separate large pot, melt butter over medium heat. Add garlic, parsley, and red pepper flakes. Cook, stirring constantly, until fragrant, about 1 minute.
    4 Tbsp. Unsalted Butter, 4 Cloves Garlic, 2 Tbsp Parsley, 1 Pinch Crushed Red Pepper Flakes
  3. Add the clams and white wine to the pot. Cover tightly and cook over medium heat until the clams open, about 5-7 minutes. Discard any unopened clams.
    2 Dozen Littleneck Clams, ½ Cup White Wine
  4. Add the cooked linguine and lemon juice to the pot. Toss vigorously with the reserved pasta water, adjusting as needed to create a glossy sauce. Season generously with salt and black pepper.
    Pinch Kosher Salt, 12 Oz. Linguine, 1 Large Lemon , Pinch Ground Black Pepper
  5. Divide the linguine and clams evenly among bowls. Garnish each serving with fresh parsley. Serve immediately with lemon wedges on the side. Offer grated Parmesan cheese for guests to add to their liking.
    1/4 Cup Parmesan Cheese, 2 Tbsp Parsley

Nutrition

Serving: 12ozCalories: 479kcalCarbohydrates: 66gProtein: 13gFat: 15gSaturated Fat: 9gPolyunsaturated Fat: 1gMonounsaturated Fat: 4gTrans Fat: 0.5gCholesterol: 37mgSodium: 122mgPotassium: 250mgFiber: 3gSugar: 3gVitamin A: 602IUVitamin C: 4mgCalcium: 89mgIron: 1mg

Notes

  • Use Fresh Clams If You Can 🦪
    Littleneck or Manila clams offer the best flavor and texture. Rinse them well and soak in cold salted water for 20–30 minutes to purge sand.
  • Reserve That Pasta Water 💧
    Don’t forget to save ½ cup of pasta water before draining. It helps emulsify the sauce and gives it that silky finish.
  • Don’t Overcook the Clams ⏱️
    They cook fast—usually within 6–8 minutes. Discard any that don’t open after steaming.
  • Boost Flavor with Anchovy or Clam Juice 🐟
    Adding a mashed anchovy fillet or a splash of bottled clam juice takes the umami depth to the next level.
  • Add Heat (or Not) 🌶️
    Red pepper flakes add a gentle kick, but you can scale it to your taste—or skip it entirely.
  • Wine-Free Option 🍋
    No wine? Use clam juice, seafood broth, or a combo of lemon juice and water for a similar effect.
  • Reheating Tip 🔁
    Reheat gently over low heat with a splash of water or broth. Avoid the microwave to keep the clams tender.
  •  

Tried this recipe?

Let us know how it was!

🍽️ What to Serve with Linguine & Clams

  • 🥖 Crusty Bread – Perfect for soaking up that garlicky white wine sauce. Try a toasted baguette or rustic Italian loaf.

  • 🥗 Simple Green Salad – A light arugula or mixed greens salad with lemon vinaigrette balances the richness of the dish.

  • 🍋 Lemon Wedges – For an extra burst of brightness, let guests squeeze fresh lemon juice over their pasta.

  • 🧈 Garlic Butter Shrimp – For a seafood-forward dinner, serve with a few buttery shrimp on the side.

  • 🥂 Chilled White Wine – Pair with Pinot Grigio, Sauvignon Blanc, or a dry Vermentino to echo the sauce flavors.

  • 🫒 Marinated Olives or Artichokes – A quick antipasto plate makes a lovely starter.

🥑 Crave-Worthy Recipes to Try Next

No ratings yet
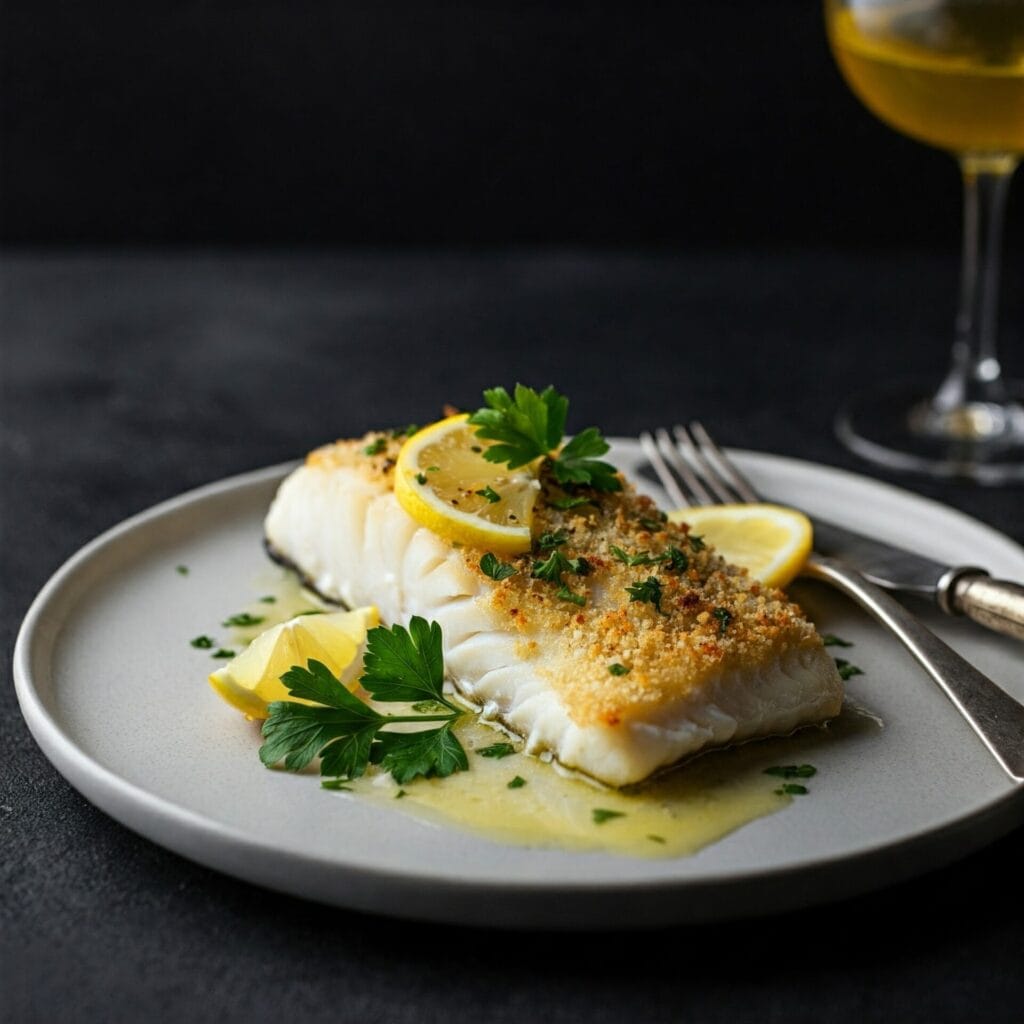
Lemon Butter Cod
experience the delightful flavors of lemon butter cod. a simple yet flavorful dish that celebrates fresh ingredients.
No ratings yet
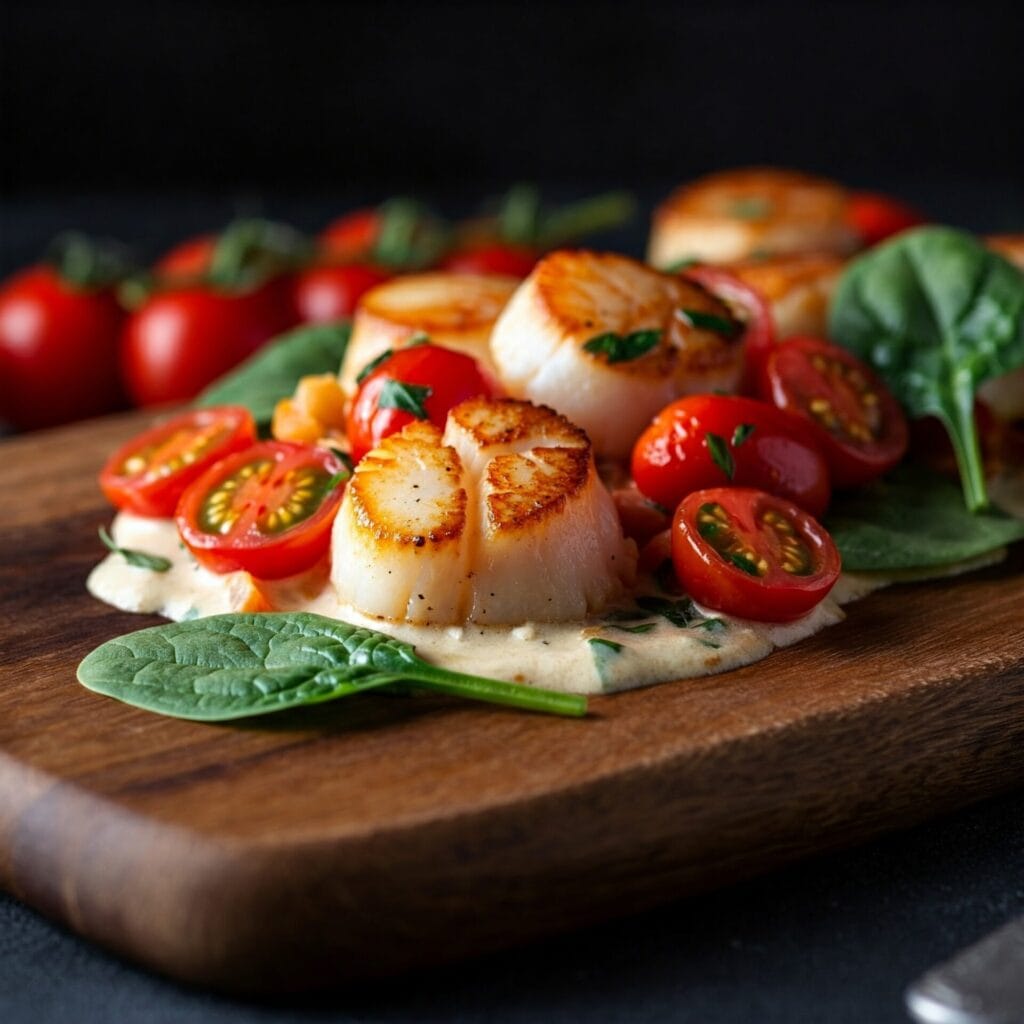
Tuscan Butter Scallops
Scallops in a creamy garlic butter sauce? Yes, please! This dreamy Tuscan-inspired dish is rich, romantic, and ready in under 30 minutes. Grab a skillet…

📌 Frequently Asked Questions

Can I use canned clams instead of fresh?
🧂 Yes! While fresh clams give the most authentic flavor, canned clams (with their juice) are a convenient and tasty option—just reduce the cooking time slightly.

What kind of clams should I use?
🦪 Littlenecks or Manila clams are ideal for this dish. They’re small, tender, and cook quickly. If using larger clams, you may need to steam them longer.

What white wine works best?
🍷 Go for a dry white wine like Pinot Grigio, Sauvignon Blanc, or even a dry Chardonnay. Avoid anything too sweet or oaky.

Can I make it without wine?
✨ Absolutely. Substitute with clam juice, vegetable broth, or a splash of lemon juice and water to keep that briny flavor.

How do I know when clams are cooked?
🔍 They’re done when they open! Discard any that stay closed after cooking—they weren’t alive to begin with.

Can I make this ahead of time?
⏳ It’s best enjoyed fresh, but you can prep ingredients in advance. Reheating can overcook the pasta or clams, so store components separately if you must.

Is this recipe spicy?
🌶️ Just a pinch! Red pepper flakes give a mild kick, but you can dial it up or down to your liking.

Please follow and like us:
onpost_follow
fb-share-icon197
Tweet120
Pinterest20
Share 20
submit to reddit

Sea Scallop Recipes

Sea Scallop Recipes

[digr_post_grid posts_number=”24″ post_display=”by_category” include_categories=”1537″ show_pagination=”on” use_number_pagination=”on” use_post_excerpt=”on” excerpt_length=”60″ show_readmore=”on” show_date=”on” show_categories=”off” enable_divider=”on” grid_column=”4″ enable_grid_row=”on” grid_row=”2″ _builder_version=”4.27.4″ _module_preset=”default” global_colors_info=”{}”][/digr_post_grid]

About Sea Scallops

Sea scallops are prized for their sweet, delicate flavor and tender, almost buttery texture. These versatile shellfish can be cooked in countless ways—seared, grilled, broiled, or even enjoyed raw. They’re delicious in pasta dishes, risottos, and ceviches, adding a touch of elegance to any meal. Plus, they’re a healthy source of protein and omega-3 fatty acids.

Please follow and like us:
onpost_follow
fb-share-icon197
Tweet120
Pinterest20
Share 20
submit to reddit

Explore Our Most Popular Sections with These Quick Links

Holidays & Occasions