Chorizo Encrusted Cod

Chorizo Encrusted Cod

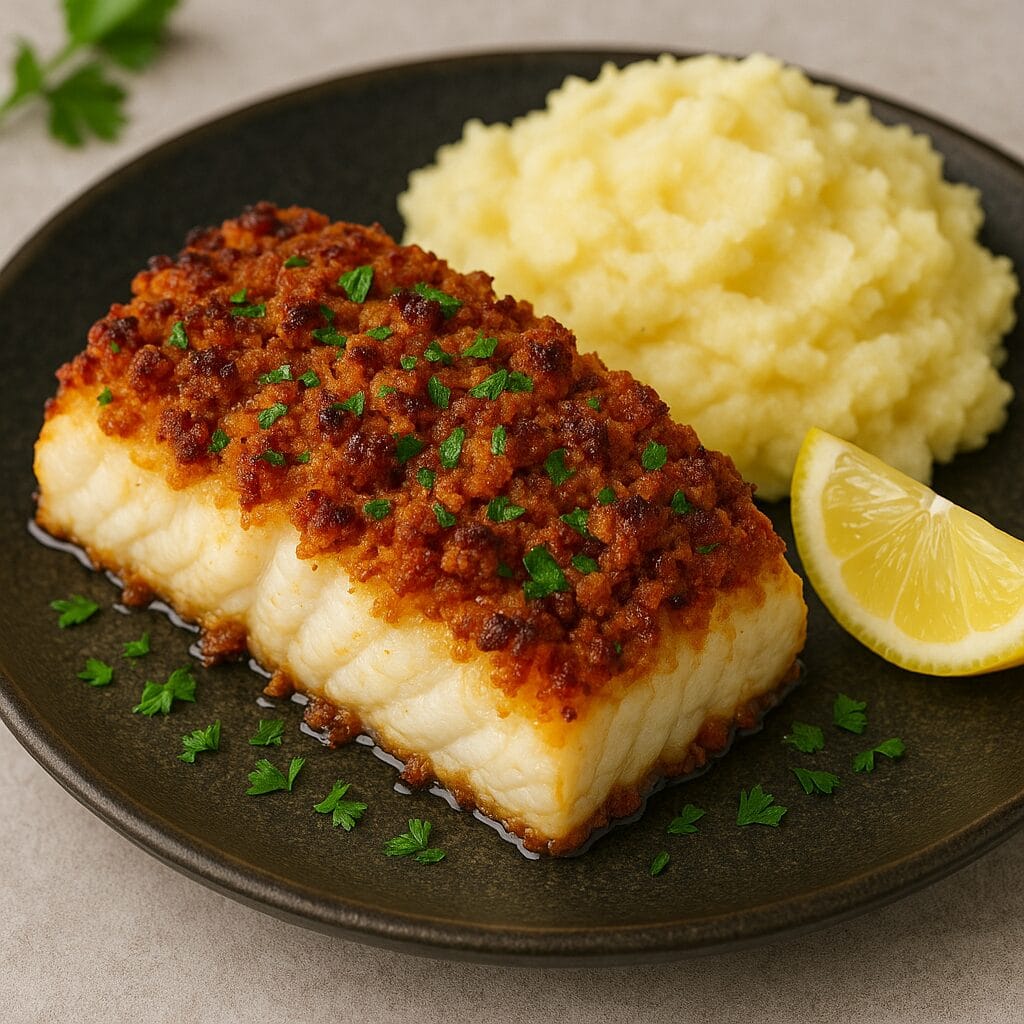
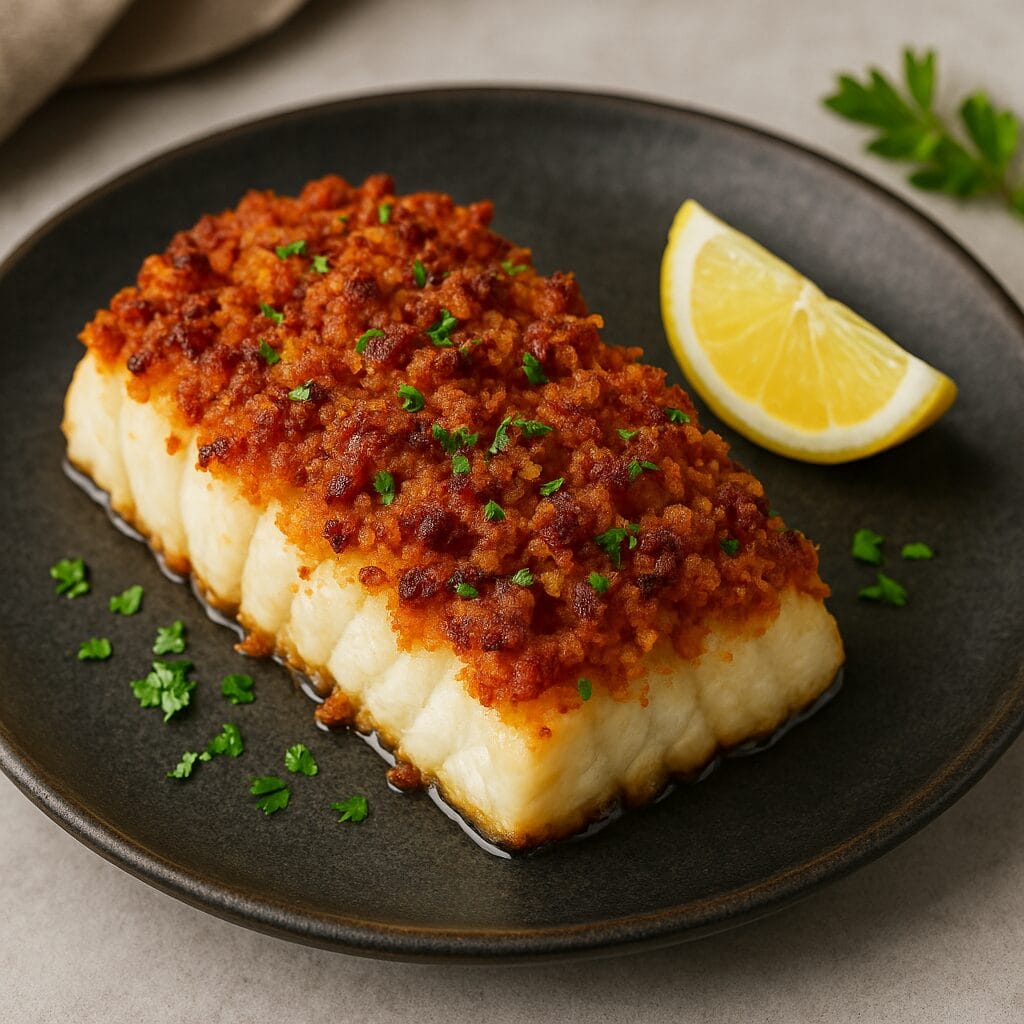
Elevate your seafood game with this vibrant and savory Chorizo Encrusted Cod. Mild, flaky cod fillets are topped with a golden, crispy crust made from finely chopped Spanish chorizo, breadcrumbs, garlic, and herbs — creating the perfect contrast of rich flavor and delicate texture. Baked until perfectly tender and finished with a burst of citrus or fresh herbs, this dish delivers restaurant-quality results in under 30 minutes. Whether served over mashed potatoes, roasted vegetables, or a bright salad, this cod is a stunning centerpiece packed with smoky, spicy goodness.

Chorizo Encrusted Cod

No ratings yet
Baked cod with a chorizo crust is definitely a recipe packed full of flavor and perfect for enjoying the flavors of Spain at home.
Prep Time 20 minutes

Cook Time 15 minutes
Servings: 2 People
Course: Dinner, Lunch, Main Course
Cuisine: Spanish
Calories: 289

Ingredients
  

  •  
    1 lb Fresh cod
  • 3 tbsp Parmesan Cheese
  •  
    ¼ lb Spanish chorizo
  •  
    2 oz Breadcrumbs
  • 2 tbsp Olive oil

Equipment

1 Brush
1 Chopper
1 Sheet pan

Method
 

  1. Peel the chorizo and cut into small pieces. Blend in food processor.
  2. Grate the Parmesan cheese.
  3. Mix the Parmesan cheese with the chorizo.
  4. Add the breadcrumbs to the Parmesan and chorizo mix.
  5. Brush the olive oil on the cod using a brush. Gently pat the chorizo paste on top of the cod.
  6. Bake at 390℉ for 10-15 minutes, depending on the thickness of the cod. The cod should be flaky and the chorizo should have a very nice golden brown color when done.
  7. Plate and enjoy.

Nutrition

Serving: 6ozCalories: 289kcalCarbohydrates: 4gProtein: 22gFat: 20gSaturated Fat: 4gPolyunsaturated Fat: 2gMonounsaturated Fat: 11gCholesterol: 57mgSodium: 179mgPotassium: 432mgFiber: 0.2gSugar: 0.3gVitamin A: 137IUVitamin C: 1mgCalcium: 69mgIron: 1mg

Video

Notes

🔪 Cooking Tips & Tricks for Chorizo Encrusted Cod

  • Choose the Right Cod: Use thick, firm fillets of cod so they hold up well under the chorizo crust and stay moist during cooking. Fresh or properly thawed frozen fillets work best.
  • Dry the Fish: Pat the cod dry with paper towels before applying the crust. This helps the topping adhere better and ensures a crispy finish.
  • Use Cured or Semi-Cured Chorizo: For the crust, use finely chopped dry (Spanish-style) or semi-cured chorizo, not raw Mexican-style chorizo, as the latter will release too much grease and fall apart.
  • Make the Crust Crisp: Combine the chorizo with breadcrumbs (panko works great), olive oil or melted butter, and optional herbs like parsley or thyme. Toast the mixture slightly in a skillet before pressing it onto the cod for extra crunch.
  • Press the Topping Firmly: Gently press the chorizo mixture onto the fish to help it stay in place while baking or broiling.
  • Watch the Bake Time: Cod cooks quickly! Depending on thickness, bake at 400°F (200°C) for 10–12 minutes or until the fish flakes easily with a fork and the crust is golden.
  • Broil for Extra Crisp: If the chorizo topping isn’t as crispy as you'd like, finish under the broiler for 1–2 minutes — but watch closely to avoid burning.
  • Flavor Balance: Chorizo is rich and salty, so avoid over-salting the fish or sides. Serve with something bright or acidic (like a lemon wedge, aioli, or salsa verde) to balance the flavors.

Tried this recipe?

Let us know how it was!

Related Recipes

Ingredients

  • 1 lb fresh cod fillets, skinless

  • ¼ lb Spanish chorizo, finely diced or grated

  • 2 oz breadcrumbs (panko or regular)

  • 3 tbsp grated Parmesan cheese

  • 2 tbsp olive oil (plus more for brushing)

  • 1 clove garlic, minced (optional, for added depth)

  • 1 tbsp fresh parsley, chopped (or 1 tsp dried)

  • ½ tsp smoked paprika (optional, for extra smokiness)

  • Salt & freshly ground black pepper, to taste

  • Lemon wedges, for serving

Image Gallery Chorizo Encrusted Cod

Storage & Leftovers

  • Refrigeration: Store leftovers in an airtight container in the refrigerator for up to 2 days. The crust may soften slightly but will still be flavorful.

  • Reheating: Reheat in a 350°F (175°C) oven or toaster oven for 8–10 minutes until warmed through. Avoid microwaving, as it can make the fish rubbery and the crust soggy.

  • Crisp It Back Up: For best texture, reheat uncovered and consider placing the fish under the broiler for 1–2 minutes at the end to re-crisp the chorizo topping.

  • Freezing: Not recommended — cod can become mushy and the chorizo crust loses texture after thawing.

  • ⏱️ Make-Ahead Tips

    • Prep the Topping in Advance: You can make the chorizo crust mixture (chorizo, breadcrumbs, Parmesan, herbs, garlic) up to 2 days ahead. Store it in an airtight container in the fridge.

    • Ready-to-Bake Option: Assemble the cod with the crust and refrigerate for up to 12 hours before baking. Let it sit at room temp for 10–15 minutes before placing it in the oven.


    🥗 Leftover Ideas

    • Fish Tacos: Flake the leftover cod and serve it in warm tortillas with slaw, avocado, and a drizzle of lime crema.

    • Seafood Salad: Chop and mix the cod with greens, cherry tomatoes, and a lemon vinaigrette for a flavorful protein-packed salad.

    • Savory Breakfast: Reheat a portion and top it with a poached or fried egg for a bold brunch option.

    • Rice Bowl: Serve over rice or quinoa with roasted veggies and a dollop of garlic yogurt or herbed aioli.

Please follow and like us:
onpost_follow
fb-share-icon197
Tweet120
Pinterest20
Share 20
submit to reddit

Subscribe for New Recipes

* indicates required

Intuit Mailchimp

American Cuisine

American Cuisine

Please follow and like us:
onpost_follow
fb-share-icon197
Tweet120
Pinterest20
Share 20
submit to reddit

American Cuisine

All-American Eats: A Flavorful Journey Across the USA! 🇺🇸🍔

From the classic comfort foods of the South to the vibrant flavors of California cuisine, American food is as diverse as its people. Our collection of recipes celebrates the rich culinary traditions of America, offering a taste of everything from coast to coast.

Get ready to indulge in juicy burgers, crispy fried chicken, and hearty chili. Explore the diverse flavors of regional specialties like New England clam chowder, Southern barbecue, and Tex-Mex tacos. And don’t forget the sweet treats, from apple pie to chocolate chip cookies.

Whether you’re looking for a quick and easy weeknight meal or a showstopping dish for a special occasion, our recipes will inspire you to cook up a storm. So grab your apron and get ready to celebrate the best of American cuisine!

Explore our American recipes and taste the flavors of the USA!

Quick links to our most popular cuisines.

Mexican Cuisine
Italian Cuisine
Chinese Cuisine
Japanese Cuisine
Indian Cuisine
Thai Cuisine
American Cuisine
Mediterranean Cuisine
French Cuisine

Quick links to our most popular sections.

Appetizers
Breakfast


One-Pot Meals
Stir Fry Meals
Top Rated Recipes
Insta-Pot Recipes

Cajun Corn On The Cob

This is a terrific and spicy dish. Can be made spicier or milder as needed. A perfect recipe to try out on your grill. Makes an excellent side dish or a perfect appitizer.

Cajun Corn On The Cob

No ratings yet
A spicy and fun dish. Makes a wonderful appetizer or a unique side dish for a main course meal. Can be made spicy or mild.
Prep Time 15 minutes
Cook Time 35 minutes
Servings: 4
Course: Appetizer, Dinner
Cuisine: American
Calories: 303

Ingredients
  

  •  
    4 ears Corn on the cob
  • 1 tbsp Olive oil
  • 4 tbsp Mayonnaise
  • cup Sour cream
  •  
    1 ½ tsp Cajun spice
  •  
    1 ½ tsp Smoked paprika
  • 1 tsp Onion powder
  • 1 tsp Garlic powder
  • 1 tbsp Fresh Cilantro Chopped
  •  
    ½ cup Feta cheese Can also use Cotija
  • 1 tbsp Lime juice
  • 1 tsp Chili powder can use Chipotle instead
To Taste
  • 1 p Salt To taste
  • 1 p Black pepper To taste

Equipment

Method
 

Mise En Place
  1. Gather all of your ingredients and make all of your cuts. Preheat oven to 425℉.
Make the coating
  1. In a small bowl whisk the olive oil, ½ of the Cajun spice, ½ of the paprika, all of the garlic and onion powder. Add a pinch of salt and pepper to taste.
Brush & Wrap
  1. Lay each piece of corn on a piece of aluminum foil with the shiny side of foil facing up. Coat the corn with Cajun mixture using a brush. Wrap the corn in the aluminum foil.
Cook the corn
  1. Place the corn on a baking sheet and place in the oven. Bake for 30 minutes and remove. If you would like the corn to be softer, unwrap & coat with the Cajun mixture. Rewrap and cook for 20 minutes more.
    At about 15 minutes into the cooking, be sure that you turn the corn to allow an even cook.
Make the creamy cajun coating
  1. Using a medium mixing bowl, mix the mayonnaise, sour cream, leftover Cajun and paprika seasoning, lime juice, and salt and pepper to taste.
Remove from oven
  1. Remove from the oven when done and allow to cool slightly.
Blacken the corn
  1. This is an optional step but highly recommended. Using a skillet or cast iron pan, place the corn on med high to high heat. Allow to sit until you start to hear crackling noises. Turn a ¼ turn at a time until you have rotated the corn fully.
Service
  1. Place the corn on a plate and coat with the Cajun cream sauce, top with crumbled feta, cilantro, and Cajun spice.

Nutrition

Serving: 12ozCalories: 303kcalCarbohydrates: 21gProtein: 7gFat: 23gSaturated Fat: 7gPolyunsaturated Fat: 7gMonounsaturated Fat: 7gTrans Fat: 0.03gCholesterol: 34mgSodium: 1498mgPotassium: 345mgFiber: 3gSugar: 7gVitamin A: 1274IUVitamin C: 8mgCalcium: 125mgIron: 1mg

Video

Tried this recipe?

Let us know how it was!

If you tried this recipe please share with us. Be as detailed as possible in your descriptions.

Your Details

Recipe Essentials

One ingredient per line
One instruction per line

Recipe Details

Recipe Tags

Separate multiple tags with a comma.
For example: Italian, American

[DISPLAY_ULTIMATE_SOCIAL_ICONS]

Our Advertisers.

We use ads on our site to help generate revenue. It doing so we are able to provide the funding needed to create the recipes that you get to try. If you can check out or advertiser page and simply click on the link when making an online purchase.


Advertisers

Marinara Sauce

Marinara Sauce

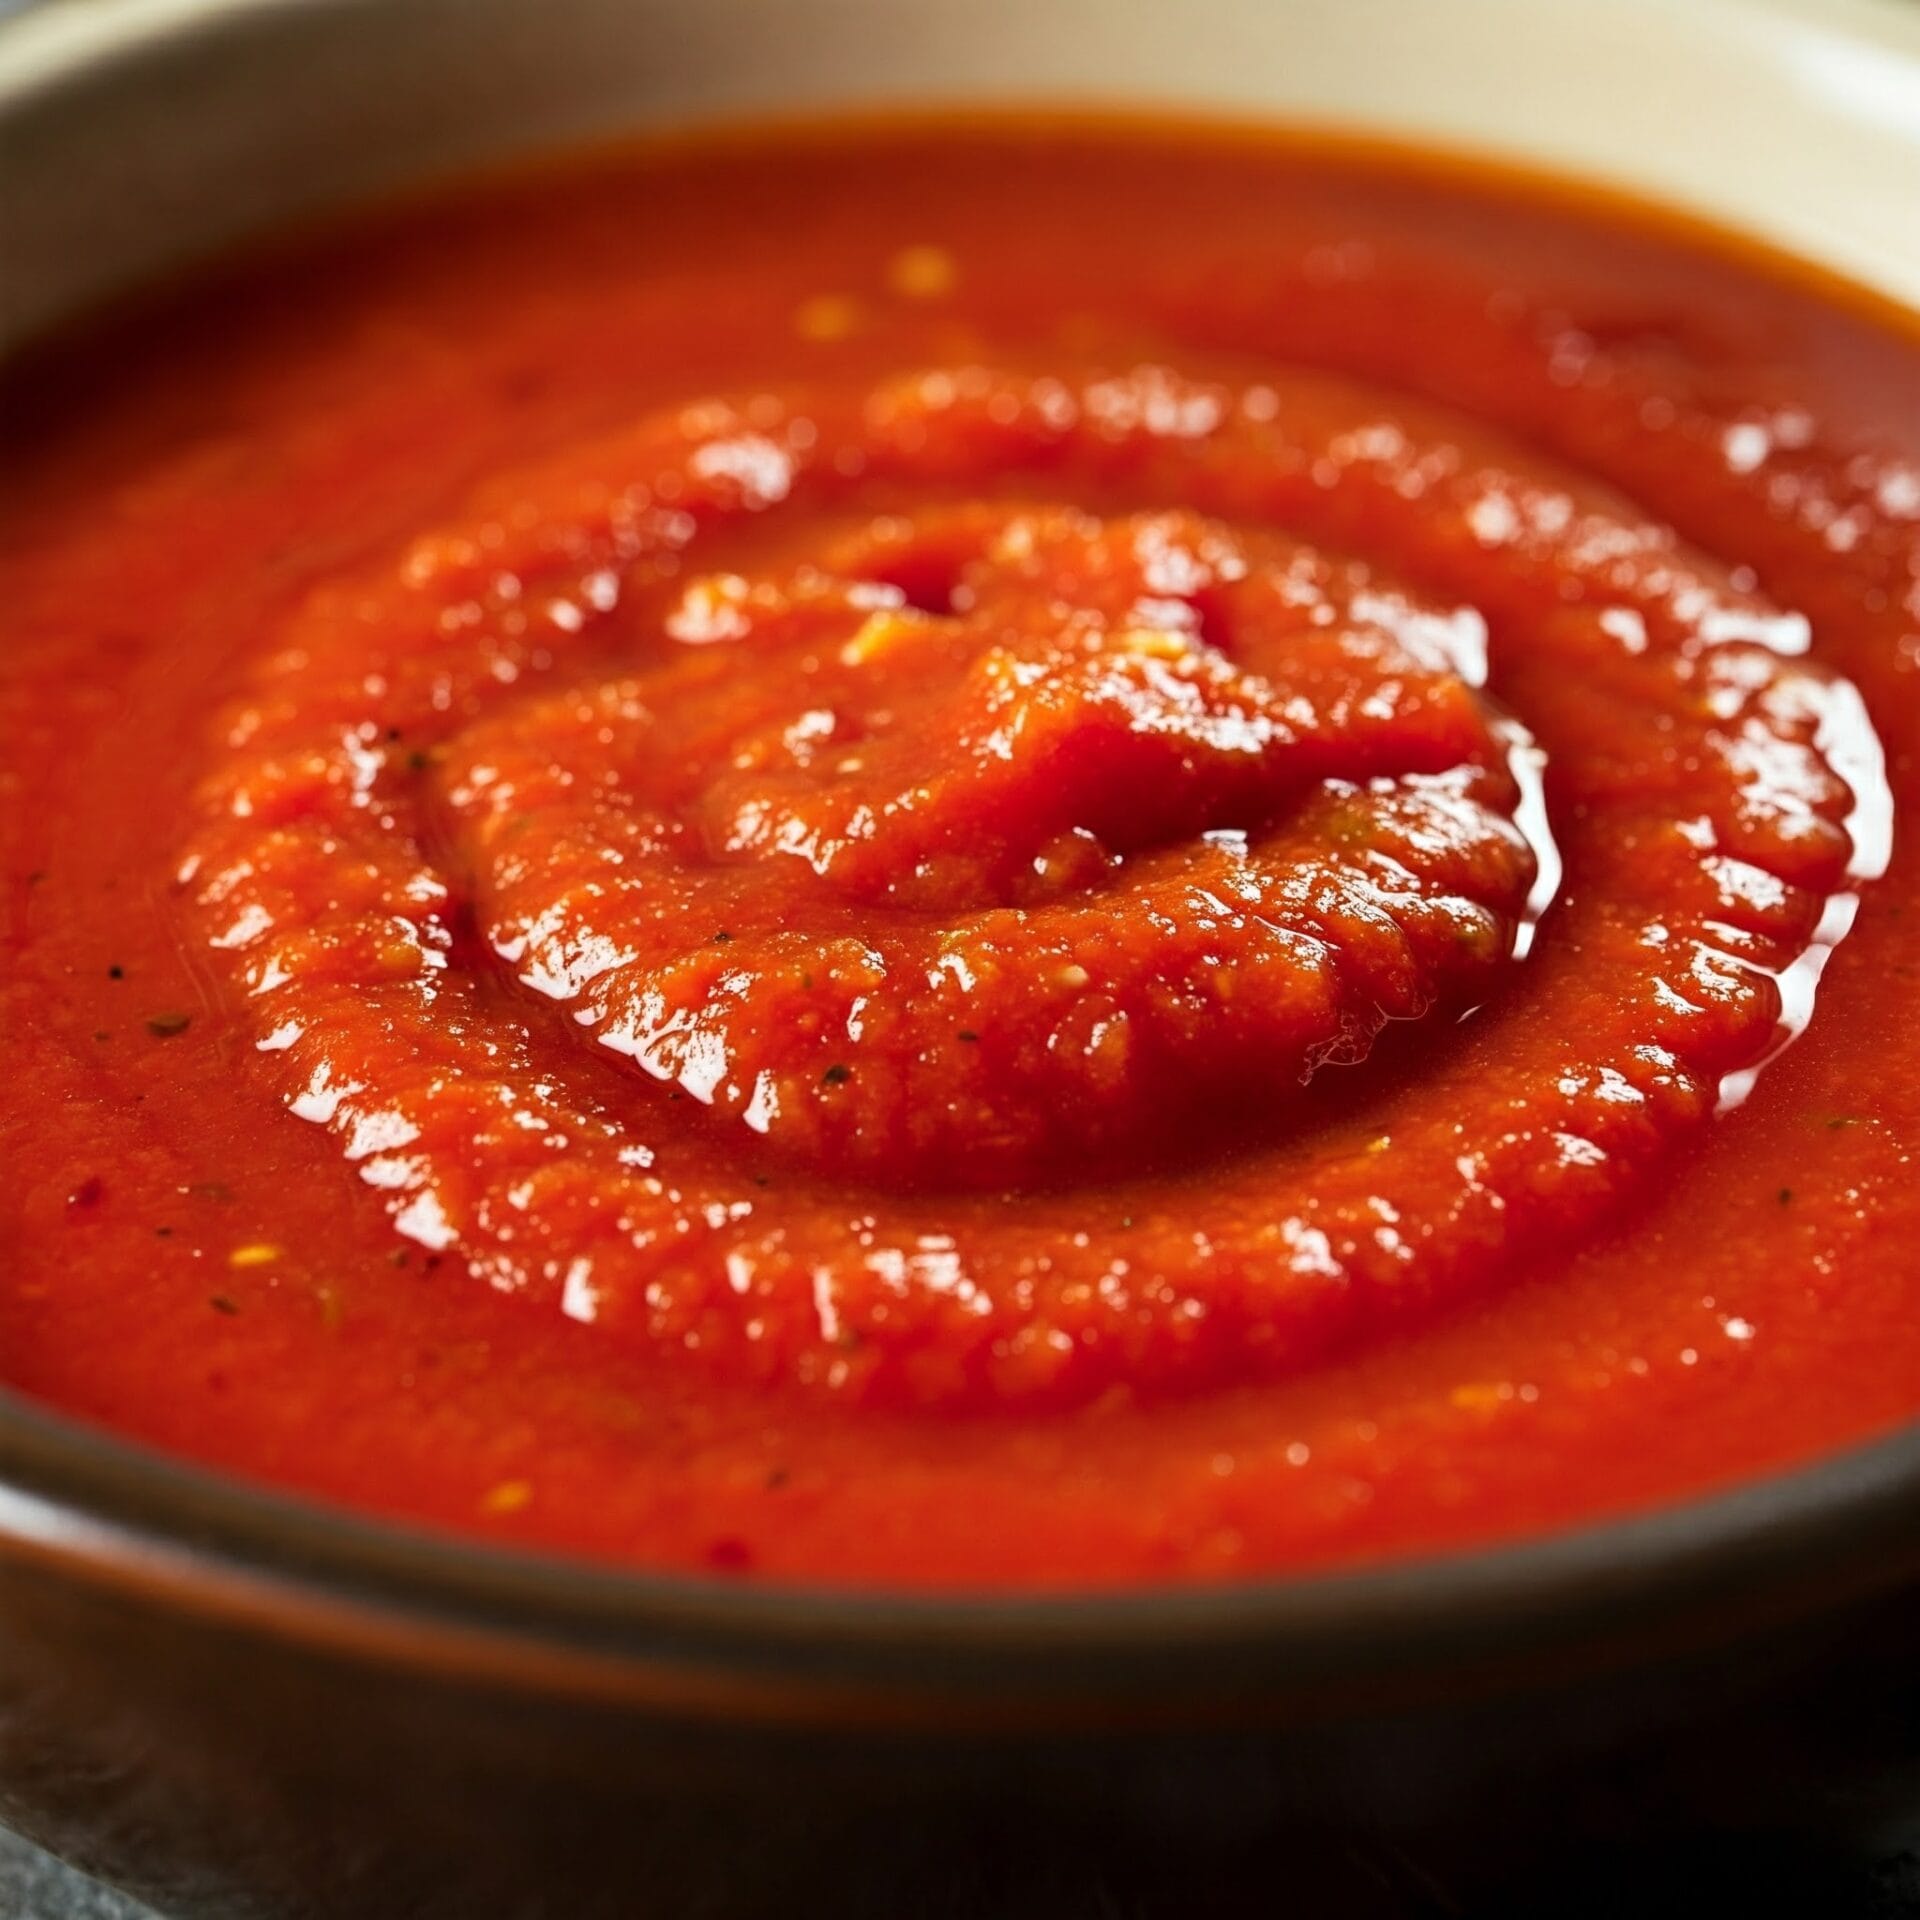
Forget those bland, lifeless jars from the supermarket! It’s time to unleash your inner Italian chef and create a marinara sauce that will make your taste buds sing “O Sole Mio!” This isn’t just a sauce; it’s a culinary adventure, a flavor fiesta that will transport you straight to the sun-drenched hills of Italy.

Imagine: plump, juicy tomatoes simmered slowly with aromatic garlic and fragrant herbs, transforming into a rich, velvety masterpiece. This marinara is so good, you’ll want to bathe in it (but please don’t, it might stain!).

Why should you ditch the jar and embrace this homemade wonder? Here’s the deal:

  • Flavor Explosion: This marinara bursts with fresh, vibrant flavors that will make your taste buds do a happy dance. Say “arrivederci” to those dull, mass-produced sauces!
  • Kitchen Confidence: Conquering this recipe will make you feel like a culinary superhero. You’ll be the master of your kitchen domain, whipping up magic with just a few simple ingredients.
  • Love is the Secret Ingredient: Homemade marinara is made with love, and that makes all the difference. Share it with your family and friends, and watch their faces light up with joy.
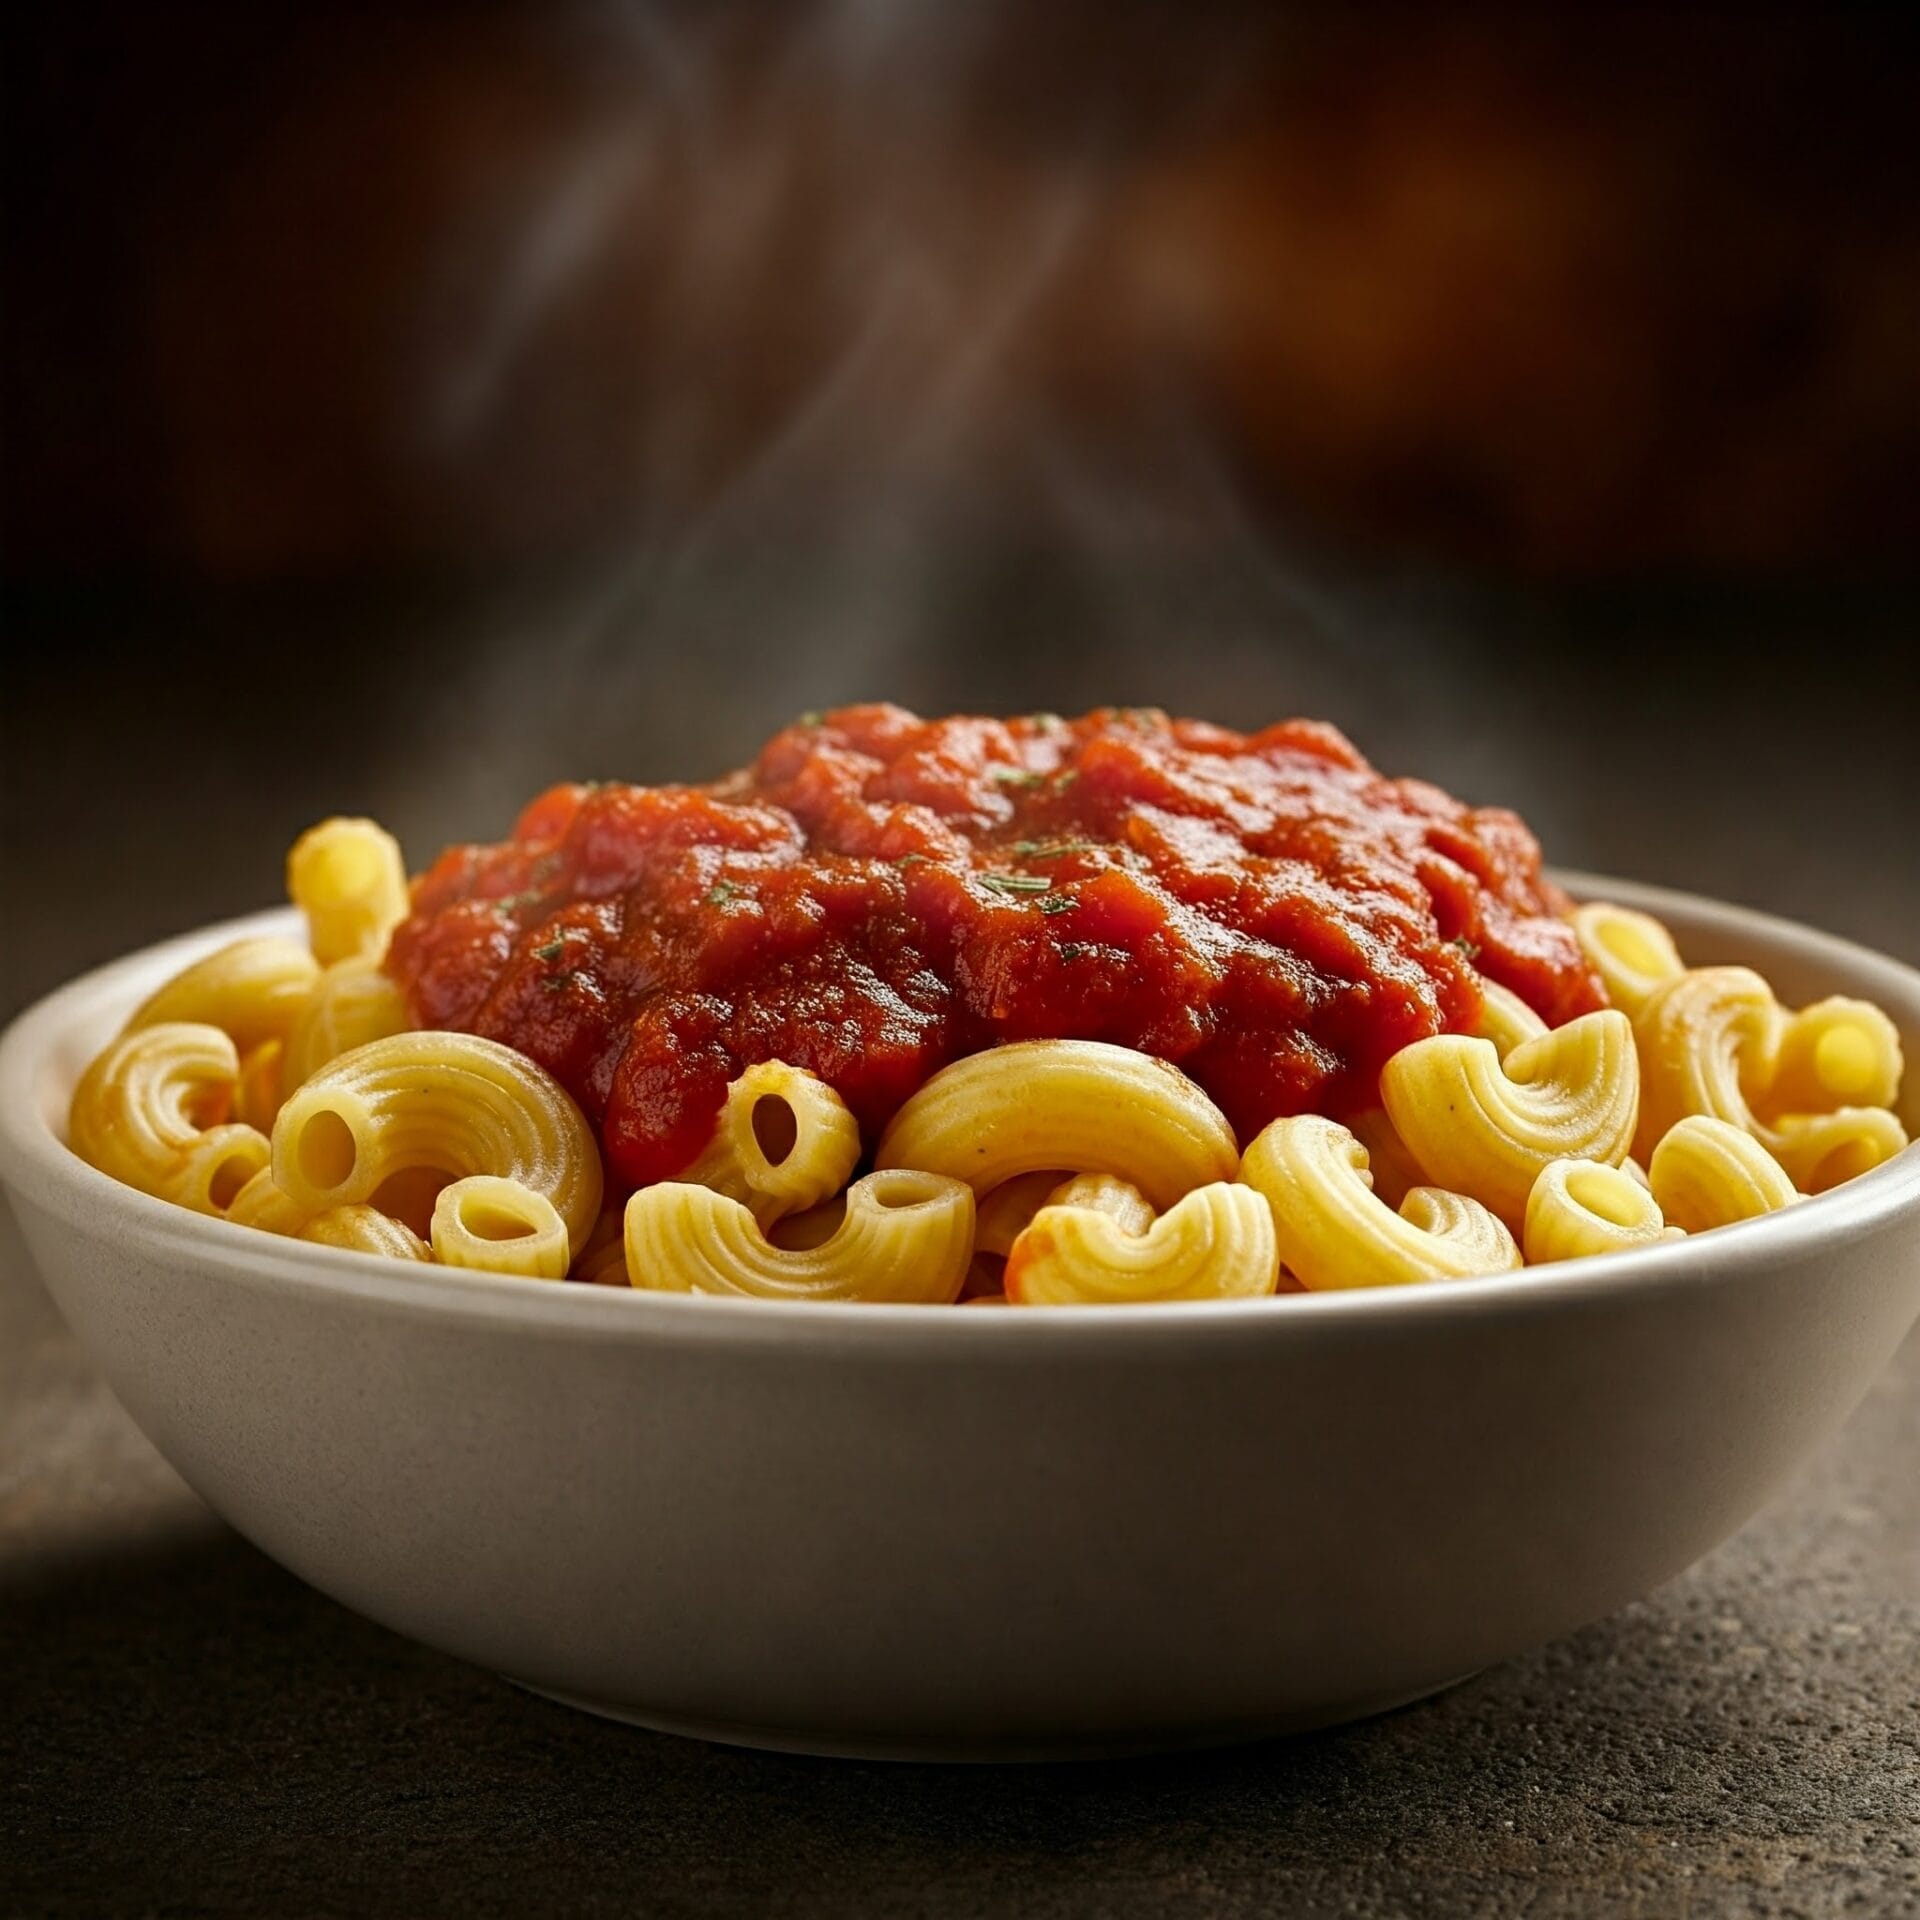
  • Versatility Superstar: This sauce isn’t a one-trick pony. It’s amazing on pasta, pizza, lasagna, and even as a dip for breadsticks. The possibilities are endless!

So, grab your apron, crank up some Italian opera, and get ready to create a marinara masterpiece that will have everyone saying “Mamma Mia!

Marinara Sauce

No ratings yet
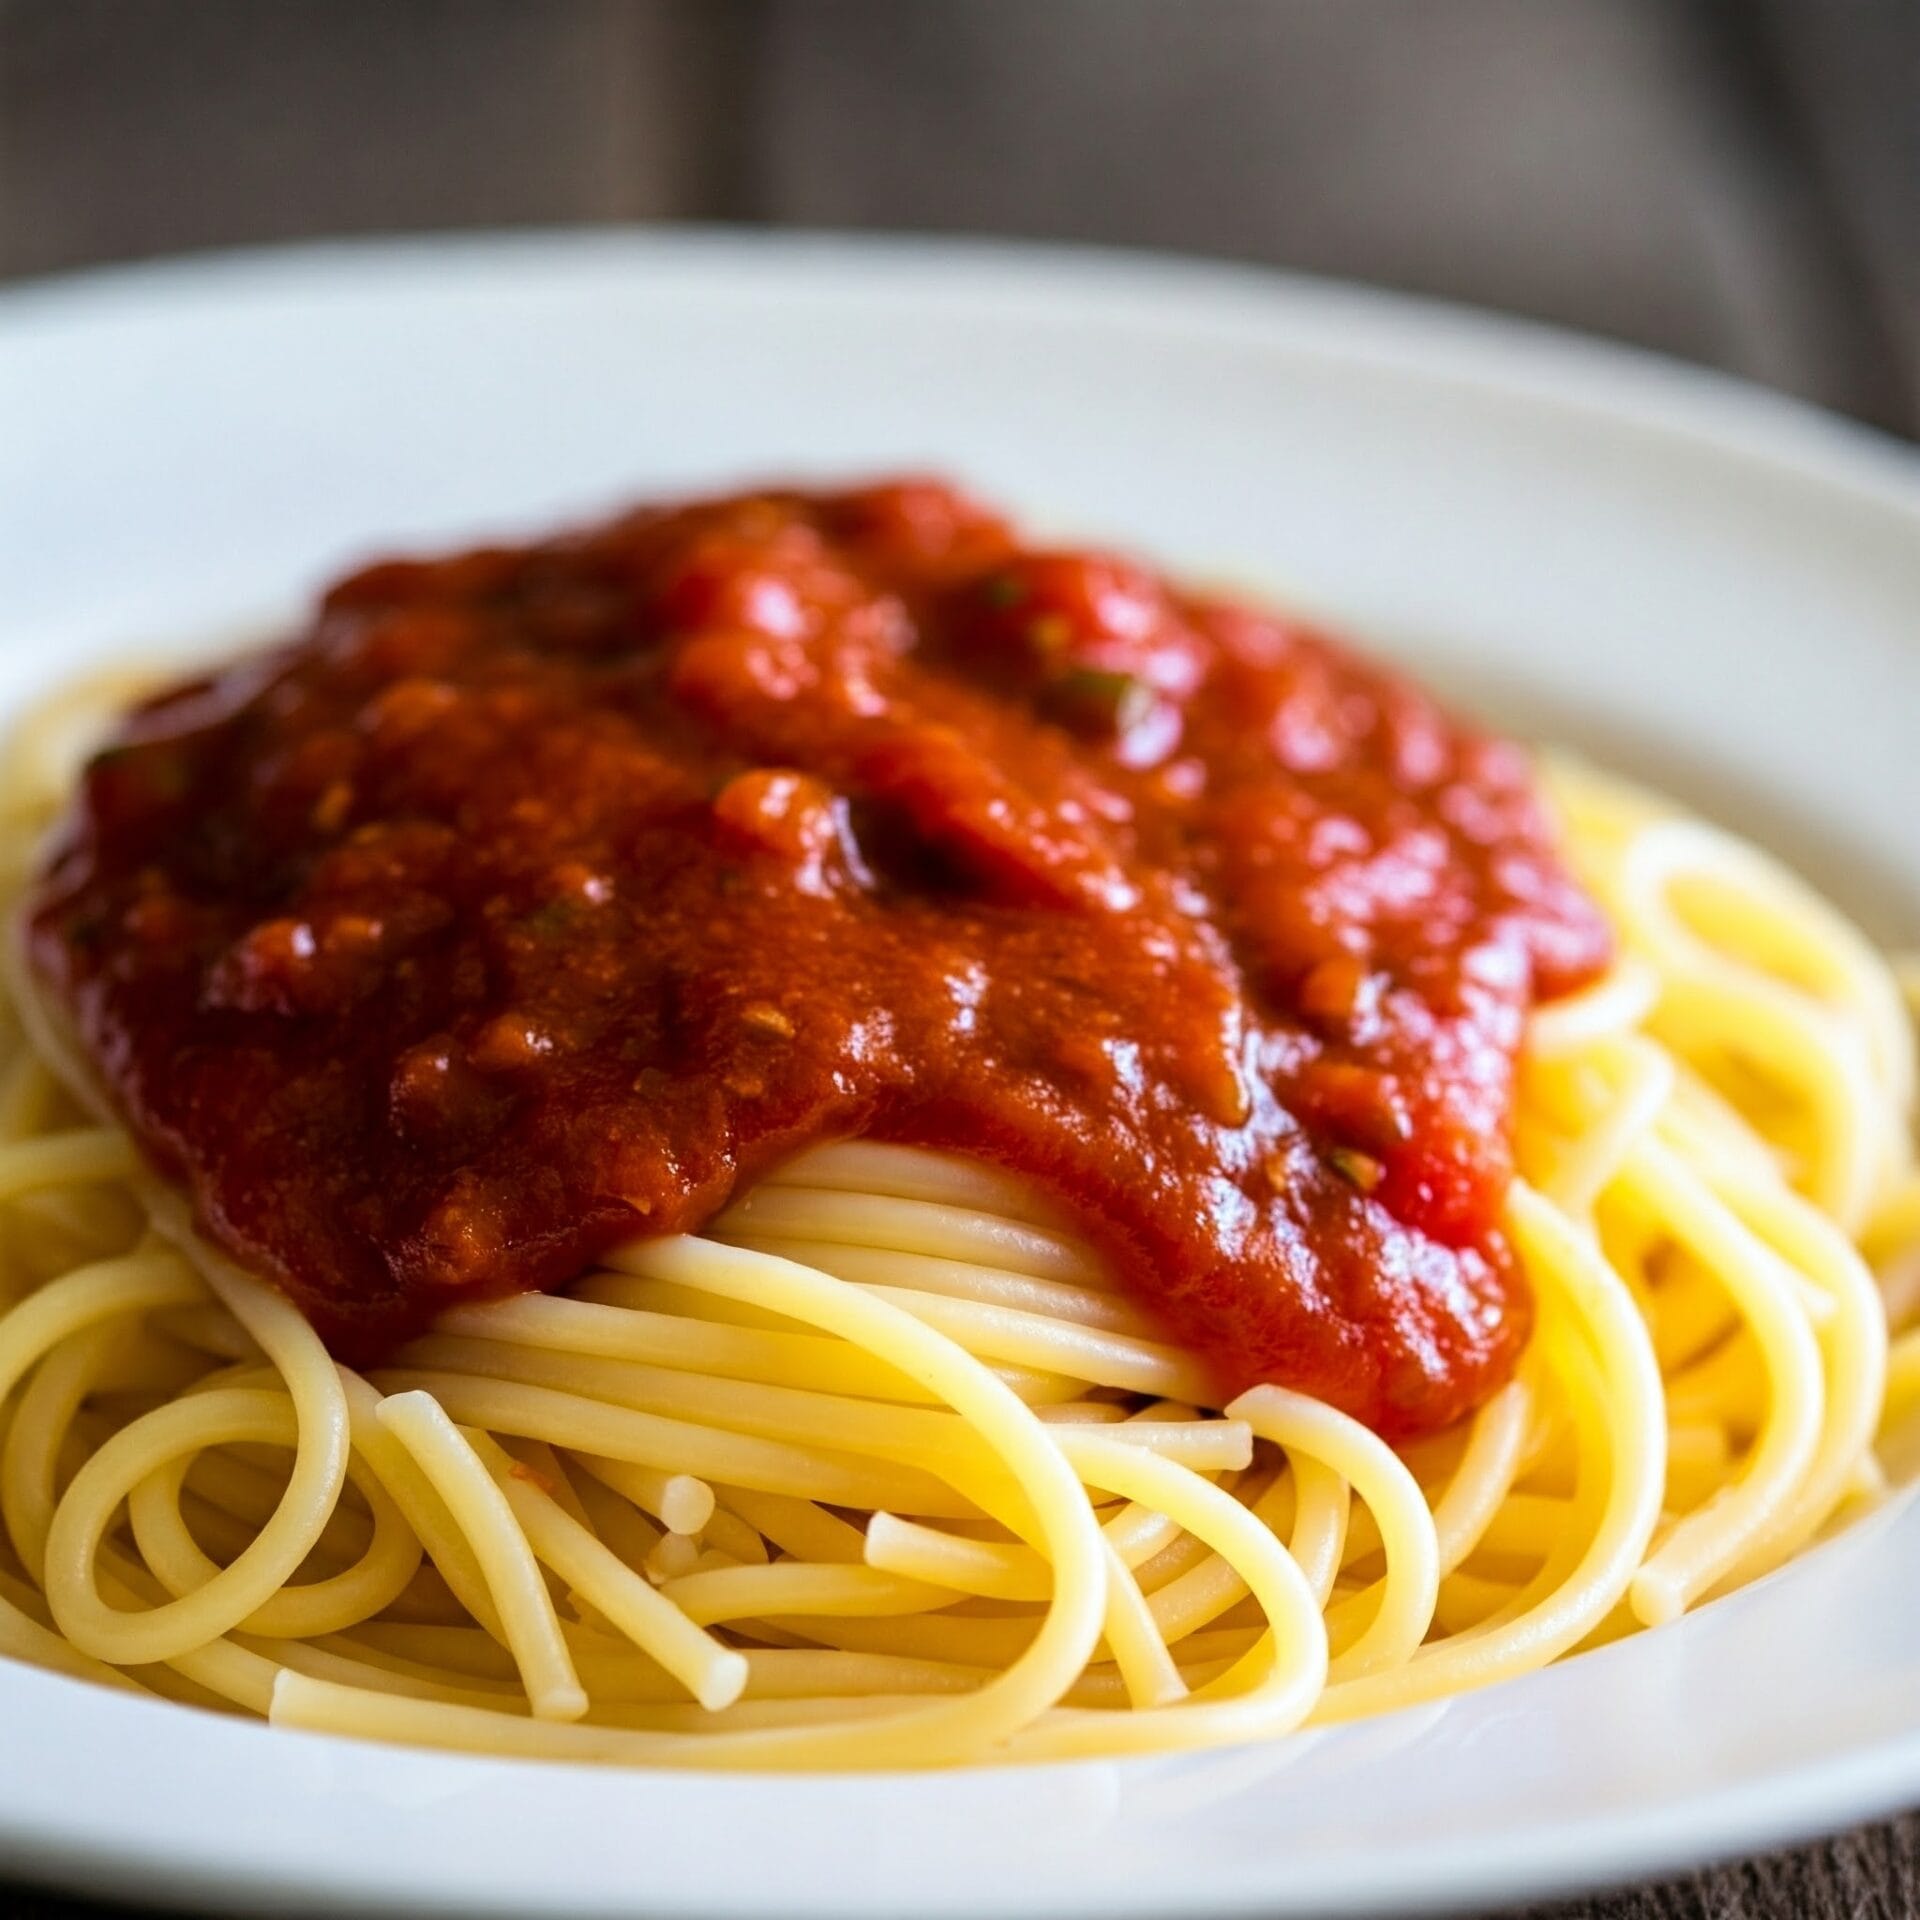
This homemade marinara sauce is a vibrant and flavorful blend of ripe tomatoes, aromatic garlic, and fragrant herbs simmered to perfection. Its rich, deep red hue hints at the intense flavor within, where the sweetness of the tomatoes is balanced by a subtle tang and savory depth. This sauce is thick enough to cling beautifully to pasta, yet still light enough to allow the other flavors in your dish to shine through. It's the perfect foundation for a classic Italian meal, whether you're tossing it with spaghetti, layering it in lasagna, or spreading it on pizza
Prep Time 15 minutes
Cook Time 2 hours 30 minutes
Servings: 6 cups
Course: Appetizer, Dinner, Lunch, Main Course
Cuisine: Italian, Italian American
Calories: 196

Ingredients
  

  • 1 lg Yellow Onion fine dice
  • 4 cloves Garlic Minced garlic is fine
  •  
    112 oz Plum tomatoes Average can size in the store is 28 oz
  • 1 Fresh Basil Fresh
  • 6 oz Olive oil
  • 1 tsp Salt
  • 1 tsp Black pepper

Equipment

1 Stock pot
1 Emulsion blender (or a food mill)

Method
 

  1. Chop the onion and mince or crush the garlic. Have your can of tomatoes ready.
    1 lg Yellow Onion, 4 cloves Garlic, 112 oz Plum tomatoes
  2. Heat the olive oil in a large saucepan over medium-high heat. Once the oil is shimmering, add the onions and garlic. Reduce heat if the oil begins to smoke. Cook, stirring often, until the onions are translucent and the garlic is fragrant and lightly golden, about 5-7 minutes.
    1 lg Yellow Onion, 6 oz Olive oil, 4 cloves Garlic
  3. Carefully add the plum tomatoes to the pot. (Tip: Partially cover the can with the lid to control splattering.)
    112 oz Plum tomatoes
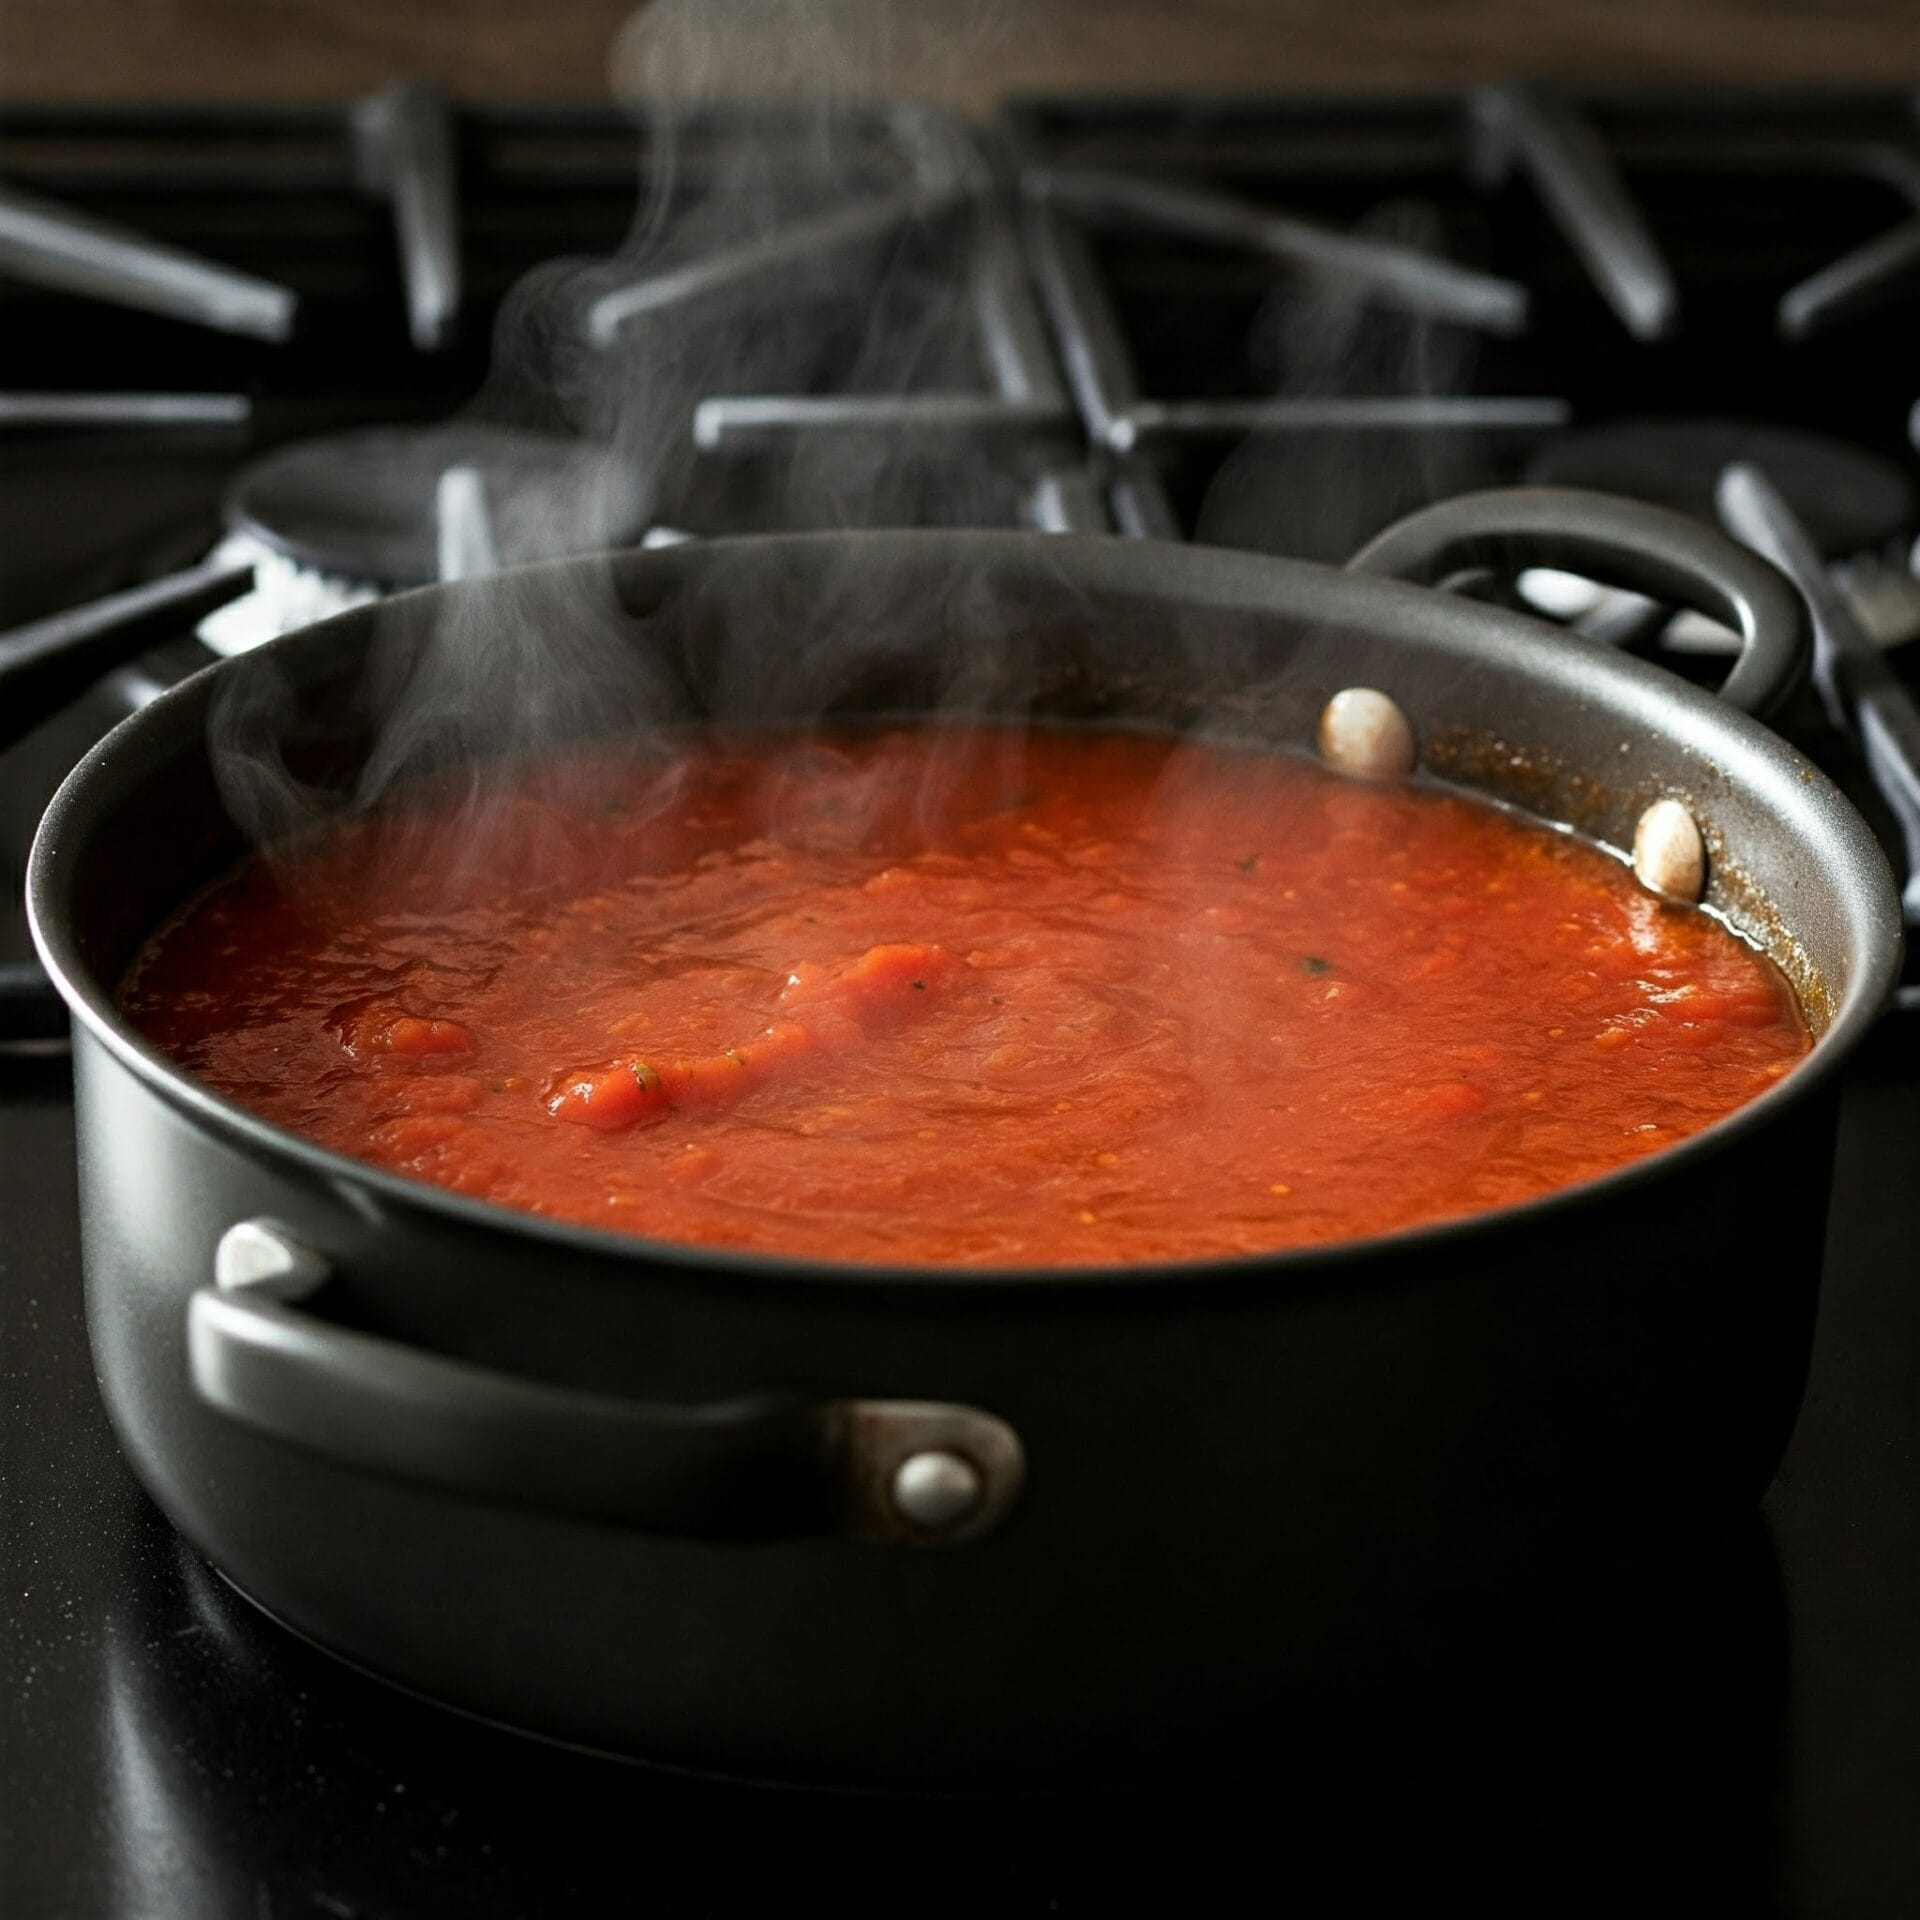
  4. Reduce the heat to low, cover the pot partially, and simmer for 2-3 hours, stirring occasionally. The sauce should reduce and thicken.
  5. Before blending, taste the sauce and season with salt and pepper. Add more garlic to taste, a little at a time, stirring and tasting until you reach your desired flavor. Stir in fresh basil leaves.
    1 tsp Salt, 1 tsp Black pepper, 1 Fresh Basil
  6. Once the sauce has thickened, use an immersion blender or food mill to blend the sauce until smooth.
  7. Your marinara sauce is ready to be used! Toss it with pasta, use it as a pizza sauce, or incorporate it into your favorite Italian dishes.

Nutrition

Serving: 12ozCalories: 196kcalCarbohydrates: 13gProtein: 3gFat: 16gSaturated Fat: 2gPolyunsaturated Fat: 2gMonounsaturated Fat: 11gSodium: 650mgPotassium: 709mgFiber: 4gSugar: 8gVitamin A: 2410IUVitamin C: 41mgCalcium: 35mgIron: 1mg

Video

Notes

1. Tomato Choice Matters:
  • San Marzano Tomatoes: If you can find them, San Marzano tomatoes are the gold standard for marinara sauce. They have a lower acidity and a sweeter flavor that's perfect for this sauce.  
  • Canned Whole or Crushed: While the recipe calls for plum tomatoes, you can use canned whole or crushed tomatoes as well. If using whole tomatoes, crush them by hand before adding them to the pot.
2. Building Flavor:
  • Don't Skimp on the Garlic: Garlic is key to a flavorful marinara. Use fresh garlic cloves and don't be afraid to add more to taste.
  • Quality Olive Oil: Use a good-quality extra virgin olive oil for the best flavor.
  • Tomato Paste (Optional): For an even richer flavor, add a tablespoon or two of tomato paste to the pot along with the garlic and onions. Cook it for a minute or two to deepen its flavor before adding the tomatoes.
3. Simmering is Key:
  • Low and Slow: Simmering the sauce over low heat for a long time allows the flavors to meld and deepen. Don't rush this process!
  • Stir Occasionally: Stir the sauce every 20-30 minutes to prevent it from sticking to the bottom of the pot.  
  • Adjust the Consistency: If the sauce becomes too thick, add a little water or vegetable broth to thin it out.
4. Seasoning:
  • Taste and Adjust: Taste the sauce before blending and adjust the seasoning as needed. Remember, you can always add more, but you can't take it away!
  • Fresh Herbs: While the recipe calls for basil, you can experiment with other fresh herbs like oregano, thyme, or parsley. Add them at the end, after blending.
5. Blending:
  • Immersion Blender vs. Food Mill: An immersion blender is the easiest way to blend the sauce. If you don't have one, you can use a food mill or a regular blender (just be careful when blending hot liquids).
  • Smoothness: Blend the sauce to your desired consistency. Some people prefer a completely smooth sauce, while others like a bit of texture.
Bonus Tip:
  • Make it Your Own: Feel free to experiment with this recipe! Add a pinch of red pepper flakes for heat, a spoonful of sugar to balance acidity, or a splash of red wine for depth of flavor.
With these tips, you'll be well on your way to making a delicious and authentic homemade marinara sauce!

Tried this recipe?

Let us know how it was!

Related Recipes

Ingredients

  •    
  •    
  •    
  •   
  •   
  •   
  •   


Image Gallery Marinara Sauce

Storage & Leftovers

Storing Your Leftover Marinara Sauce:

  • Cool it Down: Before storing, let the sauce cool completely to room temperature. This helps prevent condensation from forming in the container, which can lead to spoilage.
  • Choose the Right Container: An airtight container is essential to maintain the quality and prevent the sauce from absorbing odors from other foods in your fridge. Glass containers or high-quality plastic containers with tight-fitting lids work well.
  • Refrigerator Storage: Store your leftover marinara sauce in the refrigerator for up to 5 days.
  • Freezer Storage: For longer storage, you can freeze marinara sauce for up to 3 months. It’s best to freeze it in smaller portions for easier thawing and use. Consider using freezer-safe bags (laid flat to save space) or small airtight containers.

Reheating Tips:

  • Thaw Safely: If frozen, thaw the sauce in the refrigerator overnight or in a bowl of cold water.
  • Gentle Reheating: Reheat the sauce gently over low heat on the stovetop, stirring frequently. Alternatively, you can reheat it in the microwave in short bursts, stirring between each burst, until warmed through.
  • Add a Touch of Liquid: Marinara sauce can thicken upon cooling and reheating. If it’s too thick, you can thin it out with a little water, vegetable broth, or even a splash of red wine.

Extra Tips for Marinara Masters:

  • Portion and Conquer: When freezing, consider freezing the sauce in ice cube trays. Once frozen, pop out the cubes and store them in freezer bags. This allows for easy portioning when you only need a small amount.
  • Flavor Boost: When reheating, add a fresh sprig of basil or a pinch of oregano to brighten the flavors.
  • Prevent Staining: Marinara sauce can stain plastic containers. If using plastic, choose high-quality containers and avoid storing the sauce for extended periods.  

With these tips, you can enjoy your homemade marinara sauce to the fullest, even days after you’ve made it! 🍝

Please follow and like us:
onpost_follow
fb-share-icon197
Tweet120
Pinterest20
Share 20
submit to reddit

Tomato & Beef Soup

Tomato & Beef Soup

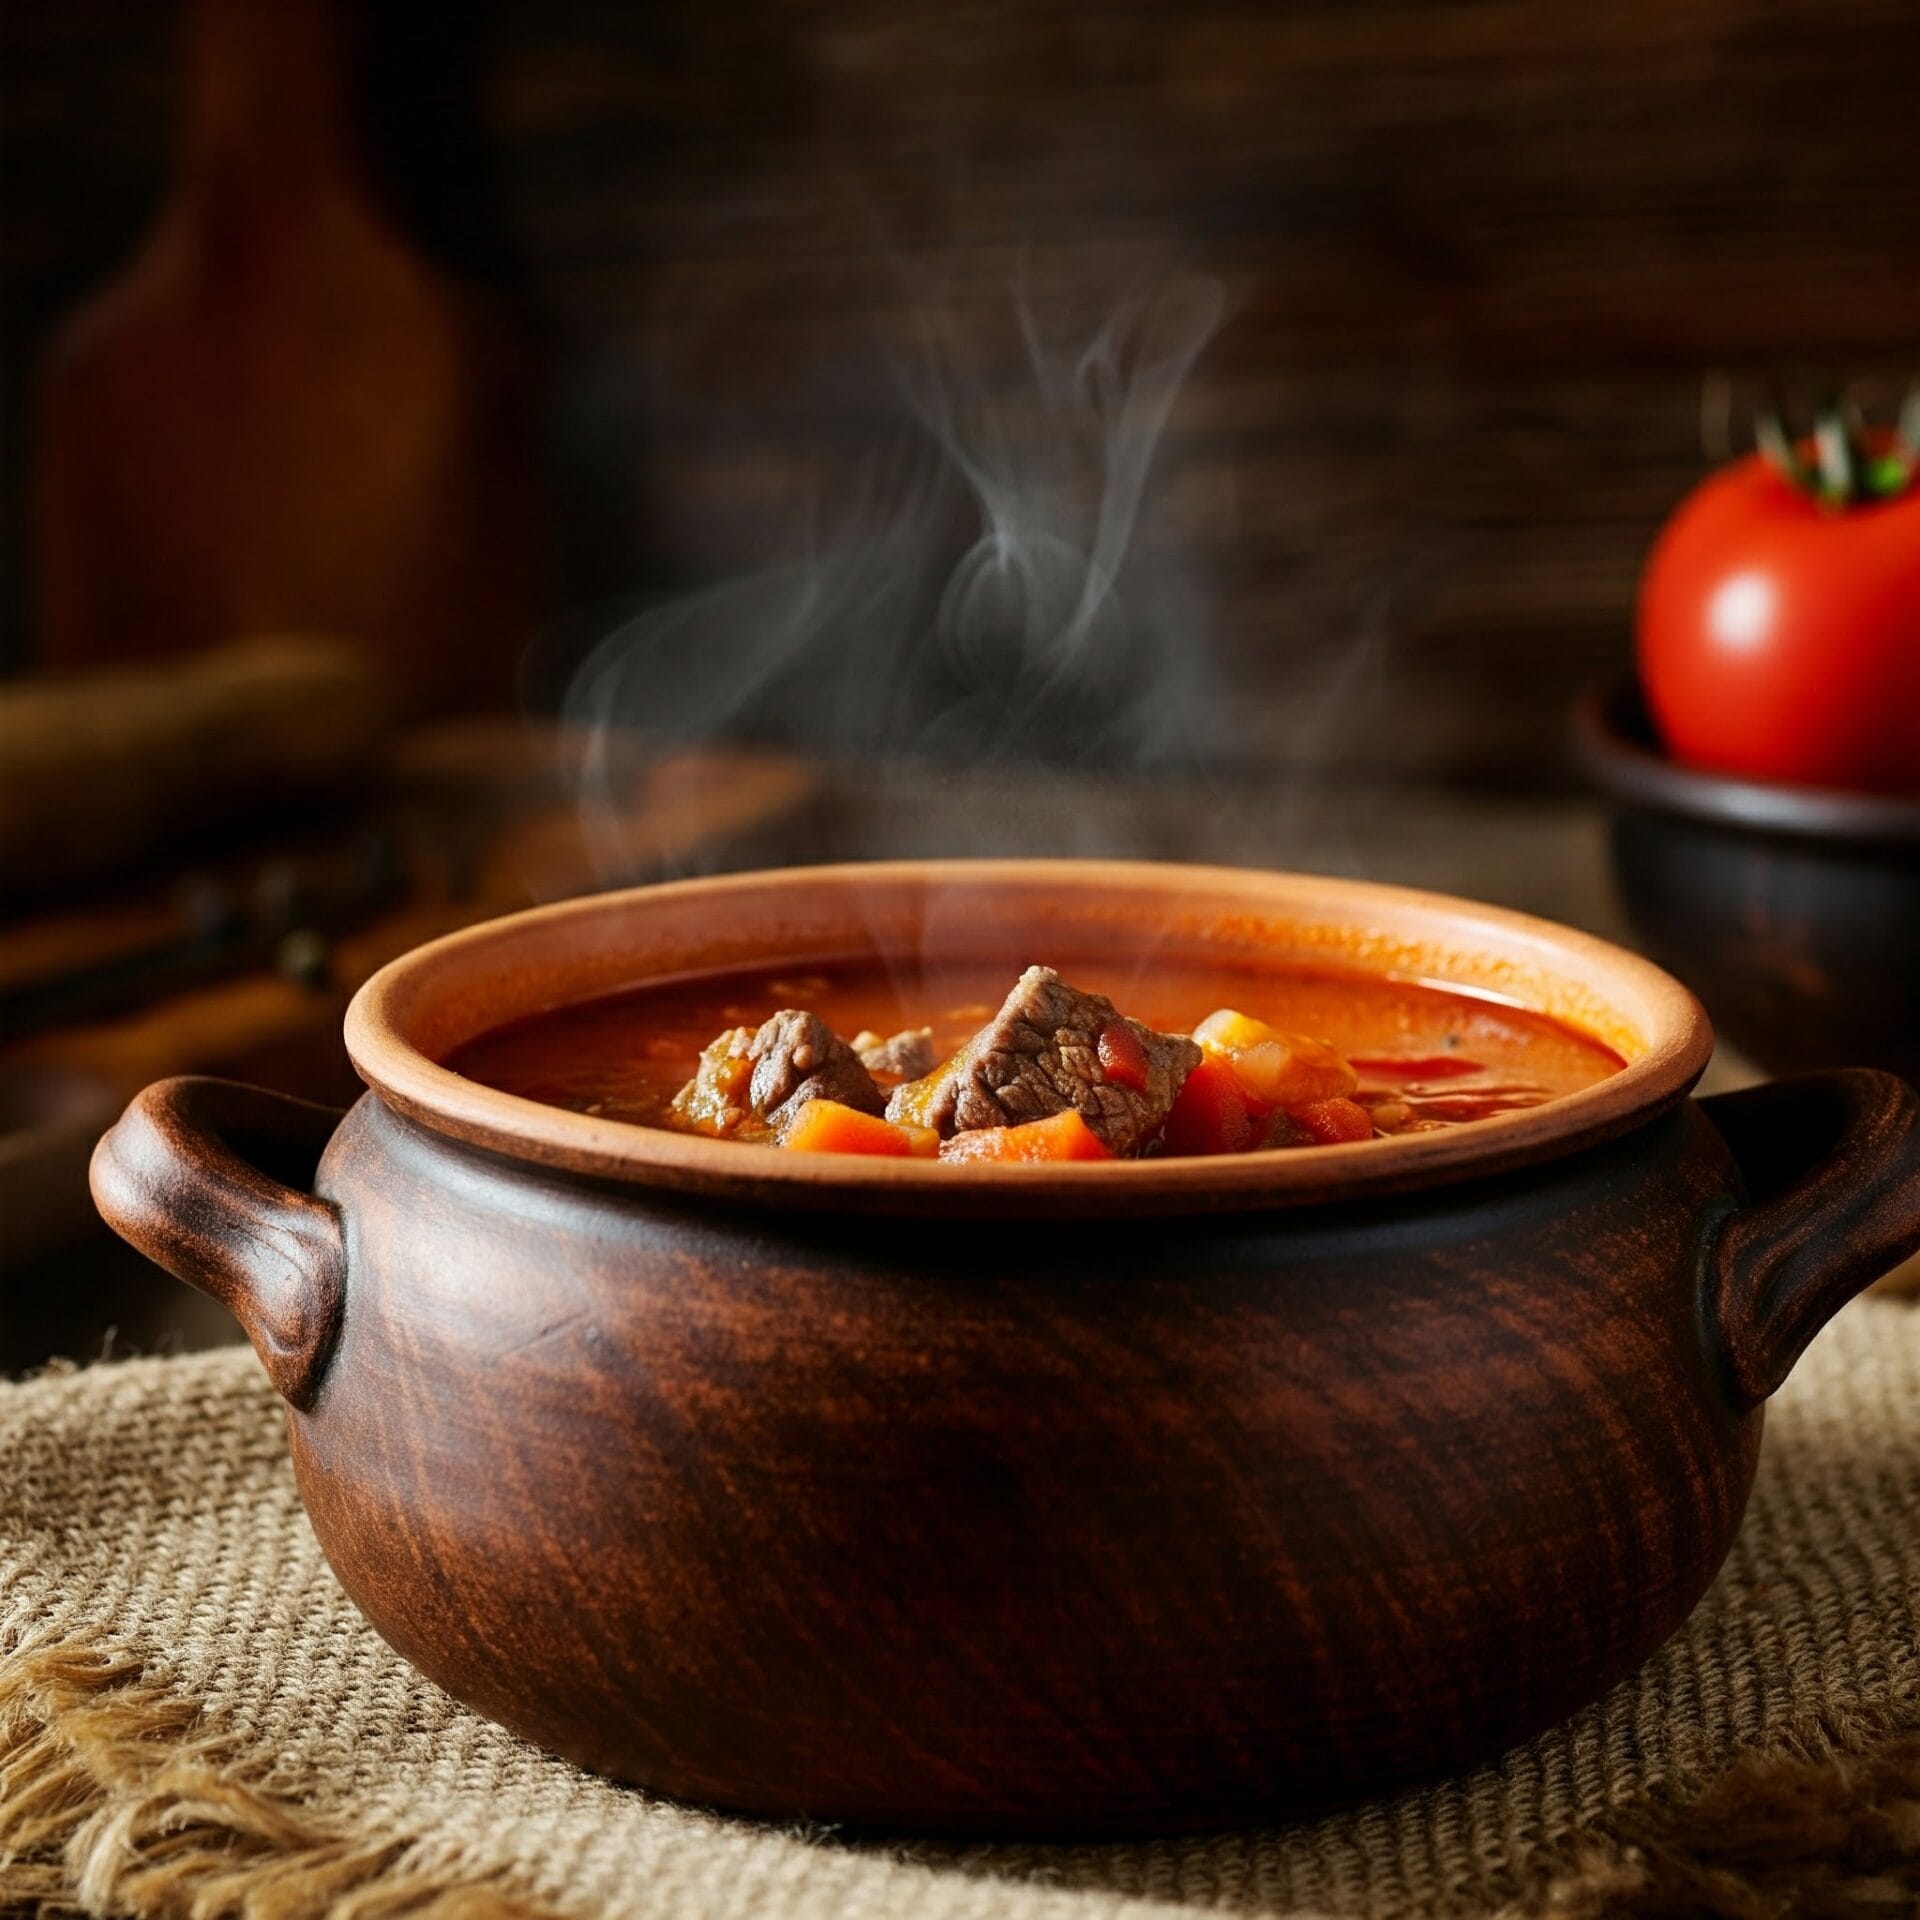
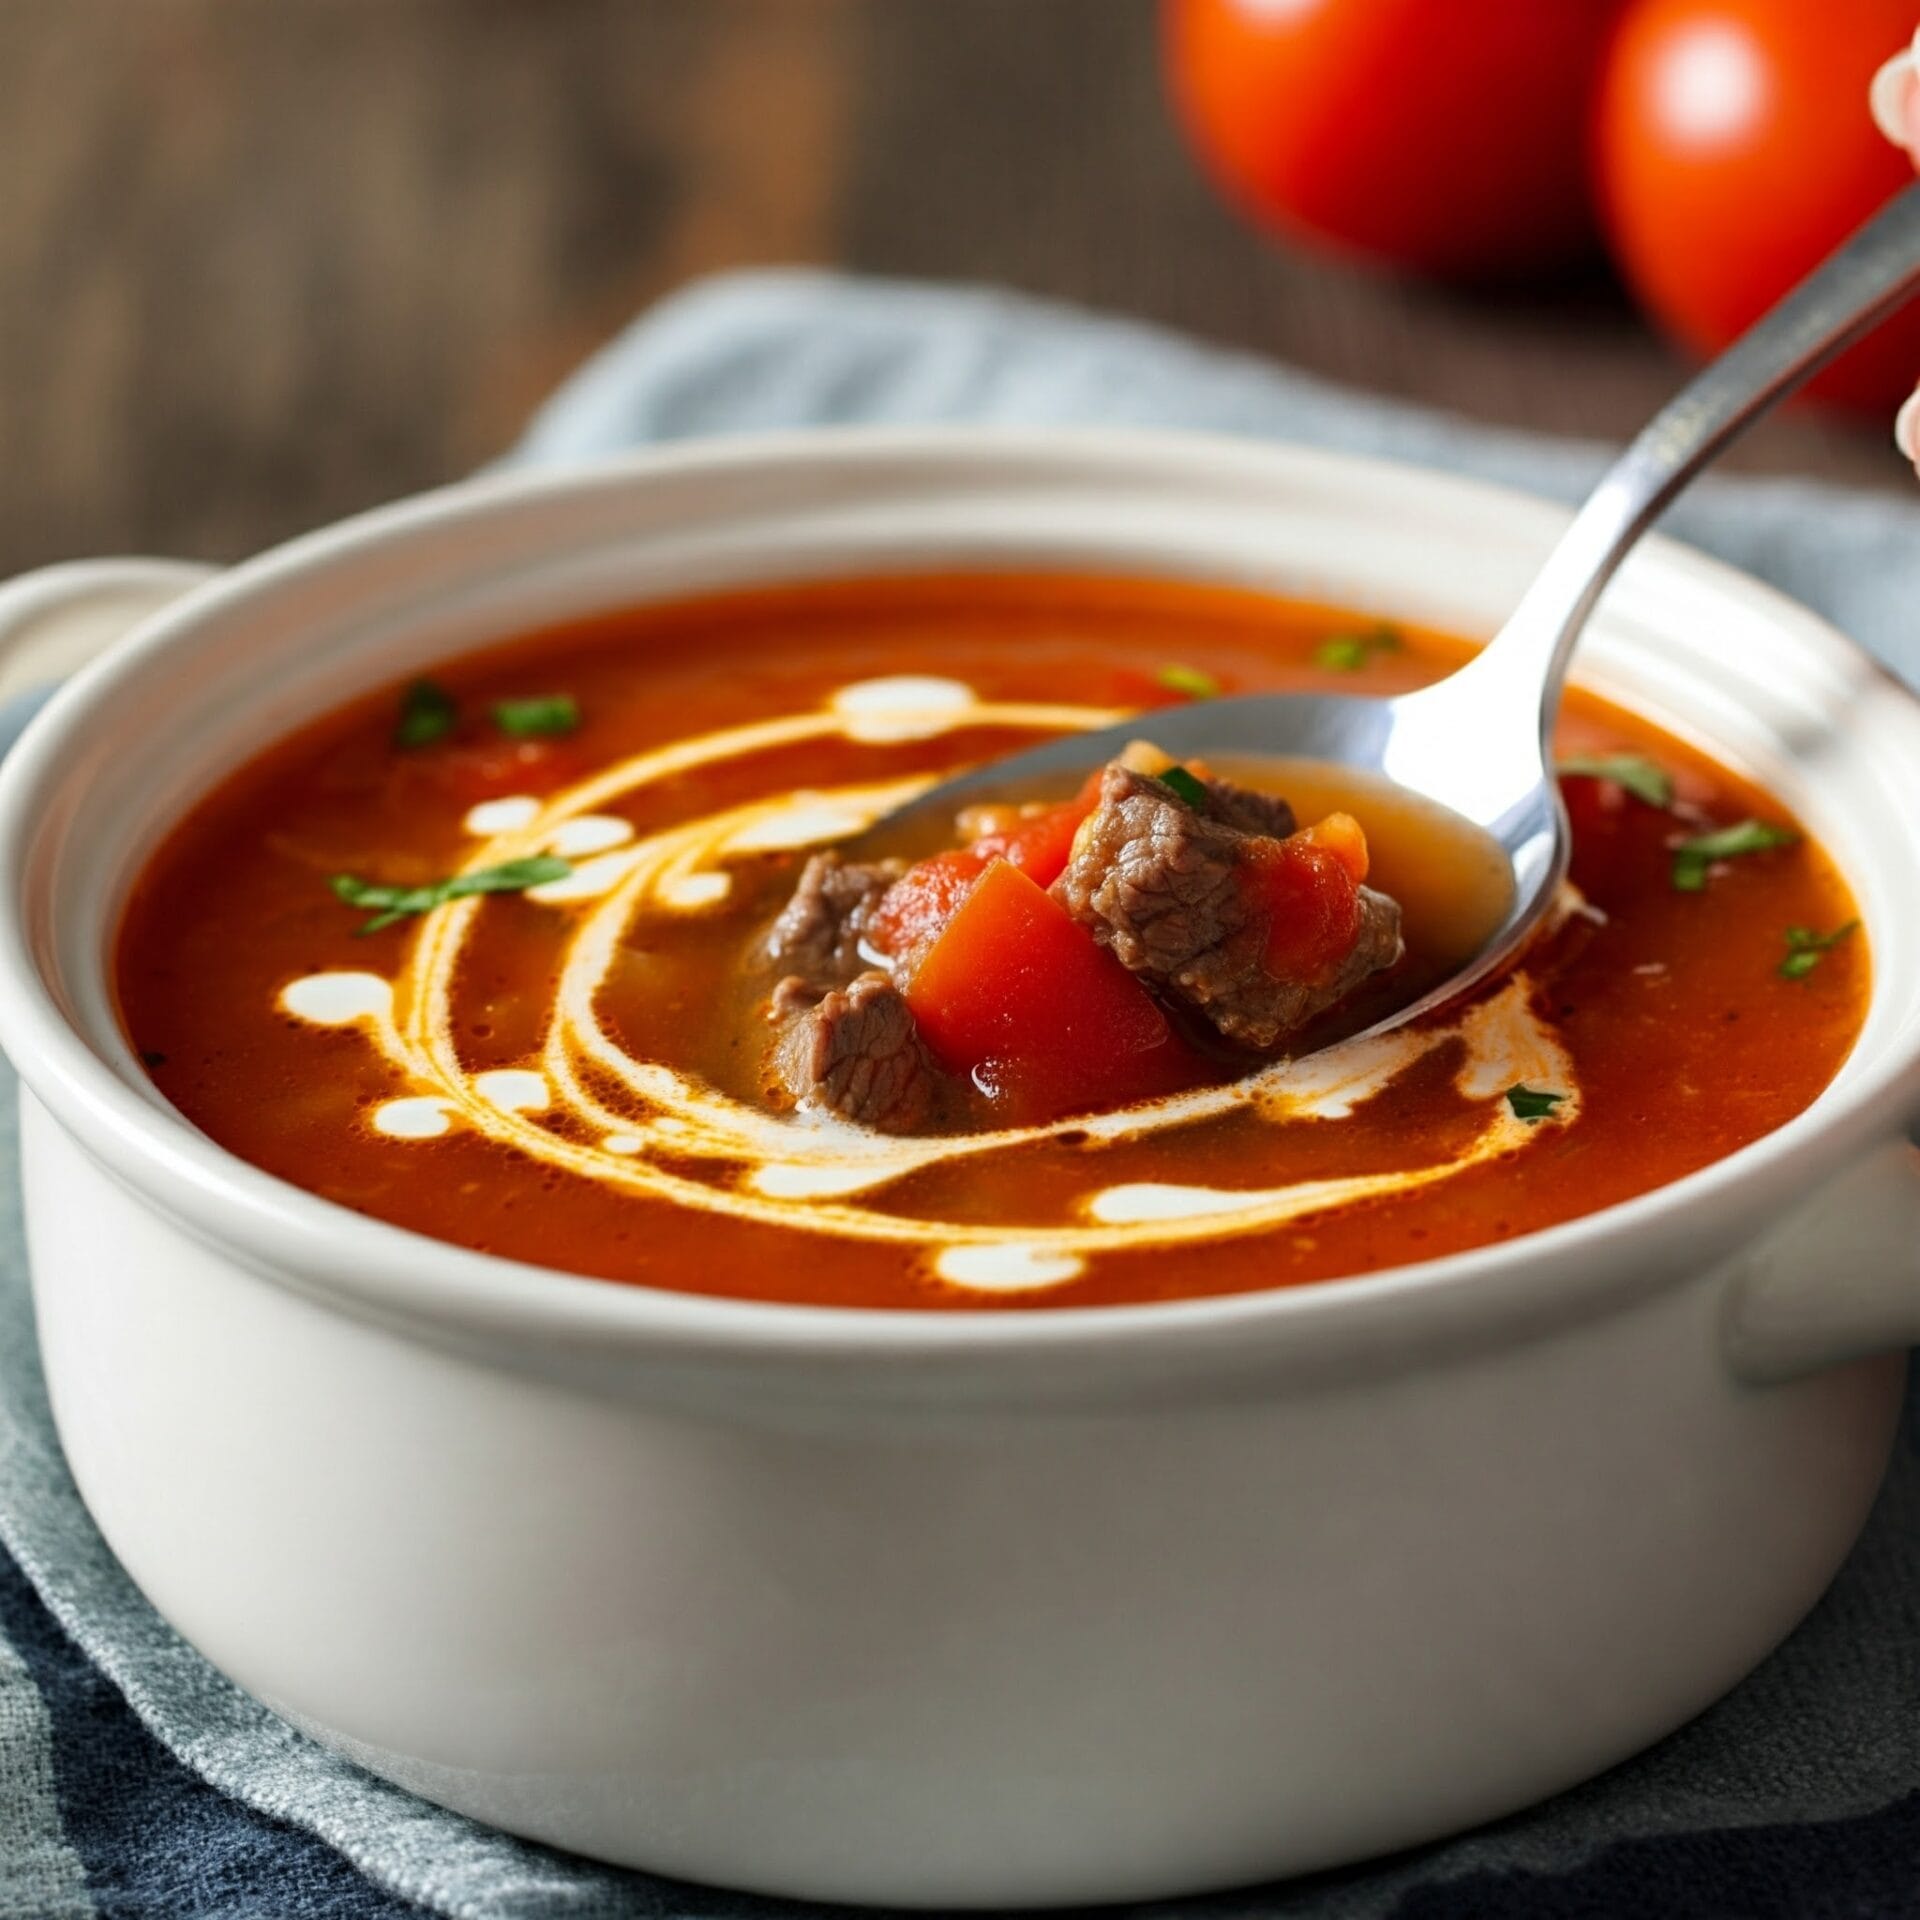
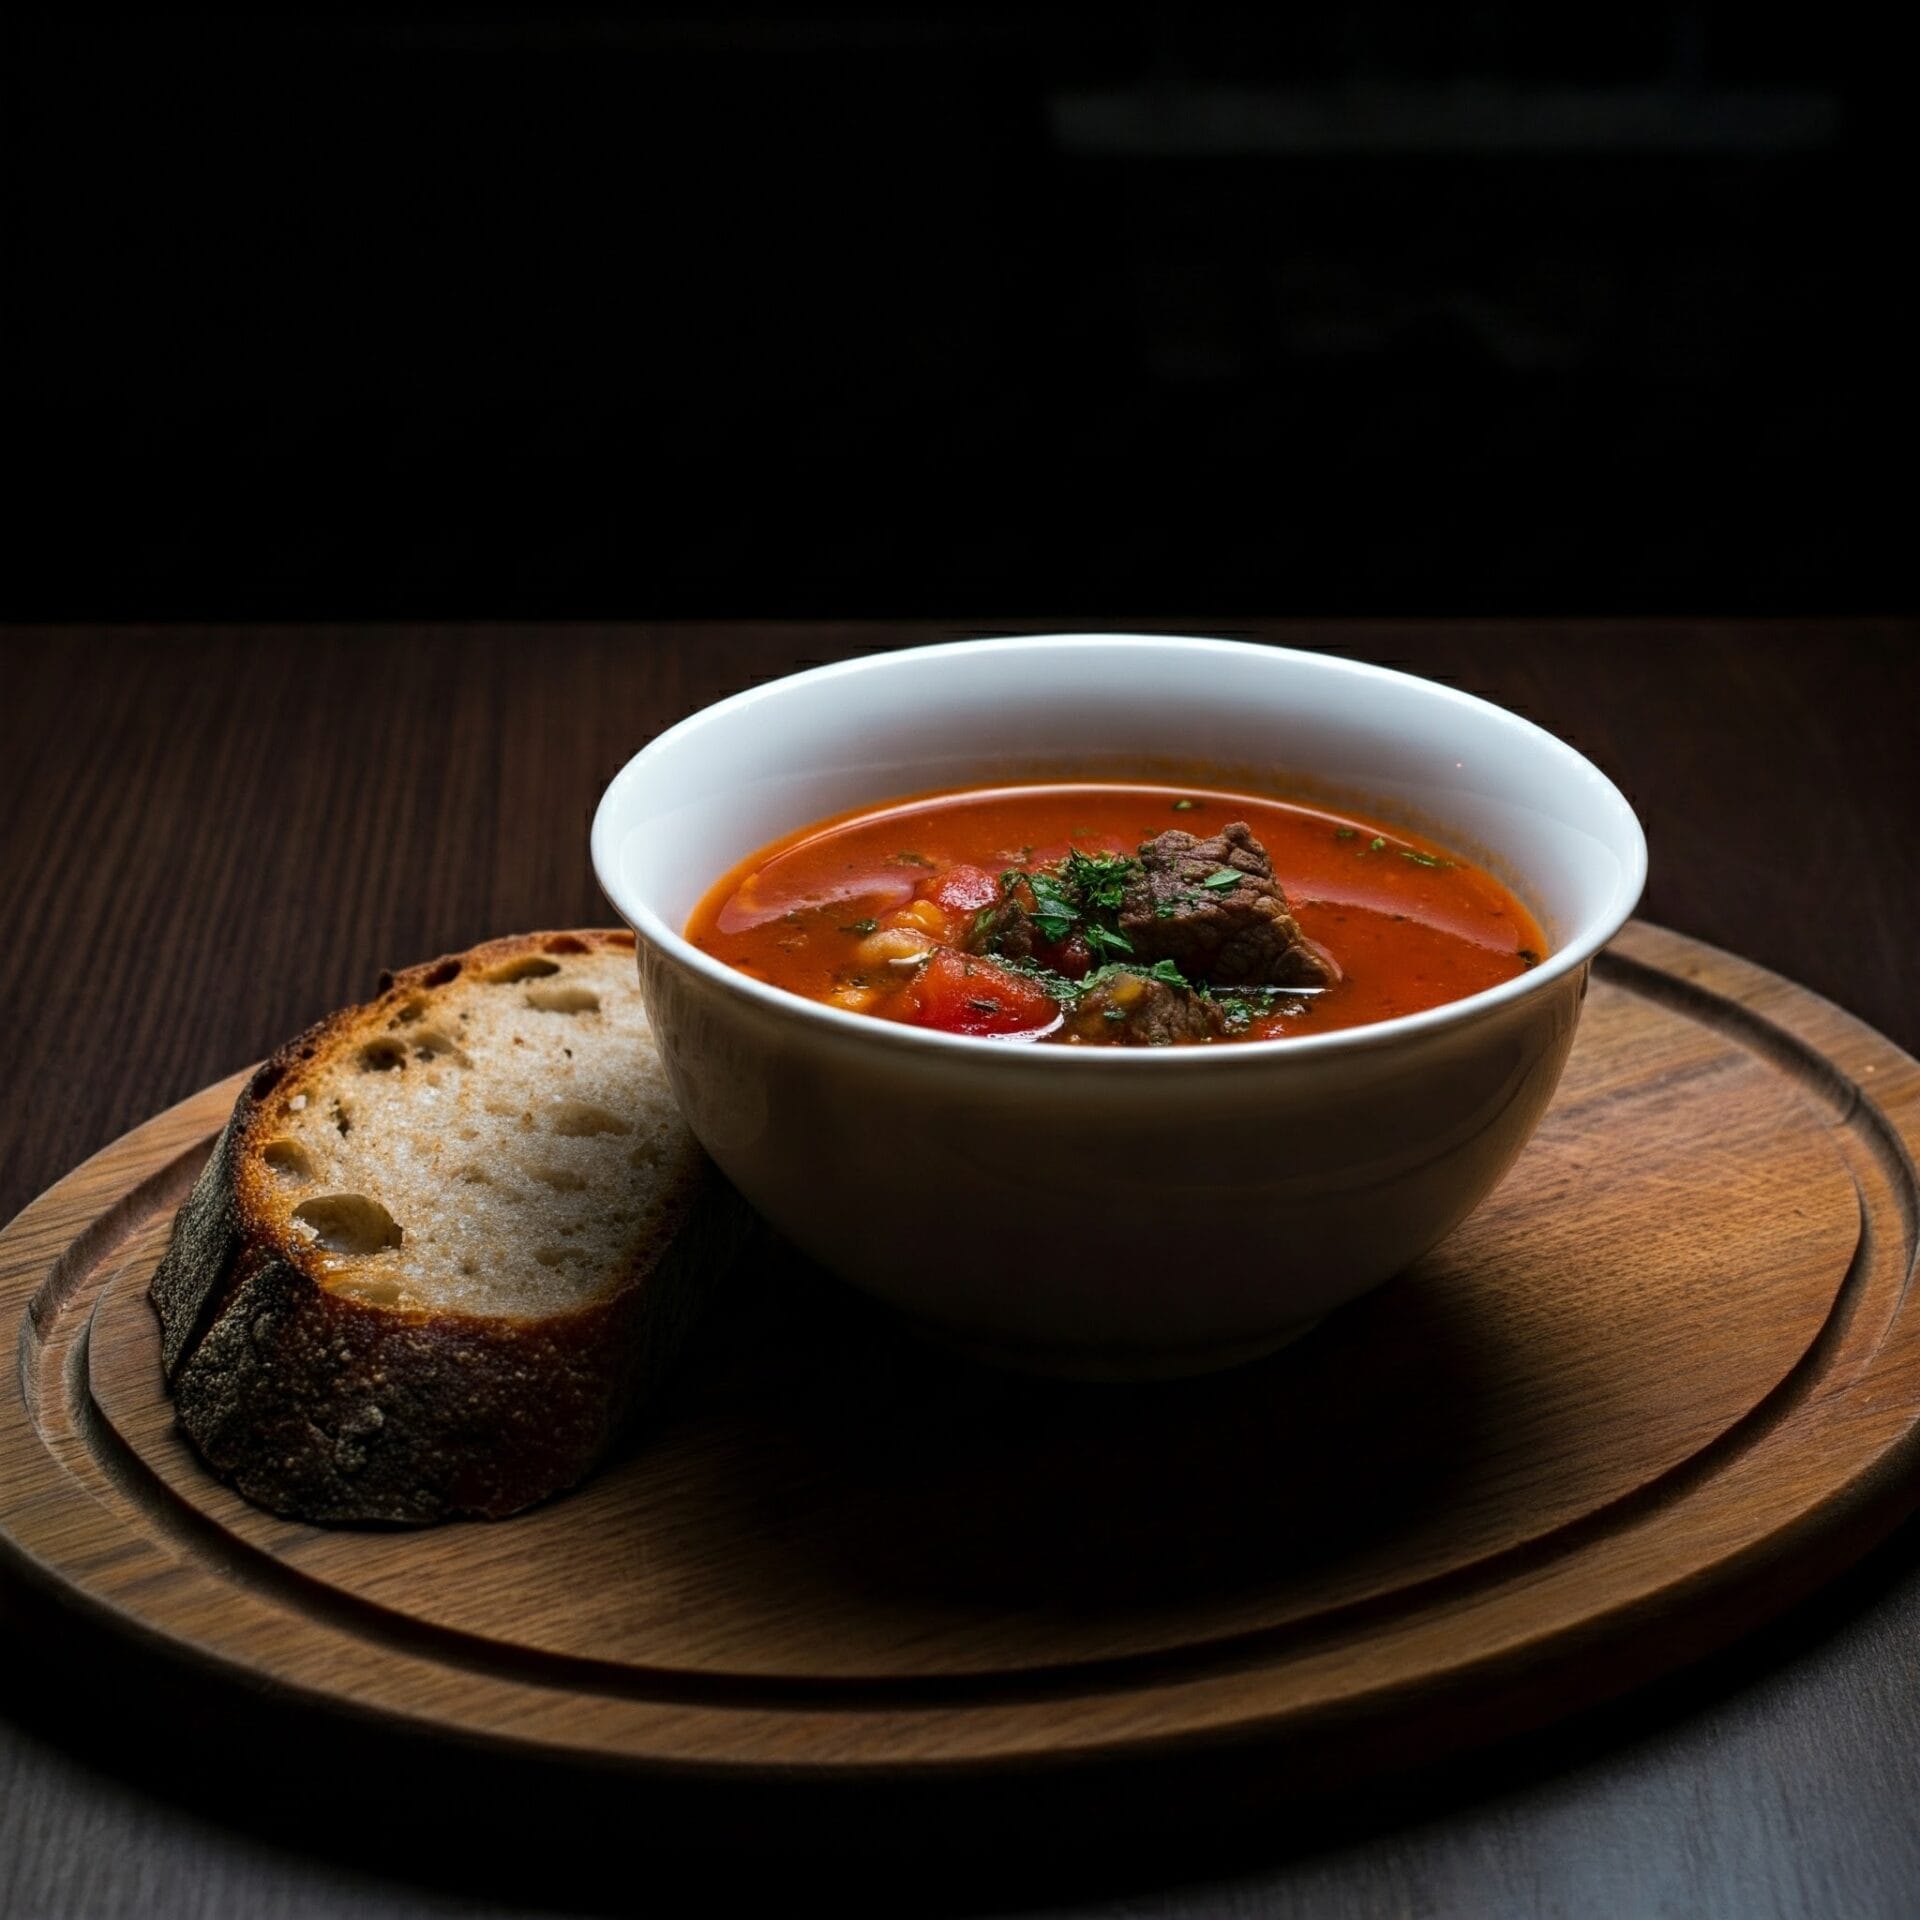
This Tomato & Beef Soup is a classic for a reason! Imagine tender chunks of beef simmered in a rich, savory broth with the perfect balance of sweet and tangy tomato flavor. It’s hearty, comforting, and perfect for those chilly days when you crave a warm hug in a bowl.

This recipe is all about simple, wholesome ingredients done right. We’re talking juicy tomatoes, melt-in-your-mouth beef, and aromatic vegetables that add depth and complexity. Whether you’re a seasoned soup enthusiast or just looking for a delicious and easy meal, this Tomato & Beef Soup is guaranteed to hit the spot.

Here’s why you’ll love it:

  • Flavorful: A delightful blend of savory beef, sweet tomatoes, and aromatic vegetables.
  • Hearty: Packed with protein and vegetables to keep you satisfied.
  • Versatile: Enjoy it as is, or pair it with your favorite sides like grilled cheese or a crusty bread.

Dive into a bowl of this comforting classic and experience the pure joy of homemade Tomato & Beef Soup!

Tomato & Beef Soup

No ratings yet
This Tomato & Beef Soup is a comforting classic with a flavor that pops! We're talking tender beef simmered in a rich tomato broth that's perfectly balanced between sweet and tangy. It's hearty, satisfying, and exactly what you need on a chilly day when only a warm hug in a bowl will do.
This recipe celebrates simple ingredients done right. Think juicy tomatoes, melt-in-your-mouth beef, and aromatic vegetables that add depth and complexity. Whether you're a soup enthusiast or just looking for a delicious and easy meal, this Tomato & Beef Soup will hit the spot. Pair it with a grilled cheese or crusty bread for a truly satisfying experience.
Prep Time 20 minutes
Cook Time 1 hour
Servings: 6 People
Course: Dinner, Lunch, Soup
Cuisine: American
Calories: 147

Ingredients
  

  • 16 oz Sirloin steak
  • 9 cups Beef stock
  • 6 tbsp Tomato paste
  • 6 Tomatoes Beefsteak is preferred. Be sure that they are halved, seeded, and diced small.
  • 6 tsp Granulated Sugar
  • 3 tbsp Cornstarch
  • 1 tbsp Water
  • 3 Egg whites Use Large Eggs
For Taste
  • 1 tsp Salt Only use as needed for taste
  • 1 tsp Black pepper Only use as needed for taste
For Service
  • 2 tsp Sesame oil
  • 1 bunch Green onions Chopped fine or shredded.
Optional For Service
  • 3 oz Cheddar cheese Shredded.

Method
 

  1. For optimal tenderness, trim the beef of excess fat and slice it thinly against the grain. This ensures the meat stays tender and cooks evenly.
    16 oz Sirloin steak
  2. Blanch the beef by placing it in a saucepan, covering it with water, and bringing it to a boil for 2 minutes. This quick step helps to remove impurities and tenderize the meat. Drain the beef and set aside
    16 oz Sirloin steak
  3. Begin building the soup's foundation by bringing the beef stock to a boil in a stockpot. Stir in the tomato paste, allowing it to melt into the stock and create a rich base. Add the diced tomatoes and a touch of sugar to balance the acidity. Gently add the blanched beef, bring the mixture back to a boil, then reduce heat and simmer. This allows the flavors to meld and deepen while you continue with the recipe.
    9 cups Beef stock, 6 tbsp Tomato paste, 6 Tomatoes , 6 tsp Granulated Sugar
  4. Cornstarch is our secret weapon for adding body to this soup. To prevent lumps, we first create a slurry: in a small bowl, whisk together the cornstarch and cold water until a smooth paste forms. Slowly introduce this slurry to the simmering soup, whisking constantly as you pour. The heat will activate the cornstarch, gently thickening the soup. Be careful not to add too much at once, as it can quickly become overly thick.
    3 tbsp Cornstarch, 1 tbsp Water
  5. This final step adds a touch of magic to our soup! Lightly beat the egg whites until just frothy. Then, slowly pour them into the simmering soup while stirring continuously. This creates beautiful, delicate strands of egg white that add a wonderful texture and richness. Once the egg whites have turned from translucent to white, you'll know they're cooked. Season the soup with salt and pepper to your liking and prepare to be amazed!
    3 Egg whites, 1 tsp Salt, 1 tsp Black pepper
  6. Time to enjoy the fruits (or should we say, vegetables) of your labor! Ladle this gorgeous soup into bowls, remembering to scoop from the bottom to get those tender beefy bits. A drizzle of sesame oil adds a touch of magic, and a sprinkle of scallions brings a pop of color and freshness. Feeling cheesy? Go ahead and add a sprinkle of your favorite – we won't judge!
    2 tsp Sesame oil, 1 bunch Green onions, 3 oz Cheddar cheese

Nutrition

Serving: 16ozCalories: 147kcalCarbohydrates: 10gProtein: 15gFat: 5gSaturated Fat: 2gPolyunsaturated Fat: 1gMonounsaturated Fat: 2gCholesterol: 30mgSodium: 896mgPotassium: 717mgFiber: 1gSugar: 6gVitamin A: 725IUVitamin C: 11mgCalcium: 87mgIron: 2mg

Notes

Beef Selection and Preparation:
  • Choose the right cut: For a flavorful and tender soup, opt for beef chuck, stew meat, or short ribs. These cuts have good marbling and become meltingly tender when simmered.
  • Trim excess fat: While some fat adds flavor, too much can make the soup greasy. Trim away any large pieces of fat before cooking.
  • Brown the beef: Browning the beef before adding the other ingredients adds a depth of flavor and richness to the soup.
  • Blanch the beef (optional): Blanching the beef in boiling water for a couple of minutes helps to remove impurities and create a clearer broth.
Tomato Flavor:
  • Use quality tomatoes: Whether you use canned tomatoes, fresh tomatoes, or a combination, choose ripe and flavorful ones.
  • Balance acidity: If your tomatoes are too acidic, a pinch of sugar can help balance the flavor.
  • Tomato paste: A spoonful of tomato paste adds richness and depth to the tomato flavor.
Building Flavor:
  • Aromatics: Start with a flavorful base of sautéed onions, garlic, and carrots. Celery and bell peppers are also great additions.
  • Herbs and spices: Bay leaf, thyme, oregano, and basil are classic choices for Tomato & Beef Soup. Experiment with other herbs and spices to create your own signature flavor.
  • Broth: Use a good quality beef broth for the best flavor.
  • Simmer time: Allow the soup to simmer for at least 30 minutes to allow the flavors to meld and deepen.
Texture and Consistency:
  • Vegetables: Consider the size and texture of your vegetables. For a chunkier soup, leave them in larger pieces. For a smoother soup, you can partially blend some of the vegetables.
  • Thickening: If you prefer a thicker soup, you can use a cornstarch slurry or a roux to thicken it.
  • Noodles or rice: Adding cooked noodles or rice to the soup during the last few minutes of cooking adds heartiness and texture.
Finishing Touches:
  • Fresh herbs: A sprinkle of fresh parsley, chives, or basil just before serving adds brightness and flavor.
  • Acidity: A splash of lemon juice or red wine vinegar at the end can brighten the flavors.
  • Garnish: Consider toppings like a dollop of sour cream, a sprinkle of grated Parmesan cheese, or a drizzle of olive oil.
Enjoy the process! Making soup is a wonderful way to experiment with flavors and create a comforting meal. Don't be afraid to adjust the recipe to your own preferences and enjoy the delicious results. 🍅🍲😋

Tried this recipe?

Let us know how it was!

Related Recipes

Ingredients

Ingredients:

  • 16 oz Sirloin Steak: Sirloin is a lean cut of beef with good flavor. Slicing it into thin strips will help it cook quickly and become tender in the soup.
  • 9 cups Beef Stock: A generous amount of beef stock forms the flavorful base of the soup.
  • 6 tbsp Tomato Paste: Tomato paste adds concentrated tomato flavor and richness to the broth.
  • 6 Tomatoes (Beefsteak preferred): Beefsteak tomatoes are known for their meaty texture and rich flavor, perfect for soup. Halving, seeding, and dicing them ensures they cook evenly and integrate well into the broth.
  • 6 tsp Granulated Sugar: A touch of sugar helps to balance the acidity of the tomatoes.
  • 3 tbsp Cornstarch: Cornstarch is used to thicken the soup, giving it a lovely velvety texture.
  • 1 tbsp Water: The water is used to create a slurry with the cornstarch, ensuring it smoothly incorporates into the soup without clumping.
  • 3 Egg Whites (Large Eggs): Adding egg whites to the soup at the end creates delicate ribbons of cooked egg, adding a touch of richness and visual appeal.

For Taste:

  • 1 tsp Salt: Salt enhances all the flavors in the soup. Start with a small amount and adjust to taste.
  • 1 tsp Black Pepper: Black pepper adds a subtle warmth and depth of flavor.

For Service:

  • 2 tsp Sesame Oil: A drizzle of sesame oil adds a lovely nutty aroma and flavor to the finished soup.
  • 1 bunch Green Onions: Chopped green onions provide a fresh, oniony flavor and a pop of color as a garnish.

Optional for Service:

  • 3 oz Cheddar Cheese: Shredded cheddar cheese is a delicious optional topping, adding creaminess and a cheesy flavor.

This recipe seems to have a nice balance of flavors and textures. The combination of beef, tomatoes, and a touch of sweetness creates a classic and comforting soup, while the egg whites and sesame oil add unique touches. I’m sure it will be delicious!

Image Gallery Tomato & Beef Soup

Storage & Leftovers

Storage

  • Cooling is key: Before storing, allow the soup to cool completely. This prevents condensation, which can lead to bacterial growth and affect the soup’s texture.   
  • Refrigerator: Transfer the cooled soup to an airtight container and store it in the refrigerator for up to 3-4 days. 
  • Freezer: While freezing is possible, it’s not always ideal for soups with dairy or eggs. If you do freeze it, store it in a freezer-safe container or bag for up to 1-2 months. For best results, freeze it before adding the egg whites and garnish.

Reheating

  • Stovetop: The best way to reheat this soup is gently on the stovetop over low heat. Stir occasionally to prevent sticking. If the soup has thickened in the refrigerator, add a splash of broth or water to thin it out.
  • Microwave: You can reheat it in the microwave, but do so in short bursts, stirring frequently, to prevent overheating and separation. 

Tips and Tricks

  • Portioning: If you plan to freeze the soup, consider freezing it in individual portions for easy grab-and-go meals.
  • Separation: If the soup separates slightly after refrigeration, don’t worry! A quick whisk or a blend with an immersion blender can often restore its creamy texture.
  • Flavor Boost: When reheating, consider adding a splash of fresh lemon juice or a pinch of your favorite herbs to brighten the flavors.
  • Garnish Fresh: Add the sesame oil and green onions just before serving to maintain their freshness and flavor.
  • Cheese: If you’re adding cheese, sprinkle it on top of the soup just before serving so it melts nicely.
  • Freshness: Always check for any signs of spoilage before consuming leftovers. Look for any off-putting smells, discoloration, or mold.

By following these tips, you can enjoy your homemade Tomato & Beef Soup even days after making it!

Please follow and like us:
onpost_follow
fb-share-icon197
Tweet120
Pinterest20
Share 20
submit to reddit

Cottage Pie Baked Potato

Cottage Pie Baked Potato

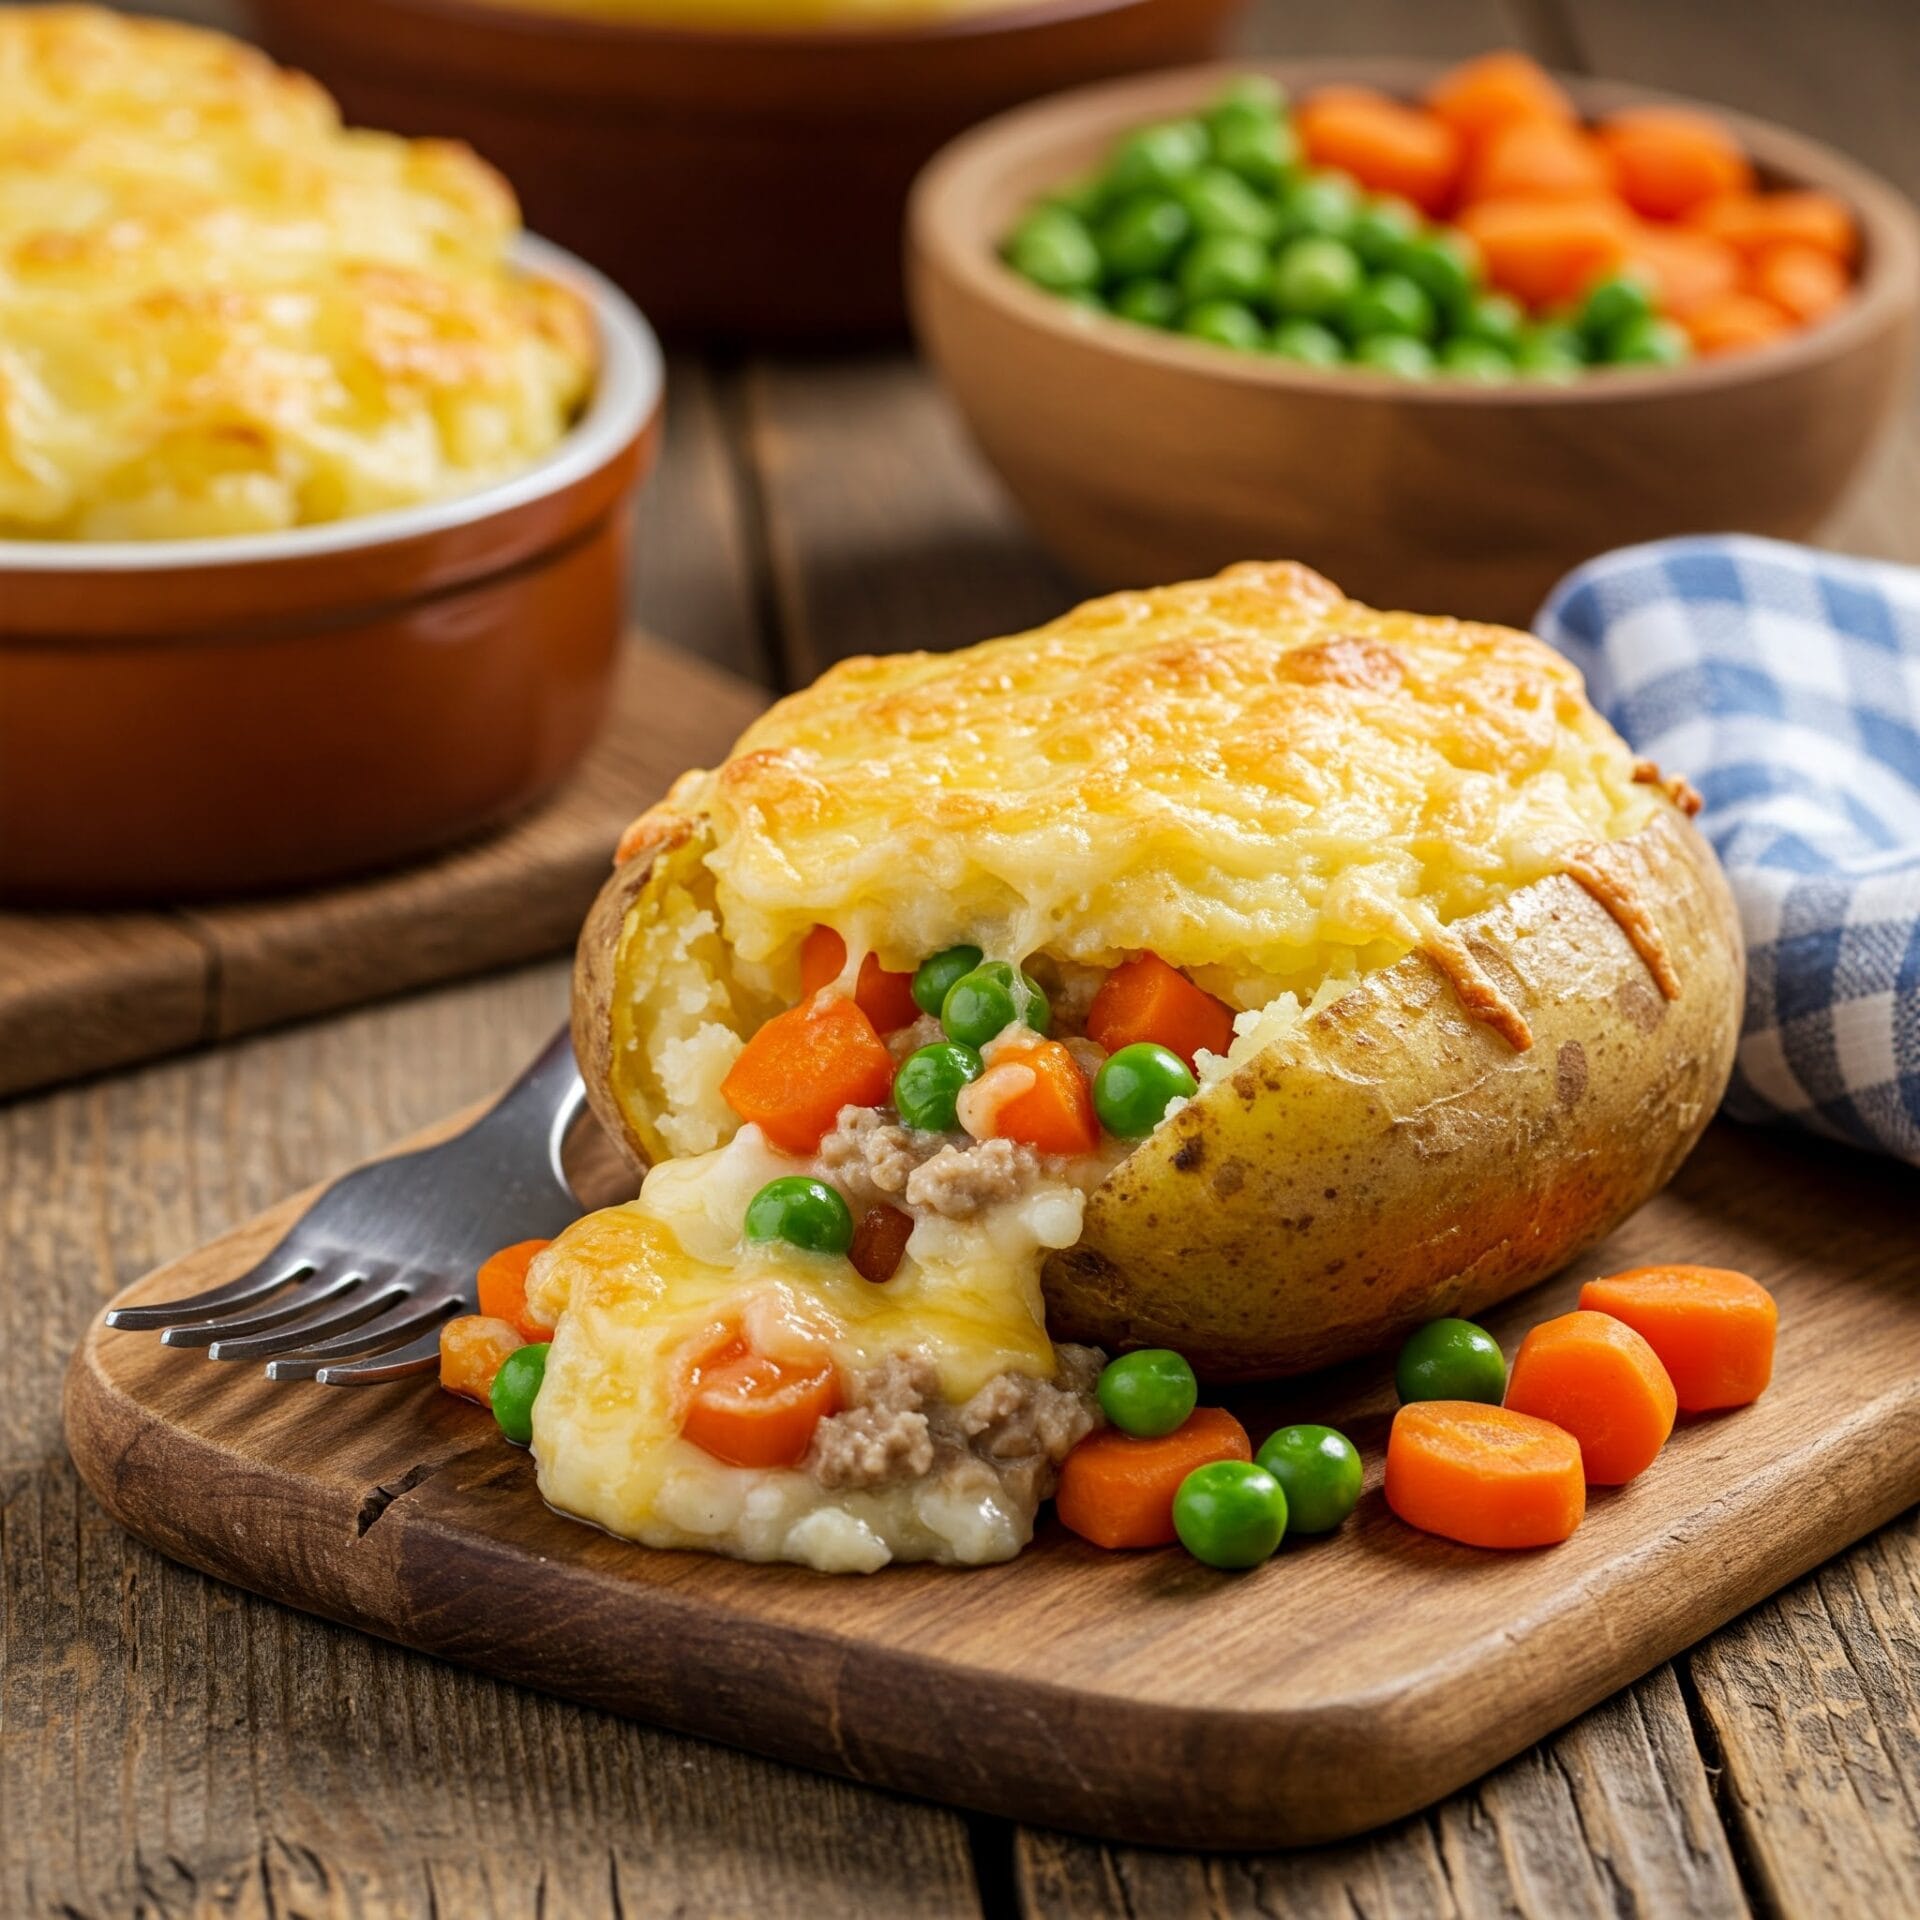
The Ultimate Comfort Food Mashup: Cottage Pie Baked Potato

Forget everything you thought you knew about cottage pie and baked potatoes! This dish takes two classic comfort foods and mashes them up into one incredible culinary creation.

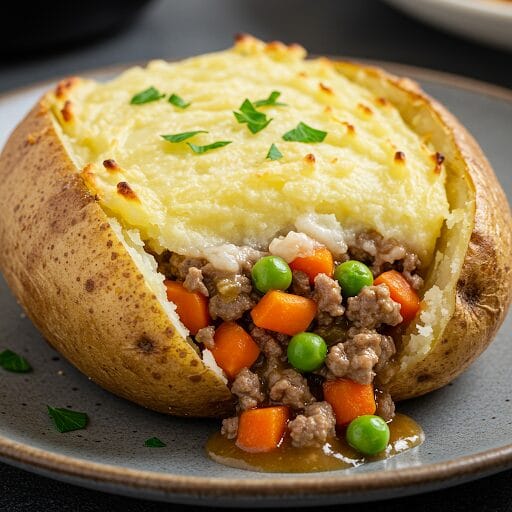
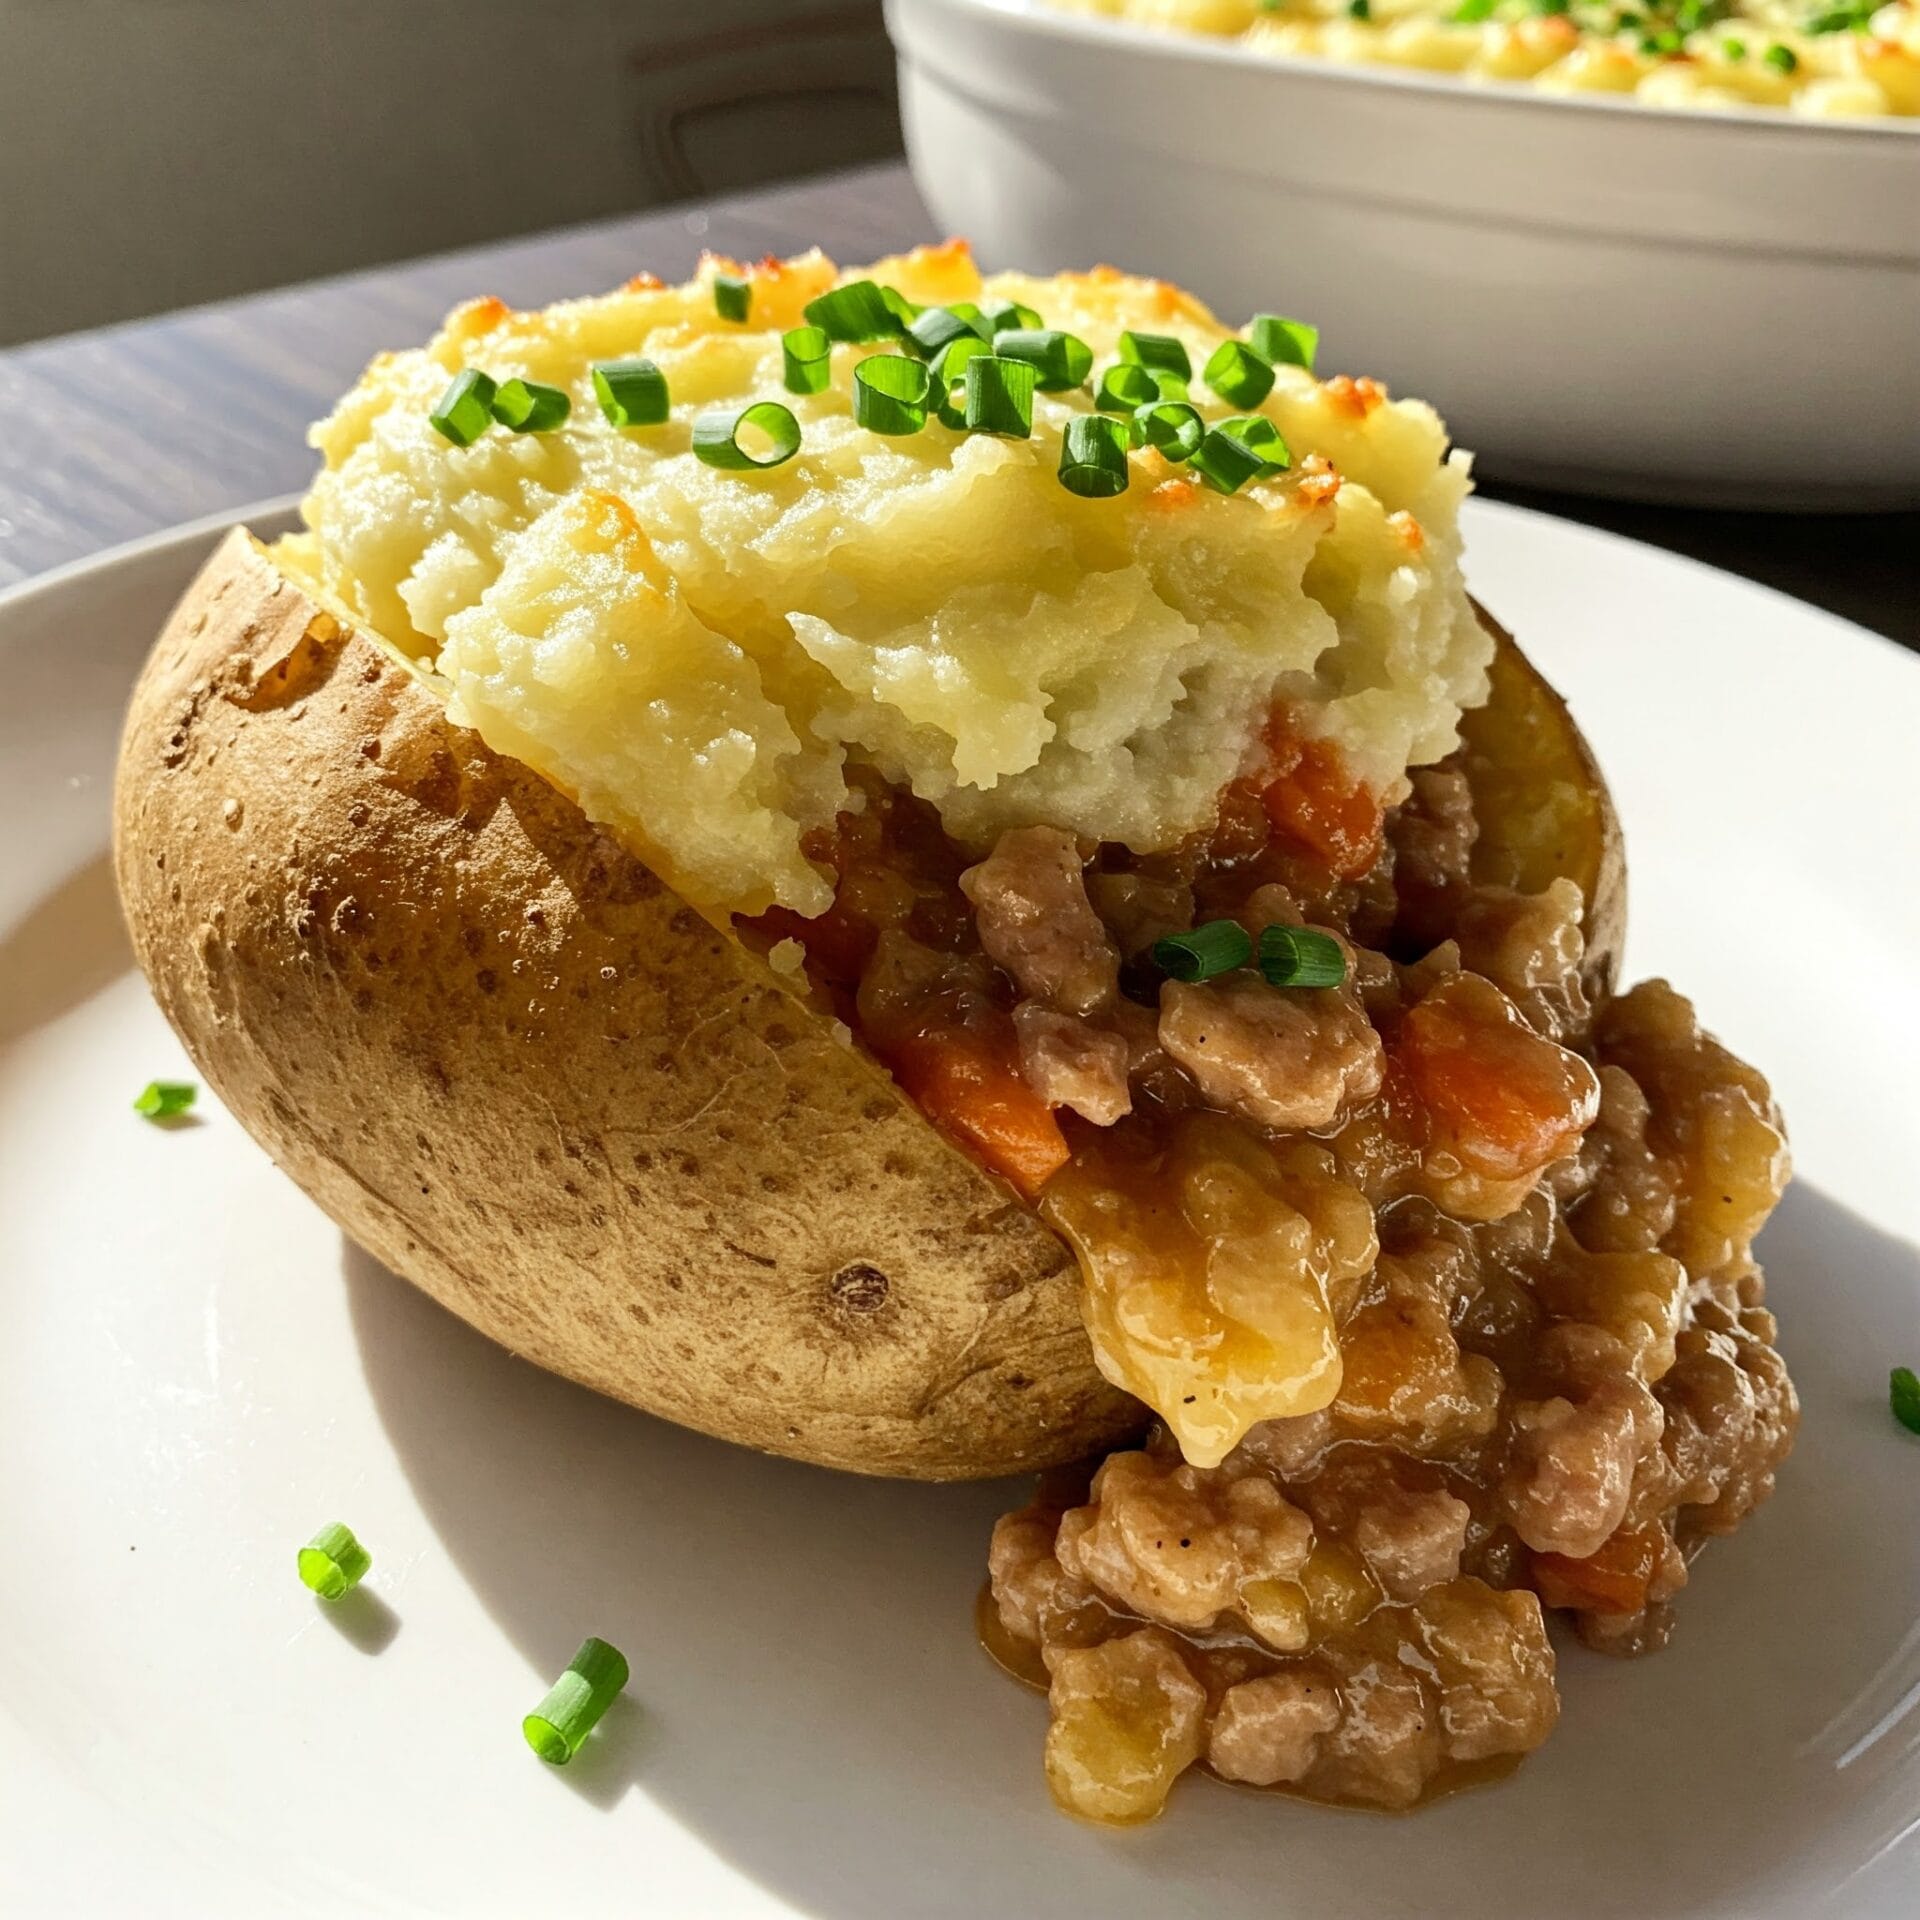
Imagine this: a fluffy baked potato, its skin crispy from the oven, becomes a vessel for a savory and satisfying cottage pie filling. Think seasoned ground beef simmered with vegetables in a rich gravy, all nestled inside that warm potato. But wait, there’s more! Melted cheese oozes over the filling, and a generous dollop of creamy mashed potato tops it all off.

This is pure comfort food bliss, perfect for a cozy night in or a fun and satisfying family meal. It’s hearty, flavorful, and oh-so-easy to make. Get ready to take your taste buds on a wild ride with the Cottage Pie Baked Potato – it’s a flavor explosion you won’t want to miss!

Cottage Pie Baked Potato

No ratings yet
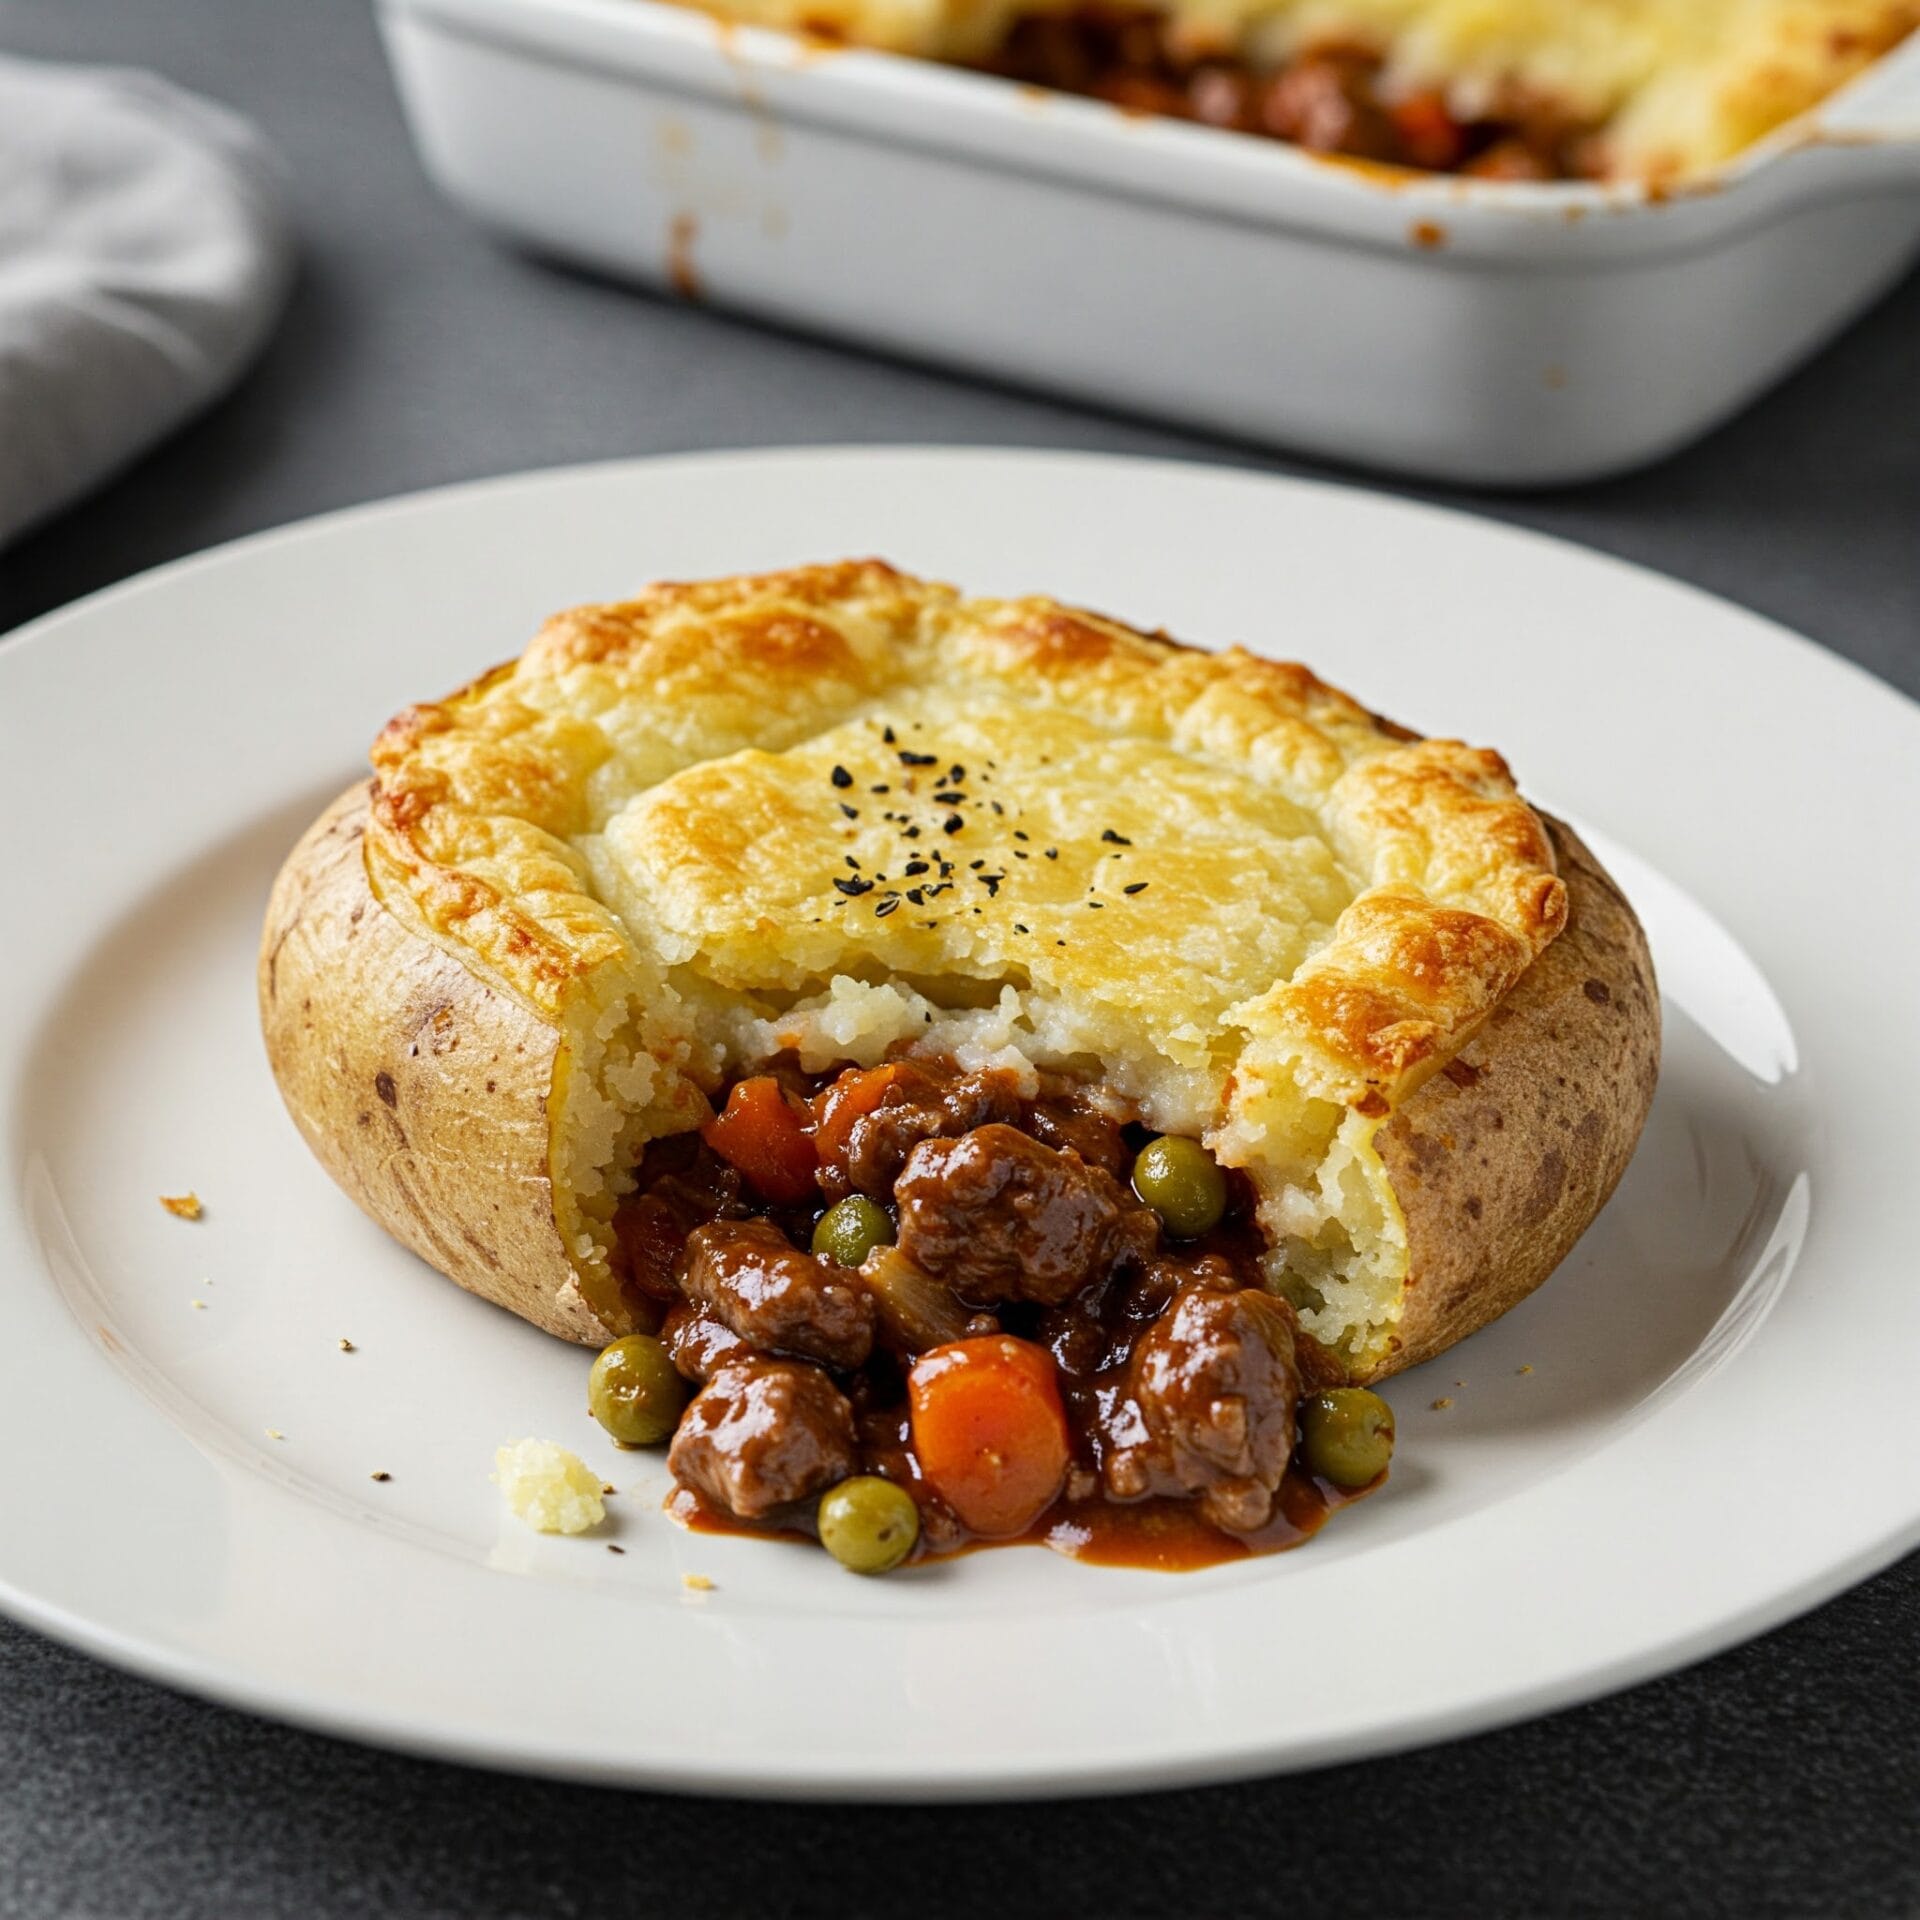
A cottage pie baked potato is a delicious twist on two classic comfort foods. It takes the savory, meaty filling of a traditional cottage pie (ground beef simmered with vegetables in a rich gravy) and uses a fluffy baked potato as the base instead of a pastry crust.
Prep Time 20 minutes
Cook Time 1 hour 45 minutes
Servings: 4 People
Course: Dinner, Main Course
Cuisine: American, British-American
Calories: 568

Ingredients
  

  • 1 lb Ground beef
  • 1 Yellow Onion Fine Dice
  • 1 cup Carrots Sliced thin
  • 2 cloves Garlic
  • 1 tsp Salt
  • ½ tsp Ground Black Pepper
  • ¼ cup All-Purpose Flour
  • 2 Tbsp Tomato paste
  • cups Beef broth Low sodium
  • 2 tsp Worcestershire sauce
  • ¼ tsp Oregano
  • ¼ tsp Thyme
  • ½ cup Peas Frozen
  • ½ cup Corn Frozen
  • 2 cups Cheddar cheese Shredded
  • 8 Russet potatoes
  • 4 Tbsp Olive oil
  • ¼ cup Milk

Equipment

1 Large skillet with high sides
1 Baking pan
1 Potato masher

Method
 

  1. First, gather all the ingredients for your cottage pie baked potatoes. Preheat your oven to 425°F (220°C). Wash your potatoes and pat them dry. Line a baking sheet with wax paper or parchment paper, then place the potatoes on the sheet. Drizzle them with olive oil, rubbing it all over, and season with salt and pepper. Bake the potatoes in the preheated oven for about 1 hour, or until they are tender when pierced with a fork.
    8 Russet potatoes, 4 Tbsp Olive oil
  2. To make the cottage pie filling, start by setting a large skillet over medium-high heat. Add the ground meat, onion, carrots, garlic, salt, and pepper to the skillet. Cook, breaking up the meat with a spoon, until it's browned and no longer pink; make sure the carrots are tender. If there's a lot of fat in the pan, carefully drain it off. Then, sprinkle the flour over the meat and vegetables. Stir well to combine and cook for 2-3 minutes. This will create a roux and help thicken the sauce for your cottage pie filling.
    1 lb Ground beef, 1 Yellow Onion, 1 cup Carrots, 2 cloves Garlic, 1 tsp Salt, ½ tsp Ground Black Pepper
  3. After adding the flour, stir in the tomato paste, beef broth, Worcestershire sauce, oregano, and thyme. Make sure everything is well combined, then bring the mixture to a boil. Once it starts boiling, reduce the heat to low and simmer for 25-30 minutes, allowing the filling to thicken nicely.
    2 Tbsp Tomato paste, 2½ cups Beef broth, 2 tsp Worcestershire sauce, ¼ tsp Oregano, ¼ tsp Thyme
  4. Once the cottage pie filling has thickened, stir in the peas and corn. Continue to simmer for another 5-8 minutes, just until the vegetables are heated through.
    ½ cup Peas, ½ cup Corn
  5. Once the filling is thickened and the vegetables are heated through, your cottage pie filling is complete. By this time, your potatoes should also be baked and ready. To fill the potatoes, carefully cut a small opening in the top of each potato. Scoop out the inside flesh, leaving about a ¼-inch thick shell. Save the scooped-out potato for later use, perhaps to mash and add to the filling or to make a potato side dish.
  6. Take the fluffy potato centers you scooped out and place them in a bowl. Add a splash of whole milk – just enough to help with the mashing. Now, using a fork or a potato masher, mash the potatoes until you have a chunky consistency. You don't want it completely smooth; a few lumps are perfectly fine!
    ¼ cup Milk
  7. To assemble your cottage pie baked potatoes, start by sprinkling the bottom of each potato shell with shredded cheddar cheese. Next, carefully fill the shells with the savory cottage pie filling, being mindful not to overfill. Top the filling with another layer of shredded cheddar cheese. Finally, dollop the mashed potato mixture over the cheese, covering the filling completely. For an extra cheesy touch, sprinkle a little more cheddar cheese over the mashed potatoes.
    2 cups Cheddar cheese
  8. Once the potatoes are filled and topped with cheese and mashed potato, place the baking sheet back in the oven for about 15 minutes. This will allow the cheese to melt completely and the mashed potato topping to brown slightly. Serve your cottage pie baked potatoes hot. They can be enjoyed on their own or with a simple side salad for a complete and satisfying meal.

Nutrition

Serving: 12ozCalories: 568kcalCarbohydrates: 54gProtein: 24gFat: 29gSaturated Fat: 11gPolyunsaturated Fat: 2gMonounsaturated Fat: 12gTrans Fat: 1gCholesterol: 70mgSodium: 877mgPotassium: 1292mgFiber: 5gSugar: 4gVitamin A: 3166IUVitamin C: 19mgCalcium: 282mgIron: 4mg

Notes

Potato Perfection:
  • Choose the right potato: Russet potatoes are ideal for baking because of their fluffy interior and sturdy skin.
  • Even baking: Choose potatoes that are roughly the same size so they cook evenly.
  • Prick before baking: Prick the potatoes with a fork before baking to allow steam to escape and prevent them from bursting.
  • Don't overbake: Overbaked potatoes will be dry and crumbly. Bake until tender when pierced with a fork.
Flavorful Filling:
  • Quality ingredients: Use good quality ground beef, fresh vegetables, and flavorful broth for the best results.
  • Don't overcrowd the pan: Brown the meat in batches to ensure it browns properly and doesn't steam.
  • Build the flavor: Sauté the onions and carrots until softened to develop their sweetness.
  • Season generously: Don't be shy with the salt and pepper, and feel free to add other herbs and spices to your liking.
Assembly and Baking:
  • Don't overfill: Leave some space at the top of the potato for the mashed topping.
  • Cheese variations: Experiment with different types of cheese, such as Gruyère, cheddar, or even a sprinkle of Parmesan.
  • Broil for extra crispness: For a crispy mashed potato topping, broil the potatoes for the last few minutes of baking.
  • Garnish: Add a sprinkle of fresh herbs, like parsley or chives, before serving for a pop of color and flavor.
Make it your own:
  • Spice it up: Add a pinch of red pepper flakes or a dash of hot sauce to the filling for some heat.
  • Veggie boost: Include other vegetables in the filling, such as diced celery, mushrooms, or leeks.
  • Make it a meal: Serve with a side salad or your favorite vegetables for a complete and balanced meal.
Enjoy experimenting and creating your own perfect cottage pie baked potato!

Tried this recipe?

Let us know how it was!

Related Recipes

Ingredients

For the Baked Potatoes:

  • 8 Russet potatoes
  • 4 Tbsp olive oil

For the Cottage Pie Filling:

  • 1 lb ground beef
  • 1 yellow onion, finely diced
  • 1 cup carrots, sliced thin
  • 2 cloves garlic, minced
  • 1 tsp salt
  • ½ tsp ground pepper
  • ¼ cup all-purpose flour
  • 2 Tbsp tomato paste
  • 2 ½ cups low sodium beef broth
  • 2 tsp Worcestershire sauce
  • ¼ tsp dried oregano
  • ¼ tsp dried thyme
  • ½ cup frozen peas
  • ½ cup frozen corn

For the Toppings:

  • 2 cups shredded cheddar cheese
  • ¼ cup milk

Image Gallery Cottage Pie Baked Potato

Storage & Leftovers

Storing Leftovers:

  • Cool it down: Before storing, allow the cottage pie baked potatoes to cool completely at room temperature. This prevents condensation from forming and making them soggy.
  • Separate components: If possible, store the potato shells, filling, and mashed potato topping separately. This helps maintain their textures and prevents the filling from making the potatoes soggy.
  • Airtight containers: Store leftovers in airtight containers to keep them fresh and prevent them from absorbing odors from other foods in your fridge.  
  • Refrigerate promptly: Store leftovers in the refrigerator within 2 hours of cooking.  

Reheating:

  • Oven for best results: Reheat individual potatoes in a preheated oven at 350°F (175°C) for about 15-20 minutes, or until heated through. This helps maintain their texture and crispness.
  • Microwave in a pinch: You can also reheat them in the microwave, but be aware that the potato skin may become slightly soft.
  • Add moisture: If reheating the filling separately, add a splash of broth or water to prevent it from drying out.

Freezing:

  • Fully cooked: Ensure the potatoes are fully cooked before freezing.
  • Wrap tightly: Wrap individual potatoes tightly in plastic wrap, then in aluminum foil or freezer bags. This helps prevent freezer burn.
  • Freeze for up to 3 months: For best quality, freeze cottage pie baked potatoes for up to 3 months.

Tips for using leftover filling:

  • Shepherd’s pie: Use leftover filling to make a traditional shepherd’s pie with a mashed potato topping.
  • Pasties: Fill pastry dough with leftover filling to make savory hand pies. 
  • Stuffed vegetables: Use the filling to stuff bell peppers, zucchini boats, or mushrooms.
  • Nachos: Top tortilla chips with leftover filling, cheese, and your favorite nacho toppings.

By following these tips, you can ensure that your cottage pie baked potatoes are just as delicious the second time around!

Please follow and like us:
onpost_follow
fb-share-icon197
Tweet120
Pinterest20
Share 20
submit to reddit