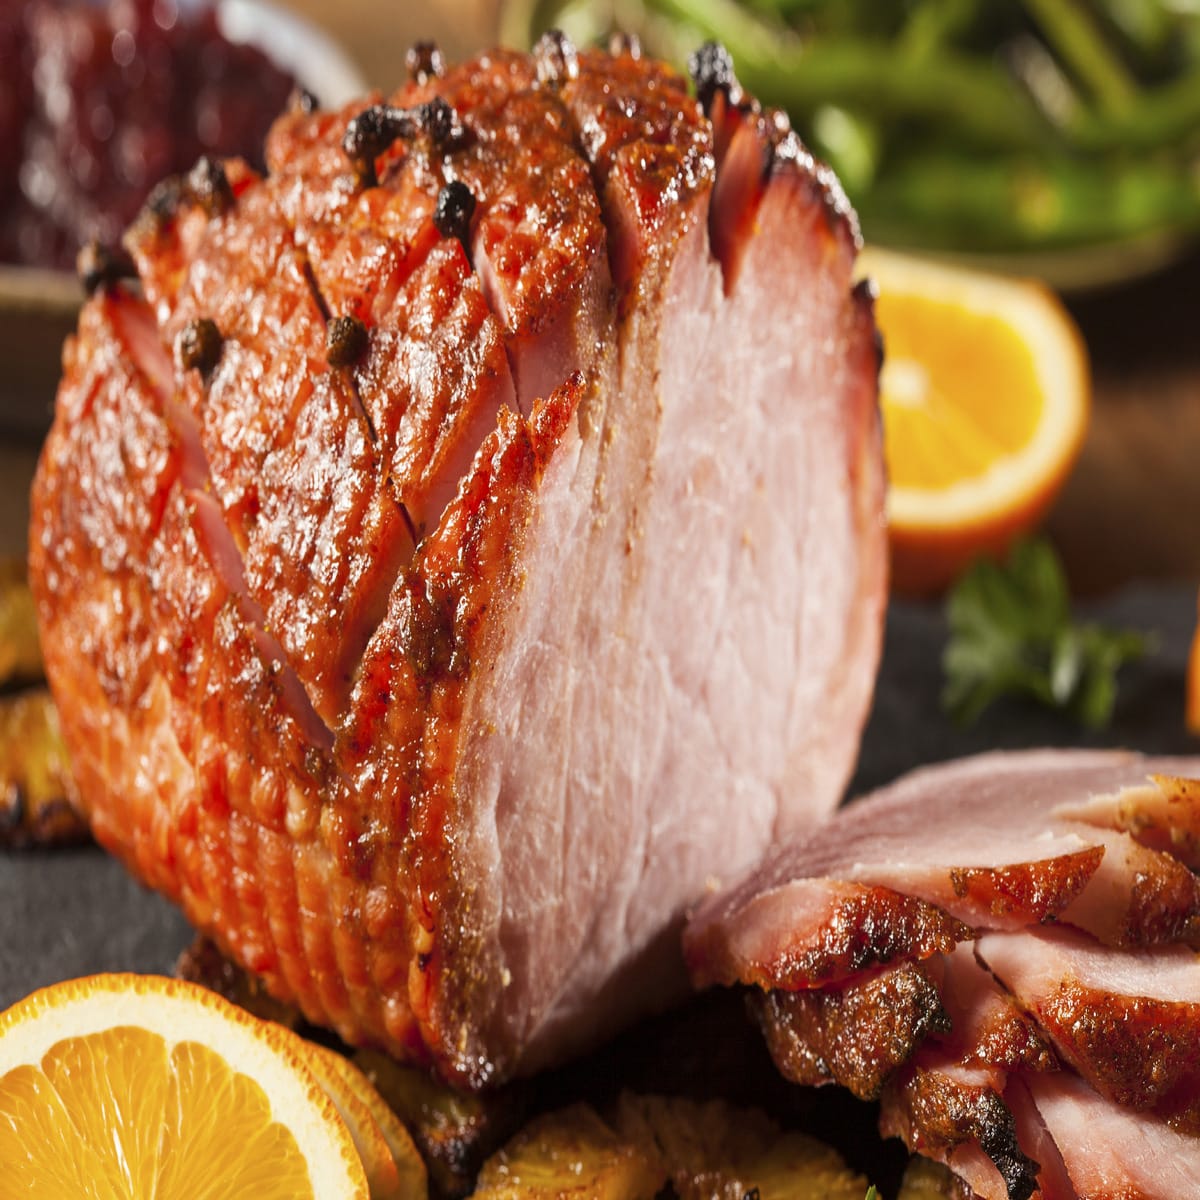
Herb Roast Lamb with Potatoes

Dinner · Meat & Poultry Mains

Herb Roast Lamb with Potatoes

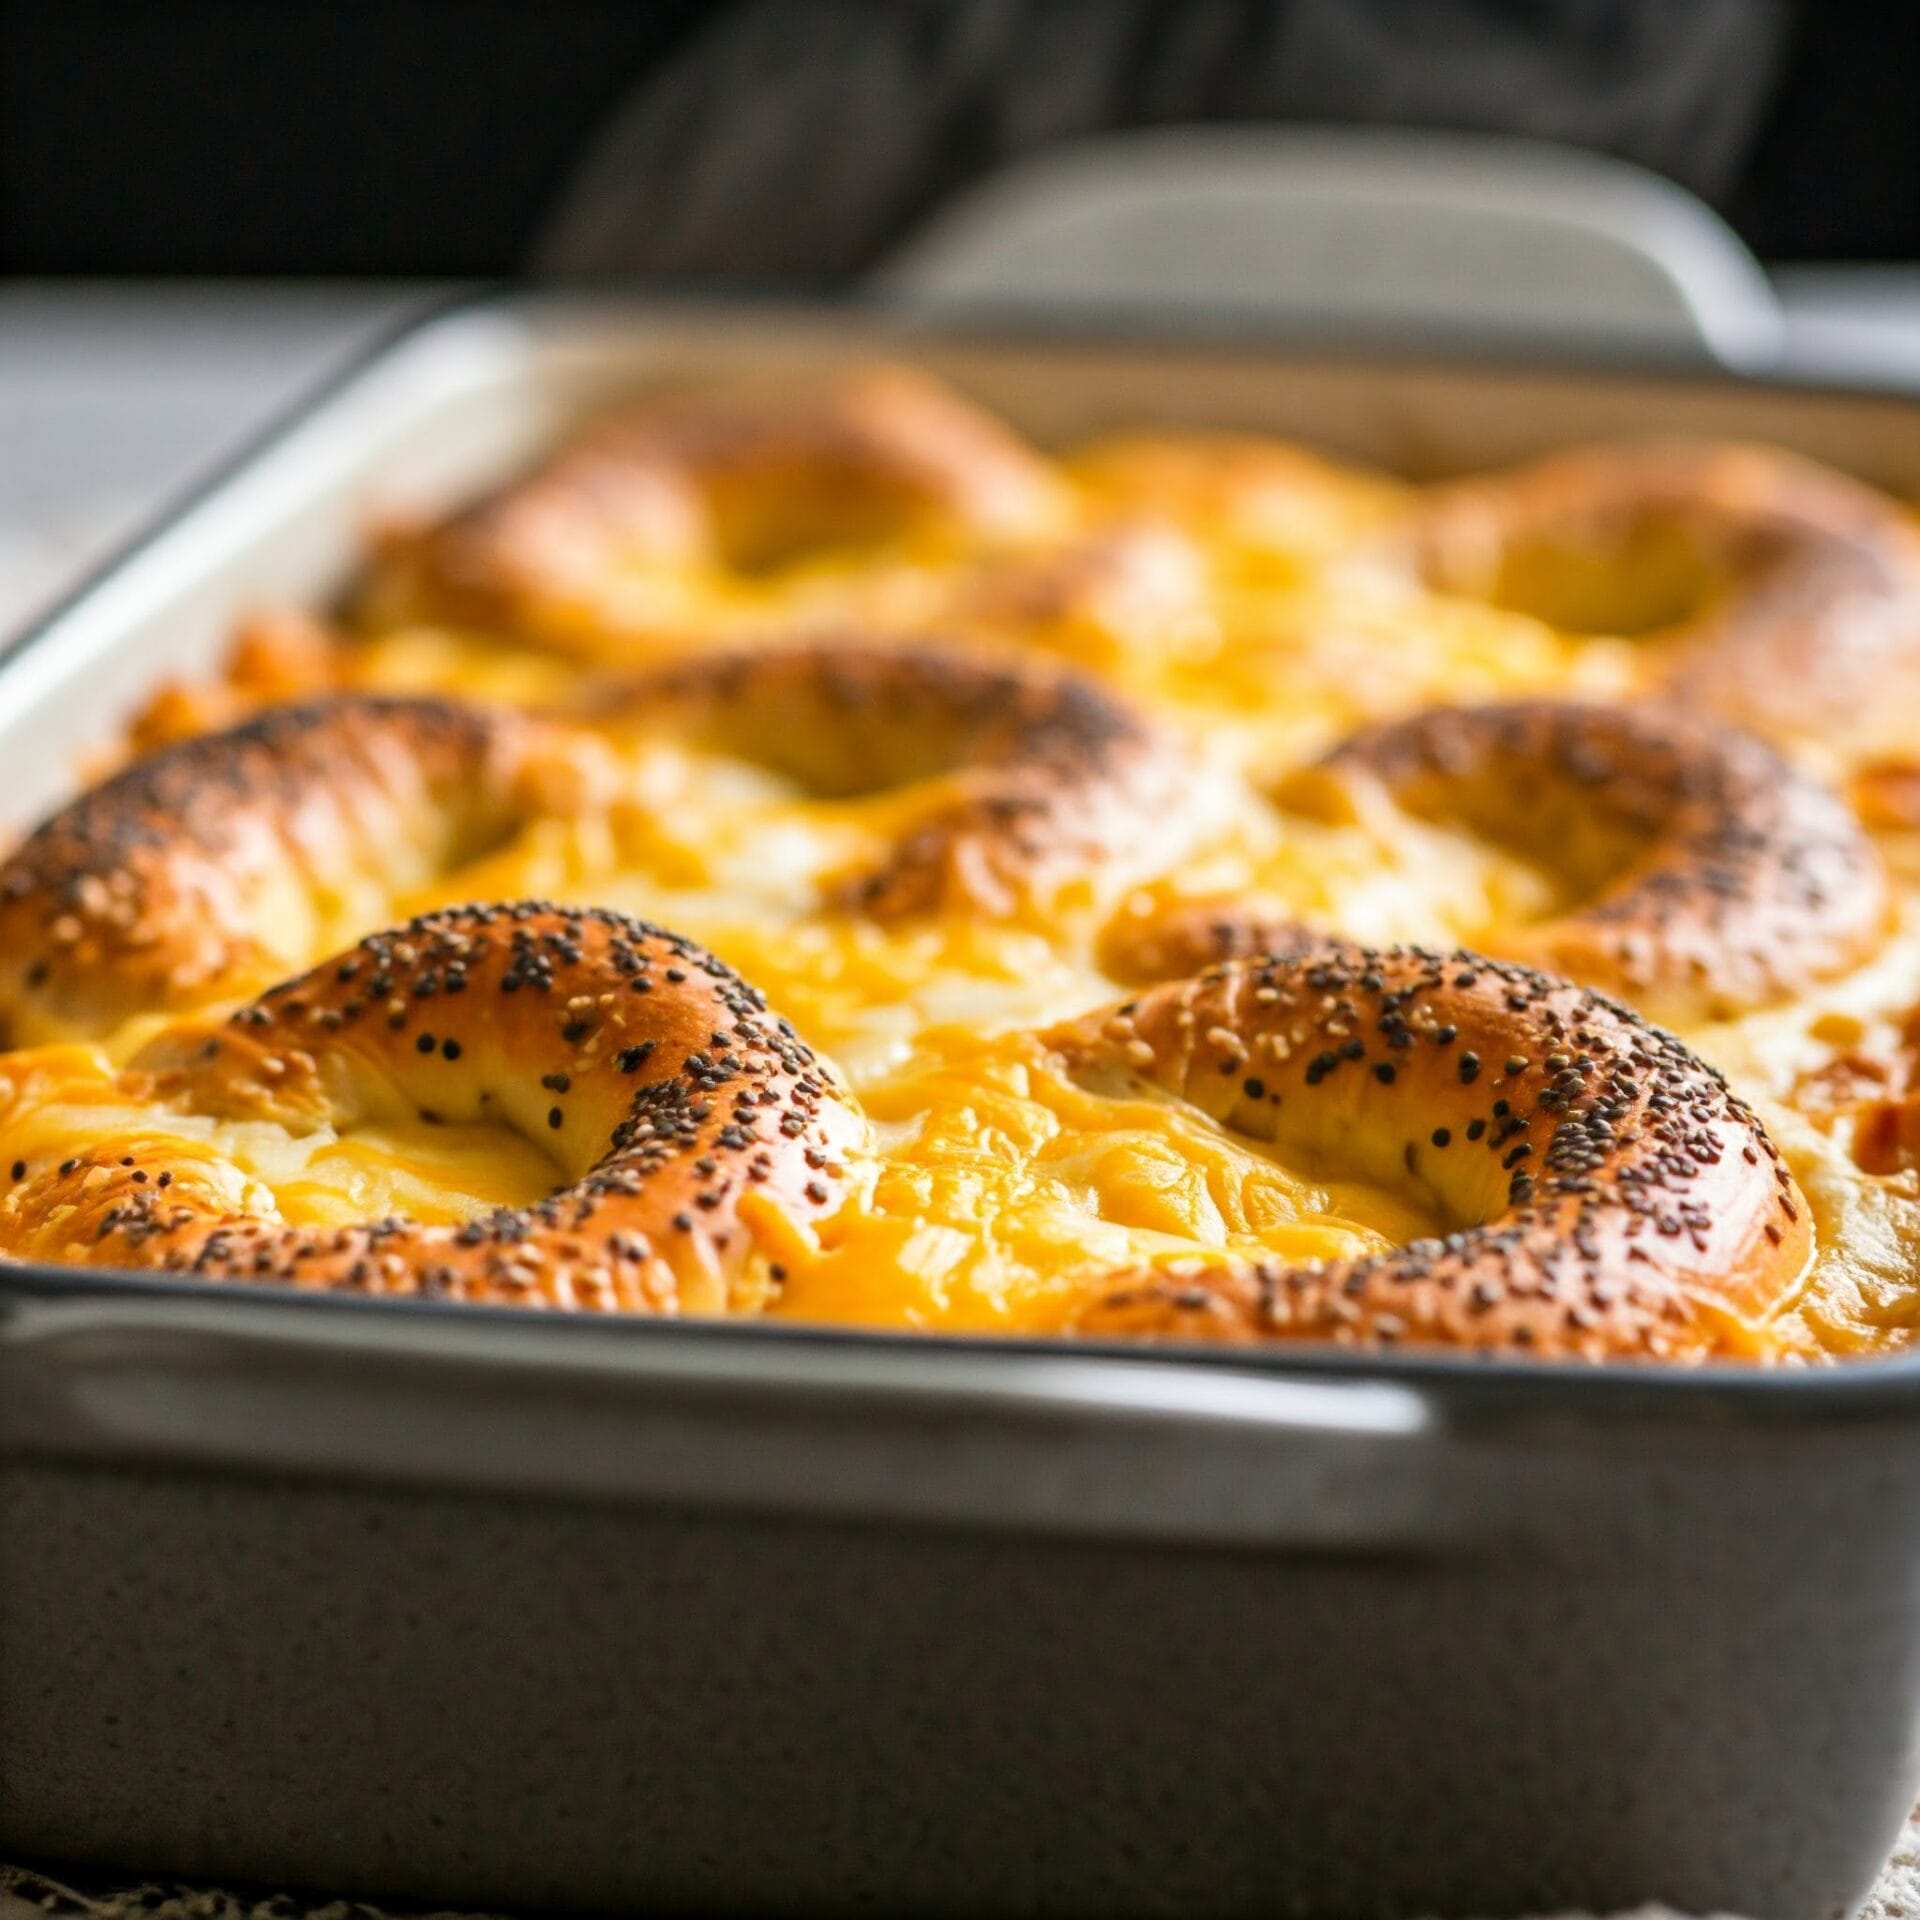
Garlic, fresh rosemary, and thyme season a tied boneless shoulder roast. Baby potatoes cook underneath, ready to serve with the rested and sliced lamb.
Prep
15 minutes
Cook
1 hour
Resting
15 minutes
Total
1 hour 30 minutes
Serves
6 people

Bring it to the table

About this recipe.

A tied boneless lamb shoulder roast with garlic, fresh rosemary, thyme, and potatoes.

Herb Roast Lamb with Potatoes

Before you start

Gather your ingredients.

Check your pantry before you begin. Full quantities and serving adjustments are in the recipe card below.

See the ingredient checklist
  • 2 lbs Lamb shoulder roast (boneless, tied with butcher’s twine)
  • 4 cloves Garlic (minced)
  • 1 Tbsp Rosemary (freshly chopped)
  • 2 tsp Thyme (fresh leaves)
  • 3 Tbsp Extra Virgin Olive Oil (divided)
  • Kosher Salt (to taste)
  • Ground Black Pepper (to taste)
  • 2 lbs Baby Potatoes (halved if large)

Jump to Recipe

Choose the specified cut

This method is for a two-pound boneless shoulder roast tied into an even shape. Use a thermometer for doneness, then rest before slicing. It produces a carved roast rather than pull-apart braised lamb.

Adapted from Laura Rege at Delish.

Explore more recipes

The cooking plan

How to make Herb Roast Lamb with Potatoes.

  1. Heat the oven to 450°F (230°C), with a rack in the lower third. Use the listed 2-pound boneless shoulder roast, tied into an even shape with kitchen twine. Pat the surface dry. Mix garlic, rosemary, fresh thyme, and 1 tablespoon of the olive oil, with salt and pepper to taste. Rub over the lamb.

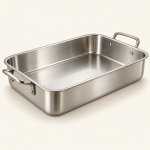
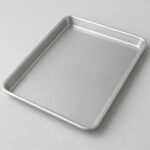
  2. Toss the potatoes with the remaining 2 tablespoons olive oil and salt and pepper to taste in a 9-by-13-inch metal roasting pan. Halve larger potatoes so the pieces are similar in size. Set the lamb on top.

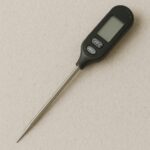
  3. Roast for about 1 hour, checking early because the shape and thickness of the tied roast affect cooking time. Place a food thermometer in the center of the thickest part. Cook to at least 145°F (63°C) before removing it from the oven; do not rely on time or color alone.

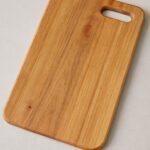
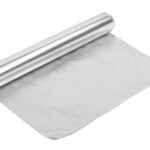
  4. Transfer the lamb to a carving board and tent loosely with foil. Rest 15 minutes before removing the twine and slicing across the grain. Check that the potatoes are tender; if needed, return them to the oven while the lamb rests. Serve with the sliced roast.

Let’s cook

The full recipe.

Check off ingredients as you get them ready.

Changing servings? The ingredient list scales automatically. Adjust quantities named in the steps to match, and choose pans and cooking times for your batch.

Herb Roast Lamb with Potatoes

No ratings yet
A tied boneless lamb shoulder roast with garlic, fresh rosemary, thyme, and potatoes.
Prep Time 15 minutes
Cook Time 1 hour
Resting 15 minutes
Total Time 1 hour 30 minutes
Servings: 6 people
Course: Main Course
Cuisine: Mediterranean

Some ingredient links are affiliate links. We may earn a commission at no extra cost to you. As an Amazon Associate I earn from qualifying purchases.

Ingredients
  

  •  
    2 lbs Lamb shoulder roast boneless, tied with butcher's twine
  • 4 cloves Garlic minced
  •  
    1 Tbsp Rosemary freshly chopped
  • 2 tsp Thyme fresh leaves
  • 3 Tbsp Extra Virgin Olive Oil divided
  • Kosher Salt to taste
  • Ground Black Pepper to taste
  •  
    2 lbs Baby Potatoes halved if large

Equipment images are illustrative. Exact products may vary.

Instructions
 

  1. Heat the oven to 450°F (230°C), with a rack in the lower third. Use the listed 2-pound boneless shoulder roast, tied into an even shape with kitchen twine. Pat the surface dry. Mix garlic, rosemary, fresh thyme, and 1 tablespoon of the olive oil, with salt and pepper to taste. Rub over the lamb.
  2. Toss the potatoes with the remaining 2 tablespoons olive oil and salt and pepper to taste in a 9-by-13-inch metal roasting pan. Halve larger potatoes so the pieces are similar in size. Set the lamb on top.
  3. Roast for about 1 hour, checking early because the shape and thickness of the tied roast affect cooking time. Place a food thermometer in the center of the thickest part. Cook to at least 145°F (63°C) before removing it from the oven; do not rely on time or color alone.
  4. Transfer the lamb to a carving board and tent loosely with foil. Rest 15 minutes before removing the twine and slicing across the grain. Check that the potatoes are tender; if needed, return them to the oven while the lamb rests. Serve with the sliced roast.

Notes

This is a sliced boneless shoulder roast, not a slow-braised, pull-apart shoulder. Use the specified cut and weight; a larger roast or another cut needs different timing. The 60-minute roasting time is an estimate; check with a thermometer. The 15-minute rest exceeds the USDA minimum 3-minute rest after lamb reaches 145°F. Original herb, oil, potato amounts and six-serving yield retained. No nutrition calculation is supplied.

Tried this recipe?

Let us know how it was!

A couple of useful answers.

How do I change the number of servings?

Use the serving controls in the recipe card. Ingredient quantities change automatically; quantities written in the instructions, pan sizes and cooking times still need your attention.

Can I print or check off the ingredients?

Choose Print recipe near the title for a printable version. On this page, check ingredients off as you prepare them, then use Reset ingredient checks to start again.

Keep the good food going

Similar Recipes

Choose your next craving. Each card includes its recipe’s total time.

Pepper Steak Stir-Fry

Dinner · Meat & Poultry Mains

Pepper Steak Stir-Fry

Thinly sliced flank steak and bell peppers cook quickly in a garlic, ginger, and soy sauce glaze. This small batch keeps the original eight ounces of beef and makes about two servings with rice.
Prep
15 minutes
Cook
10 minutes
Total
25 minutes
Serves
2 servings

Bring it to the table

About this recipe.

Thinly sliced flank steak and red and green bell peppers in a garlic, ginger, and soy sauce glaze.

Before you start

Gather your ingredients.

Check your pantry before you begin. Full quantities and serving adjustments are in the recipe card below.

See the ingredient checklist
  • 2 tbsp Olive Oil (divided)
  • 1 Red Bell Pepper (cut into 1 inch cubes or strips)
  • 1 Green Bell Pepper (cut into 1 inch cubes or strips)
  • 8 oz Flank steak (raw; thinly sliced about 1/4 inch thick against the grain)
  • 3 cloves Garlic (minced)
  • 1 tbsp Brown sugar (packed)
  • ¼ Cup Soy sauce (low sodium)
  • 1 tsp Sesame oil
  • 1 tsp Ginger (ground)
  • 1 tbsp Cornstarch

Jump to Recipe

Prepare everything first

Slice the beef thinly across the grain, cut the peppers, and mix the sauce before heating the pan. Stir the sauce again before pouring it in so the cornstarch does not stay at the bottom of the bowl.

Explore more recipes

The cooking plan

How to make Pepper Steak Stir-Fry.

  1. Whisk garlic, brown sugar, soy sauce, sesame oil, ground ginger, and cornstarch in a small bowl until the cornstarch is dispersed. Keep ready beside the stove; stir again before adding it.

  2. Heat 1 tablespoon olive oil in a large skillet or wok over medium-high heat. Add the prepared peppers and stir-fry 2–3 minutes until crisp-tender. Transfer to a plate.

  3. Add the remaining 1 tablespoon olive oil. Add the thin beef strips in a single layer, working in batches if necessary. Sear about 1–2 minutes per side, then continue cooking as needed until cooked through. Timing depends on slice thickness and pan heat.

  4. Return the peppers to the pan. Stir the sauce again and pour it in. Bring to a simmer, tossing for 1–2 minutes until thickened and coating the beef and peppers; reduce heat if it catches. Serve promptly, with cooked rice if desired.

Let’s cook

The full recipe.

Check off ingredients as you get them ready.

Changing servings? The ingredient list scales automatically. Adjust quantities named in the steps to match, and choose pans and cooking times for your batch.

Pepper Steak Stir-Fry

No ratings yet
Thinly sliced flank steak and red and green bell peppers in a garlic, ginger, and soy sauce glaze.
Prep Time 15 minutes
Cook Time 10 minutes
Total Time 25 minutes
Servings: 2 servings
Course: Main Course

Some ingredient links are affiliate links. We may earn a commission at no extra cost to you. As an Amazon Associate I earn from qualifying purchases.

Ingredients

  

  • 2 tbsp Olive Oil divided
  • 1 Red Bell Pepper cut into 1 inch cubes or strips
  • 1 Green Bell Pepper cut into 1 inch cubes or strips
  •  
    8 oz Flank steak raw; thinly sliced about 1/4 inch thick against the grain
  • 3 cloves Garlic minced
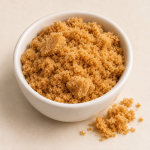
  • Moist light brown sugar in a white prep bowl1 tbsp Brown sugar packed
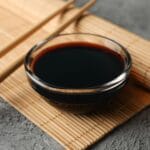
  • ¼ Cup Soy sauce low sodium
  • 1 tsp Sesame oil
  • Fresh ginger roots with a cut piece showing the yellow interior1 tsp Ginger ground
  • 1 tbsp Cornstarch

Equipment images are illustrative. Exact products may vary.

Instructions
 

  1. Whisk garlic, brown sugar, soy sauce, sesame oil, ground ginger, and cornstarch in a small bowl until the cornstarch is dispersed. Keep ready beside the stove; stir again before adding it.
  2. Heat 1 tablespoon olive oil in a large skillet or wok over medium-high heat. Add the prepared peppers and stir-fry 2–3 minutes until crisp-tender. Transfer to a plate.
  3. Add the remaining 1 tablespoon olive oil. Add the thin beef strips in a single layer, working in batches if necessary. Sear about 1–2 minutes per side, then continue cooking as needed until cooked through. Timing depends on slice thickness and pan heat.
  4. Return the peppers to the pan. Stir the sauce again and pour it in. Bring to a simmer, tossing for 1–2 minutes until thickened and coating the beef and peppers; reduce heat if it catches. Serve promptly, with cooked rice if desired.

Notes

Yield is an estimate of 2 servings with an optional rice side, based on the original 8 ounces of steak. Rice and its cooking time are not included. Preparation and cooking times are estimates. This version retains the site’s lower-sugar sauce amounts; no nutrition calculation is supplied.

Tried this recipe?

Let us know how it was!

A couple of useful answers.

How do I change the number of servings?

Use the serving controls in the recipe card. Ingredient quantities change automatically; quantities written in the instructions, pan sizes and cooking times still need your attention.

Can I print or check off the ingredients?

Choose Print recipe near the title for a printable version. On this page, check ingredients off as you prepare them, then use Reset ingredient checks to start again.

Keep the good food going

Similar Recipes

Choose your next craving. Each card includes its recipe’s total time.

Honey Mustard Glazed Ham

Dinner · Meat & Poultry Mains

Honey Mustard Glazed Ham

Honey and Dijon mustard give this bone-in ham a glossy, savory-sweet finish. Start with a fully cooked ham and use a thermometer to guide the warming time.
Prep
15 minutes
Cook
3 hours 30 minutes
Resting
20 minutes
Total
4 hours 5 minutes
Serves
20 servings, approximately

Bring it to the table

About this recipe.

A fully cooked bone-in ham warmed gently, then brushed with honey, Dijon mustard, and black pepper for a glossy finish.

Honey Mustard Glazed Ham

Before you start

Gather your ingredients.

Check your pantry before you begin. Full quantities and serving adjustments are in the recipe card below.

See the ingredient checklist
  • 12 Lb Bone in Ham (fully cooked, non-spiral, in original USDA-inspected plant packaging; thawed if frozen)
  • 1/2 tsp Whole Cloves (optional; remove before slicing)
  • 1/2 Cup Dijon Mustard
  • 1/2 cup Honey
  • 1/2 tsp Black Pepper
  • 1 cup water (for the roasting pan, plus more if needed)

The cooking plan

How to make Honey Mustard Glazed Ham.

  1. Heat the oven to 325°F. Remove all packaging and any plastic bone guard. Place the fully cooked ham cut-side down in a large roasting pan. Lightly score the outer fat in a diamond pattern without cutting deeply into the meat. Add the whole cloves if using. Pour the water into the pan and cover snugly with foil.

  2. Follow the ham package directions first. As a general guide, a whole, fully cooked 10- to 14-pound bone-in ham takes about 15 to 18 minutes per pound at 325°F. For a 12-pound ham, allow roughly 3 to 3 1/2 hours including glazing, checking the center with a thermometer away from the bone. Add water if the pan dries out.

  3. Stir the Dijon mustard, honey, and black pepper together. Reserve half in a clean bowl before brushing any onto the ham.

  4. During the last 30 to 40 minutes of heating, uncover and brush with half the glaze. Bake for 15 to 20 minutes, brush with the reserved glaze, and continue until glossy and lightly caramelized. Tent with foil if the sugars brown too quickly. A fully cooked ham in original USDA-inspected plant packaging should reach 140°F; repackaged cooked ham and leftovers require 165°F.

  5. Rest for 15 to 20 minutes. Remove all whole cloves, then carve around the bone and slice across the grain. Refrigerate leftovers promptly in shallow containers.

Let’s cook

The full recipe.

Check off ingredients as you get them ready.

Changing servings? The ingredient list scales automatically. Adjust quantities named in the steps to match, and choose pans and cooking times for your batch.

Honey Mustard Glazed Ham

No ratings yet
A fully cooked bone-in ham warmed gently, then brushed with honey, Dijon mustard, and black pepper for a glossy finish.
Prep Time 15 minutes
Cook Time 3 hours 30 minutes
Resting 20 minutes
Total Time 4 hours 5 minutes
Servings: 20 servings, approximately
Course: Dinner, Main Course
Cuisine: American

Some ingredient links are affiliate links. We may earn a commission at no extra cost to you. As an Amazon Associate I earn from qualifying purchases.

Ingredients
  

  •  
    12 Lb Bone in Ham fully cooked, non-spiral, in original USDA-inspected plant packaging; thawed if frozen
  •  
    ½ tsp Whole Cloves optional; remove before slicing
  • ½ Cup Dijon Mustard
  • Golden honey in a glass bowl with a wooden honey dipper½ cup Honey
  • ½ tsp Black Pepper
  • 1 cup water for the roasting pan, plus more if needed

Equipment images are illustrative. Exact products may vary.

Instructions
 

  1. Heat the oven to 325°F. Remove all packaging and any plastic bone guard. Place the fully cooked ham cut-side down in a large roasting pan. Lightly score the outer fat in a diamond pattern without cutting deeply into the meat. Add the whole cloves if using. Pour the water into the pan and cover snugly with foil.
  2. Follow the ham package directions first. As a general guide, a whole, fully cooked 10- to 14-pound bone-in ham takes about 15 to 18 minutes per pound at 325°F. For a 12-pound ham, allow roughly 3 to 3 1/2 hours including glazing, checking the center with a thermometer away from the bone. Add water if the pan dries out.
  3. Stir the Dijon mustard, honey, and black pepper together. Reserve half in a clean bowl before brushing any onto the ham.
  4. During the last 30 to 40 minutes of heating, uncover and brush with half the glaze. Bake for 15 to 20 minutes, brush with the reserved glaze, and continue until glossy and lightly caramelized. Tent with foil if the sugars brown too quickly. A fully cooked ham in original USDA-inspected plant packaging should reach 140°F; repackaged cooked ham and leftovers require 165°F.
  5. Rest for 15 to 20 minutes. Remove all whole cloves, then carve around the bone and slice across the grain. Refrigerate leftovers promptly in shallow containers.

Notes

This recipe is for a fully cooked, non-spiral bone-in ham. Fresh or cook-before-eating ham requires a different method. Use the package instructions and a thermometer rather than the estimated time alone.
Timing and reheating temperatures follow the FoodSafety.gov ham roasting chart. Yield varies with bone size and serving portions.

Tried this recipe?

Let us know how it was!

A couple of useful answers.

How do I change the number of servings?

Use the serving controls in the recipe card. Ingredient quantities change automatically; quantities written in the instructions, pan sizes and cooking times still need your attention.

Can I print or check off the ingredients?

Choose Print recipe near the title for a printable version. On this page, check ingredients off as you prepare them, then use Reset ingredient checks to start again.

Keep the good food going

Similar Recipes

Choose your next craving. Each card includes its recipe’s total time.

Classic New York-Style Cheesecake

Desserts

Classic New York-Style Cheesecake

A graham cracker base, creamy vanilla filling, and a hint of lemon make a classic cheesecake for sharing. Give it a long chill before slicing.
Prep
30 minutes
Cook
1 hour 55 minutes
Cooling and chilling
8 hours 45 minutes
Total
11 hours 10 minutes
Serves
10 slices

Bring it to the table

About this recipe.

A dense, creamy vanilla cheesecake with a graham cracker base and a little lemon. Bake gently in a water bath, then chill overnight for clean slices.

Before you start

Gather your ingredients.

Check your pantry before you begin. Full quantities and serving adjustments are in the recipe card below.

See the ingredient checklist

FOR THE CRUST

  • 1 1/2 cups Graham cracker crumbs (measure the crumbs; cracker sizes vary)
  • 5 tbsp Butter (unsalted; melted)
  • 2 tbsp Sugar
  • 1/8 tsp Salt

FOR THE FILLING

  • 32 oz Cream cheese (4, 8-oz blocks; at room temperature)
  • 2 cups Sugar
  • 3 tbsp All-Purpose Flour (all-purpose)
  • 4 tsp Vanilla Extract
  • 1 tsp Lemon zest (from one lemon)
  • 2 tsp Lemon juice (fresh; from one lemon)
  • 1/4 tsp Salt
  • 6 large eggs
  • 1/2 cup Sour cream
  • Berry sauce for serving (optional)

The cooking plan

How to make Classic New York-Style Cheesecake.

  1. Heat the oven to 375°F with a rack in the lower-middle position. Lightly grease a 9-inch springform pan at least 3 inches deep. Wrap the outside base and sides in two wide sheets of heavy-duty foil, keeping any seams above the water line.

  2. Mix the graham crumbs, melted butter, crust sugar, and crust salt until evenly damp. Press firmly into the pan base and bake for 10 minutes. Set aside and lower the oven to 325°F. Heat water for the water bath.

  3. Beat the softened cream cheese, filling sugar, and flour until smooth, scraping the bowl. Mix in the vanilla, lemon zest, lemon juice, and filling salt on low speed. Add the eggs one at a time, mixing only until incorporated, then blend in the sour cream. Avoid whipping extra air into the batter.

  4. Pour the filling over the crust. Put the wrapped pan in a roasting pan and set on the oven rack. Carefully add boiling water to the roasting pan until it reaches about 1 inch up the outside of the springform pan.

  5. Bake at 325°F for 90 to 105 minutes, until the edges are set and the center gives a small, gentle wobble when nudged; it should not look liquid. Tent loosely with foil if the top browns too much before the filling sets.

  6. Carefully move the roasting pan to a heatproof rack and let the cheesecake cool in the water bath for about 45 minutes. Lift out the springform pan, discard the foil, and dry the outside. Loosen the cake edge with a thin knife if it sticks. Cover and refrigerate for at least 8 hours, preferably overnight.

  7. Remove the springform rim once the cake is fully chilled. Slice with a sharp knife, wiping the blade between cuts. Serve plain or with the optional berry sauce.

Let’s cook

The full recipe.

Check off ingredients as you get them ready.

Changing servings? The ingredient list scales automatically. Adjust quantities named in the steps to match, and choose pans and cooking times for your batch.

Classic New York-Style Cheesecake

No ratings yet
A dense, creamy vanilla cheesecake with a graham cracker base and a little lemon. Bake gently in a water bath, then chill overnight for clean slices.
Prep Time 30 minutes
Cook Time 1 hour 55 minutes
Cooling and chilling 8 hours 45 minutes
Total Time 11 hours 10 minutes
Servings: 10 slices
Course: Dessert
Cuisine: American

Some ingredient links are affiliate links. We may earn a commission at no extra cost to you. As an Amazon Associate I earn from qualifying purchases.

Ingredients
  

FOR THE CRUST
  •  
    1 ½ cups Graham cracker crumbs measure the crumbs; cracker sizes vary
  • 5 tbsp Butter unsalted; melted
  • 2 tbsp Sugar
  • ⅛ tsp Salt
FOR THE FILLING
  • A block of soft white cream cheese with a creamy smear on a plate32 oz Cream cheese 4, 8-oz blocks; at room temperature
  • 2 cups Sugar
  • 3 tbsp All-Purpose Flour all-purpose
  • 4 tsp Vanilla Extract
  • Finely grated yellow lemon zest beside a partly zested lemon1 tsp Lemon zest from one lemon
  • 2 tsp Lemon juice fresh; from one lemon
  • ¼ tsp Salt
  • 6 large eggs
  • ½ cup Sour cream
  •  
    Berry sauce for serving optional

Equipment

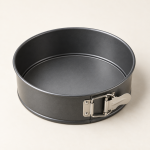
Illustration of a round springform cake pan with a metal latch
1 Springform pan (9-inch, at least 3 inches deep)

Equipment images are illustrative. Exact products may vary.

Instructions
 

  1. Heat the oven to 375°F with a rack in the lower-middle position. Lightly grease a 9-inch springform pan at least 3 inches deep. Wrap the outside base and sides in two wide sheets of heavy-duty foil, keeping any seams above the water line.
  2. Mix the graham crumbs, melted butter, crust sugar, and crust salt until evenly damp. Press firmly into the pan base and bake for 10 minutes. Set aside and lower the oven to 325°F. Heat water for the water bath.
  3. Beat the softened cream cheese, filling sugar, and flour until smooth, scraping the bowl. Mix in the vanilla, lemon zest, lemon juice, and filling salt on low speed. Add the eggs one at a time, mixing only until incorporated, then blend in the sour cream. Avoid whipping extra air into the batter.
  4. Pour the filling over the crust. Put the wrapped pan in a roasting pan and set on the oven rack. Carefully add boiling water to the roasting pan until it reaches about 1 inch up the outside of the springform pan.
  5. Bake at 325°F for 90 to 105 minutes, until the edges are set and the center gives a small, gentle wobble when nudged; it should not look liquid. Tent loosely with foil if the top browns too much before the filling sets.
  6. Carefully move the roasting pan to a heatproof rack and let the cheesecake cool in the water bath for about 45 minutes. Lift out the springform pan, discard the foil, and dry the outside. Loosen the cake edge with a thin knife if it sticks. Cover and refrigerate for at least 8 hours, preferably overnight.
  7. Remove the springform rim once the cake is fully chilled. Slice with a sharp knife, wiping the blade between cuts. Serve plain or with the optional berry sauce.

Notes

Use full-fat block cream cheese softened enough to mix smoothly. Measure graham cracker crumbs by volume rather than counting crackers. The total time includes 45 minutes of cooling and at least 8 hours in the refrigerator.
Make up to 2 days ahead and keep covered in the refrigerator. To freeze, wrap the cold cake tightly and freeze for up to 3 months; thaw overnight in the refrigerator.
Adapted from Jennifer Segal at Once Upon a Chef, with rewritten directions and a specified pan size.

Tried this recipe?

Let us know how it was!

A couple of useful answers.

How do I change the number of servings?

Use the serving controls in the recipe card. Ingredient quantities change automatically; quantities written in the instructions, pan sizes and cooking times still need your attention.

Can I print or check off the ingredients?

Choose Print recipe near the title for a printable version. On this page, check ingredients off as you prepare them, then use Reset ingredient checks to start again.

Keep the good food going

Similar Recipes

Choose your next craving. Each card includes its recipe’s total time.

Pressure Cooker Corned Beef and Cabbage

Dinner · Meat & Poultry Mains

Pressure Cooker Corned Beef and Cabbage

An electric pressure cooker turns corned beef brisket into a hearty dinner, with vegetables cooked afterward and a honey-mustard glaze added under the broiler.
Prep
20 minutes
Cook
1 hour 40 minutes
Pressurizing, release, and resting
45 minutes
Total
2 hours 45 minutes
Serves
6 servings

Bring it to the table

About this recipe.

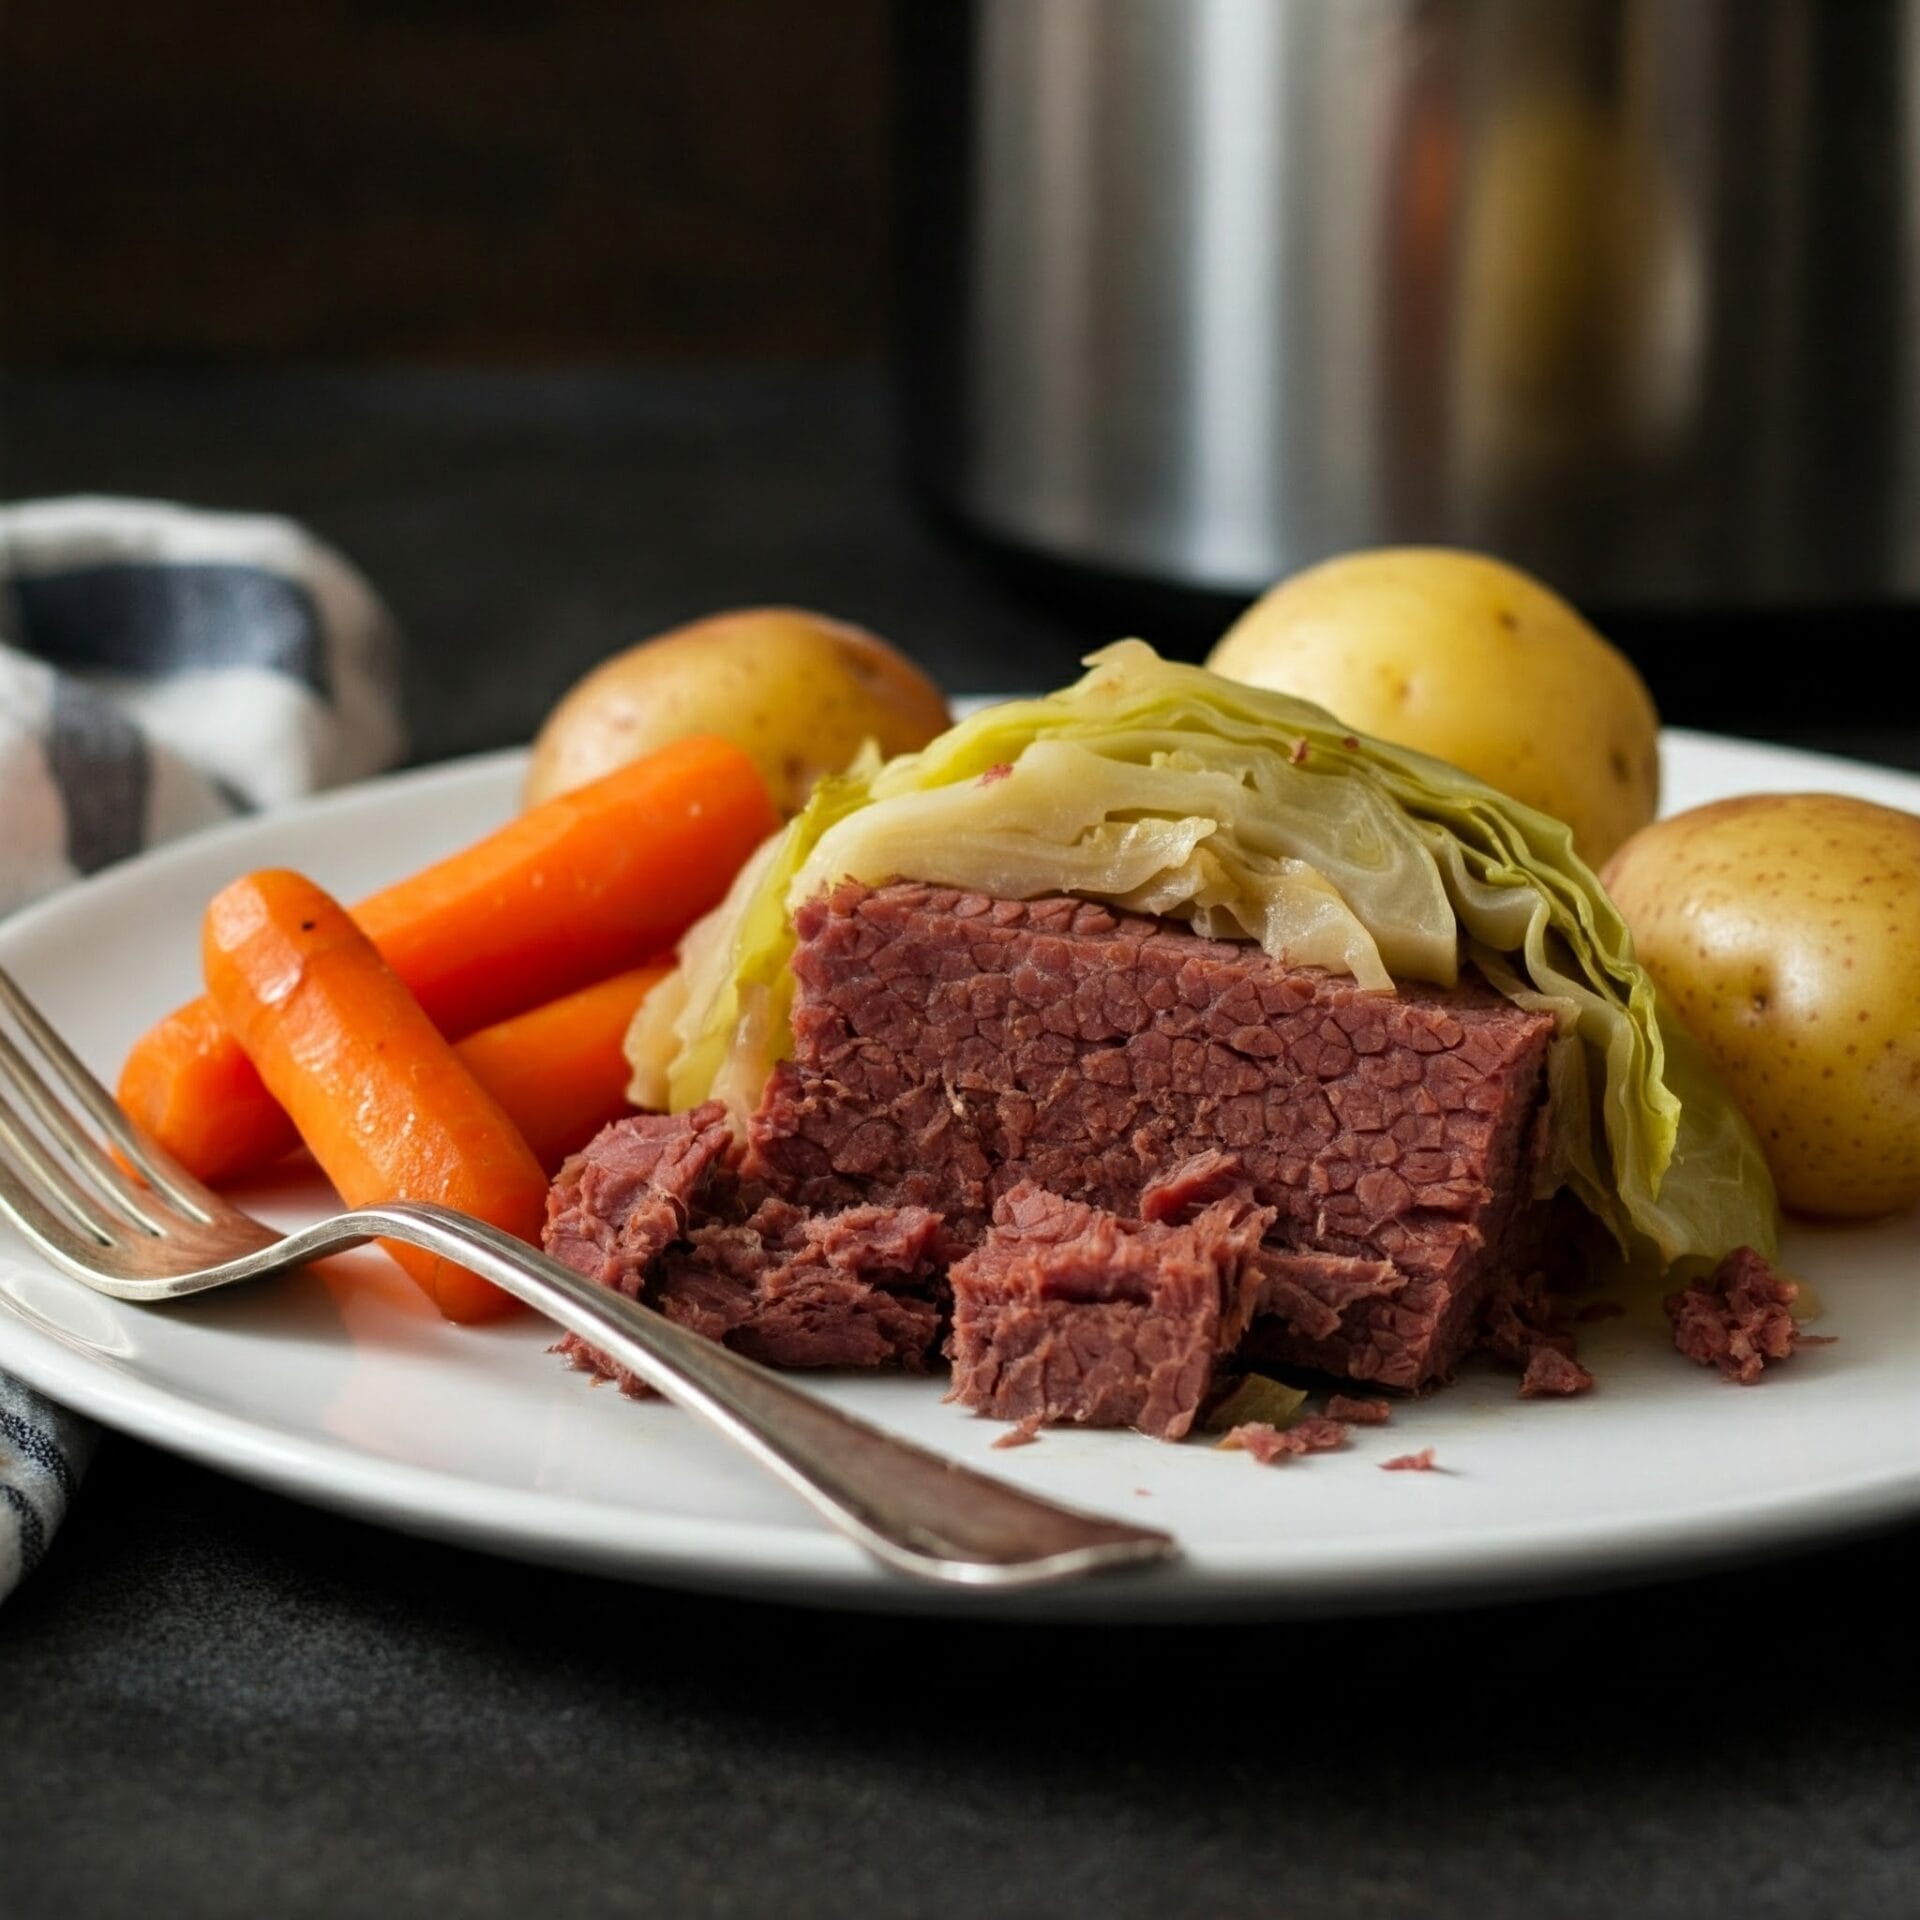
Tender corned beef with potatoes, carrots, and cabbage, finished with a quick honey-mustard glaze. Cook the vegetables after the brisket so they keep their shape.

Pressure Cooker Corned Beef and Cabbage

Before you start

Gather your ingredients.

Check your pantry before you begin. Full quantities and serving adjustments are in the recipe card below.

See the ingredient checklist
  • 3 3/4 lb Corned beef (uncooked cured brisket, preferably flat cut, with its spice packet)
  • 1 3/4 cups water (plus more if required by your cooker minimum)
  • 1 lb Potatoes (red or Yukon Gold, cut into 1 1/2- to 2-inch pieces)
  • 3 large carrots (peeled, cut into 1 1/2- to 2-inch pieces)
  • 1/2 small green cabbage (about 1 pound, cut into 4 wedges with some core attached)
  • 3 tbsp Mustard (Dijon, plus more for serving)
  • 2 tbsp Honey
  • Sea salt (to taste)
  • Black pepper (to taste)

Jump to Recipe

Keep the Vegetables Tender

Cook the brisket first, then give the vegetables their own short pressure cycle. Check the beef for tenderness before moving on; thickness can matter as much as weight.

Pressure-cooking method informed by Instant Pot.

Explore more recipes

The cooking plan

How to make Pressure Cooker Corned Beef and Cabbage.

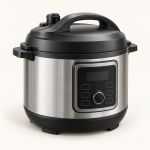
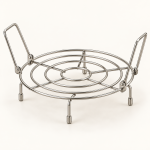
  1. Unwrap the corned beef and drain the brine, reserving its spice packet. Place on a trivet in a 6-quart or larger electric pressure cooker. Add the water and spices. Use at least the minimum thin liquid required by your model, and stay below its maximum fill line.

  2. Lock the lid and set the valve as directed by your cooker. Cook at high pressure for 90 minutes. Allow 15 minutes of natural pressure release, then carefully release any remaining pressure according to the manual. Open only after the pressure has fully dropped.

  3. Check the thickest part with a thermometer: uncooked corned beef must reach at least 145°F and rest at least 3 minutes. It also needs to be easy to pierce with a fork for tender slices. If still tough, return to high pressure for 10 to 15 minutes, with sufficient liquid, then allow another natural release before checking again. Transfer the tender beef to a tray and cover loosely.

  4. Remove the trivet. Add the potatoes and carrots to the hot cooking liquid and place the cabbage on top. Check the liquid and fill limits again. Lock the lid and cook at high pressure for 3 minutes, then carefully quick-release as your manual directs. Transfer the vegetables to a platter. If any pieces are still firm, simmer them uncovered in the hot liquid until tender.

  5. Heat the broiler. Put the cooked beef on a foil-lined, broiler-safe tray. Mix the Dijon mustard and honey and spread over the beef. Broil for 2 to 3 minutes, watching closely, until the glaze bubbles and colors.

  6. Rest the beef for 5 to 10 minutes after broiling. Slice across the grain and serve with the vegetables, a little cooking liquid, and extra mustard. Taste before adding salt; the brined beef and its broth may already be salty. Add black pepper as desired.

Let’s cook

The full recipe.

Check off ingredients as you get them ready.

Changing servings? The ingredient list scales automatically. Adjust quantities named in the steps to match, and choose pans and cooking times for your batch.

Pressure Cooker Corned Beef and Cabbage

No ratings yet
Tender corned beef with potatoes, carrots, and cabbage, finished with a quick honey-mustard glaze. Cook the vegetables after the brisket so they keep their shape.
Prep Time 20 minutes
Cook Time 1 hour 40 minutes
Pressurizing, release, and resting 45 minutes
Total Time 2 hours 45 minutes
Servings: 6 servings
Course: Dinner, Main Course
Cuisine: Irish American

Some ingredient links are affiliate links. We may earn a commission at no extra cost to you. As an Amazon Associate I earn from qualifying purchases.

Ingredients
  

  •  
    3 ¾ lb Corned beef uncooked cured brisket, preferably flat cut, with its spice packet
  • 1 ¾ cups water plus more if required by your cooker minimum
  • Whole yellow potatoes in a wooden bowl with sliced potatoes alongside1 lb Potatoes red or Yukon Gold, cut into 1 1/2- to 2-inch pieces
  • 3 large carrots peeled, cut into 1 1/2- to 2-inch pieces
  •  
    ½ small green cabbage about 1 pound, cut into 4 wedges with some core attached
  •  
    3 tbsp Mustard Dijon, plus more for serving
  • Golden honey in a glass bowl with a wooden honey dipper2 tbsp Honey
  • Sea salt to taste
  • Black pepper to taste

Equipment images are illustrative. Exact products may vary.

Instructions
 

  1. Unwrap the corned beef and drain the brine, reserving its spice packet. Place on a trivet in a 6-quart or larger electric pressure cooker. Add the water and spices. Use at least the minimum thin liquid required by your model, and stay below its maximum fill line.
  2. Lock the lid and set the valve as directed by your cooker. Cook at high pressure for 90 minutes. Allow 15 minutes of natural pressure release, then carefully release any remaining pressure according to the manual. Open only after the pressure has fully dropped.
  3. Check the thickest part with a thermometer: uncooked corned beef must reach at least 145°F and rest at least 3 minutes. It also needs to be easy to pierce with a fork for tender slices. If still tough, return to high pressure for 10 to 15 minutes, with sufficient liquid, then allow another natural release before checking again. Transfer the tender beef to a tray and cover loosely.
  4. Remove the trivet. Add the potatoes and carrots to the hot cooking liquid and place the cabbage on top. Check the liquid and fill limits again. Lock the lid and cook at high pressure for 3 minutes, then carefully quick-release as your manual directs. Transfer the vegetables to a platter. If any pieces are still firm, simmer them uncovered in the hot liquid until tender.
  5. Heat the broiler. Put the cooked beef on a foil-lined, broiler-safe tray. Mix the Dijon mustard and honey and spread over the beef. Broil for 2 to 3 minutes, watching closely, until the glaze bubbles and colors.
  6. Rest the beef for 5 to 10 minutes after broiling. Slice across the grain and serve with the vegetables, a little cooking liquid, and extra mustard. Taste before adding salt; the brined beef and its broth may already be salty. Add black pepper as desired.

Notes

Timings are approximate and include two pressure cycles, release time, and resting. A thicker brisket may need extra cooking for tenderness even after reaching the safe minimum temperature. This method is for an electric pressure cooker; follow the model manual for liquid, capacity, sealing, and venting.
Water replaces the original wine to give a straightforward cooking liquid. The honey-mustard glaze is added only after pressure cooking. Refrigerate leftovers promptly.
Pressure-cooking sequence checked against Instant Pot Corned Beef by Chop Secrets; safe minimum temperature follows USDA guidance.

Tried this recipe?

Let us know how it was!

A couple of useful answers.

How do I change the number of servings?

Use the serving controls in the recipe card. Ingredient quantities change automatically; quantities written in the instructions, pan sizes and cooking times still need your attention.

Can I print or check off the ingredients?

Choose Print recipe near the title for a printable version. On this page, check ingredients off as you prepare them, then use Reset ingredient checks to start again.

Keep the good food going

Similar Recipes

Choose your next craving. Each card includes its recipe’s total time.

Homemade Butter Biscuits

Breads & Rolls · Breakfast

Homemade Butter Biscuits

Cold butter, a light hand, and a hot oven turn simple pantry ingredients into tender biscuits. Serve them warm with jam, eggs, or a bowl of soup.
Prep
15 minutes
Cook
15 minutes
Total
30 minutes
Serves
12 biscuits, approximately

Bring it to the table

About this recipe.

Tender, lightly sweet biscuits made with cold butter and whole milk. Serve warm with breakfast, soup, or jam.

Before you start

Gather your ingredients.

Check your pantry before you begin. Full quantities and serving adjustments are in the recipe card below.

See the ingredient checklist
  • 3 cups All-Purpose Flour (plus a little for dusting)
  • 3 tbsp Sugar
  • 1/2 tsp Salt
  • 4 tsp Baking powder
  • 1/2 tsp Cream of tartar
  • 3/4 cup butter (very cold, cut into small cubes; plus optional melted butter for brushing)
  • 1 large egg (cold)
  • 1 cup Milk (whole, cold)

The cooking plan

How to make Homemade Butter Biscuits.

  1. Heat the oven to 450°F. Line a baking sheet with parchment rated for that temperature, or lightly grease the sheet. Keep the butter, milk, and egg refrigerated until needed.

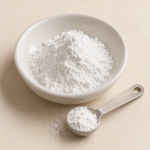
  2. Whisk the flour, sugar, salt, baking powder, and cream of tartar in a large bowl. Cut in the cold butter with a pastry cutter until small pieces about the size of peas remain.

  3. Beat the egg into the cold milk, then stir into the flour mixture just until no large dry patches remain. The dough should be soft and sticky, with visible bits of butter. Stop mixing once it comes together.

  4. Turn onto a floured surface and dust the top lightly. Gently fold or knead just enough to bring the dough together, up to 10 to 15 light turns. Pat to 3/4 to 1 inch thick. Cut straight down with a floured 2 1/2-inch biscuit cutter without twisting. Gather scraps gently and cut again; yield varies with thickness.

  5. Arrange on the prepared sheet and bake for 10 to 15 minutes, until risen and golden and the centers are baked through. Brush with a little melted butter if desired, and serve warm.

Let’s cook

The full recipe.

Check off ingredients as you get them ready.

Changing servings? The ingredient list scales automatically. Adjust quantities named in the steps to match, and choose pans and cooking times for your batch.

Homemade Butter Biscuits

No ratings yet
Tender, lightly sweet biscuits made with cold butter and whole milk. Serve warm with breakfast, soup, or jam.
Prep Time 15 minutes
Cook Time 15 minutes
Total Time 30 minutes
Servings: 12 biscuits, approximately
Course: Bread, Breakfast
Cuisine: American

Some ingredient links are affiliate links. We may earn a commission at no extra cost to you. As an Amazon Associate I earn from qualifying purchases.

Ingredients
  

  • 3 cups All-Purpose Flour plus a little for dusting
  • 3 tbsp Sugar
  • ½ tsp Salt
  • Baking powder in a white prep bowl with a measuring spoon4 tsp Baking powder
  •  
    ½ tsp Cream of tartar
  • ¾ cup butter very cold, cut into small cubes; plus optional melted butter for brushing
  • 1 large eggs cold
  • 1 cup Milk whole, cold

Equipment images are illustrative. Exact products may vary.

Instructions
 

  1. Heat the oven to 450°F. Line a baking sheet with parchment rated for that temperature, or lightly grease the sheet. Keep the butter, milk, and egg refrigerated until needed.
  2. Whisk the flour, sugar, salt, baking powder, and cream of tartar in a large bowl. Cut in the cold butter with a pastry cutter until small pieces about the size of peas remain.
  3. Beat the egg into the cold milk, then stir into the flour mixture just until no large dry patches remain. The dough should be soft and sticky, with visible bits of butter. Stop mixing once it comes together.
  4. Turn onto a floured surface and dust the top lightly. Gently fold or knead just enough to bring the dough together, up to 10 to 15 light turns. Pat to 3/4 to 1 inch thick. Cut straight down with a floured 2 1/2-inch biscuit cutter without twisting. Gather scraps gently and cut again; yield varies with thickness.
  5. Arrange on the prepared sheet and bake for 10 to 15 minutes, until risen and golden and the centers are baked through. Brush with a little melted butter if desired, and serve warm.

Notes

Keep the fat cold and handle the dough gently. If it becomes warm or greasy, chill briefly before cutting.
Expect about 9 to 12 biscuits depending on cutter size and thickness. Avoid tasting raw dough because it contains uncooked flour and egg.
Adapted from Trish at Mom On Timeout, with corrected ingredients and rewritten instructions.

Tried this recipe?

Let us know how it was!

A couple of useful answers.

How do I change the number of servings?

Use the serving controls in the recipe card. Ingredient quantities change automatically; quantities written in the instructions, pan sizes and cooking times still need your attention.

Can I print or check off the ingredients?

Choose Print recipe near the title for a printable version. On this page, check ingredients off as you prepare them, then use Reset ingredient checks to start again.

Keep the good food going

Similar Recipes

Choose your next craving. Each card includes its recipe’s total time.