Bagel And Cheese Bake

Bagel & Cheese Breakfast Bake

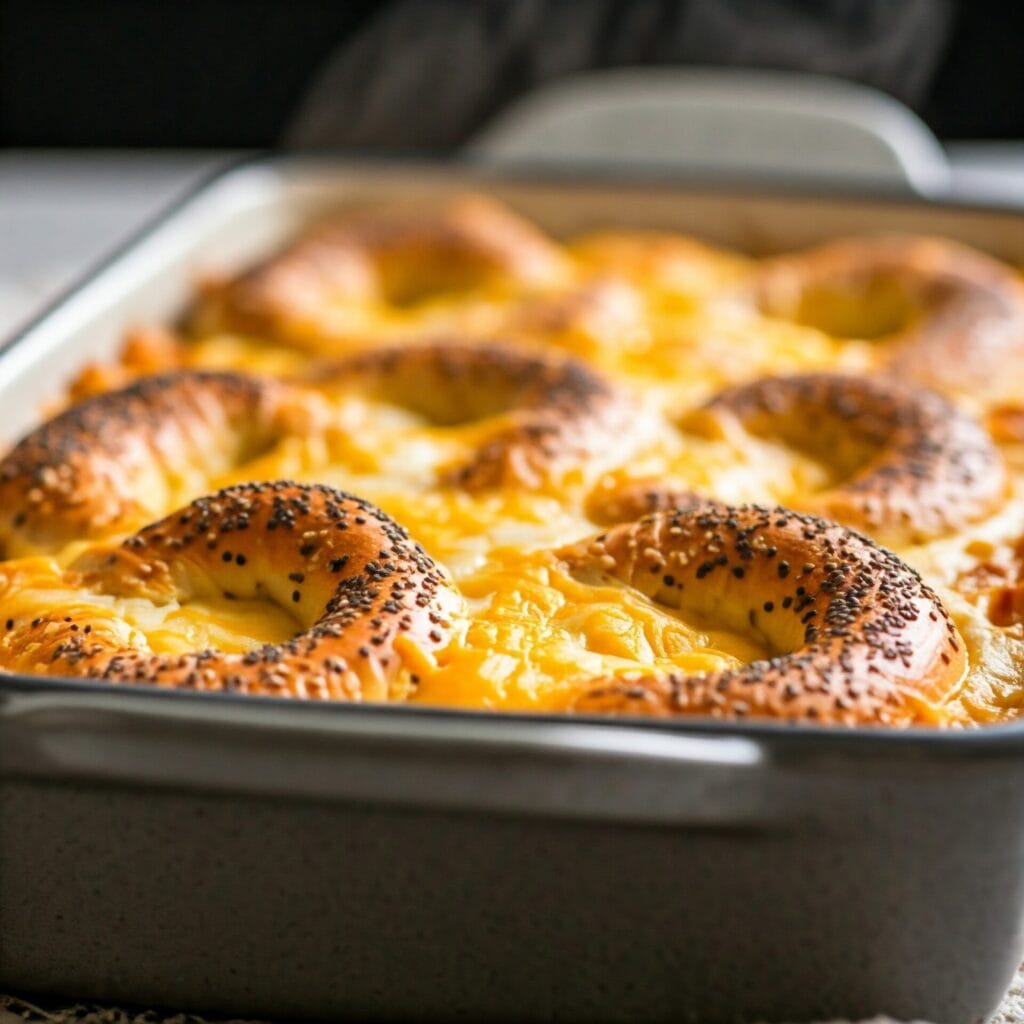
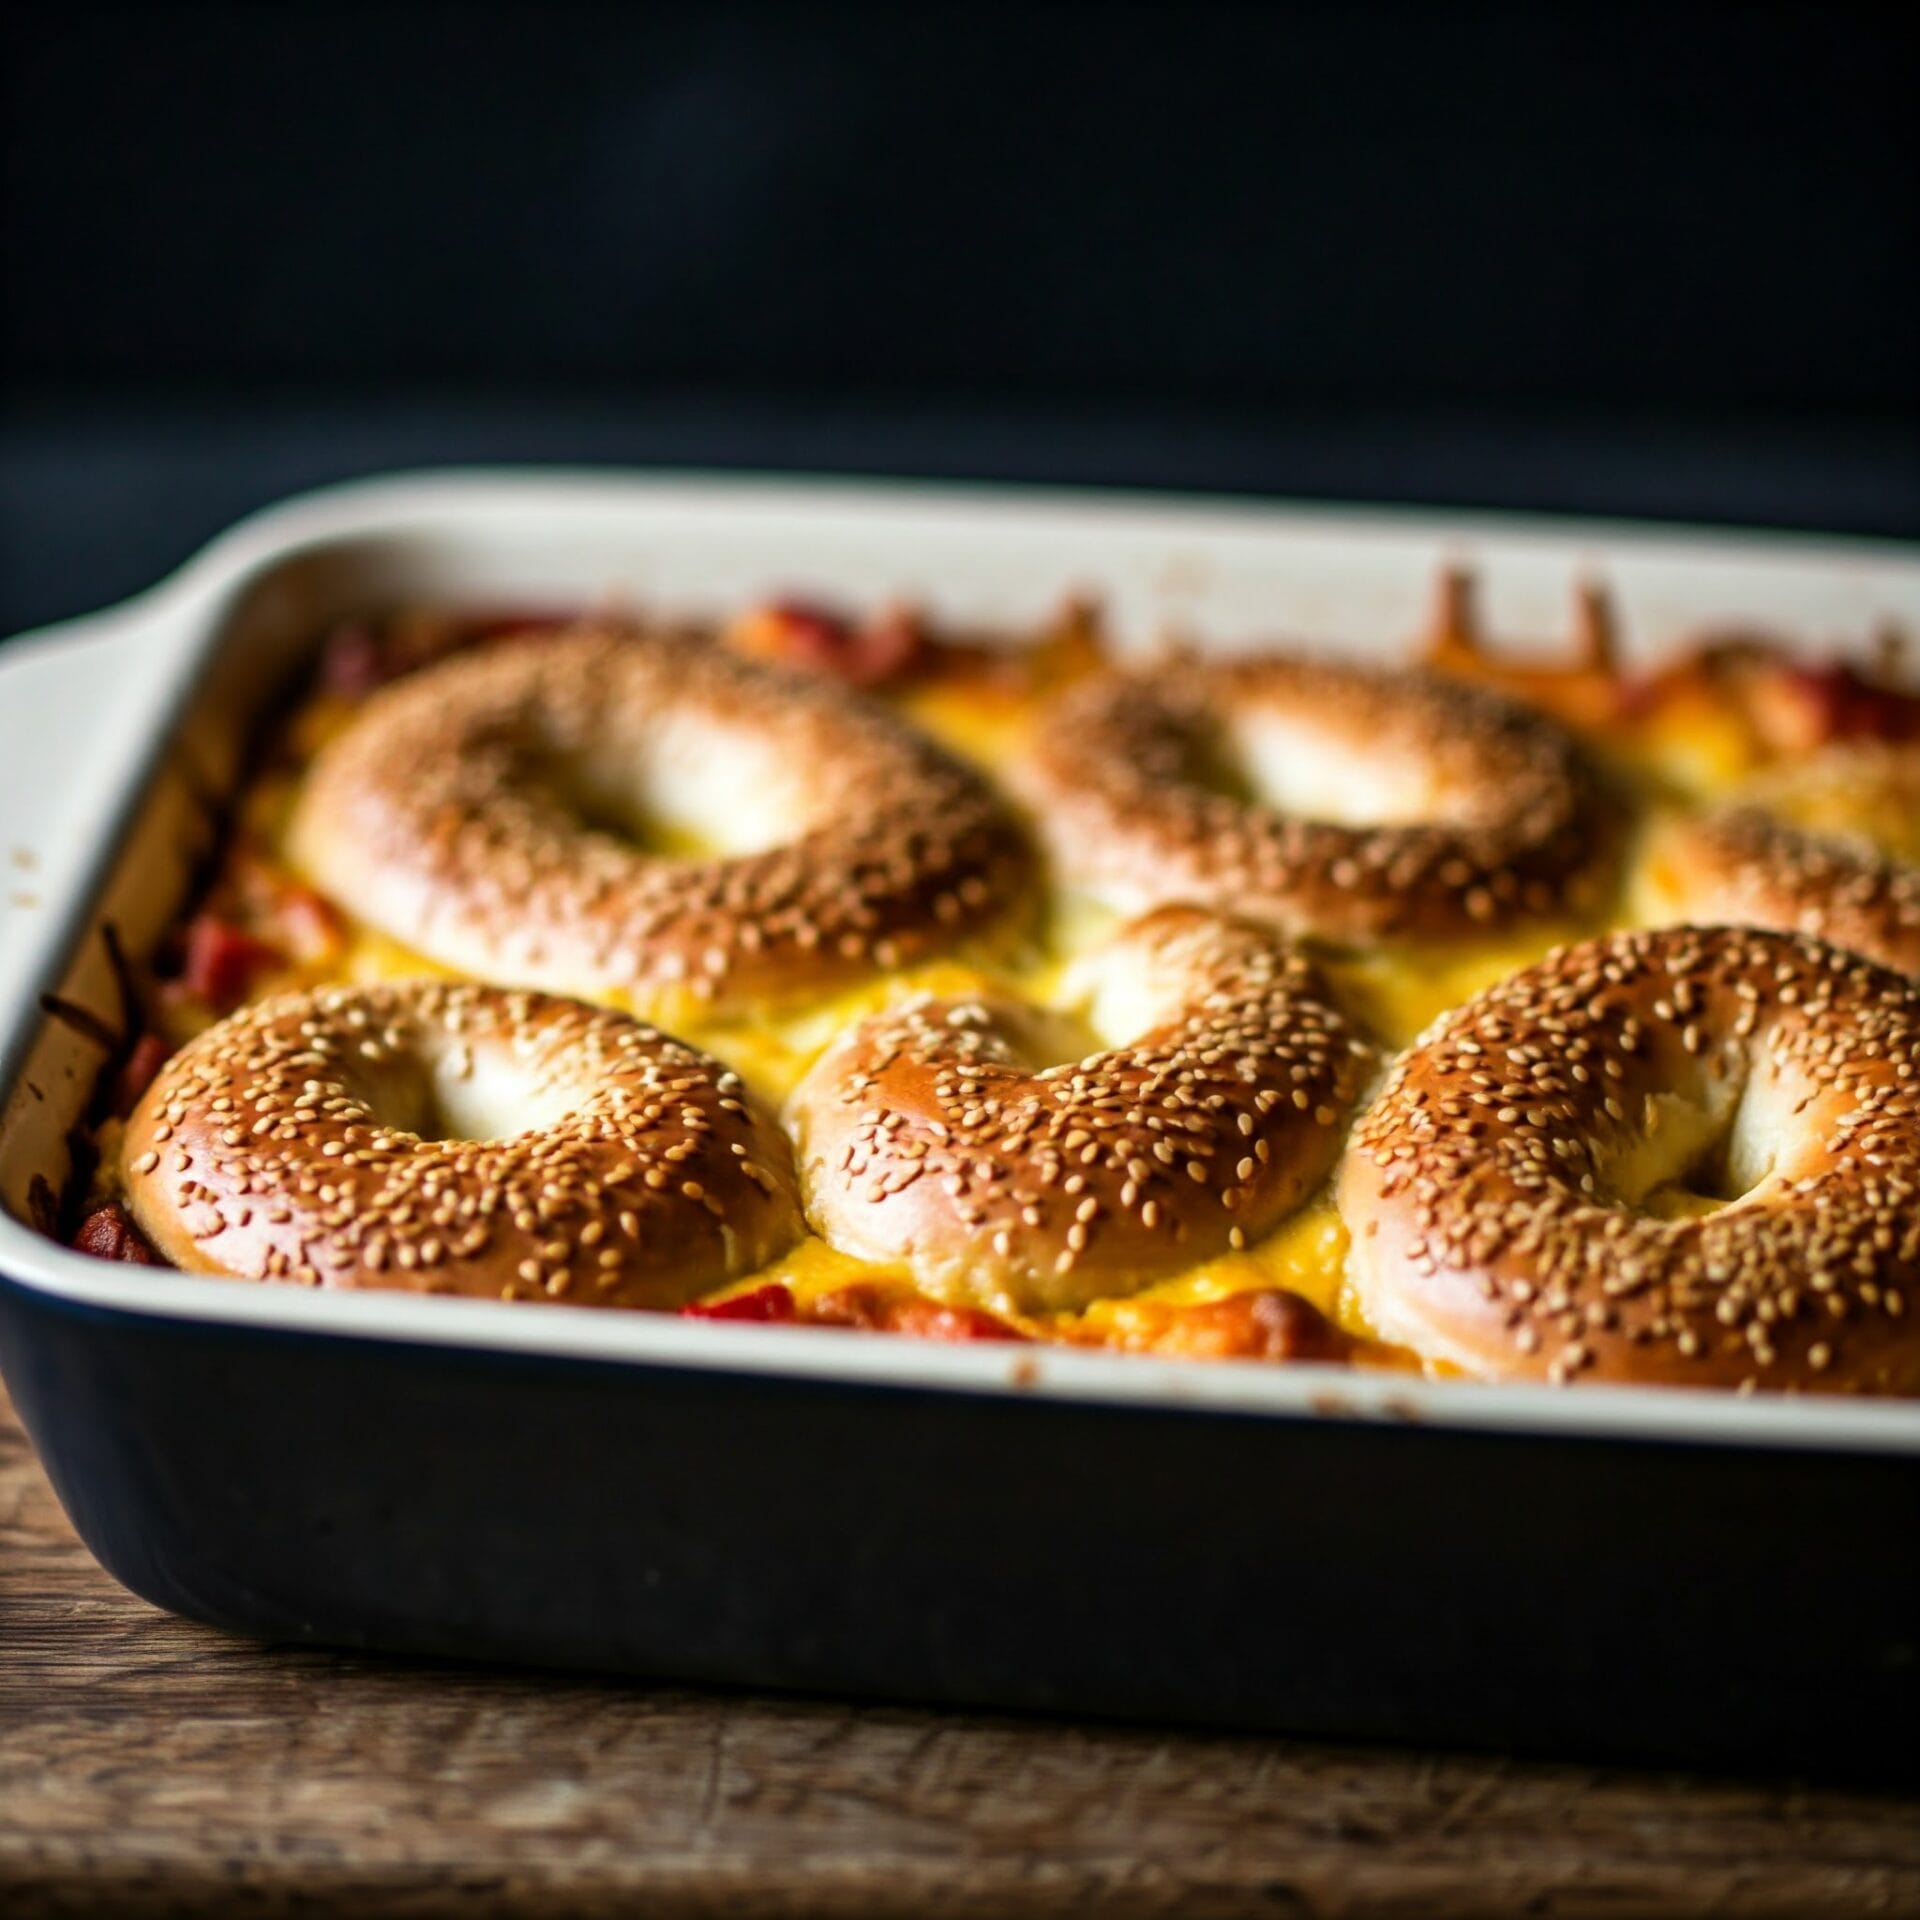
This easy bagel & cheese breakfast bake turns leftover bagels into a warm, golden, cheesy casserole. 🧀🥯 Perfect for weekend brunch, holidays, or make-ahead mornings!

If you’ve got a few leftover bagels sitting on the counter, don’t toss them—transform them into this Bagel & Cheese Breakfast Bake. This cozy, crowd-pleasing casserole layers crispy bagel pieces, fluffy eggs, and loads of melted cheese for a comforting dish that’s perfect for brunch or breakfast-for-dinner.

Not only is this recipe a smart way to reduce food waste, but it’s also incredibly easy to throw together. You can prep it in advance, let it chill overnight, and bake it fresh in the morning. As a result, it’s ideal for hosting, meal prepping, or lazy weekends when you want something warm and satisfying—without the stress.

In addition, the ingredients are flexible. Choose your favorite bagel flavor, mix up the cheeses, or even toss in cooked bacon, veggies, or sausage for extra protein and texture. No matter how you customize it, this casserole always bakes up golden and bubbly, with just the right mix of crunch and creaminess in every bite.

🔥 Why You’ll Love This Bagel & Cheese Breakfast Bake

  • 🥯 Smart use of leftover bagels – No more stale bagels going to waste!

  • 🧀 Loaded with melty cheese – Every bite is rich, gooey, and comforting.

  • 🍳 Hearty and filling – Perfect for feeding a hungry family or brunch crowd.

  • ⏱️ Make-ahead friendly – Assemble it the night before and just bake in the morning.

  • 🔁 Totally customizable – Use your favorite bagel flavors, cheeses, and mix-ins like bacon, sausage, or veggies.

  • 🧊 Freezer-safe – Prep in advance and freeze portions for easy weekday breakfasts.

  • 👩‍🍳 No special skills required – If you can chop a bagel and whisk some eggs, you’ve got this.

  • Kid-friendly, brunch-worthy, and meal-prep approved – It checks all the boxes.

🔪 How to Make Bagel & Cheese Breakfast Bake

Preheat and Prep
Start by preheating your oven to 350°F (175°C). Grease a 9×13-inch baking dish with butter or non-stick spray.

Chop and Toast the Bagels
Slice your bagels into bite-sized cubes. Toast them in the oven for 5–8 minutes until lightly crisp. This helps them hold up better in the egg mixture.

Whisk the Egg Mixture
In a large mixing bowl, whisk together eggs, milk, salt, pepper, and any optional seasonings like garlic powder or dried herbs.

Layer the Bake
Spread half the toasted bagel pieces in the bottom of your dish. Sprinkle with shredded cheese, then pour over half the egg mixture. Repeat with remaining bagels, cheese, and eggs.

Let It Soak (Optional)
For best texture, let the bake sit for 20–30 minutes—or cover and refrigerate overnight for a make-ahead breakfast.

Bake Until Golden
Bake uncovered for 35–40 minutes, or until the center is set and the top is golden brown. Let cool slightly before slicing and serving.

Serve and Customize
Serve warm, topped with fresh herbs, hot sauce, or a dollop of sour cream. It pairs perfectly with fruit, coffee, or crispy bacon on the side!

Jump to Section

📱 Follow Us 

📬 Subscribe for Updates
* indicates required

Intuit Mailchimp

Bagel and Cheese Bake

No ratings yet
A Bagel & Cheese Bake is a hearty and comforting casserole made with layers of bagels, cheese, and eggs. It's a simple yet satisfying dish that's perfect for a quick and easy breakfast or brunch.
Prep Time 25 minutes
Cook Time 30 minutes
Additional Time 8 hours
Total Time 8 hours 55 minutes
Servings: 6 people
Course: Appetizer, Breakfast
Cuisine: American, American Fusion
Calories: 310

Ingredients
  

  • ½ Lb Bacon diced
  • ½ Cup Yellow Onion chopped
  • 6 Each Bagels Plain
  • 1 Cup Cheddar Cheese shredded
  • 12 Large Eggs beaten
  • 2 Cups Milk
  • 2 tsp Parsley chopped
  • ¼ tsp Ground Black Pepper
  • ½ Cup Parmesan Cheese

Equipment

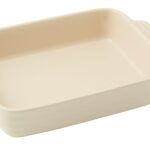
1 9x13 Baking Dish (The ideal size for layering and baking your casserole evenly.)
1 Large mixing bowl (For combining the egg mixture, bagels, and cheese.)
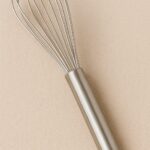
1 Whisk (Helps blend eggs, milk, and seasonings smoothly)
1 Chef's knife (To slice bagels and chop any mix-ins like bacon or vegetables.)
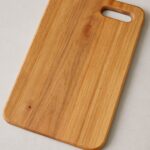
1 Cutting board (A clean, sturdy surface for prepping your ingredients.)
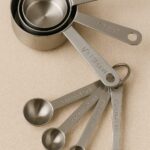
1 Measuring cups & spoons (Ensures consistent flavor in the egg mixture and topping)
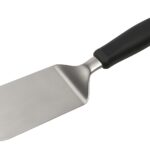
1 Serving Spatula (For portioning and serving the baked casserole neatly.)
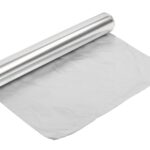
1 Aluminum Foil (For covering the dish if the top is browning too quickly.)

Method
 

  1. Fry the bacon and onion in a large skillet over medium-high heat until they are crisp and golden brown. Drain the excess grease on paper towels and set aside. Slice each bagel in half.
    ½ Lb Bacon, ½ Cup Yellow Onion, 6 Each Bagels
  2. Arrange 6 bagel slices in the bottom of a lightly greased 9x13 inch baking dish. Top with the cooked bacon and onion mixture, then sprinkle with Cheddar cheese. Cover with the remaining bagel slices.
    1 Cup Cheddar Cheese
  3. In a medium bowl, whisk eggs, milk, parsley, and pepper. Pour the egg mixture evenly over the bagel layers. Cover and refrigerate for at least 8 hours, or preferably overnight.
    12 Large Eggs, 2 Cups Milk, 2 tsp Parsley, ¼ tsp Ground Black Pepper
  4. Preheat the oven to 400°F. Uncover the chilled casserole dish. Bake for 25-30 minutes, or until the eggs are set and the top is lightly golden brown. Sprinkle with Parmesan cheese and serve immediately.
    ½ Cup Parmesan Cheese

Nutrition

Serving: 12ozCalories: 310kcalCarbohydrates: 13gProtein: 15gFat: 22gSaturated Fat: 9gPolyunsaturated Fat: 6gMonounsaturated Fat: 5gCholesterol: 36mgSodium: 949mgPotassium: 204mgFiber: 2gSugar: 6gVitamin A: 399IUVitamin C: 1mgCalcium: 360mgIron: 2mg

Notes

Here are some tips and tricks for making a delicious Bagel & Cheese Bake:
Ingredient Choices:
  • Bagel Variety: Experiment with different types of bagels! Everything bagels add extra flavor and texture.
  • Cheese: Use a combination of cheeses for a richer flavor profile. Try cheddar, Monterey Jack, Gruyere, or even some crumbled feta.
  • Add-ins: Get creative with add-ins! Consider chopped spinach, diced bell peppers, sautéed mushrooms, or even cooked sausage.
Preparation Tips:
  • Even Layers: Ensure even layers of bagels, cheese, and bacon for consistent baking.
  • Soaking: Letting the bagels soak in the egg mixture for a bit longer (up to 30 minutes) can help them absorb more flavor.
  • Refrigeration: Refrigerating overnight allows the flavors to meld together and makes for easier slicing.
Baking Tips:
  • Baking Time: Monitor closely towards the end of baking to prevent overcooking.
  • Golden Brown: Bake until the top is golden brown and the eggs are set.
  • Resting: Let the casserole rest for a few minutes after baking before serving to allow the flavors to settle.
Serving Suggestions:
  • Garnish: Sprinkle with fresh herbs like chives or parsley before serving.
  • Sides: Serve with fresh fruit, a side salad, or breakfast potatoes.
  • Dipping Sauce: Offer a side of salsa, hot sauce, or your favorite dipping sauce.
Leftovers:
  • Storage: Store leftovers in an airtight container in the refrigerator for up to 3-4 days.
  • Reheating: Reheat individual portions in the microwave or gently in the oven.
By following these tips and tricks, you can create a delicious and satisfying Bagel & Cheese Bake that will be a hit with your family and friends.

Tried this recipe?

Let us know how it was!

🍽️ What to Serve with Bagel & Cheese Breakfast Bake

This savory breakfast casserole is rich, cheesy, and filling—so pairing it with lighter, fresh, or tangy sides is the perfect way to balance your plate. Whether you’re hosting brunch or meal-prepping for the week, these ideas will round out your breakfast beautifully.


🥗 Fresh & Bright Sides

  • Fresh fruit salad – A mix of berries, citrus, or melons adds natural sweetness and color to the plate.

  • Sliced avocado or guacamole – Creamy and satisfying, with a dose of healthy fats.

  • Simple green salad – A light arugula or spinach salad with lemon vinaigrette adds a crisp contrast.


🥓 Savory & Hearty Add-Ons

  • Crispy bacon or sausage links – Add a salty, smoky side to the cheesy casserole.

  • Roasted breakfast potatoes – Seasoned with herbs and baked until crispy for a comforting touch.

  • Grilled tomatoes or sautéed mushrooms – A warm, savory vegetable side to round out the meal.


Drinks That Pair Well

  • Hot coffee or cold brew – Bold coffee pairs perfectly with eggs and cheese.

  • Fresh orange juice or grapefruit juice – Bright and citrusy to cut through the richness.

  • Bloody Mary or mimosa – If you’re serving brunch, these classics are always a hit!

❓ Bagel & Cheese Bake FAQ


Q: Can I make this casserole the night before?
A: Yes! In fact, letting the casserole sit overnight allows the bagels to soak up the egg mixture even better. Simply assemble, cover, and refrigerate. In the morning, bring it to room temperature for 20–30 minutes, then bake as directed.


Q: Do I need to toast the bagels first?
A: Toasting the bagels helps them stay firm and slightly crispy after baking. It’s optional, but recommended—especially if you’re using soft or fresh bagels.


Q: What kind of bagels work best?
A: Plain, everything, onion, and even whole wheat bagels work great. Avoid overly sweet ones (like cinnamon raisin) unless you’re going for a sweet-savory combo.


Q: Can I freeze leftovers?
A: Absolutely. Let the casserole cool completely, then slice into portions. Wrap tightly or store in airtight containers and freeze for up to 2 months. Reheat in the oven or microwave until warmed through.


Q: How do I reheat it without drying it out?
A: Reheat covered in a 325°F oven for 10–15 minutes, or microwave slices with a damp paper towel on top to keep moisture in.


Q: Can I add meat or vegetables?
A: Definitely! Try adding cooked bacon, sausage, ham, or sautéed veggies like spinach, onions, or mushrooms for extra flavor and texture.


Q: Is this recipe vegetarian?
A: Yes, if you skip any meat additions, this bake is totally vegetarian as-is.

Please follow and like us:
onpost_follow
fb-share-icon197
Tweet120
Pinterest20
Share 20
submit to reddit

Breakfast Crunchwrap Casserole

Wake-Up Worthy: Crunchwrap Breakfast Casserole

Crispy tortillas, fluffy eggs, seasoned sausage, and gooey cheese come together in this irresistible breakfast casserole inspired by the iconic crunchwrap.

If you love the satisfying crunch and savory goodness of a classic breakfast crunchwrap, you’re in for a real treat. This Breakfast Crunchwrap Casserole brings together all the bold flavors you crave—fluffy scrambled eggs, crispy sausage, melty cheddar cheese, and golden tortillas—into one warm and irresistible baked dish.

Rather than assembling individual wraps, you simply layer the ingredients, pop the casserole in the oven, and let the magic happen. As a result, you get a dish that’s crispy on top, cheesy in the middle, and perfect for feeding a hungry crowd. Even better, it’s incredibly easy to prepare and works beautifully for weekend brunch, holiday mornings, or busy weekdays when meal prep is key.

This breakfast casserole is quick to assemble, made with affordable, everyday ingredients, and delivers the perfect blend of crunchy, creamy, and cheesy in every bite. It’s also endlessly customizable—feel free to swap in your favorite meats, cheeses, or spices to make it your own. Because of its flexibility, make-ahead convenience, and Tex-Mex flavor, it’s a guaranteed crowd-pleaser that will have everyone asking for seconds.

Whether you’re hosting brunch, prepping for the week, or just craving something comforting and fun, this Breakfast Crunchwrap Casserole checks all the boxes—and then some.

⭐ Why This Breakfast Crunchwrap Casserole Is So Awesome:

🧀 All Your Favorites in One Dish – Eggs, sausage, cheese, and crispy tortillas all baked into one mouthwatering casserole.

⏱️ Time-Saving & No Wrapping Needed – Skip the individual crunchwrap assembly and bake everything together in a single dish.

👨‍👩‍👧‍👦 Feeds a Hungry Crowd – Perfect for family brunches, weekend get-togethers, or holiday mornings.

🔁 Make-Ahead & Meal Prep Friendly – Assemble the night before and bake in the morning, or portion and reheat throughout the week.

🌶️ Totally Customizable – Use bacon, chorizo, or go vegetarian. Swap cheeses, add salsa, or spice it up with jalapeños!

🥑 Pairs with All the Good Stuff – Add avocado, hot sauce, sour cream, or fresh pico for a Tex-Mex breakfast explosion.

🧼 Minimal Cleanup – Fewer dishes than traditional crunchwraps = more time to relax and eat!

🎉 Guaranteed Crowd-Pleaser – Crunchy, cheesy, and full of bold flavor—it disappears fast at every table!

🔪 How to Make Breakfast Crunchwrap Casserole

Prep the Tortillas
Cut large flour tortillas into triangles and lightly toast or crisp them in the oven or skillet.

Cook the Fillings
Brown your sausage (or bacon/chorizo), scramble the eggs, and season with salt and pepper.

Make the Cheese Sauce (Optional)
For extra creaminess, mix shredded cheese with a little milk or sour cream in a bowl.

Layer the Casserole
In a greased baking dish, layer crispy tortilla pieces, scrambled eggs, sausage, shredded cheese (or sauce), and repeat. Top with more tortilla triangles and cheese.

Bake to Perfection
Bake at 375°F (190°C) for 20–25 minutes, or until golden and bubbly.

Garnish & Serve
Top with chopped green onions, avocado, sour cream, or your favorite salsa. Slice and serve hot!

Jump to Section

📱 Follow Us 

📬 Subscribe for Updates

* indicates required

Intuit Mailchimp

Breakfast Crunch Wrap Casserole

No ratings yet
This Breakfast Crunch Wrap Casserole is a crowd-pleasing, make-ahead dish perfect for busy mornings! Layers of crispy tortillas, fluffy eggs, savory sausage or beef, melty cheese, and your favorite toppings are baked to golden perfection. It's the ultimate breakfast comfort food with a fun crunch!
Prep Time 20 minutes
Cook Time 55 minutes
Servings: 6 people
Course: Breakfast
Cuisine: Tex-Mex
Calories: 611

Ingredients
  

  • 10 Hash Browns frozen patties
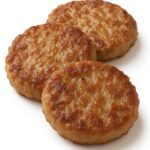
  • 1 Lb Breakfast Sausage pork sausage roll
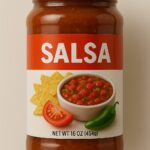
  • Cup Salsa jarred, plus more for serving
  • Cup Sour Cream
  • 1 Tbsp Jalapeno Peppers pickled, finely chopped
  • 3 Tbsp Butter melted, divided
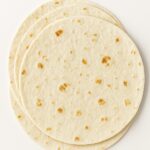
  • 6 Flour Tortillas 12"
  • 1 Tbsp Butter
  • 10 Large Eggs
  • 1 Tbsp Water
  • 1 tsp Kosher Salt
  • ½ tsp Ground Black Pepper freshly ground
  • 2 Cups Cheddar Cheese shredded

Equipment

1 9x13 Baking Dish (A standard casserole dish to layer and bake all your ingredients to golden perfection.)
1 Non-Stick Skillet (For cooking sausage, scrambling eggs, and toasting tortilla pieces without sticking.)
1 Mixing Bowls (Set) (Ideal for beating eggs, mixing cheese, or prepping your add-ins.)
1 Whisk (Perfect for fluffy scrambled eggs or combining your creamy cheese mixture.)
1 Cutting board (Use a large surface to chop green onions, slice avocado, and prep tortillas.)
1 Chef's knife (A sharp knife makes chopping and slicing quick and safe)
1 Tongs (Handy for flipping tortillas or serving the casserole cleanly.)
1 Aluminum Foil (Use to tent the casserole during baking if it browns too quickly.)
1 Serving Spatula (Makes slicing and lifting clean portions super easy.)
1 Oven Mitts (Essential for safely handling the hot casserole dish out of the oven.)

Method
 

  1. Preheat your oven to 425°F (220°C). Line a baking sheet with parchment paper to prevent sticking and make cleanup easier. Arrange your frozen hash brown patties in a single layer on the prepared baking sheet, ensuring they have some space to crisp up evenly. Bake them in the preheated oven for 20 to 25 minutes, flipping each patty halfway through to achieve a beautiful golden brown and crispy texture on both sides. Once the hash browns are cooked to perfection, reduce the oven temperature to 375°F (190°C) to prepare for baking the casserole.
    10 Hash Browns
  2. While the hash browns are baking, heat a large skillet over medium-high heat. Add your sausage to the skillet and cook, stirring occasionally, until it is browned and crumbly, about 5-7 minutes. Once the sausage is cooked through, drain off any excess grease.
    1 Lb Breakfast Sausage
  3. In a small bowl, combine your salsa, sour cream, and jalapeños. Give it a good stir to make sure everything is evenly distributed, then set it aside. This will be your flavorful topping for the casserole later on!
    ⅔ Cup Sour Cream, 1 Tbsp Jalapeno Peppers, ⅓ Cup Salsa
  4. Begin by melting a tablespoon of butter and using a pastry brush to evenly coat the bottom and sides of your casserole dish. This will help the tortillas stick and add a delicious buttery flavor. Next, arrange five tortillas in the bottom of the prepared casserole dish, overlapping them slightly to create a snug fit that covers the entire bottom. Allow the edges of the tortillas to drape over the sides of the dish, which will create a crispy tortilla crust once the casserole is baked. Finally, spread the cooked, crumbled sausage evenly over the layer of tortillas to form the savory base of your casserole.
    3 Tbsp Butter, 6 Flour Tortillas
  5. First, melt a tablespoon of butter in a large nonstick skillet over medium heat. In a separate bowl, whisk together eggs, water, salt, and pepper until well combined. Pour the egg mixture into the heated skillet and cook, stirring constantly, until the eggs are set and soft-scrambled, about 3 minutes. Once cooked, spread the scrambled eggs evenly over the sausage layer in the casserole dish.
    1 Tbsp Butter, 10 Large Eggs, 1 Tbsp Water, 1 tsp Kosher Salt, ½ tsp Ground Black Pepper
  6. Now it's time to layer those delicious toppings! Drizzle half of the reserved sour cream mixture over the eggs for a creamy, tangy flavor, followed by three-quarters of a cup of your favorite shredded cheese. Next, arrange the crispy hash browns evenly over the cheese, adding a hearty element to your casserole. Sprinkle the remaining cheese over the hash browns for a golden, crispy top. Take the remaining tortilla and place it in the center of the dish. Gently fold the overlapping tortillas over the center tortilla, pressing down slightly to seal the edges and create a closed, burrito-like shape. Brush the top with the remaining melted butter, which will help the tortillas brown and crisp up in the oven. Finally, gently press down on the folded tortillas to help the edges stick together and create a tight seal, preventing the filling from spilling out during baking.
    ⅔ Cup Sour Cream, 2 Cups Cheddar Cheese
  7. With all the delicious layers assembled, bake your masterpiece in the preheated 375°F oven until the top is toasted to a beautiful golden brown, about 25 to 30 minutes. Once baked, carefully place a large platter or board over the casserole dish and, with a swift motion, invert the casserole onto the board for a stunning presentation. Cut the casserole into squares and serve it up! Don't forget to offer the remaining sour cream sauce and extra salsa on the side for those who want an extra kick of flavor. Enjoy!
    ⅓ Cup Salsa

Nutrition

Serving: 12ozCalories: 611kcalCarbohydrates: 19gProtein: 24gFat: 49gSaturated Fat: 23gPolyunsaturated Fat: 4gMonounsaturated Fat: 15gTrans Fat: 0.5gCholesterol: 128mgSodium: 1474mgPotassium: 337mgFiber: 1gSugar: 4gVitamin A: 938IUVitamin C: 1mgCalcium: 358mgIron: 2mg

Notes

For Extra Crispy Hash Browns:
  • Don't overcrowd the pan: Give those hash browns some space to breathe! Overcrowding the baking sheet prevents proper air circulation and can lead to soggy patties.
  • Consider par-baking: If you want super crispy hash browns, par-bake them for about 10 minutes before adding them to the casserole. This will help them stay crispy even after being layered with other ingredients.
  • Try different hash browns: Experiment with different types of frozen hash browns, like shredded or waffle-cut, for a varied texture.
For Flavorful Filling:
  • Spice it up: Add a pinch of chili powder or cayenne pepper to the scrambled eggs for an extra kick.
  • Get creative with the meat: Instead of sausage, try ground beef, chorizo, or even a plant-based meat substitute.
  • Boost the veggies: Sauté some onions and peppers with the meat for added flavor and nutrients.
For a Perfect Assembly:
  • Warm the tortillas: Warm the tortillas slightly before layering them in the casserole dish. This will make them more pliable and less likely to tear.
  • Don't overfill: Be careful not to overfill the casserole, as this can make it difficult to fold and seal the tortillas.
  • Secure the edges: Use toothpicks to secure the tortilla edges if you're having trouble keeping them sealed.
For Serving and Storage:
  • Let it rest: Allow the casserole to rest for a few minutes after baking before cutting and serving. This will help the filling set and prevent it from being too runny.
  • Make it ahead: Assemble the casserole the night before and bake it in the morning for a quick and easy breakfast.
  • Reheat with care: Reheat leftovers gently in the oven or microwave to avoid overcooking the eggs.
By following these tips, you'll be well on your way to creating a truly delicious and impressive Breakfast Crunchwrap Casserole!

Tried this recipe?

Let us know how it was!

🍽️ What to Serve with Breakfast Crunchwrap Casserole

🥑 Fresh & Zesty Sides

  • Avocado slices or guacamole – Creamy and cooling, perfect with Tex-Mex flavor

  • Pico de gallo or fresh tomato salsa – Adds freshness and a tangy bite

  • Sour cream or crema – For that rich, cooling contrast

  • Fresh fruit salad – Brightens the plate and balances the richness

🧂 Dippable & Crispy Sides

  • Crispy hash browns or home fries – A must-have potato side!

  • Air fryer tater tots – Fun and kid-friendly

  • Tortilla chips & queso – Great for dipping or extra crunch

🌮 Complementary Dishes

  • Mini breakfast tacos – For guests who want variety on their plate

  • Chorizo or bacon-wrapped jalapeño poppers – Bring on the heat!

  • Refried beans or black beans – A hearty, flavorful side

🍹 Drinks to Pair

  • Fresh orange juice or mimosas – For a brunch vibe

  • Iced coffee or cold brew – Strong, chilled, and perfect with savory food

  • Horchata or agua fresca – A sweet, refreshing contrast

❓ Breakfast Crunchwrap Casserole FAQ

Q: Can I make this casserole ahead of time?
A: Yes! You can fully assemble the casserole the night before, cover it, and refrigerate. When ready to bake, just remove it from the fridge 15–20 minutes beforehand and bake as directed.


Q: How do I store leftovers?
A: Store any leftovers in an airtight container in the refrigerator for up to 4 days. Reheat individual portions in the microwave or oven until warmed through.


Q: Can I freeze this casserole?
A: Absolutely. Let it cool completely, then wrap tightly or portion into freezer-safe containers. Freeze for up to 2 months. Thaw in the fridge overnight before reheating.


Q: What other proteins can I use?
A: This recipe works great with bacon, ground turkey, chorizo, or even plant-based sausage for a vegetarian option.


Q: How can I make it spicy?
A: Add chopped jalapeños, use pepper jack cheese, or drizzle hot sauce or chipotle crema before baking for a spicy kick.


Q: Can I make this gluten-free?
A: Yes! Just use gluten-free tortillas and double-check that your sausage and cheese are certified gluten-free.


Q: What’s the best cheese to use?
A: Sharp cheddar is a classic choice, but feel free to mix in Monterey Jack, pepper jack, or even a little cream cheese for extra richness.

Please follow and like us:
onpost_follow
fb-share-icon197
Tweet120
Pinterest20
Share 20
submit to reddit

Blackened Shrimp & Grits

🔥🦐 Southern-Style Blackened Shrimp & Grits 🍽️

Smoky, spicy shrimp served over rich, creamy grits—this Southern-style classic is bold, comforting, and impossible to resist.


🦐 Southern-Style Blackened Shrimp and Grits

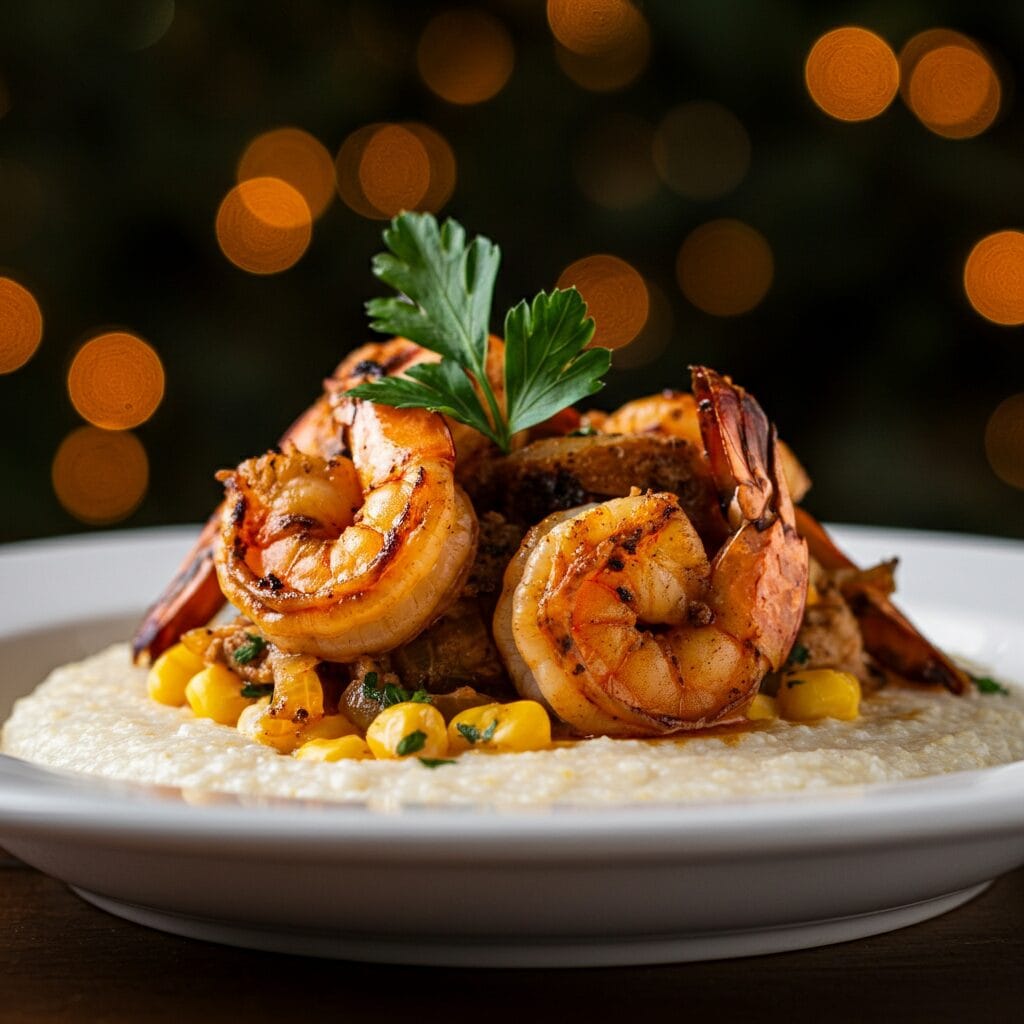
Looking to bring a little Southern comfort to your table? This Southern-Style Blackened Shrimp and Grits recipe is the ultimate combination of smoky heat, creamy texture, and bold flavor. 🧈🔥 Whether you’re planning a cozy brunch, a laid-back dinner, or simply craving something rich and satisfying, this dish delivers big on taste without complicated steps.

It starts with tender shrimp, generously coated in a homemade blackened seasoning blend that’s equal parts smoky, spicy, and savory. After a quick sear in a hot skillet, the shrimp develop that crave-worthy charred crust that locks in flavor. 🦐 Meanwhile, the grits cook low and slow until they’re silky-smooth—then we stir in butter, cream, and sharp cheddar cheese for maximum comfort-food energy. 🧀

What makes this shrimp and grits recipe truly special is its balance of heat and creaminess. The spicy blackened shrimp contrast beautifully with the richness of the grits, creating a layered bite that’s both comforting and exciting. 🌶️

Even better, it comes together quickly and uses pantry-friendly ingredients, making it weeknight-friendly without sacrificing that restaurant-quality feel. Add a squeeze of lemon, a sprinkle of green onions, or even a poached egg on top—there’s plenty of room to make it your own.

So if you’re looking for a Southern-style shrimp and grits recipe that’s bold, buttery, and totally unforgettable, this one’s guaranteed to impress. Serve it hot and dig in—you’ve just found your new comfort food favorite. 🍽️

  • Why You’ll Love This Recipe

    • 🦐 Blackened Shrimp: Coated in bold Cajun spices and seared to perfection

    • 🧈 Creamy Grits: Buttery, cheesy, and ultra-smooth

    • 🌶️ Big Flavor: Spicy, smoky, and savory in every bite

    • 🧄 Simple Ingredients: Pantry staples with Southern soul

    • ⏱️ Quick to Make: Ready in under 30 minutes

    • 🍳 Versatile Meal: Perfect for brunch, dinner, or date night

    • 🧺 Comfort Food Favorite: Cozy, filling, and deeply satisfying

    • 🍋 Customizable: Add lemon, green onions, or a poached egg for a twist

👩‍🍳 How to Make Southern-Style Blackened Shrimp & Grits

Making this bold and comforting dish is easier than you think. Follow these simple steps to bring Southern flavor to your table:

🔥 Step 1: Make the Blackened Seasoning

In a small bowl, mix together paprika, garlic powder, onion powder, cayenne, dried thyme, oregano, salt, and black pepper.
Tip: Adjust the cayenne for more or less heat. 🌶️

🍤 Step 2: Season the Shrimp

Pat the shrimp dry, then toss them in olive oil and coat with the blackened spice mix until fully covered.

🍳 Step 3: Sear the Shrimp

Heat a large skillet over medium-high heat. Cook the shrimp for 1–2 minutes per side, just until blackened and cooked through. Set aside.

🍚 Step 4: Cook the Grits

In a saucepan, bring water or chicken broth to a boil. Slowly whisk in the grits and reduce to a simmer. Cook according to package instructions (usually 15–20 minutes), stirring often.

🧀 Step 5: Make Them Creamy

Once thickened, stir in butter, heavy cream (or milk), and shredded sharp cheddar cheese until melted and smooth.

🧂 Step 6: Season to Taste

Add salt and pepper as needed. For extra richness, you can stir in a bit more butter or cheese. 😋

🍽️ Step 7: Assemble

Spoon the creamy grits into shallow bowls. Top with a generous helping of blackened shrimp.

🧑‍🍳 Step 8: Garnish & Serve

Finish with sliced green onions, a squeeze of lemon, or even a poached egg on top for extra flair. Serve immediately and enjoy!

Jump to Section

📱 Follow Us 

📬 Subscribe for Updates

* indicates required

Intuit Mailchimp

Blackened Shrimp & Grits

No ratings yet
Blackened shrimp and grits is a classic Southern dish that features shrimp coated in a flavorful blend of spices and cooked over high heat until blackened, served over creamy, cheesy grits. It's a delicious and satisfying meal that's perfect for any occasion.
Prep Time 5 minutes
Cook Time 44 minutes
Servings: 6 People
Course: Brunch, Main Course
Cuisine: American, Cajun, Creole, Southern
Calories: 450

Ingredients
  

For The Grits
  • Cups Chicken Broth low sodium, divided
  • Cups Milk fat free
  • ¼ Cup Water
  • 1 tsp Kosher Salt
  • 1 Cup Grits stone ground
  • ½ Tbsp Unsalted Butter
  • oz Cheddar Cheese sharp,freshly grated, divided
  • 1 Tbsp Parmesan Cheese
For the shrimp
  • ½ tsp Paprika
  • ¼ tsp Cayenne Pepper
  • ½ tsp Garlic powder
  • ½ tsp Thyme Dried
  • ½ tsp Oregano
  • ¼ tsp Kosher Salt
  • 1 Olive oil spray
  • tsp Ground Black Pepper
  • 24 Jumbo Shrimp Cleaned & Deviened
  • 3 tbsp Green Onions sliced
  • 1 Small Lime cut into wedges

Method
 

Spice Mix:
  1. Combine paprika, cayenne pepper, garlic powder, thyme, oregano, salt, and ground black pepper in a bowl.
    ½ tsp Paprika, ¼ tsp Cayenne Pepper, ½ tsp Garlic powder, ½ tsp Thyme, ½ tsp Oregano, ¼ tsp Kosher Salt, ⅛ tsp Ground Black Pepper
Shrimp:
  1. Lightly oil the shrimp and coat them generously in the spice mix.
    24 Jumbo Shrimp
Grits:
  1. Bring broth, milk, water, and salt to a boil. Slowly whisk in grits and cook, covered, for 35-45 minutes, stirring occasionally. Remove from heat and stir in butter, cheddar cheese, and Parmesan.
    2½ Cups Chicken Broth, 1¼ Cups Milk, ¼ Cup Water, 1 tsp Kosher Salt, 1 Cup Grits, ½ Tbsp Unsalted Butter, 1 Tbsp Parmesan Cheese
Cooking the Shrimp:
  1. Heat olive oil in a cast-iron skillet over medium-high heat. Cook shrimp for 2 minutes per side until opaque and spices are fragrant.
    1 Olive oil spray
Assembly:
  1. Divide grits among plates and top with cheddar cheese. Nestle cooked shrimp on top of grits. Deglaze the pan with broth, reduce by half, and drizzle over each plate. Garnish with scallions and serve with lime wedges.
    1½ oz Cheddar Cheese, 3 tbsp Green Onions, 1 Small Lime

Nutrition

Serving: 10ozCalories: 450kcalCarbohydrates: 73gProtein: 29gFat: 7gSaturated Fat: 4gPolyunsaturated Fat: 1gMonounsaturated Fat: 2gTrans Fat: 0.1gCholesterol: 112mgSodium: 1142mgPotassium: 373mgFiber: 2gSugar: 60gVitamin A: 950IUVitamin C: 6mgCalcium: 504mgIron: 2mg

Notes

Grits:
  • Type of Grits: Stone-ground grits will take longer to cook (35-40 minutes) but have a nuttier flavor. Quick grits cook faster (5 minutes) but have a softer texture. Choose based on your preference.
  • Creamy vs. Cheesy: This recipe uses butter and cheese for creaminess. For a lighter version, omit the cheese or use less. You can also add a splash of heavy cream at the end for extra richness.
  • Adjusting Liquid: The amount of liquid needed for grits can vary depending on the type and brand. Start with the amount in the recipe and add more water, a tablespoon at a time, if the grits become too thick before they are cooked through.
Shrimp:
  • Don't overcrowd: Cook the shrimp in batches to avoid overcrowding the pan. This will ensure even cooking and a nice sear on the shrimp.
  • Watch the heat: Blackened seasoning can burn easily. Keep an eye on the pan and adjust the heat as needed to prevent the spices from burning.
  • Shrimp size: Larger shrimp will take a few minutes longer to cook through than smaller shrimp. Adjust cooking time accordingly.
Other Tips:
  • Deglazing: The drippings in the pan from cooking the shrimp have a lot of flavor. Deglazing with broth helps loosen them up and creates a delicious pan sauce for your dish.
  • Serving Temperature: Serve immediately to enjoy the creamy grits and the crispy shrimp.
  • Substitutions: You can use vegetable broth instead of chicken broth for a vegetarian option. If you don't have Parmesan cheese, you can use all cheddar cheese.

Tried this recipe?

Let us know how it was!

🍽️ What to Serve with Blackened Shrimp and Grits

🥬 Fresh & Light Sides (to balance the richness)

  • Garlicky Collard Greens – Sautéed with garlic and a splash of vinegar

  • Southern-Style Green Beans – Stewed or sautéed with onions and bacon

  • Simple Arugula Salad – Light lemon vinaigrette cuts through the creamy grits

  • Grilled Asparagus or Zucchini – Adds a crisp, charred element


🍞 Breads & Starchy Add-Ons

  • Skillet Cornbread – Buttery, crumbly, and perfect for soaking up the sauce

  • Buttermilk Biscuits – Fluffy and comforting alongside creamy grits

  • Fried Green Tomatoes – A tangy, crispy contrast to the soft texture of the grits


🥂 Drink Pairings

  • Sweet Tea or Lemonade – Southern classics that balance the heat

  • Sparkling Water with Lime – Keeps the palate refreshed

  • Crisp White Wine – Try a Sauvignon Blanc or Chardonnay

  • Spicy Bloody Mary – Especially great if serving for brunch


🍮 Dessert Ideas to Finish the Meal

  • Peach Cobbler – Warm, fruity, and a perfect Southern finish

  • Banana Pudding – Light, creamy, and nostalgic

  • Pecan Pie Bars – A sweet bite-size option for easy cleanup

❓ Frequently Asked Questions

🔥 What does “blackened” mean in this recipe?

“Blackened” refers to a cooking method where shrimp are coated in a bold spice mix—typically including paprika, garlic powder, cayenne, thyme, and oregano—then seared in a hot skillet. The high heat forms a charred, flavorful crust on the outside while keeping the shrimp juicy inside.


⏱️ Can I make this recipe ahead of time?

Yes! You can cook the grits ahead and reheat them with a splash of milk or broth. The shrimp are best cooked just before serving, but you can prep the spice mix and marinate the shrimp a few hours in advance.


🧈 What kind of grits should I use?

Stone-ground or quick-cooking grits both work well. Stone-ground grits offer more texture and flavor, while quick grits are great for saving time. Avoid instant grits for this recipe—they lack the creaminess needed to balance the bold shrimp.


🥶 Can I use frozen shrimp?

Absolutely. Just be sure to thaw the shrimp completely and pat them dry before seasoning. Extra moisture can prevent them from searing properly and developing that classic blackened crust.


🌽 What goes well with shrimp and grits?

Try it with sautéed greens, skillet cornbread, or a fresh arugula salad. You can also check out our full list of what to serve with shrimp and grits for more pairing ideas.


🔄 Can I make it dairy-free?

Yes—just substitute dairy-free butter and use a plant-based milk (like oat or almond) for the grits. For the cheese, use your favorite dairy-free shredded alternative or skip it altogether for a lighter version.


🌶️ How spicy is this dish?

It’s moderately spicy, thanks to cayenne and paprika in the seasoning. You can easily adjust the heat up or down to suit your taste. For extra fire, add a pinch of crushed red pepper or serve with hot sauce on the side.

Please follow and like us:
onpost_follow
fb-share-icon197
Tweet120
Pinterest20
Share 20
submit to reddit

Mushroom & Spinach Frittata

Mushroom & Spinach Frittata

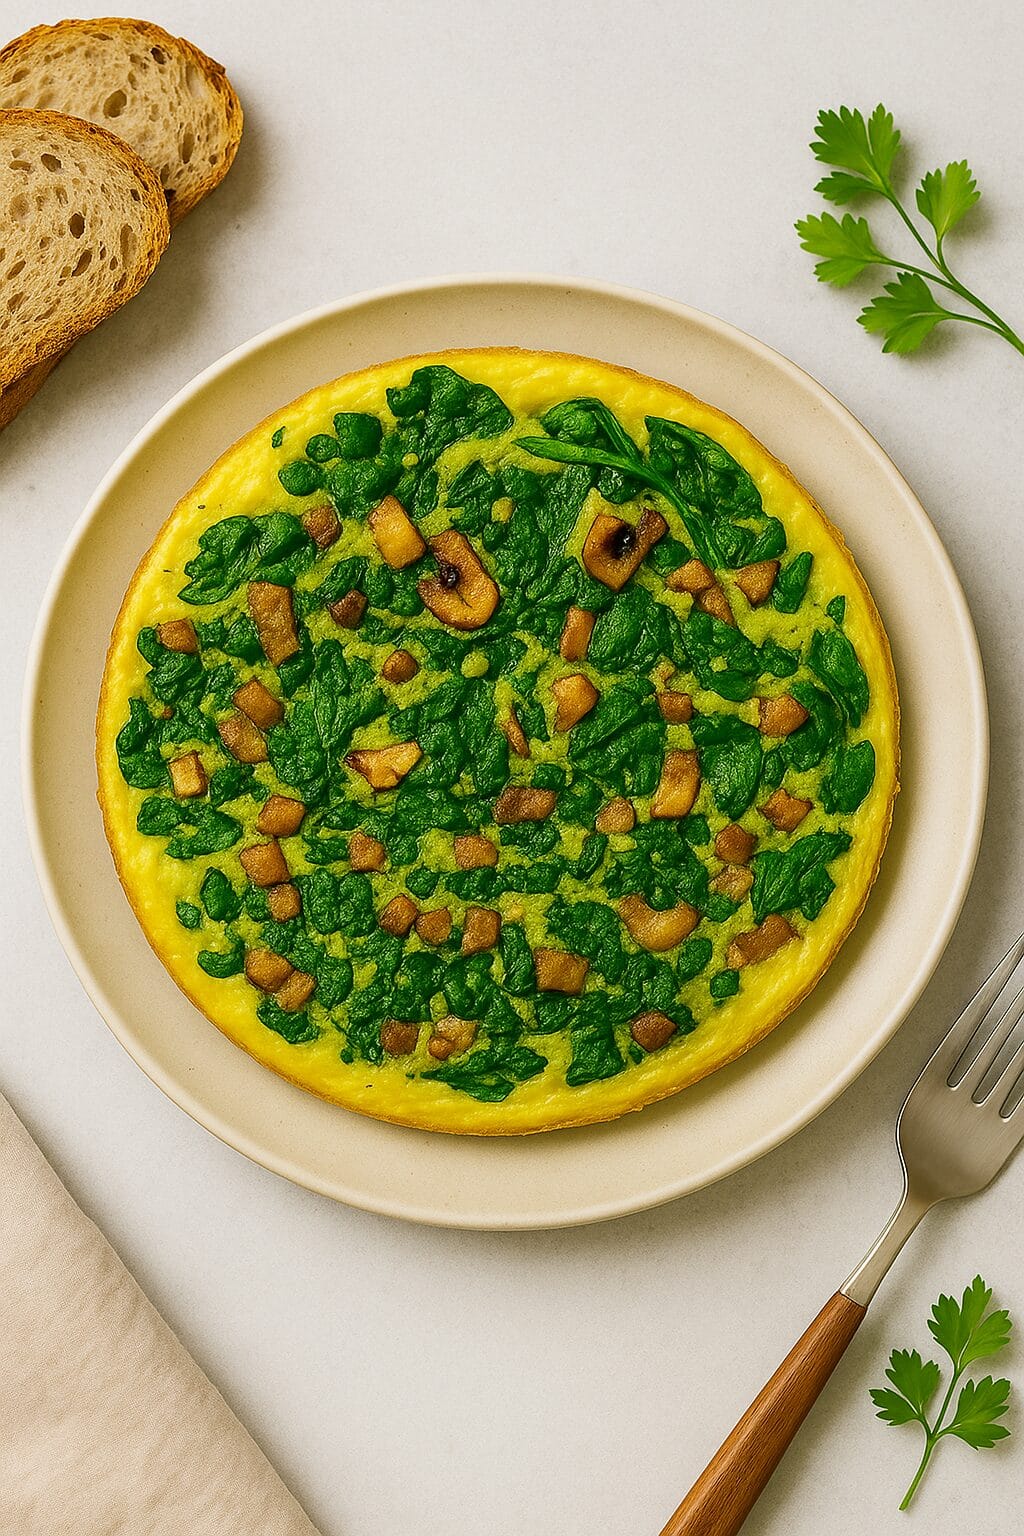
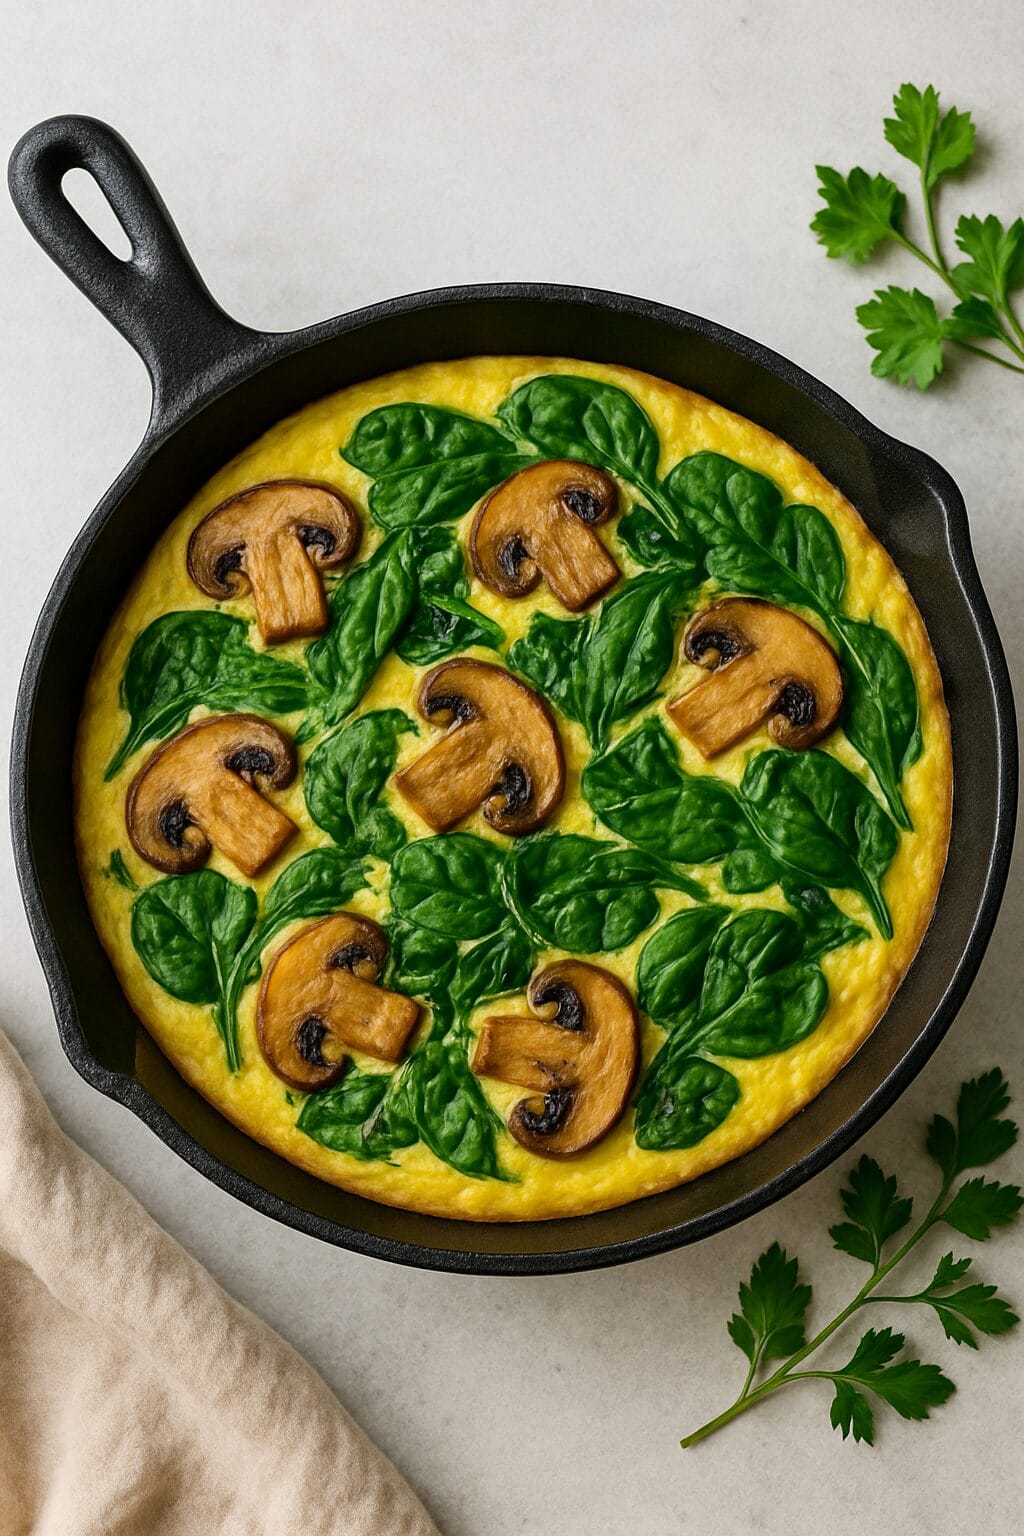
This Mushroom & Spinach Frittata is a savory, protein-packed dish that’s as versatile as it is delicious. Made with tender sautéed mushrooms, fresh baby spinach, and fluffy eggs, it’s the ultimate one-pan meal that transitions seamlessly from breakfast to brunch — or even dinner. Lightly seasoned and cooked to golden perfection, this frittata is bursting with earthy flavor and wholesome goodness.

Whether you’re meal-prepping for the week or hosting a laid-back weekend gathering, this frittata delivers hearty comfort with minimal effort. Serve it warm with toast or a simple side salad, or enjoy it cold straight from the fridge — it’s just as tasty either way!

Mushroom & Spinach Frittata

No ratings yet
A spinach and mushroom frittata is a savory Italian egg bake packed with sauteed mushrooms and wilted spinach. It's typically seasoned with cheese and herbs, and can be enjoyed warm or at room temperature.
Prep Time 15 minutes
Cook Time 20 minutes
Servings: 6 Servings
Course: Breakfast, Dinner, Lunch
Cuisine: Italian
Calories: 233

Ingredients
  

  • 8 Large Egg
  •  
    ¾ Cup Mozzarella Shredded
  • 1 Pinch Kosher Salt
  • 1 Pinch Black Pepper Ground
  • 1 Pinch Crushed Red Pepper Flakes
  • 2 tbsp Extra Virgin Olive Oil
  • 1 Large Shallot
  • 3 Cloves Garlic Minced
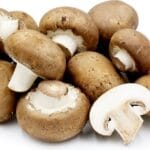
  • 8 Oz Baby Bella Mushrooms Sliced
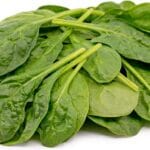
  • 3 Cup Baby spinach
  •  
    ½ Cup Ricotta
  • Cup Heavy Cream

Equipment

1 Oven Proof Large Skillet
1 Medium Bowl

Method
 

  1. Gather all of your ingredients and have everything prepped and ready.
  2. Preheat your oven to 375 °F.
    Using a medium bowl, whisk the eggs, mozzarella, and the cream.
    Season with salt, black pepper, and red pepper flakes.
  3. Place a large ovenproof skillet over medium heat and add oil, shallot and garlic. Stirring occasionally, cook until the shallot is translucent.
  4. Add the mushrooms and cook until softened. Continue to stirring occassionally.
  5. After the mushrooms have cooked and softened, add the spinach and cook until all spinach has wilted. Season with salt and pepper for taste.
  6. Turn heat off on skillet. Pour egg mixture into the mushroom and spinach mix.
  7. Dollop the mixture with ricotta.
  8. Place in your preheated oven and bake for 12-20 minutes. Check after 12 minutes and add time as needed.
    The eggs should have set and the top should have a slight brown to them.

Nutrition

Serving: 10ozCalories: 233kcalCarbohydrates: 5gProtein: 16gFat: 17gSaturated Fat: 6gPolyunsaturated Fat: 2gMonounsaturated Fat: 7gTrans Fat: 0.02gCholesterol: 268mgSodium: 241mgPotassium: 405mgFiber: 1gSugar: 2gVitamin A: 1972IUVitamin C: 5mgCalcium: 206mgIron: 2mg

Tried this recipe?

Let us know how it was!

Related Recipes

Ingredients

  • 8 large eggs

  • ¾ cup shredded mozzarella

  • ½ cup ricotta

  • ⅓ cup heavy cream

  • 2 tbsp extra virgin olive oil

  • 1 large shallot, diced

  • 3 cloves garlic, minced

  • 8 oz baby bella mushrooms, sliced

  • 3 cups baby spinach

  • Pinch of kosher salt, black pepper, and red pepper flakes

Quick to prep, easy to love, and endlessly versatile — this dish is proof that simple ingredients can create something extraordinary.

Image Gallery Mushroom & Spinach Frittata

Storage & Leftovers

Refrigerator:
Let the frittata cool completely before storing. Slice into portions and place in an airtight container. Store in the fridge for up to 4 days.

Freezer:
Wrap individual slices in plastic wrap or foil, then place in a freezer-safe bag or container. Freeze for up to 2 months. For best texture, avoid freezing if the frittata is extra creamy (ricotta-heavy versions may weep slightly when thawed).

Reheating:

  • Microwave: Reheat individual slices on a microwave-safe plate for 30–60 seconds until warm.

  • Oven or Toaster Oven: Bake at 350°F (175°C) for 10–15 minutes for a crispier finish.

  • Skillet (optional): Warm slices on a nonstick skillet over low heat with a lid to keep moisture in.

Best Enjoyed:
Frittata is just as delicious cold or room temp, making it perfect for meal prep, quick breakfasts, or lunch on the go.

Please follow and like us:
onpost_follow
fb-share-icon197
Tweet120
Pinterest20
Share 20
submit to reddit

Subscribe for New Recipes

* indicates required

Intuit Mailchimp

American Cuisine

American Cuisine

Please follow and like us:
onpost_follow
fb-share-icon197
Tweet120
Pinterest20
Share 20
submit to reddit

American Cuisine

All-American Eats: A Flavorful Journey Across the USA! 🇺🇸🍔

From the classic comfort foods of the South to the vibrant flavors of California cuisine, American food is as diverse as its people. Our collection of recipes celebrates the rich culinary traditions of America, offering a taste of everything from coast to coast.

Get ready to indulge in juicy burgers, crispy fried chicken, and hearty chili. Explore the diverse flavors of regional specialties like New England clam chowder, Southern barbecue, and Tex-Mex tacos. And don’t forget the sweet treats, from apple pie to chocolate chip cookies.

Whether you’re looking for a quick and easy weeknight meal or a showstopping dish for a special occasion, our recipes will inspire you to cook up a storm. So grab your apron and get ready to celebrate the best of American cuisine!

Explore our American recipes and taste the flavors of the USA!

Quick links to our most popular cuisines.

Mexican Cuisine
Italian Cuisine
Chinese Cuisine
Japanese Cuisine
Indian Cuisine
Thai Cuisine
American Cuisine
Mediterranean Cuisine
French Cuisine

Quick links to our most popular sections.

Appetizers
Breakfast


One-Pot Meals
Stir Fry Meals
Top Rated Recipes
Insta-Pot Recipes