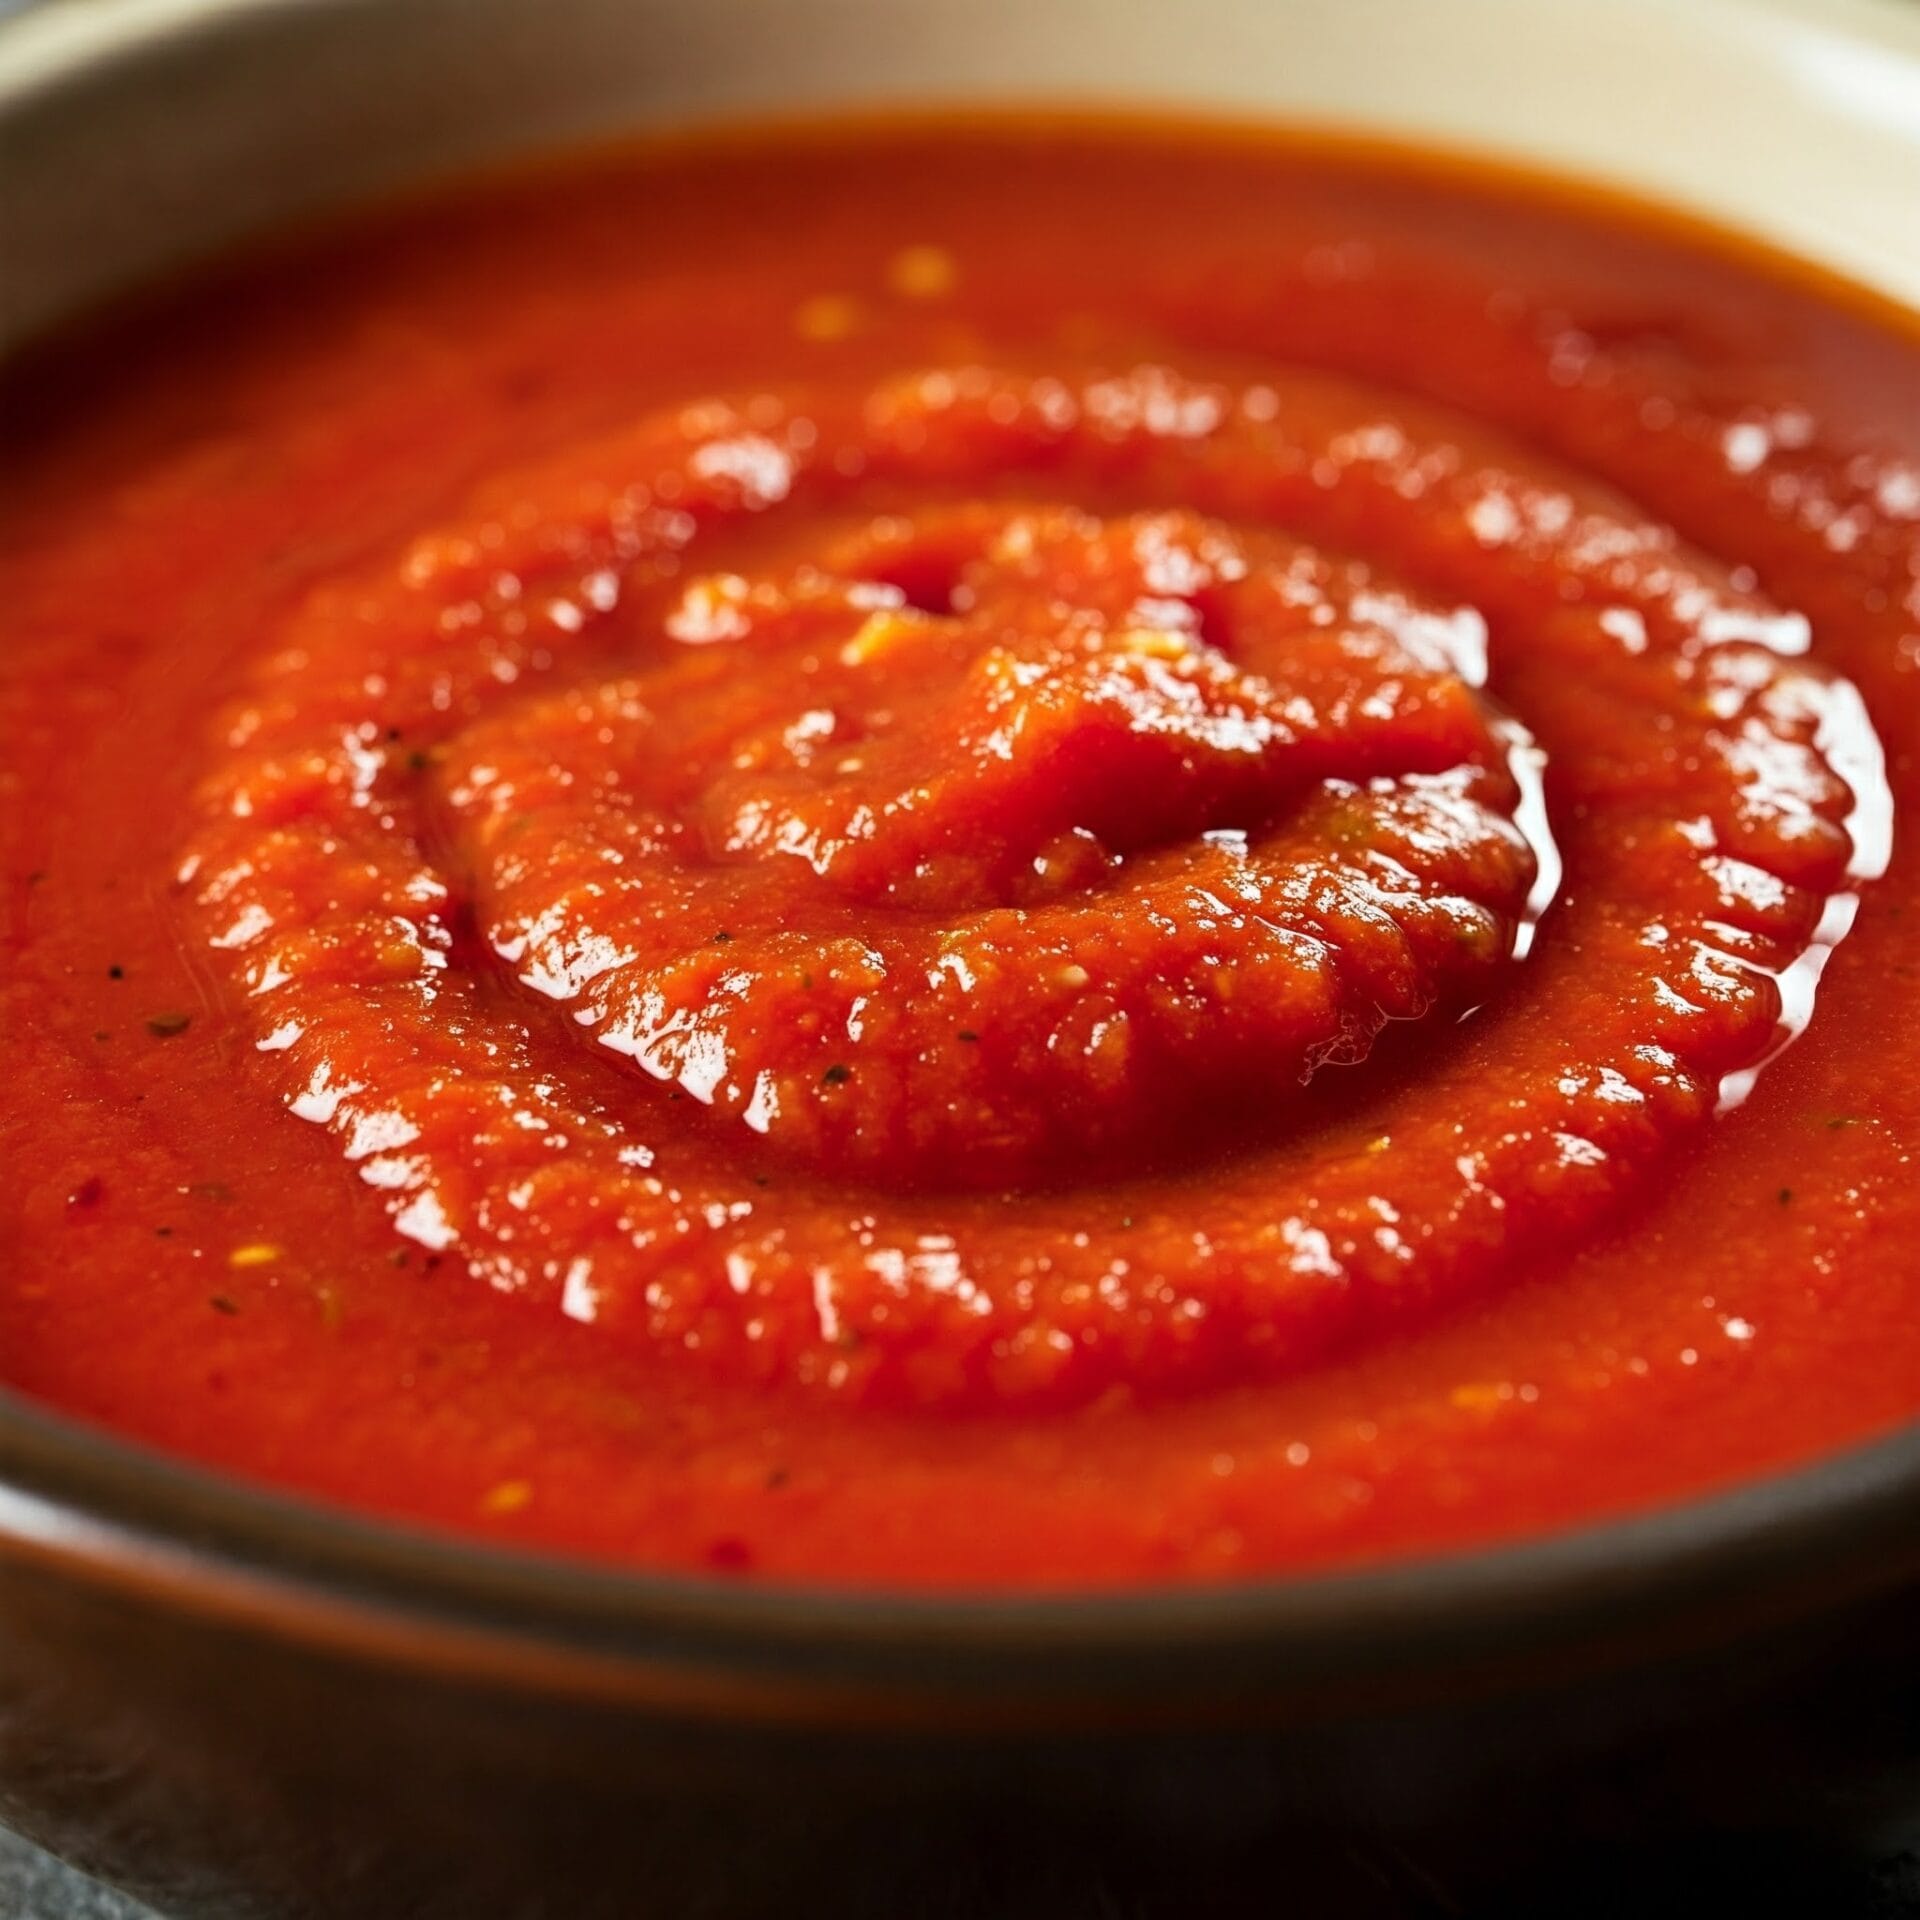
Marinara Sauce
Marinara Sauce
Forget those bland, lifeless jars from the supermarket! It’s time to unleash your inner Italian chef and create a marinara sauce that will make your taste buds sing “O Sole Mio!” This isn’t just a sauce; it’s a culinary adventure, a flavor fiesta that will transport you straight to the sun-drenched hills of Italy.
Imagine: plump, juicy tomatoes simmered slowly with aromatic garlic and fragrant herbs, transforming into a rich, velvety masterpiece. This marinara is so good, you’ll want to bathe in it (but please don’t, it might stain!).
Why should you ditch the jar and embrace this homemade wonder? Here’s the deal:
- Flavor Explosion: This marinara bursts with fresh, vibrant flavors that will make your taste buds do a happy dance. Say “arrivederci” to those dull, mass-produced sauces!
- Kitchen Confidence: Conquering this recipe will make you feel like a culinary superhero. You’ll be the master of your kitchen domain, whipping up magic with just a few simple ingredients.
- Love is the Secret Ingredient: Homemade marinara is made with love, and that makes all the difference. Share it with your family and friends, and watch their faces light up with joy.
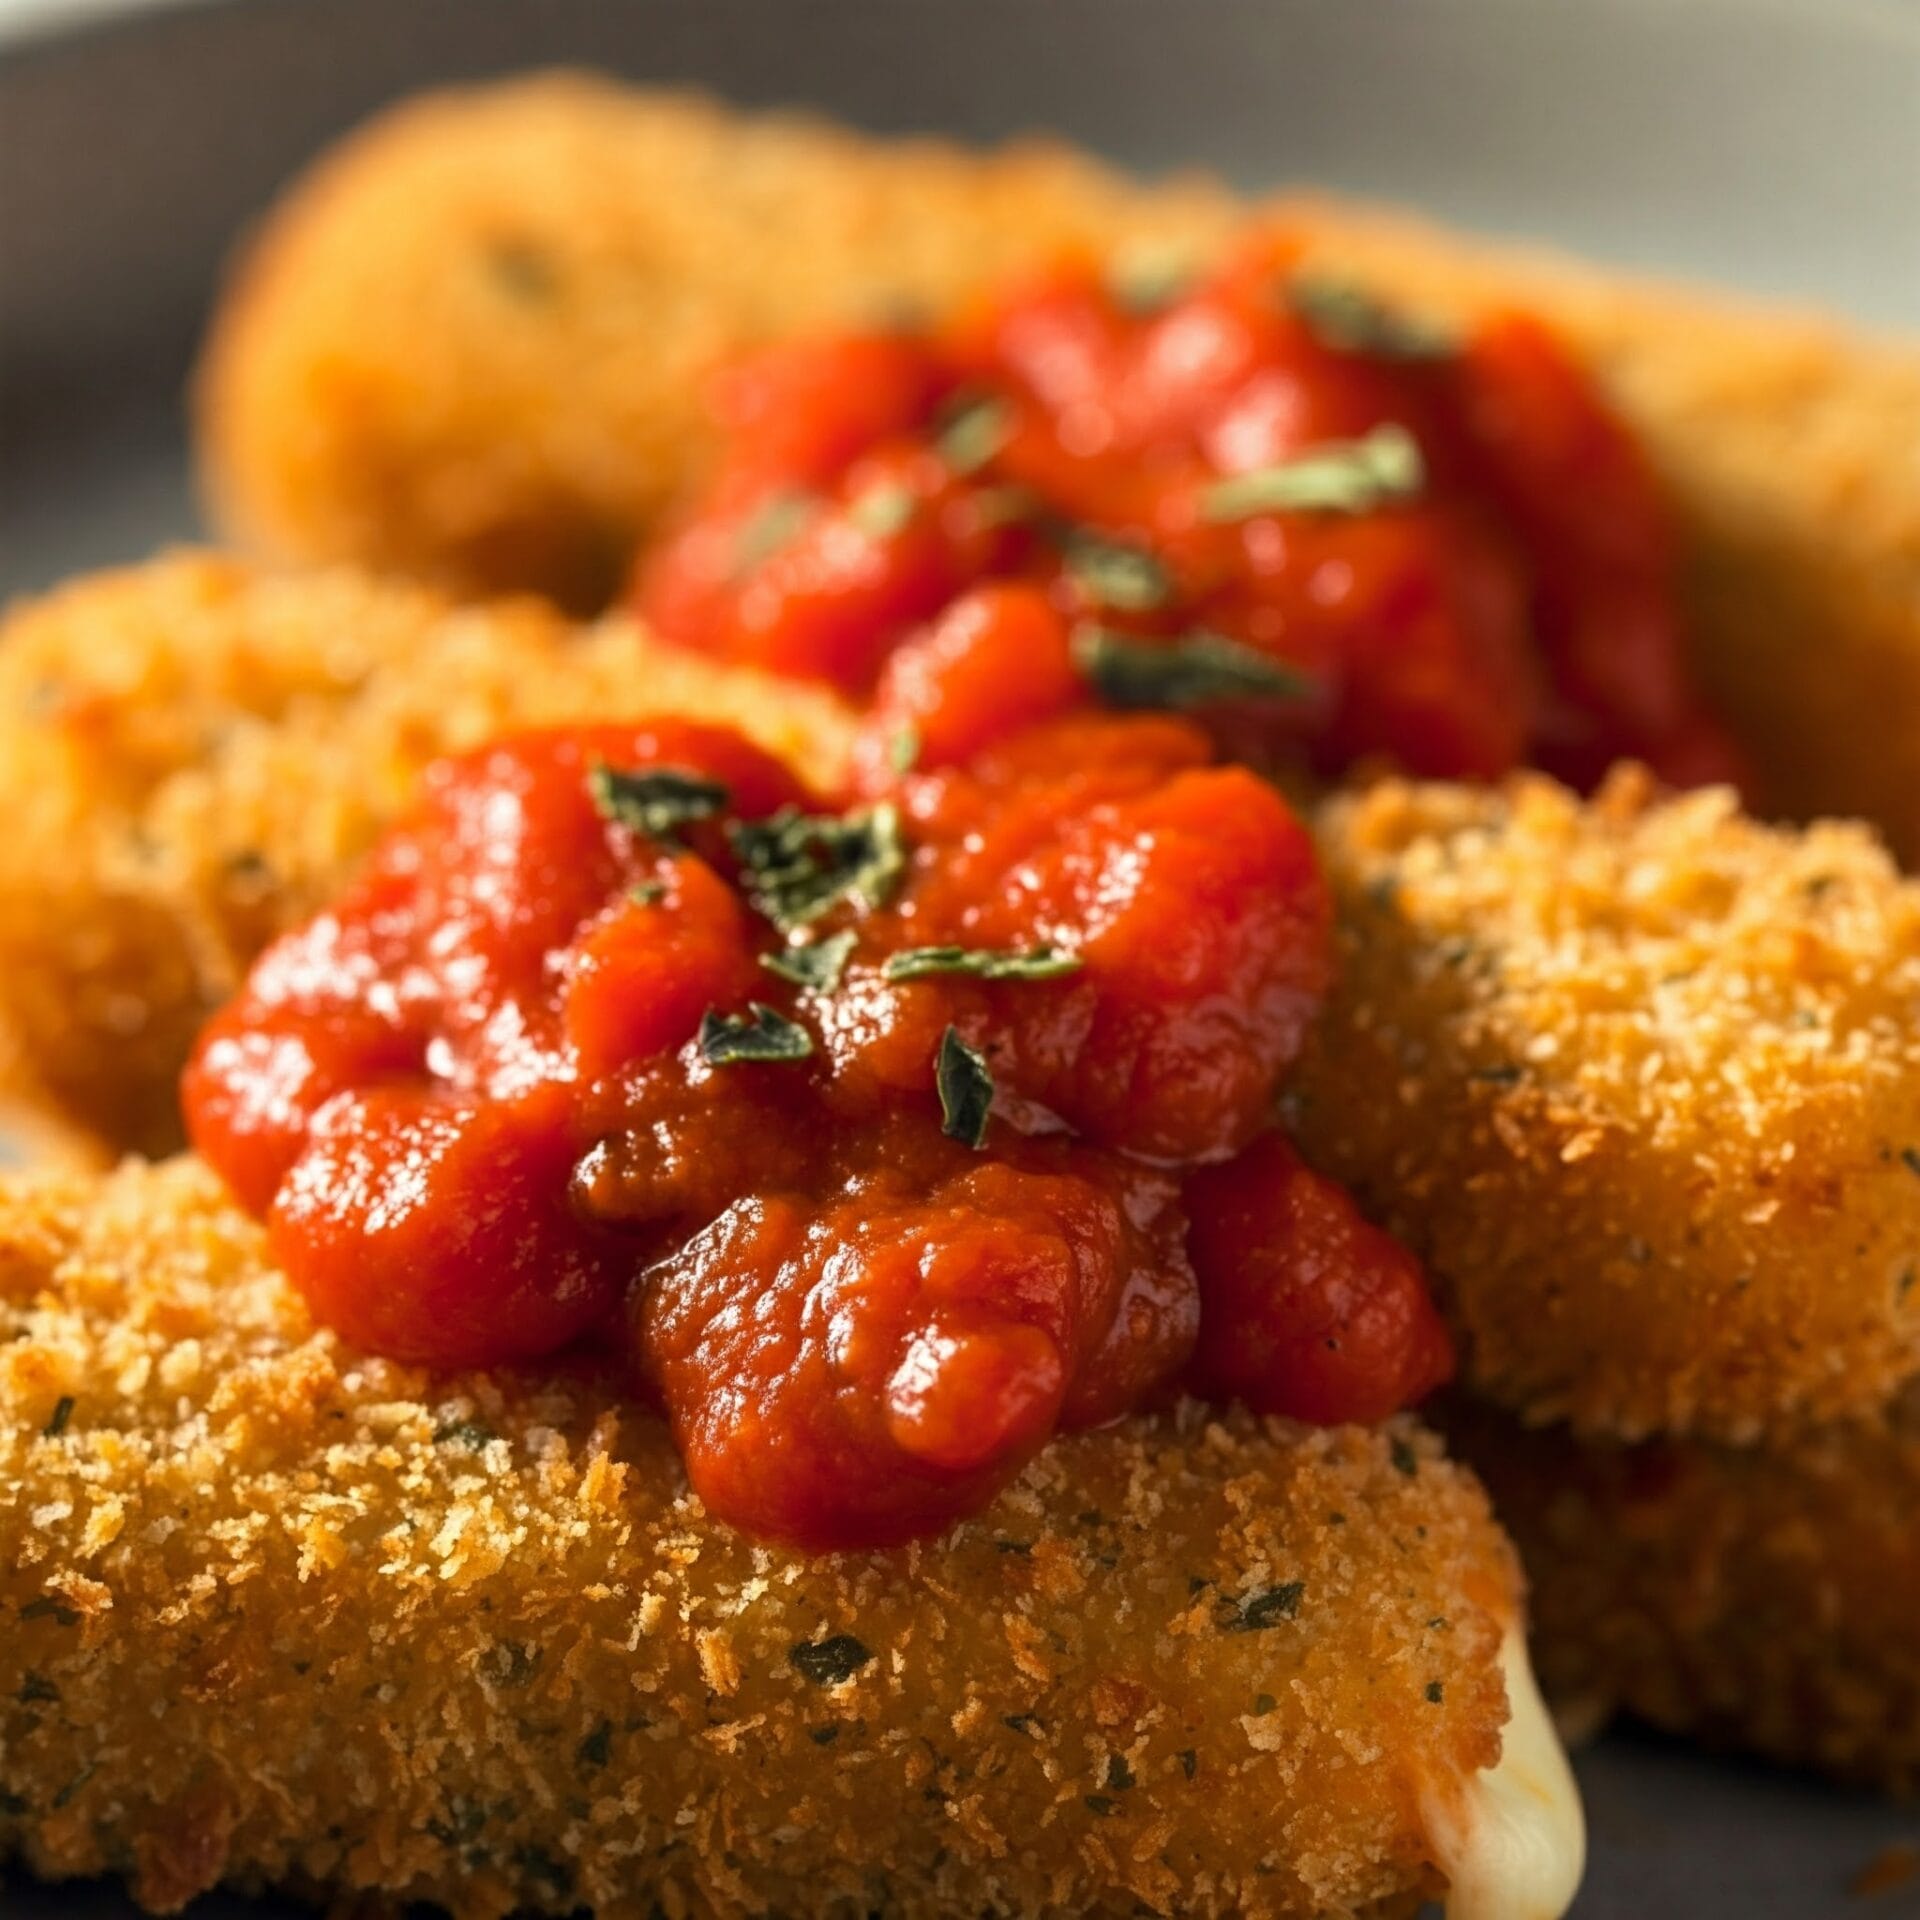
- Versatility Superstar: This sauce isn’t a one-trick pony. It’s amazing on pasta, pizza, lasagna, and even as a dip for breadsticks. The possibilities are endless!
So, grab your apron, crank up some Italian opera, and get ready to create a marinara masterpiece that will have everyone saying “Mamma Mia!
Marinara Sauce
Ingredients


Equipment


Method
- Chop the onion and mince or crush the garlic. Have your can of tomatoes ready.1 lg Yellow Onion, 4 cloves Garlic, 112 oz Plum tomatoes
- Heat the olive oil in a large saucepan over medium-high heat. Once the oil is shimmering, add the onions and garlic. Reduce heat if the oil begins to smoke. Cook, stirring often, until the onions are translucent and the garlic is fragrant and lightly golden, about 5-7 minutes.1 lg Yellow Onion, 6 oz Olive oil, 4 cloves Garlic
- Carefully add the plum tomatoes to the pot. (Tip: Partially cover the can with the lid to control splattering.)112 oz Plum tomatoes
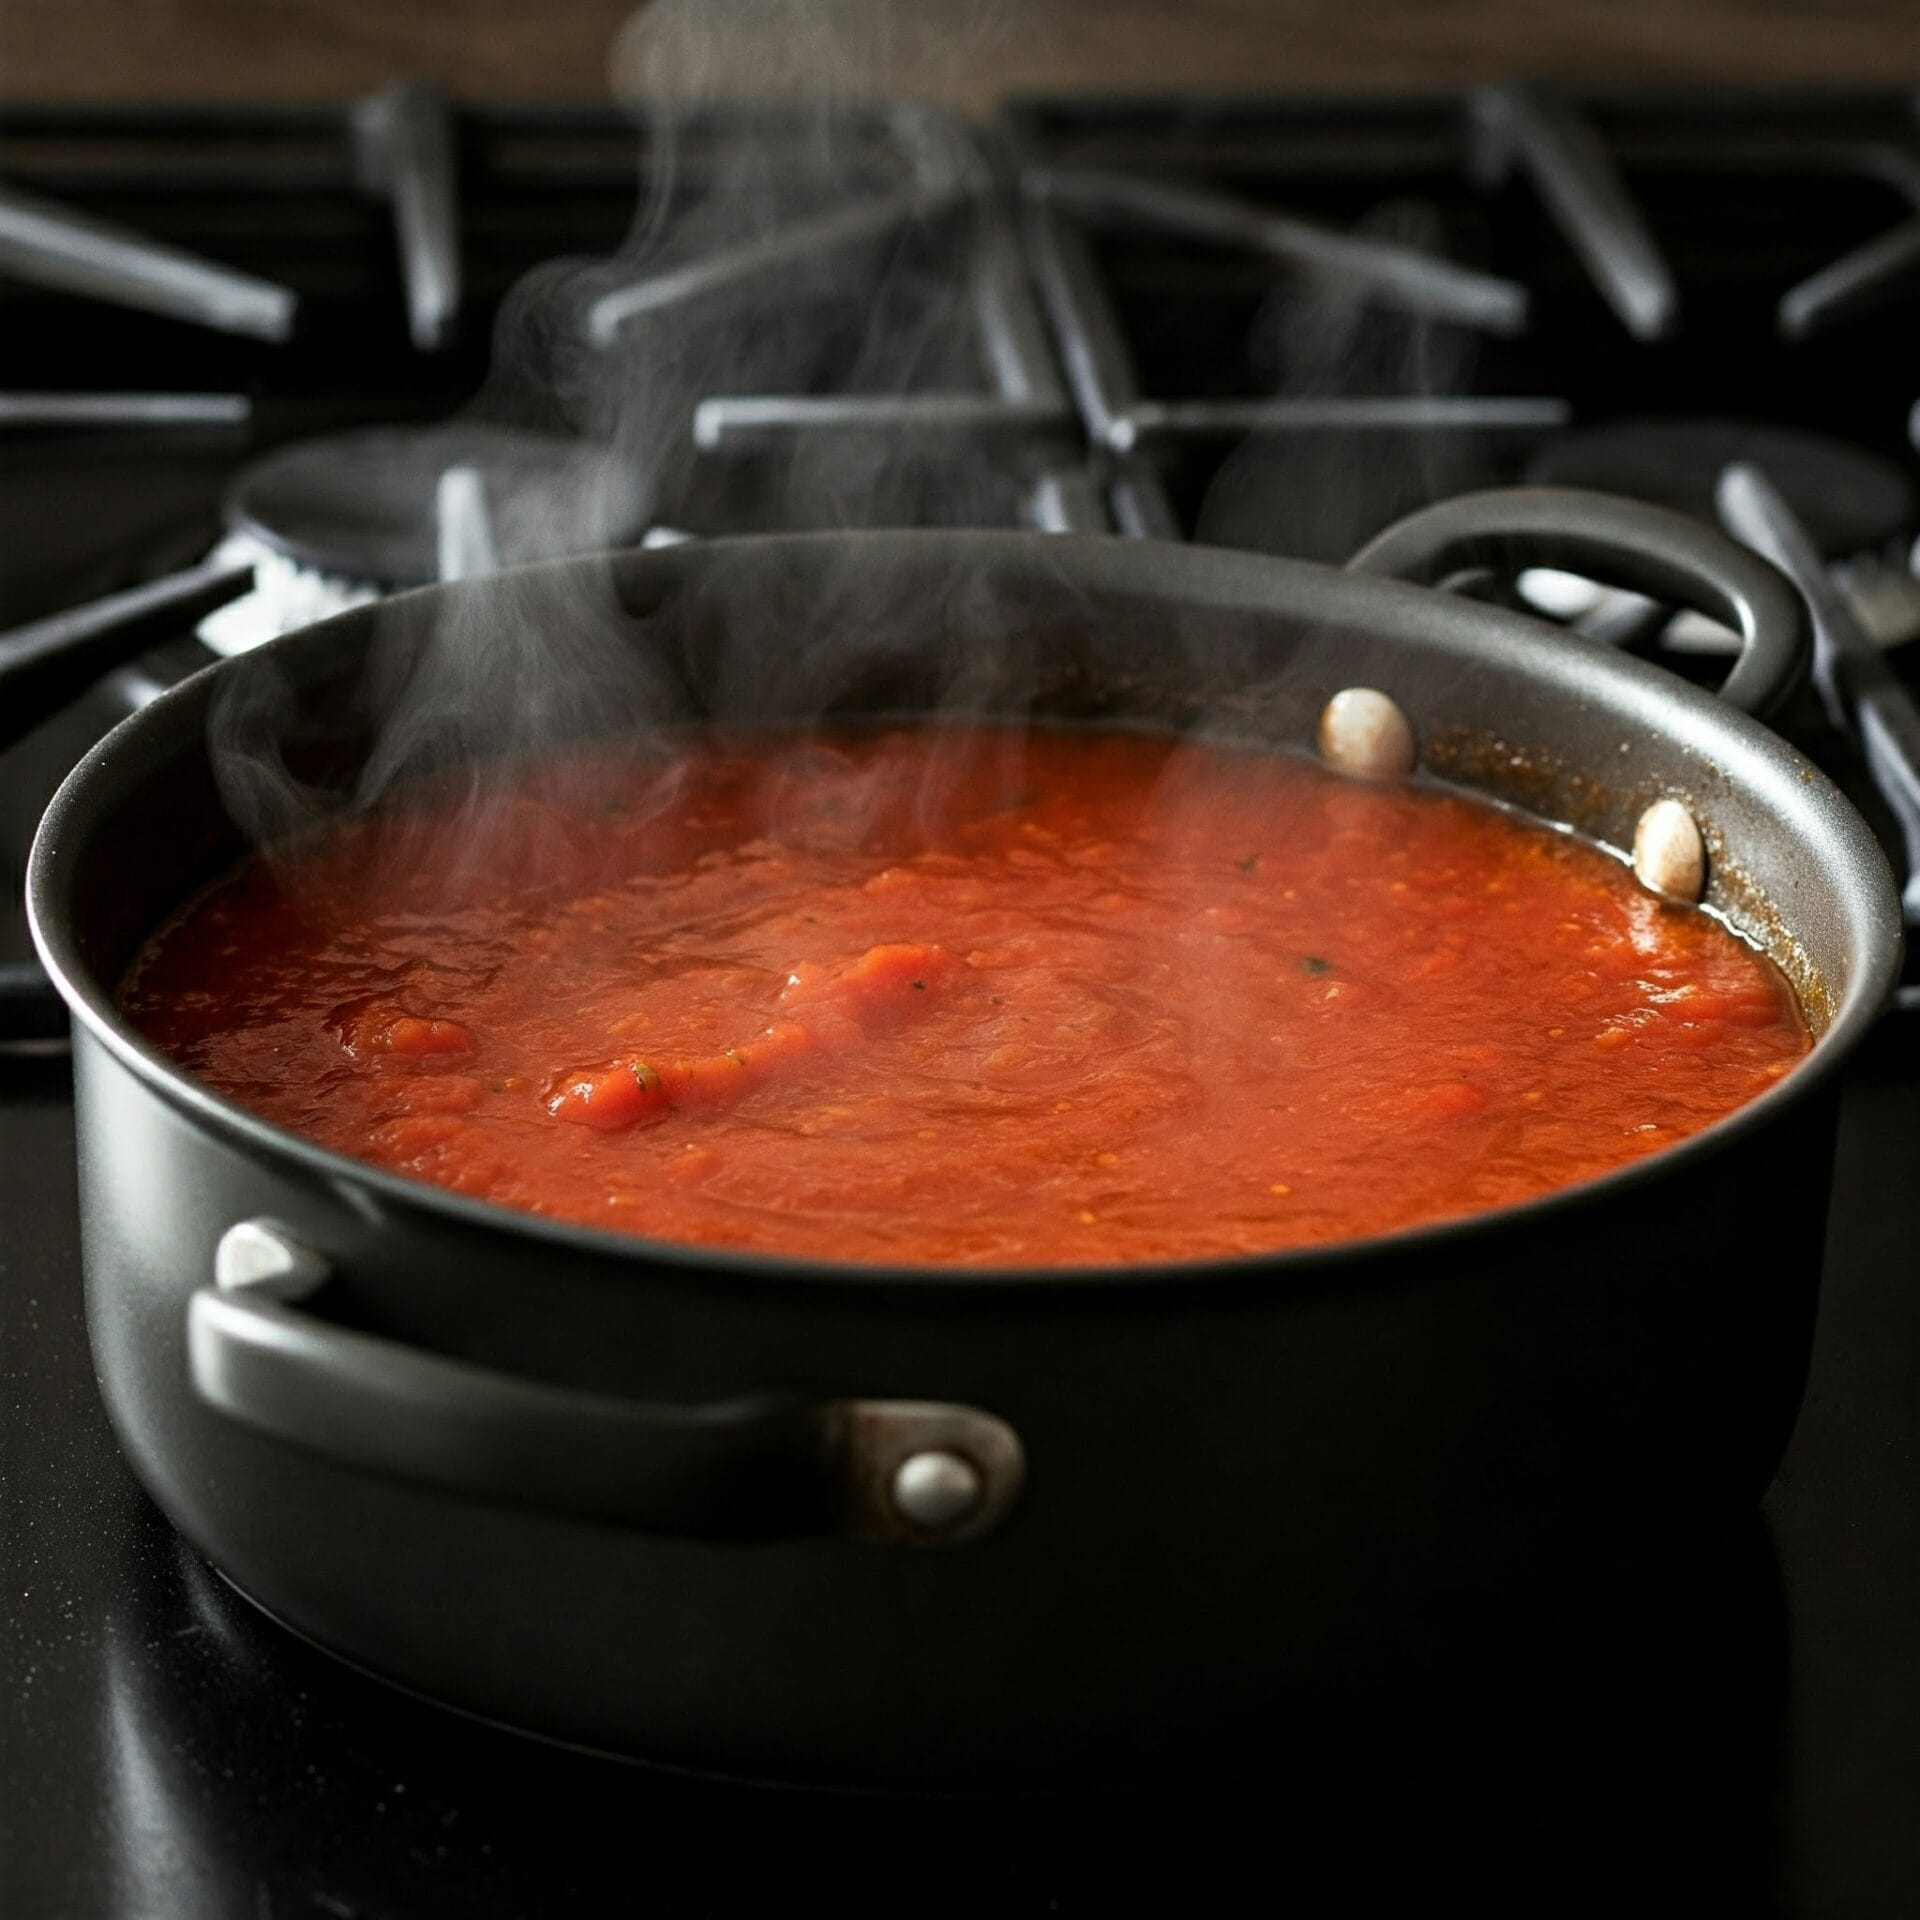
- Reduce the heat to low, cover the pot partially, and simmer for 2-3 hours, stirring occasionally. The sauce should reduce and thicken.
- Before blending, taste the sauce and season with salt and pepper. Add more garlic to taste, a little at a time, stirring and tasting until you reach your desired flavor. Stir in fresh basil leaves.1 tsp Salt, 1 tsp Black pepper, 1 Fresh Basil
- Once the sauce has thickened, use an immersion blender or food mill to blend the sauce until smooth.
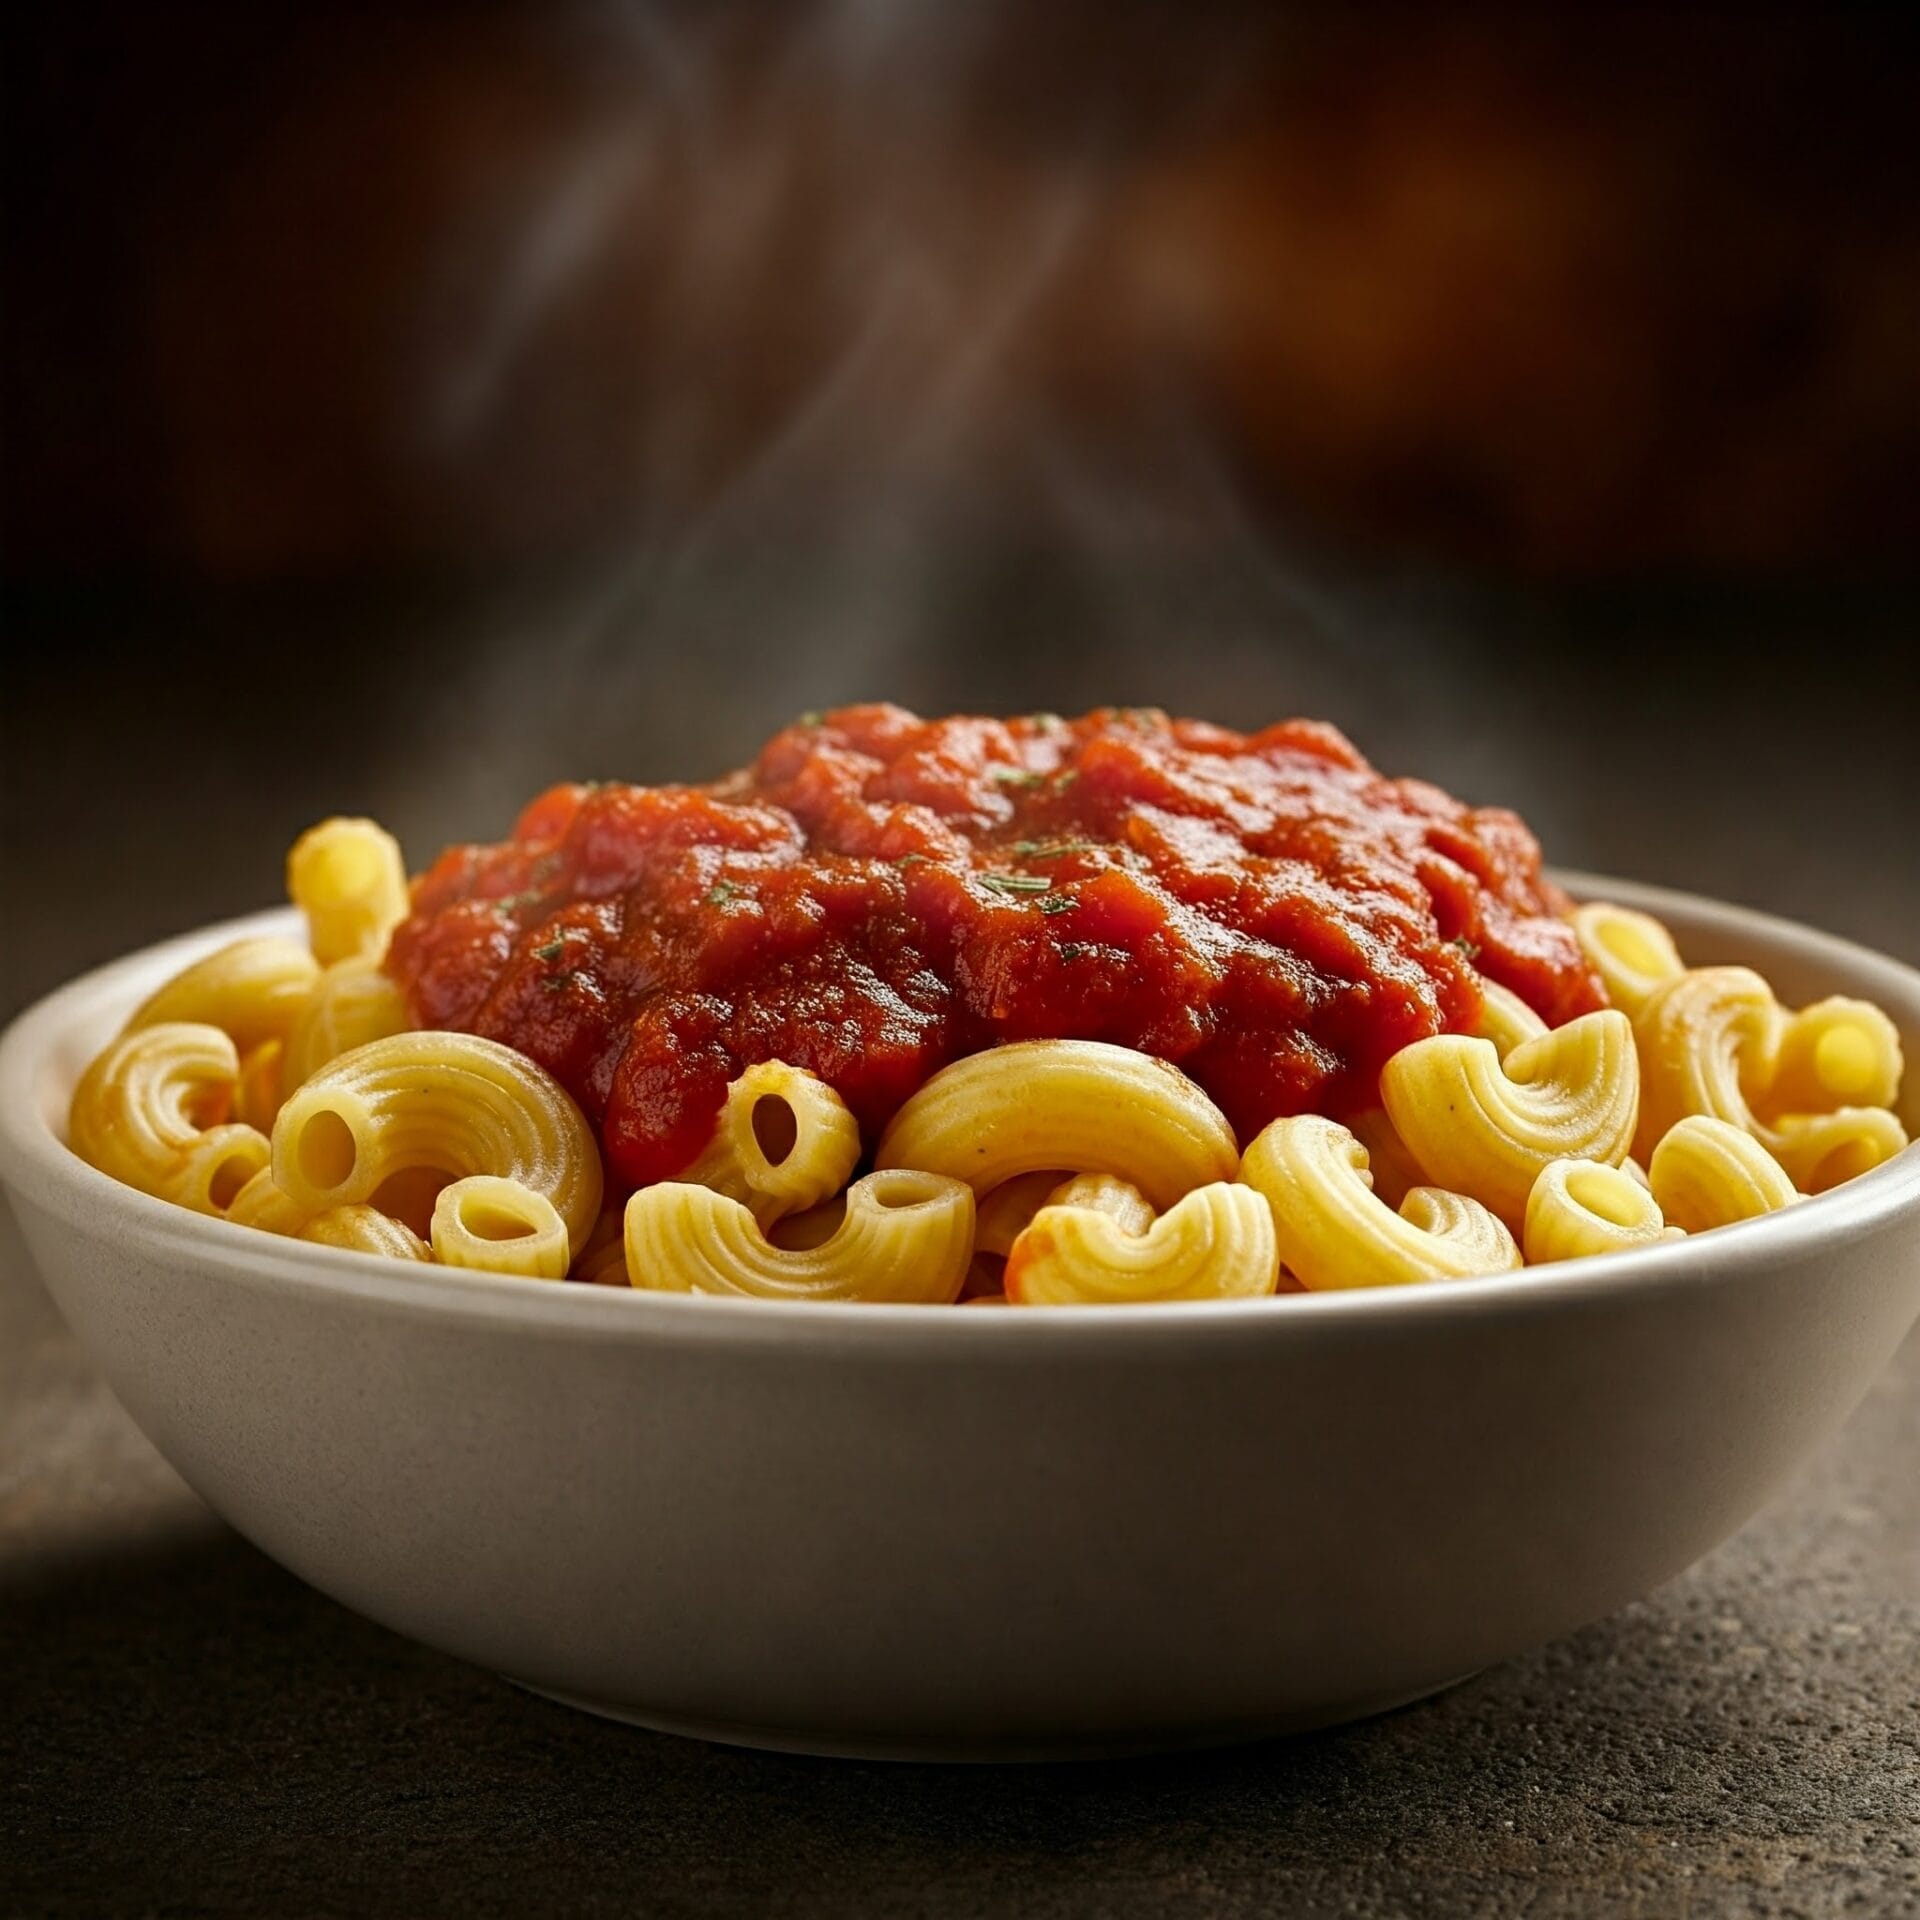
- Your marinara sauce is ready to be used! Toss it with pasta, use it as a pizza sauce, or incorporate it into your favorite Italian dishes.
Nutrition
Video
Notes
- San Marzano Tomatoes: If you can find them, San Marzano tomatoes are the gold standard for marinara sauce. They have a lower acidity and a sweeter flavor that's perfect for this sauce.
- Canned Whole or Crushed: While the recipe calls for plum tomatoes, you can use canned whole or crushed tomatoes as well. If using whole tomatoes, crush them by hand before adding them to the pot.
- Don't Skimp on the Garlic: Garlic is key to a flavorful marinara. Use fresh garlic cloves and don't be afraid to add more to taste.
- Quality Olive Oil: Use a good-quality extra virgin olive oil for the best flavor.
- Tomato Paste (Optional): For an even richer flavor, add a tablespoon or two of tomato paste to the pot along with the garlic and onions. Cook it for a minute or two to deepen its flavor before adding the tomatoes.
- Low and Slow: Simmering the sauce over low heat for a long time allows the flavors to meld and deepen. Don't rush this process!
- Stir Occasionally: Stir the sauce every 20-30 minutes to prevent it from sticking to the bottom of the pot.
- Adjust the Consistency: If the sauce becomes too thick, add a little water or vegetable broth to thin it out.
- Taste and Adjust: Taste the sauce before blending and adjust the seasoning as needed. Remember, you can always add more, but you can't take it away!
- Fresh Herbs: While the recipe calls for basil, you can experiment with other fresh herbs like oregano, thyme, or parsley. Add them at the end, after blending.
- Immersion Blender vs. Food Mill: An immersion blender is the easiest way to blend the sauce. If you don't have one, you can use a food mill or a regular blender (just be careful when blending hot liquids).
- Smoothness: Blend the sauce to your desired consistency. Some people prefer a completely smooth sauce, while others like a bit of texture.
- Make it Your Own: Feel free to experiment with this recipe! Add a pinch of red pepper flakes for heat, a spoonful of sugar to balance acidity, or a splash of red wine for depth of flavor.
Tried this recipe?
Let us know how it was!Ingredients
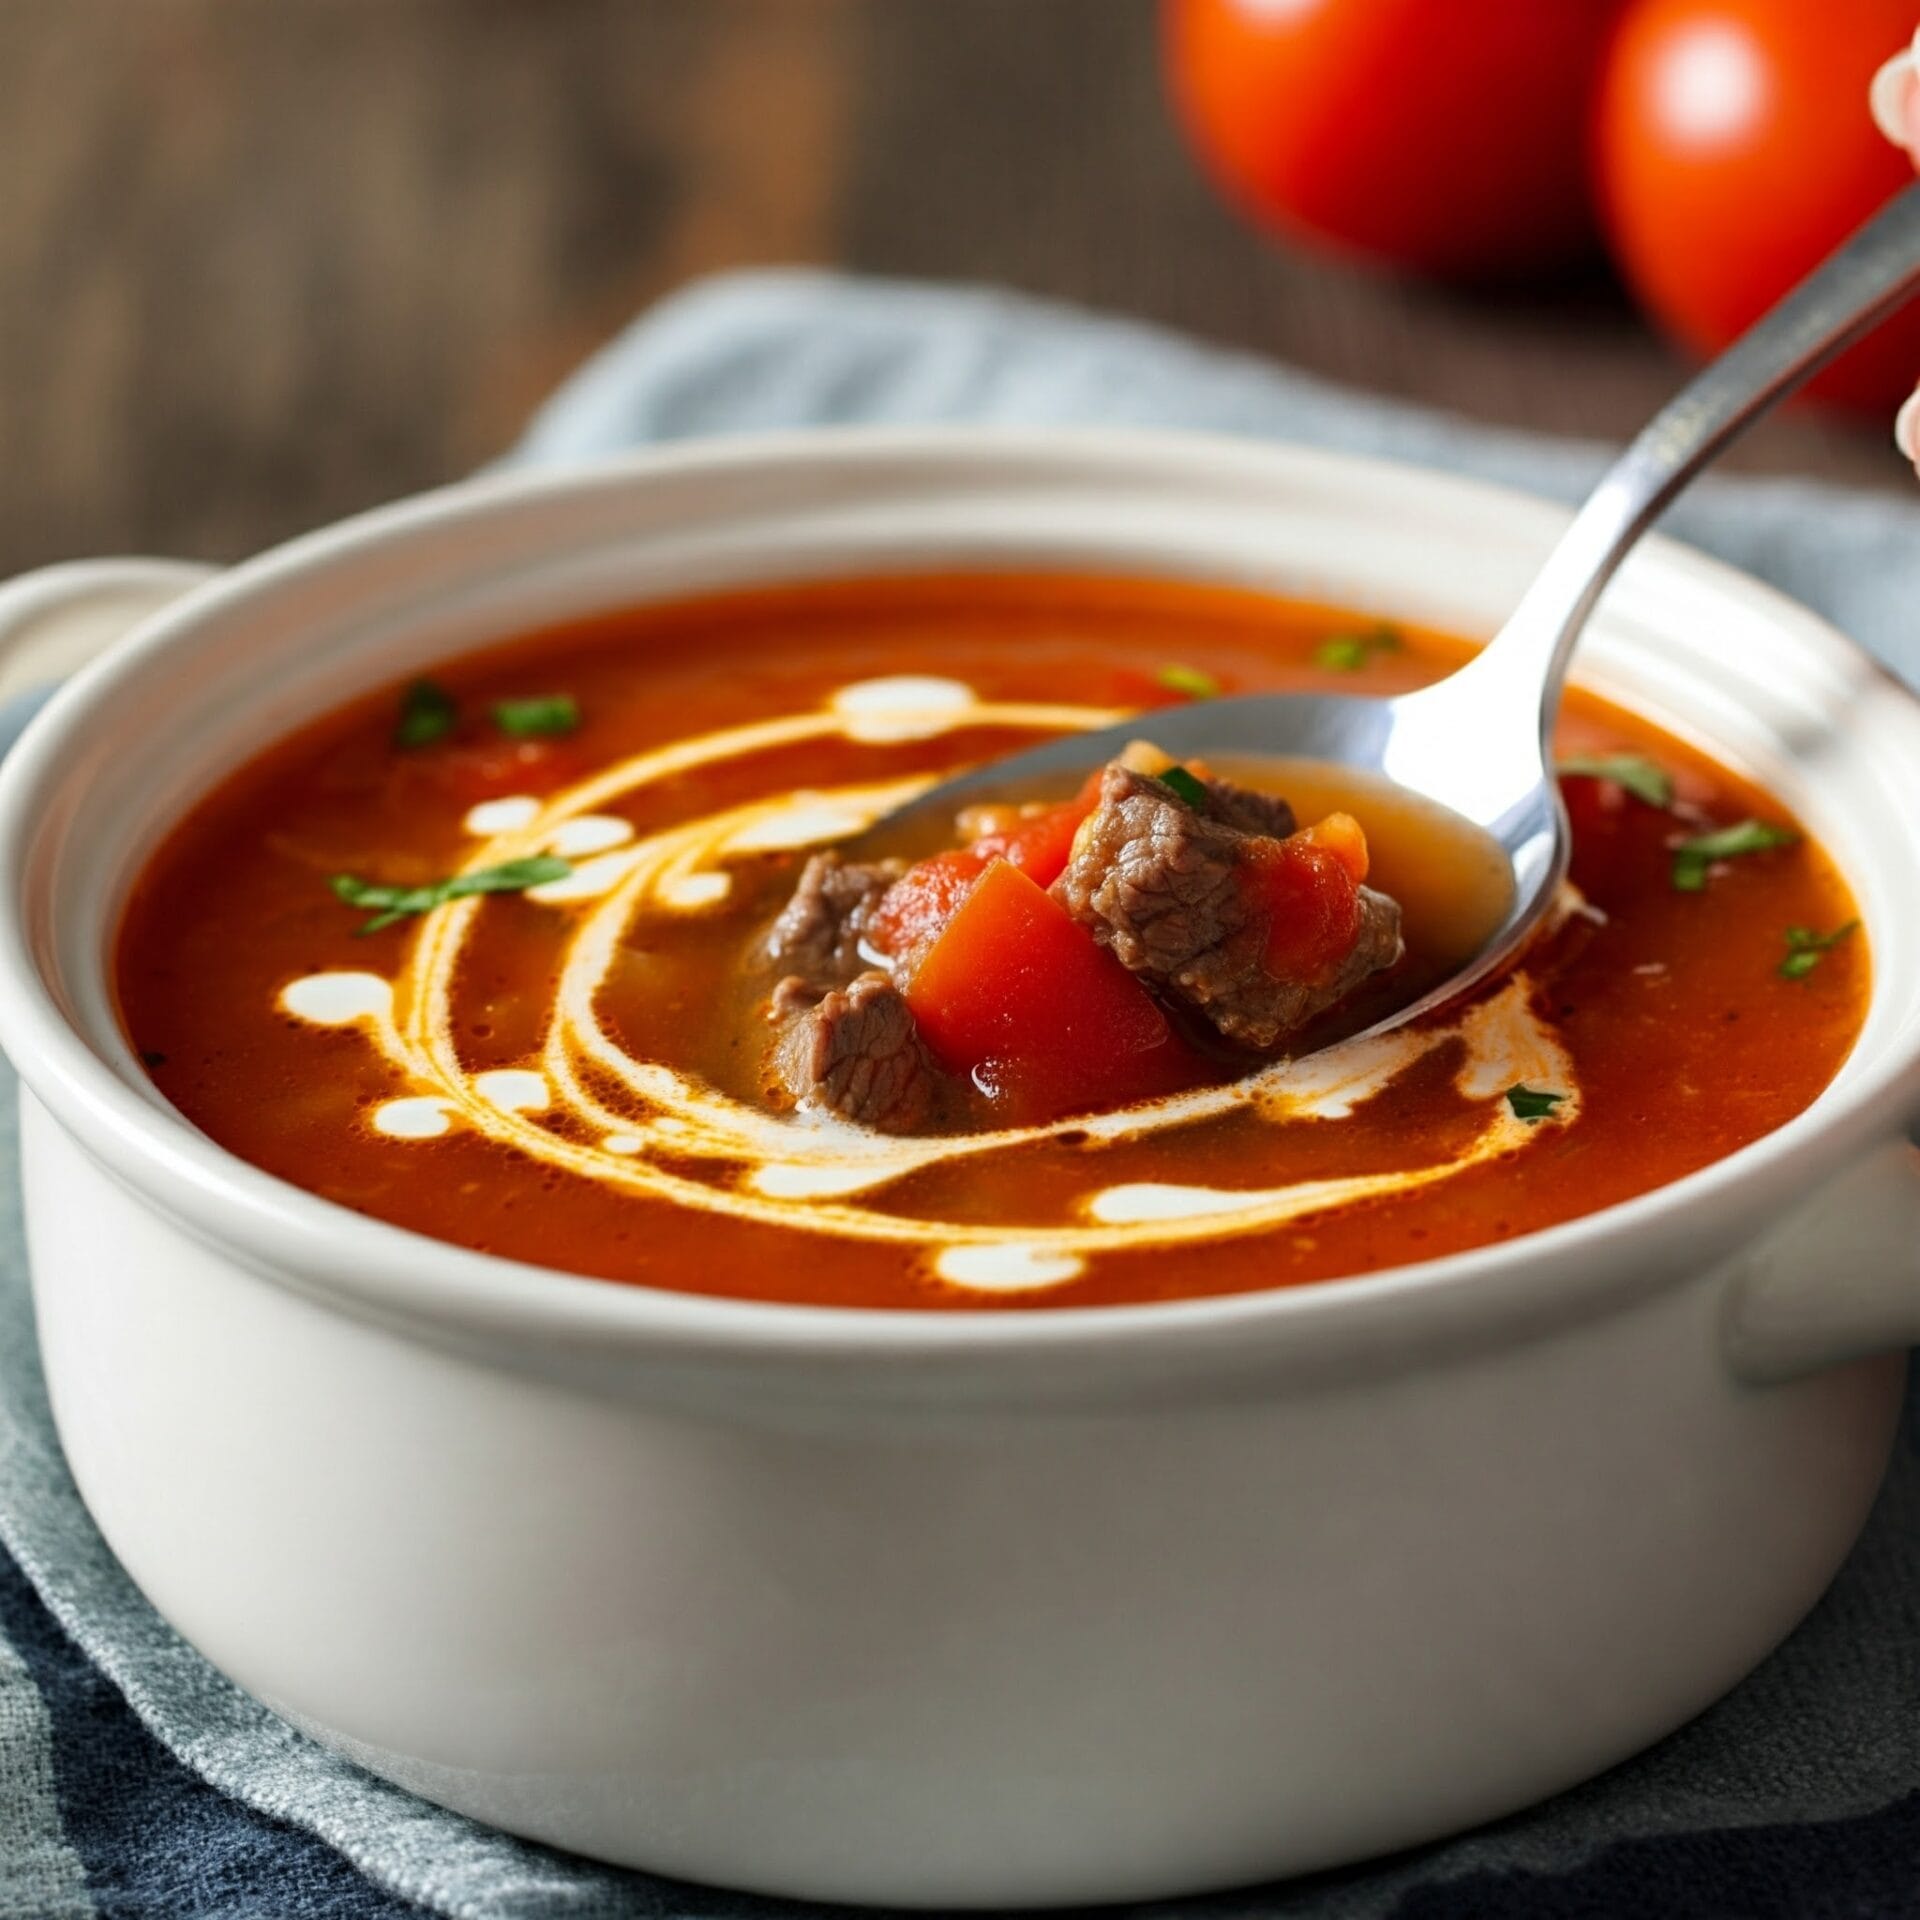
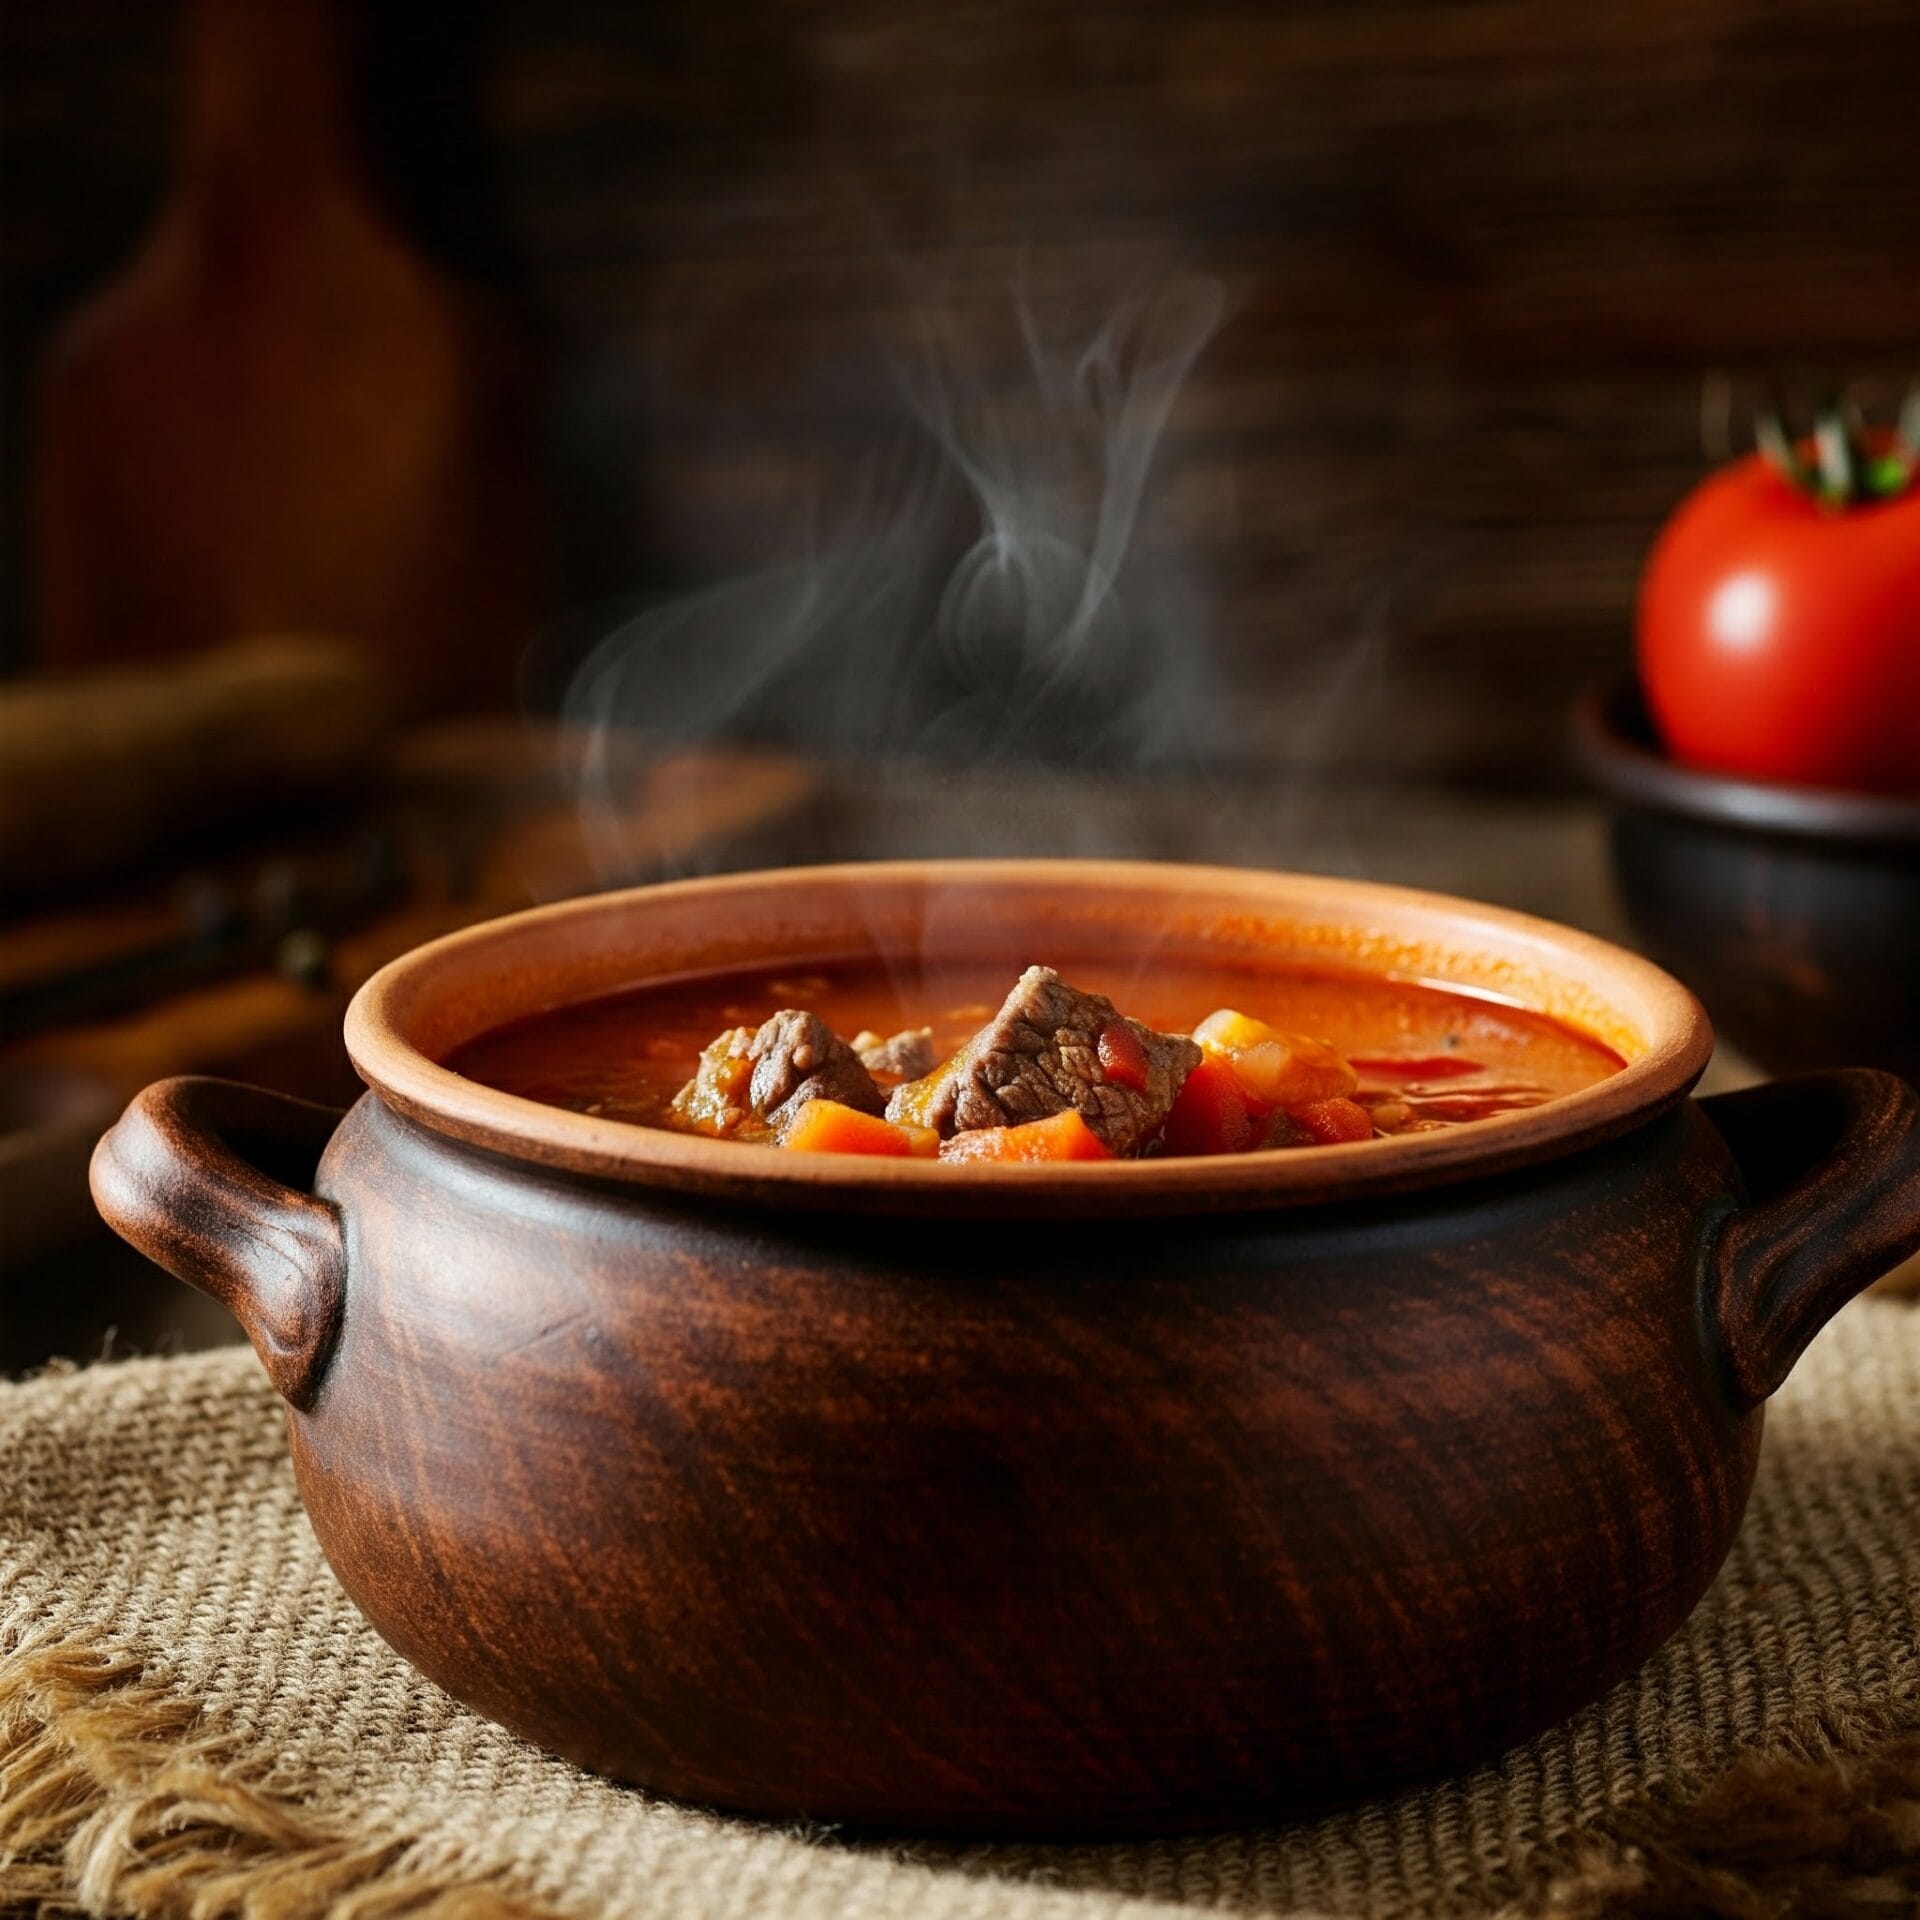
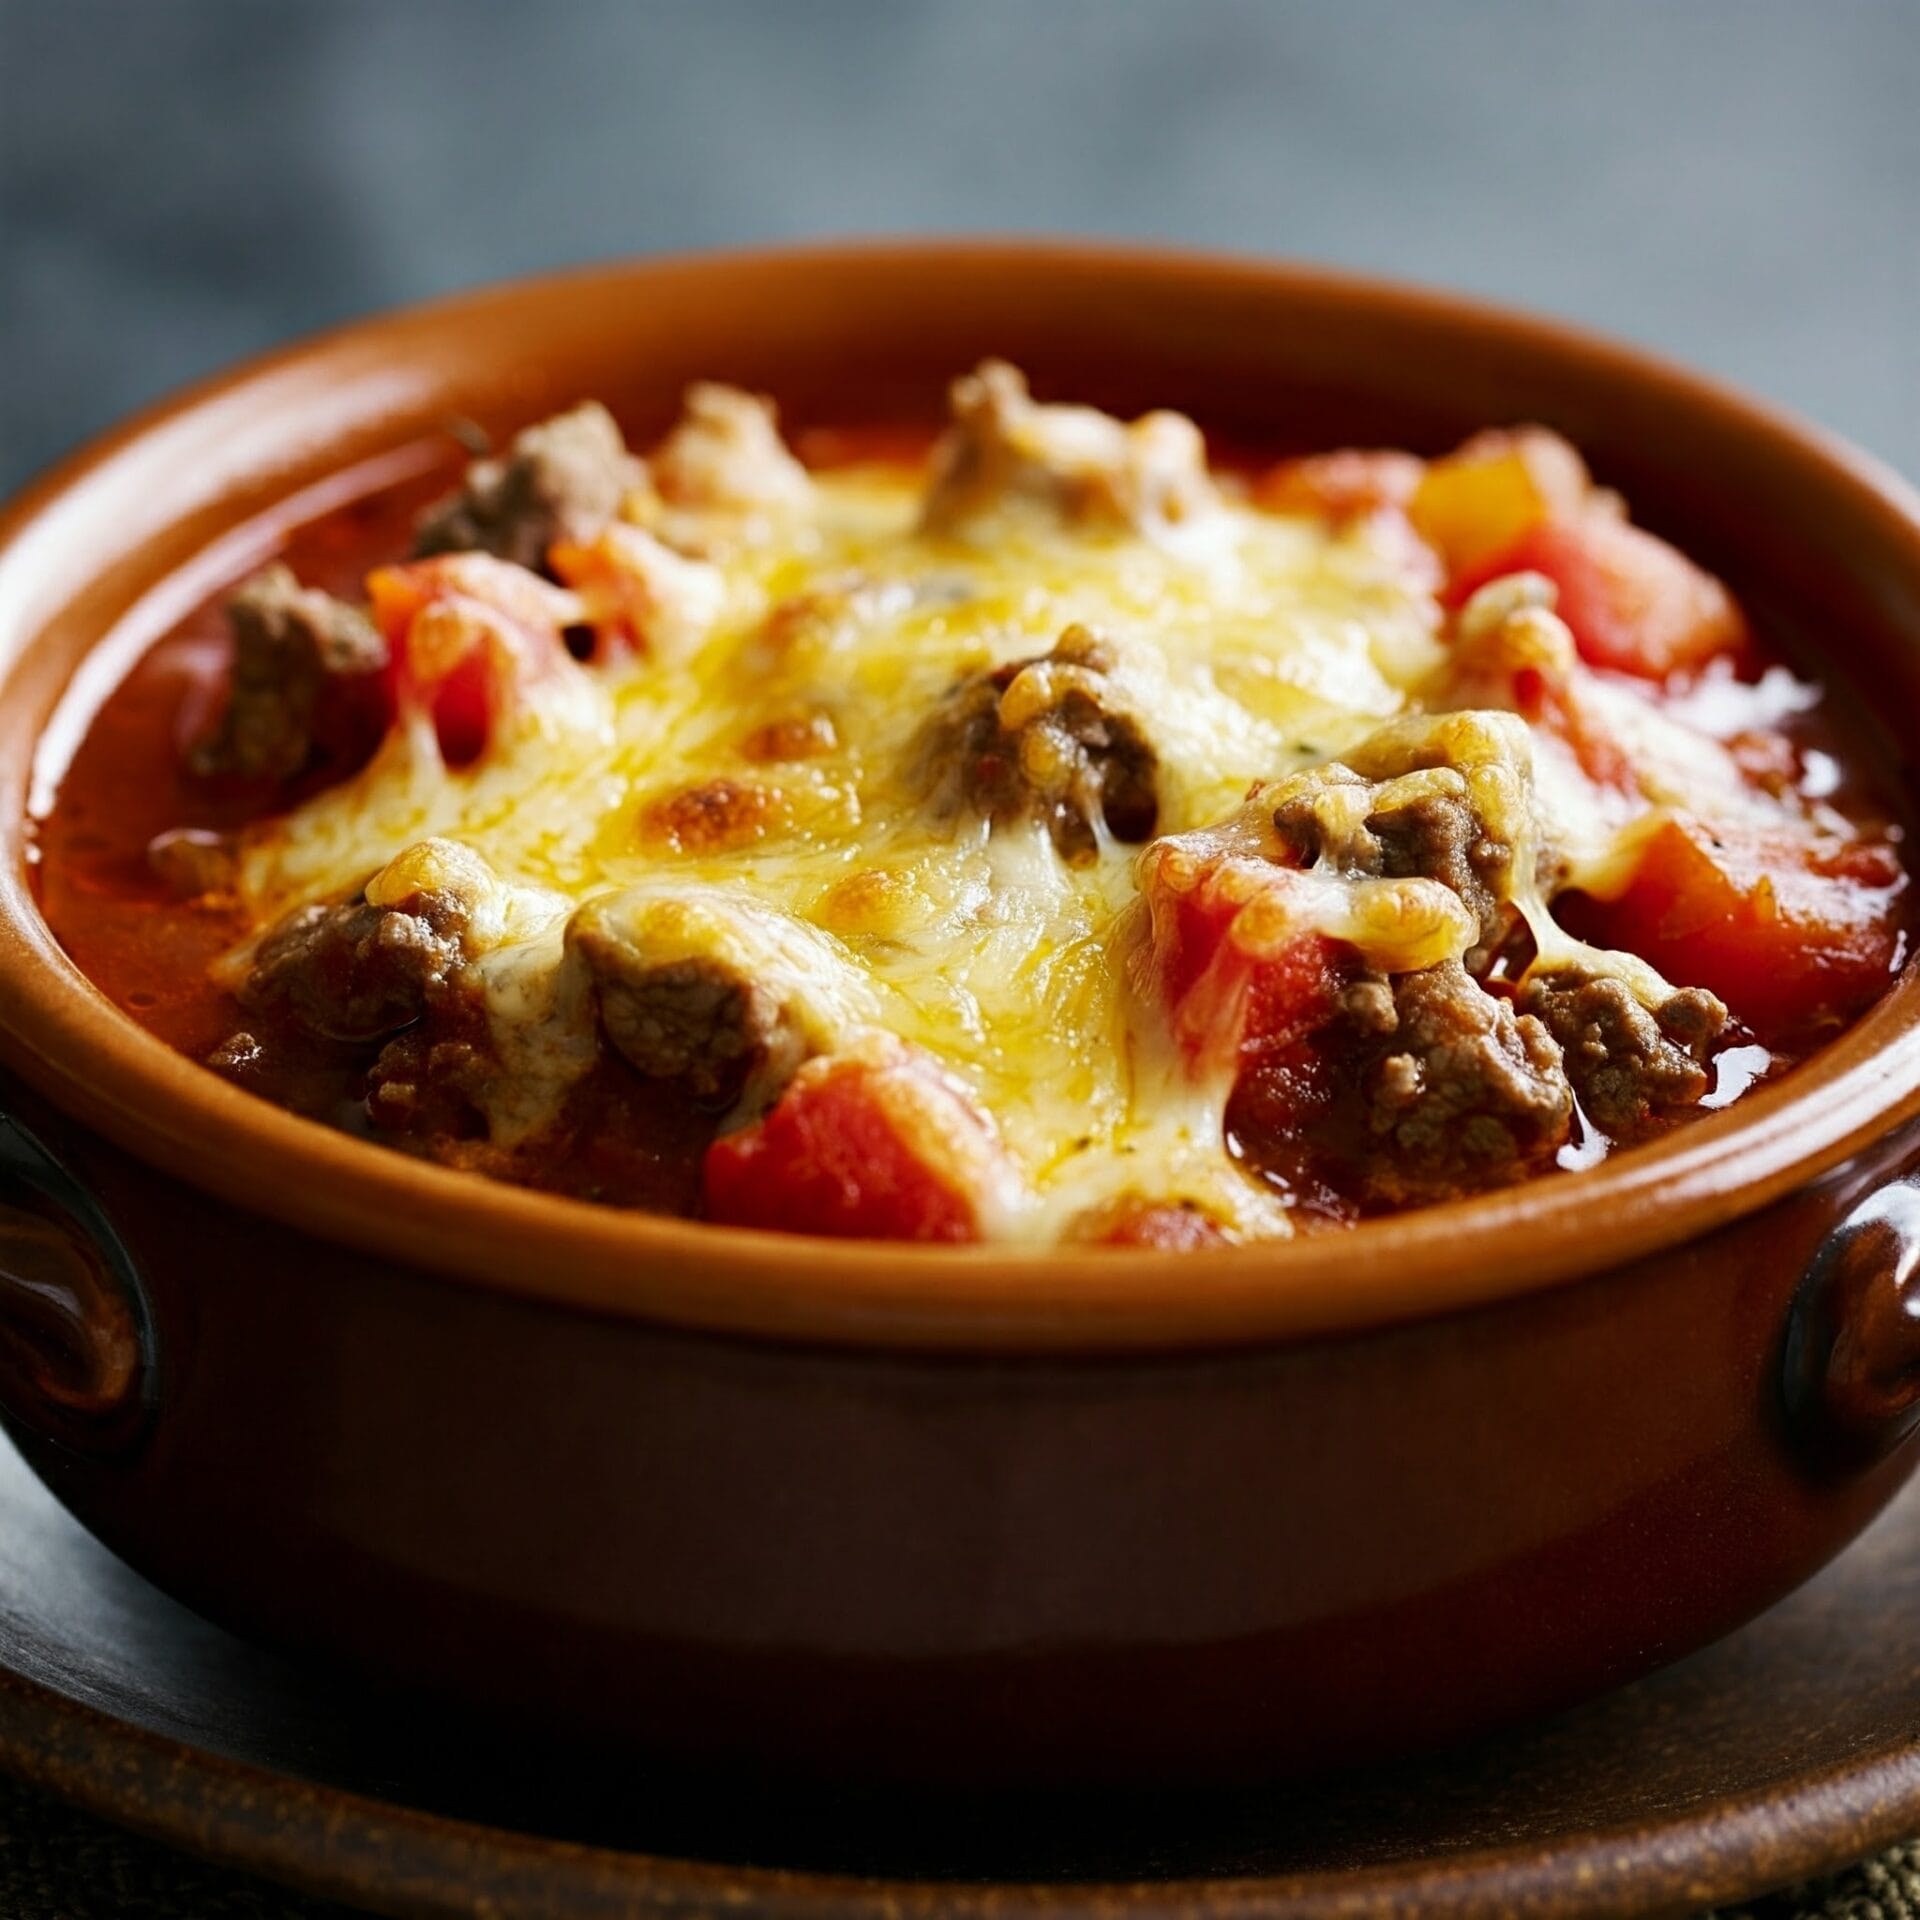
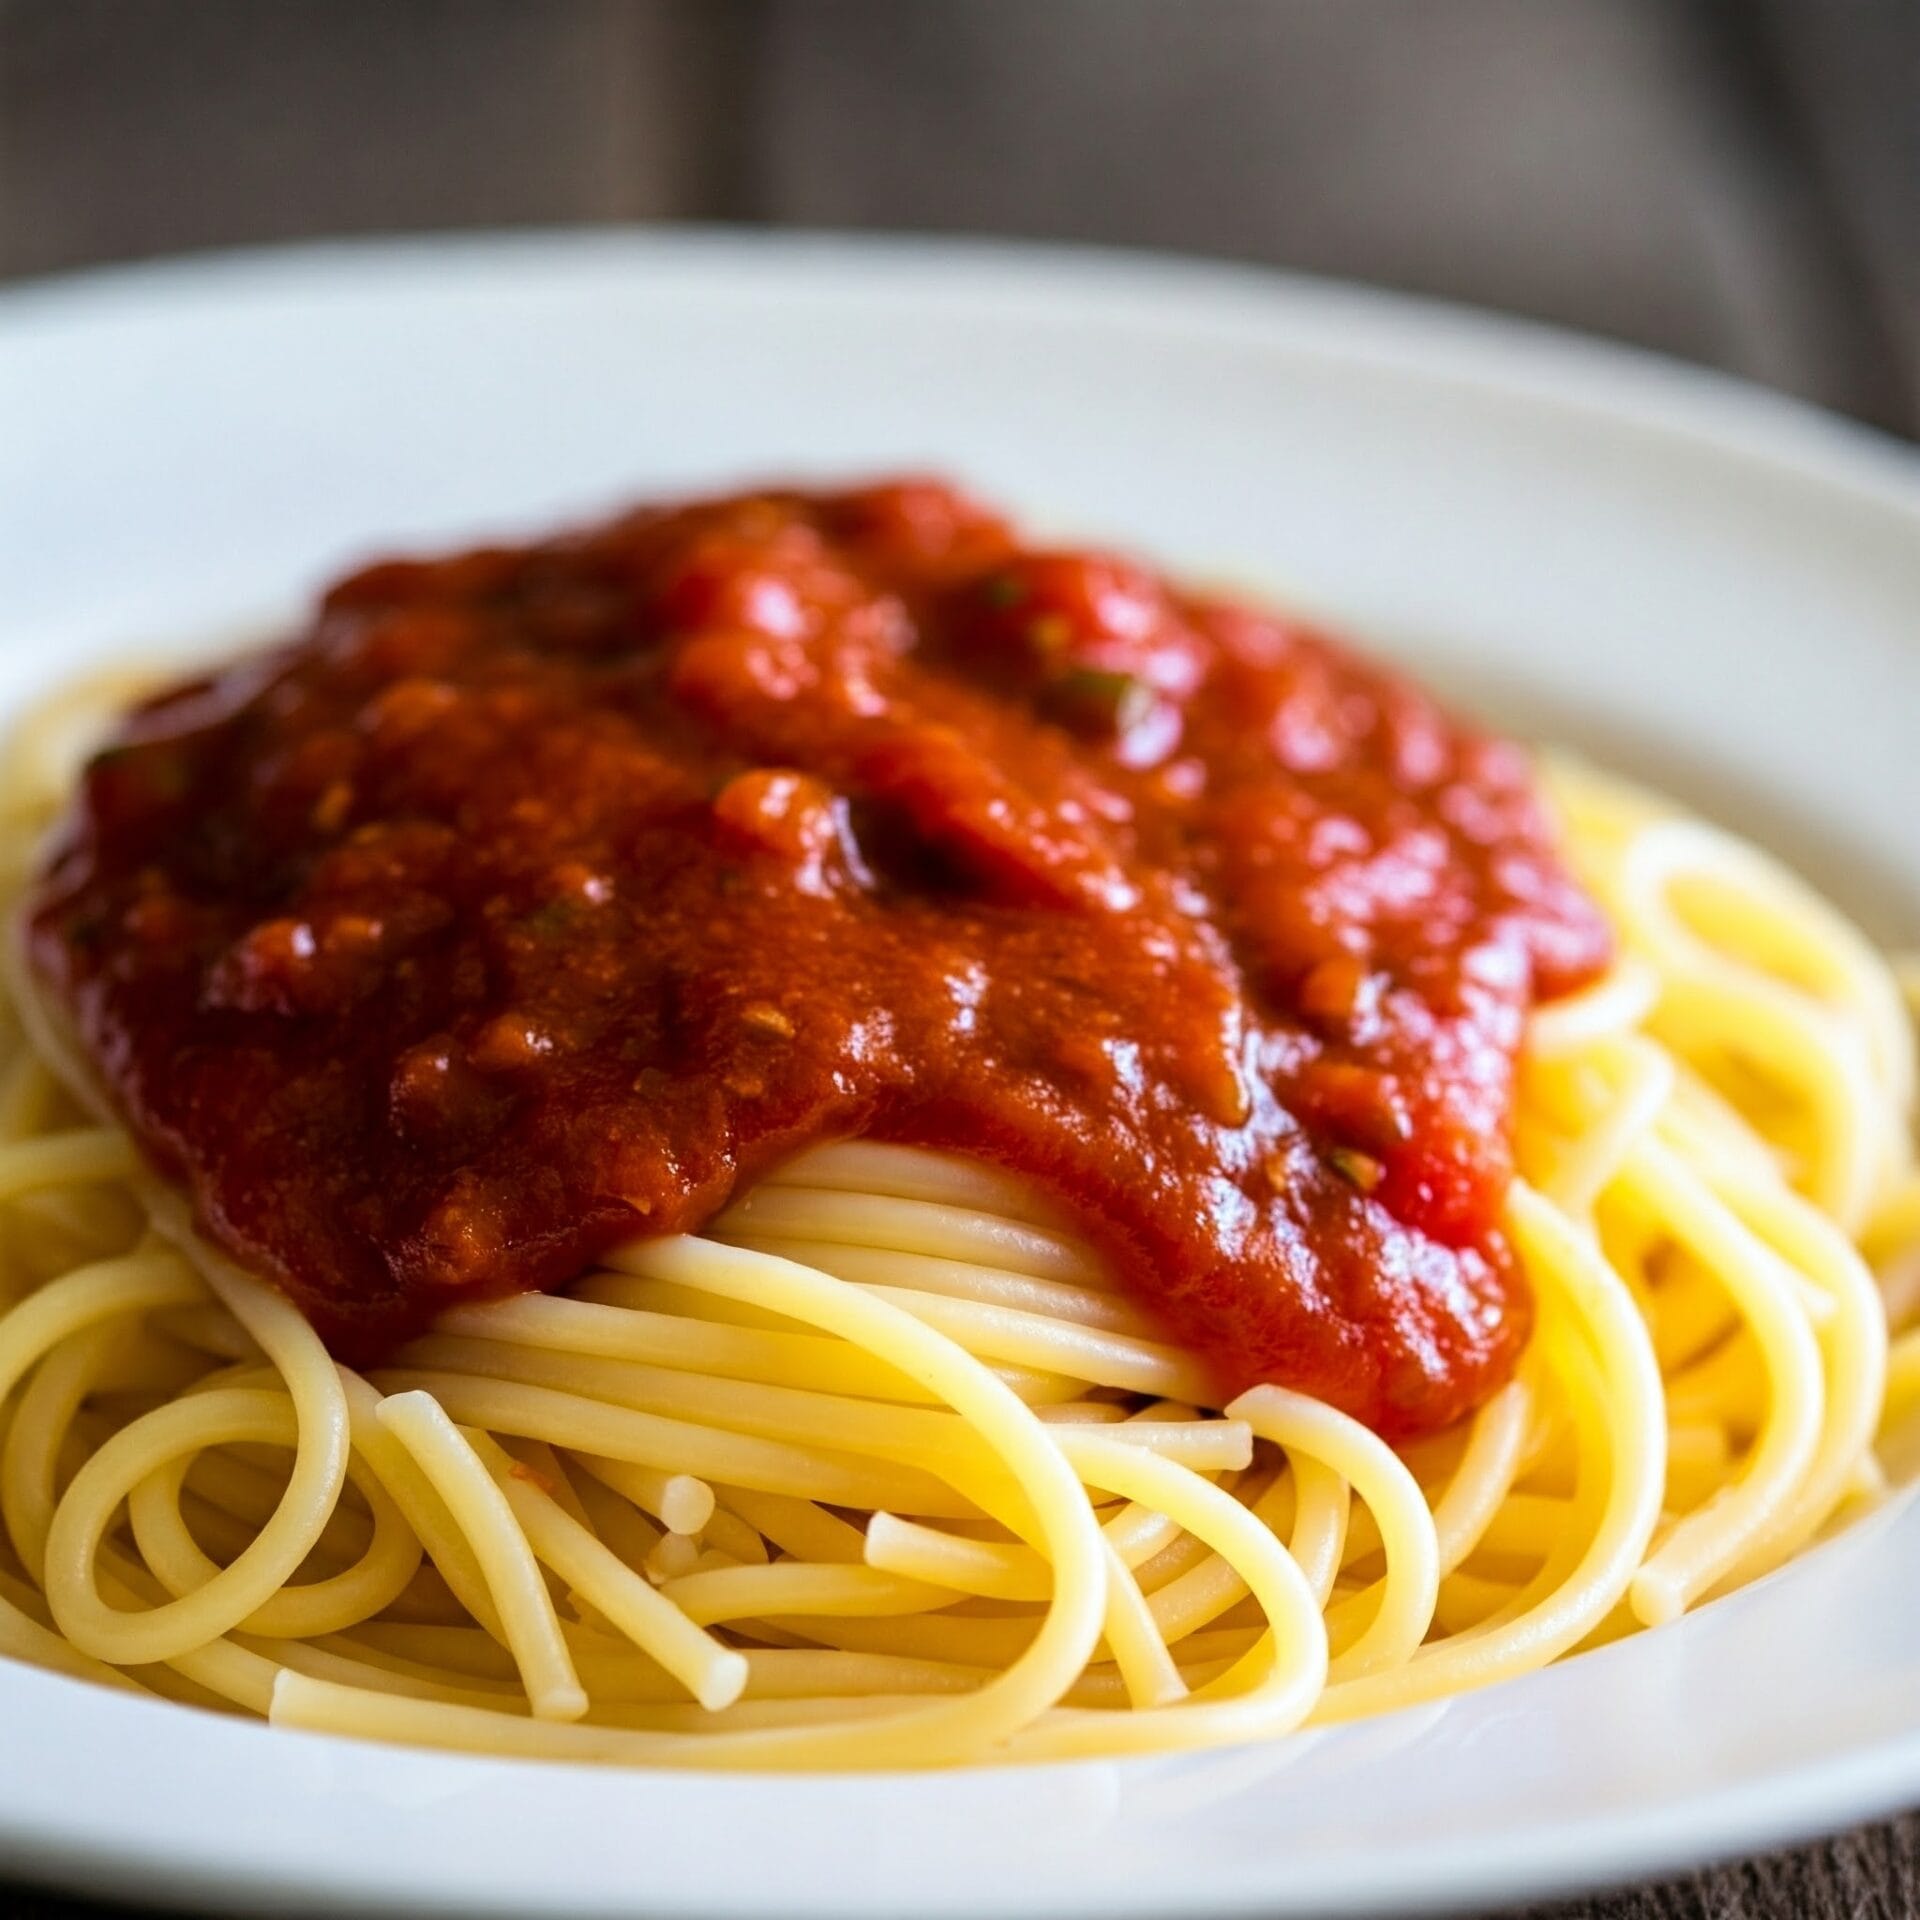
Image Gallery Marinara Sauce
Marinara Sauce
Marinara
Marinara Cheese sticks
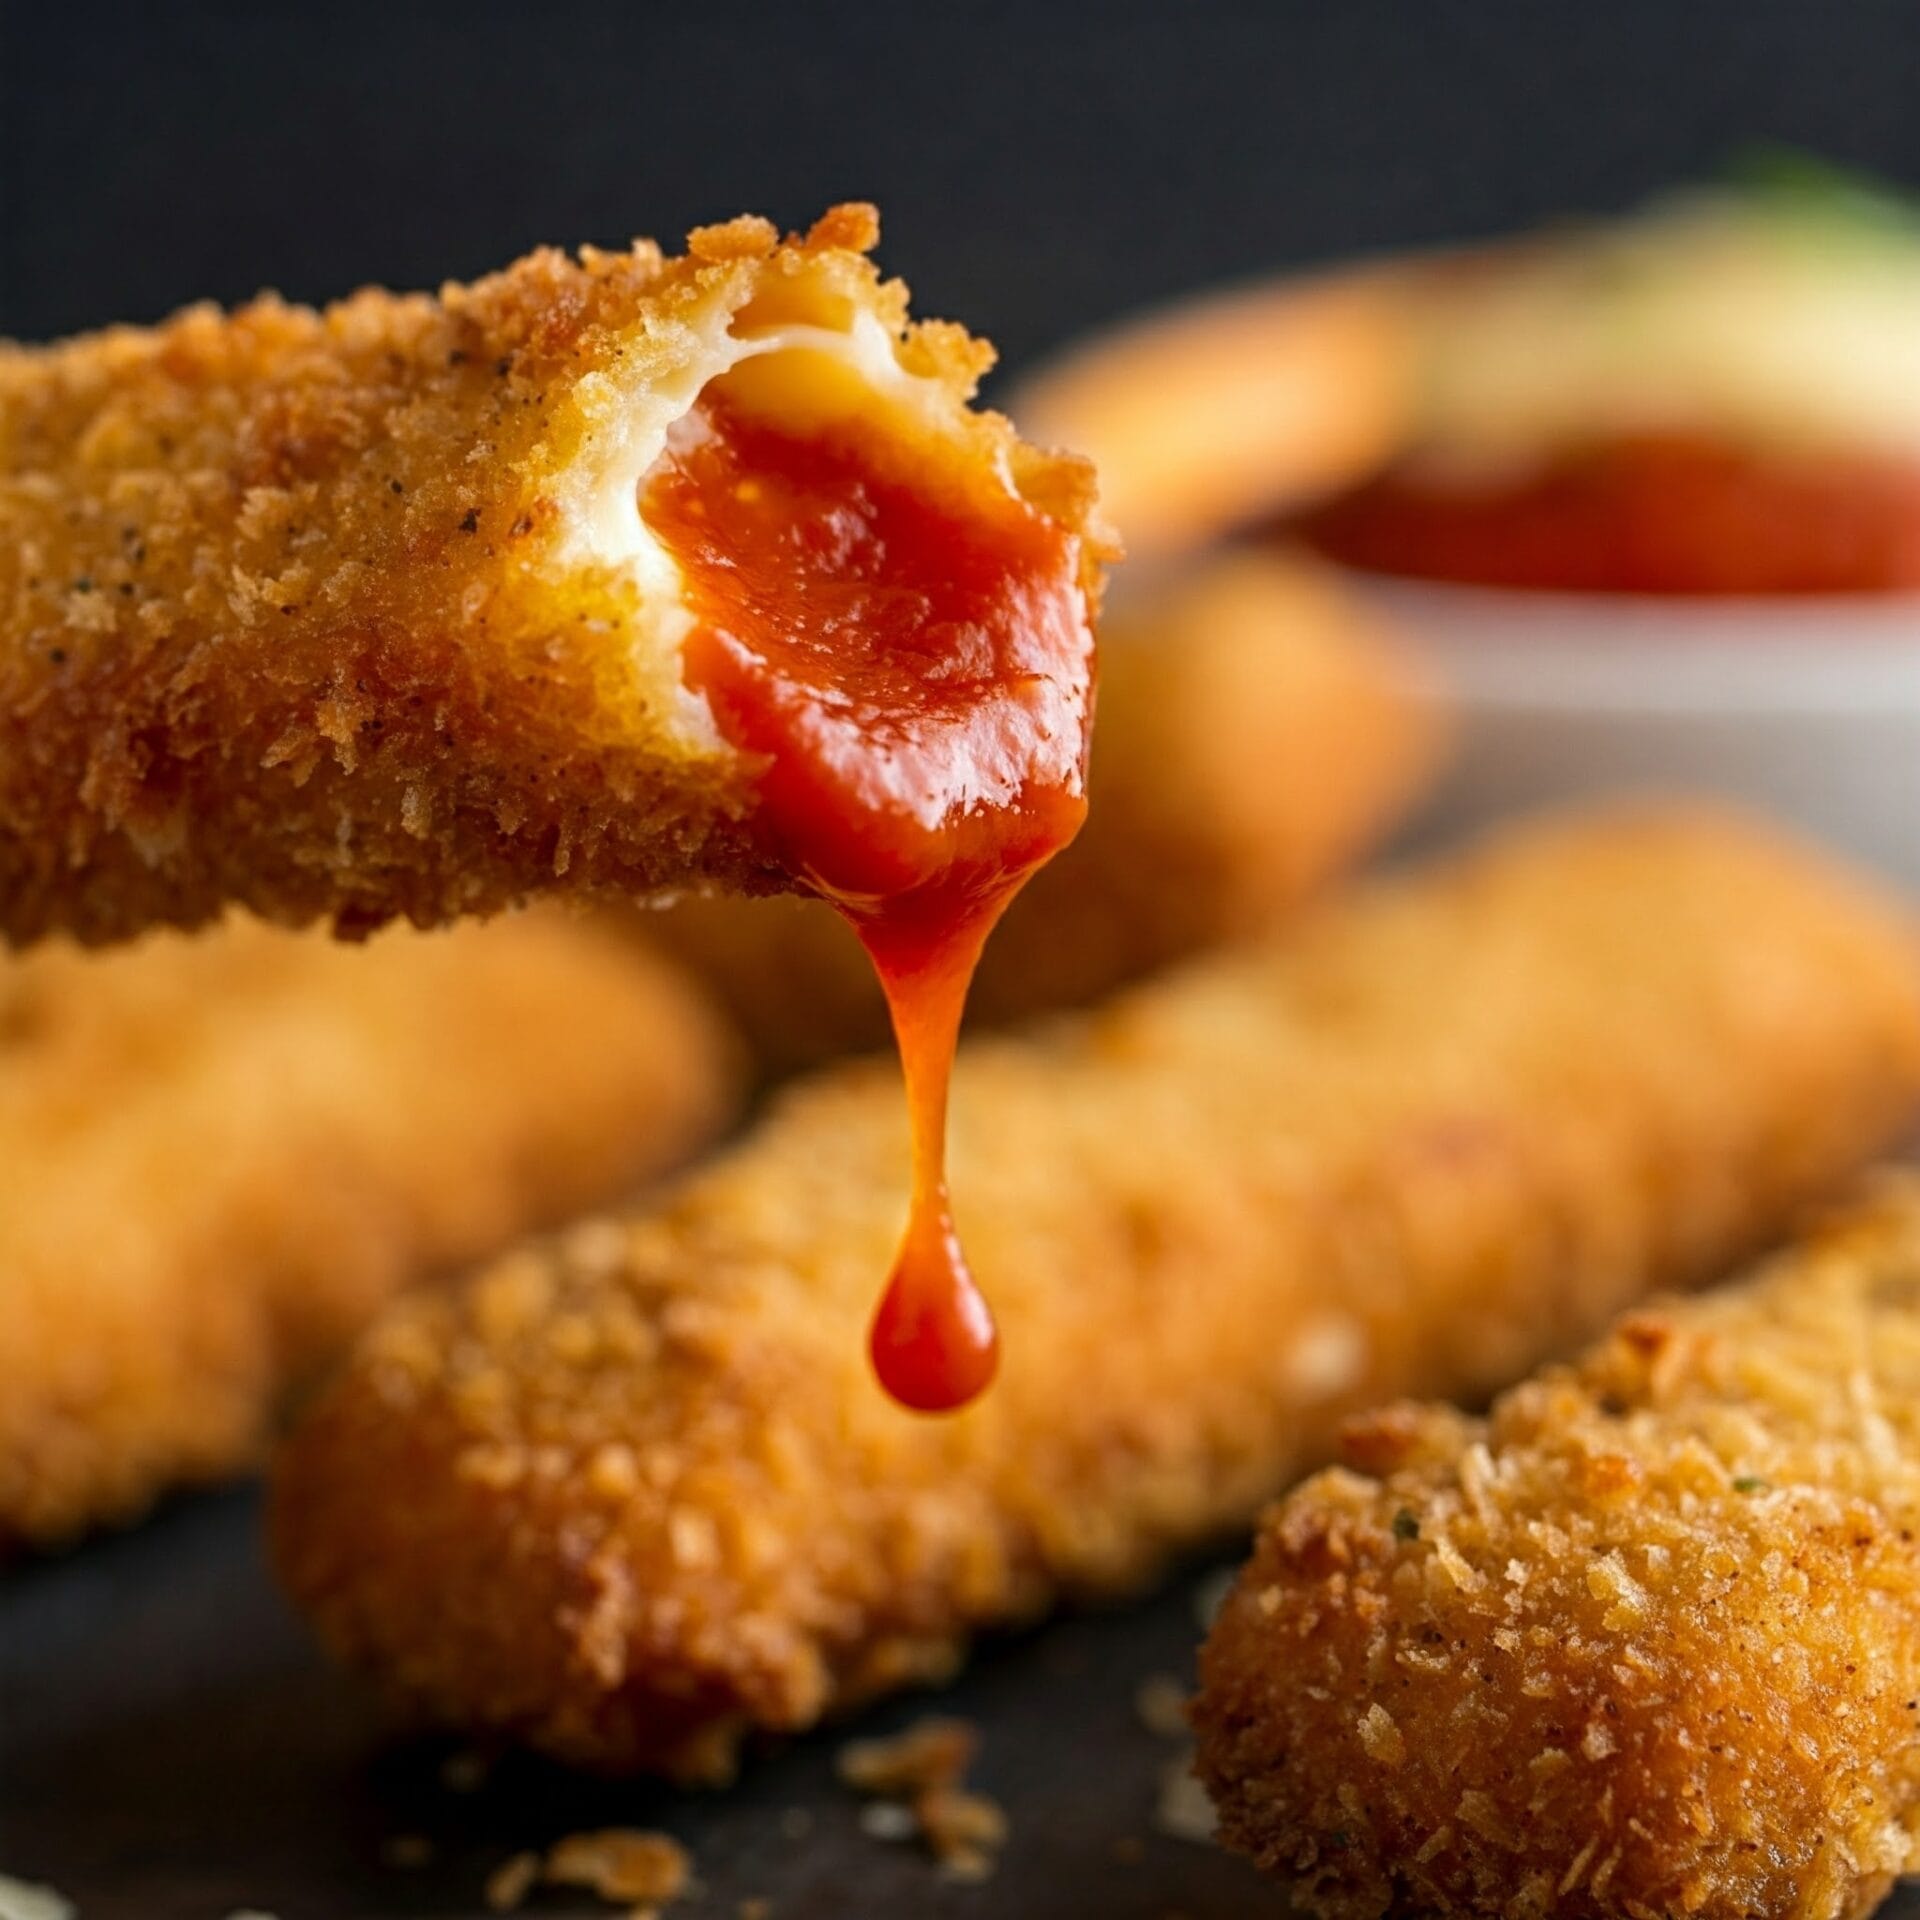
Marinara Cheese sticks
Marinara
Marinara
Storage & Leftovers
Storing Your Leftover Marinara Sauce:
- Cool it Down: Before storing, let the sauce cool completely to room temperature. This helps prevent condensation from forming in the container, which can lead to spoilage.
- Choose the Right Container: An airtight container is essential to maintain the quality and prevent the sauce from absorbing odors from other foods in your fridge. Glass containers or high-quality plastic containers with tight-fitting lids work well.
- Refrigerator Storage: Store your leftover marinara sauce in the refrigerator for up to 5 days.
- Freezer Storage: For longer storage, you can freeze marinara sauce for up to 3 months. It’s best to freeze it in smaller portions for easier thawing and use. Consider using freezer-safe bags (laid flat to save space) or small airtight containers.
Reheating Tips:
- Thaw Safely: If frozen, thaw the sauce in the refrigerator overnight or in a bowl of cold water.
- Gentle Reheating: Reheat the sauce gently over low heat on the stovetop, stirring frequently. Alternatively, you can reheat it in the microwave in short bursts, stirring between each burst, until warmed through.
- Add a Touch of Liquid: Marinara sauce can thicken upon cooling and reheating. If it’s too thick, you can thin it out with a little water, vegetable broth, or even a splash of red wine.
Extra Tips for Marinara Masters:
- Portion and Conquer: When freezing, consider freezing the sauce in ice cube trays. Once frozen, pop out the cubes and store them in freezer bags. This allows for easy portioning when you only need a small amount.
- Flavor Boost: When reheating, add a fresh sprig of basil or a pinch of oregano to brighten the flavors.
- Prevent Staining: Marinara sauce can stain plastic containers. If using plastic, choose high-quality containers and avoid storing the sauce for extended periods.
With these tips, you can enjoy your homemade marinara sauce to the fullest, even days after you’ve made it! 🍝
Table of Contents