Creamy Pumpkin Risotto

Creamy Pumpkin Risotto

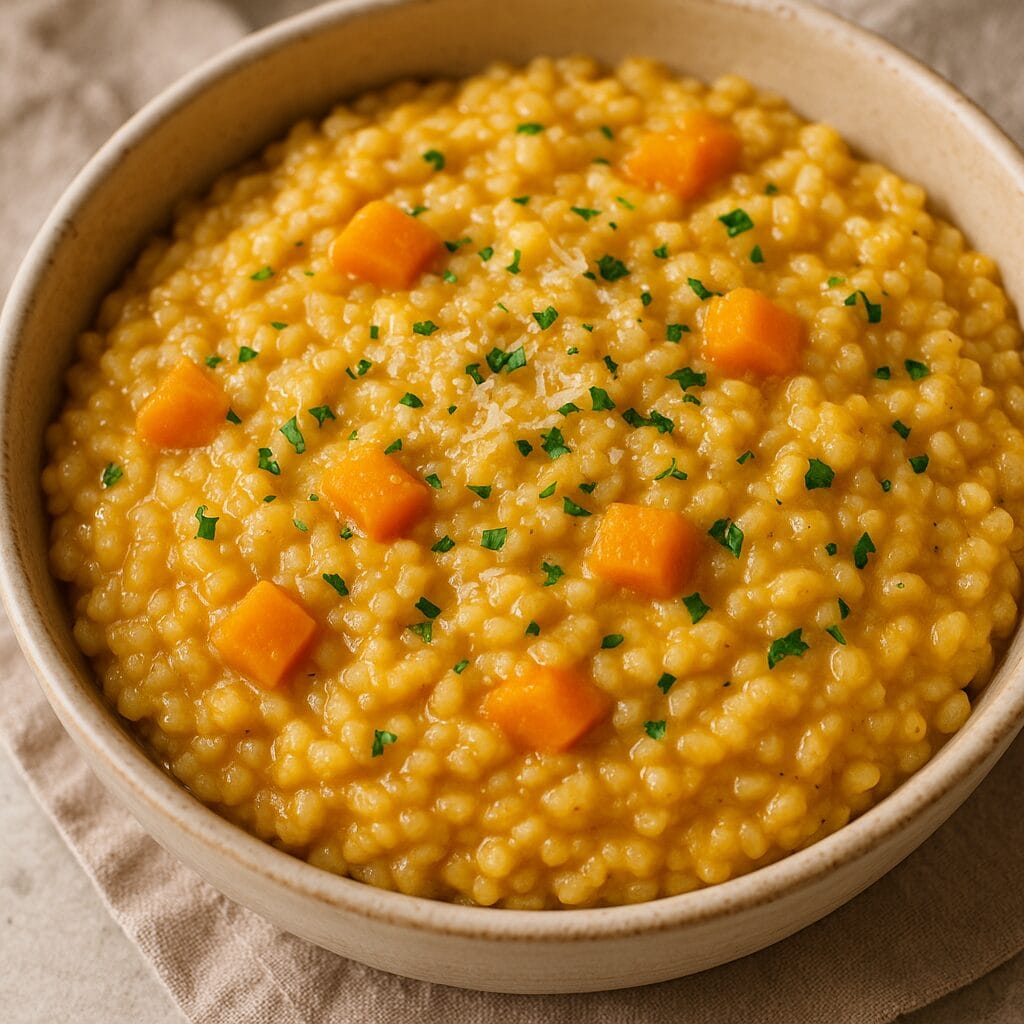
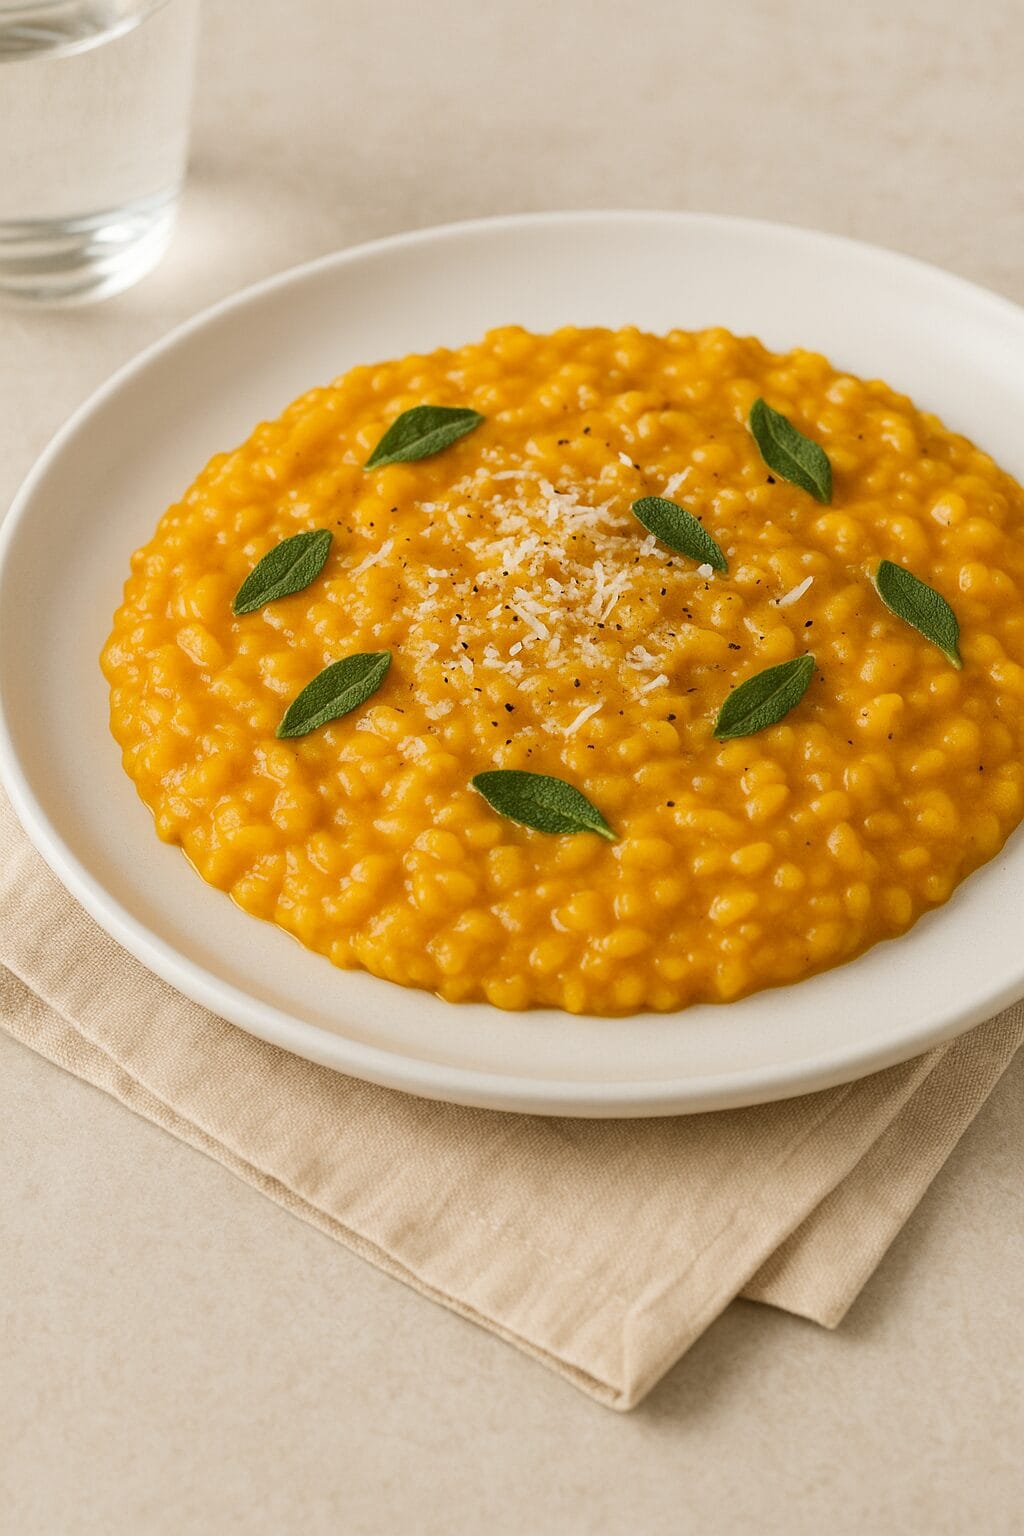
This Creamy Baked Pumpkin Risotto is the ultimate comfort dish—rich, velvety, and full of cozy autumn flavor. Earthy pumpkin purée and savory Parmesan cheese melt into arborio rice for a luxurious, hands-off version of classic risotto. Baked instead of stirred constantly, it’s an effortlessly elegant one-pot meal that feels like a hug in a bowl.

Perfect for weeknight dinners, fall gatherings, or holiday sides, this dish balances warmth and flavor with minimal fuss. Finished with fresh herbs, a sprinkle of cheese, or crispy sage leaves, it’s as beautiful as it is delicious.

Creamy Baked Pumpkin Risotto

No ratings yet
Creamy Baked Pumpkin Risotto is a fall-inspired dish made with arborio rice, pumpkin, and parmesan cheese. The rice is cooked in a broth until tender and creamy, and the pumpkin adds sweetness and flavor.
Prep Time 15 minutes
Cook Time 30 minutes
Servings: 6 People
Course: Dinner, Lunch, Main Course, Side Dish
Cuisine: Italian
Calories: 907

Ingredients
  

  • 3 tbsp Unsalted Butter
  • 1 ½ Cup Arborio Rice
  • 1 Large Yellow Onion Diced
  •  
    20 Oz Pumpkin Diced into 1/2 inch cubes
  • 3 Cloves Garlic Minced
  • ¼ Cup White Wine
  •  
    3 ½ Cup Chicken Stock Optional is vegetable stock
  •  
    2 tbsp Sage Leaves Roughly Chopped
  • ½ Cup Parmesan Cheese
  • 1 Pinch Salt For Taste
  • 1 Pinch Black Pepper For Taste
Crispy Sage & Brown Butter
  • 3 tbsp Butter
  •  
    12-20 Leaves Sage leaves
Garnish
  • ¼ Cup Parmesan Cheese

Equipment

1 Small Saucepan
1 Large Ovenproof Pot w/Lid

Method
 

  1. Prepare all ingredients and have ready.
  2. Preheat Oven to 350 °F. Over medium heat melt 1 tbsp of butter in an oven proof pot.
  3. Add the garlic and onion. Cook until onion is translucent.
  4. Add the chopped sage and cook for one minute or until sage has wilted.
  5. Add the rice grains and stir. Make sure all the rice grains are coated in butter and semi translucent. Then add the white wine and cook until the liquid evaporates.
  6. Add the pumpkin & broth. Allow to heat up but do not bring to a simmer.
  7. Place lid (or cover with foil) and place in oven for 25 minutes. Until the rice is cooked firm but not raw. If the rice is undercooked return to oven for another 5 minutes.
    Do not worry if there is some excess liquid.
  8. Add the remaining butter and the parmesan cheese.
  9. Stir vigorously until the pumpkin turns into a puree and blends into the risotto. If it becomes to thick add a splash of hot water. Should have a consistency of porridge. Risotto should sag a tad rather then standing in a tall firm pile.
  10. Spoon into serving bowls. Seve with either crispy sage or sage brown butter.
Crispy Sage
  1. Melt butter in small saucepan.
  2. Cook for 1½ or until crispy. Remove sage and place on a dry paper towel. Pour the butter which should be brown now into a heat proof jug.

Nutrition

Serving: 12ozCalories: 907kcalCarbohydrates: 56gProtein: 40gFat: 62gSaturated Fat: 18gPolyunsaturated Fat: 21gMonounsaturated Fat: 20gTrans Fat: 1gCholesterol: 40mgSodium: 275mgPotassium: 1001mgFiber: 8gSugar: 3gVitamin A: 468IUVitamin C: 4mgCalcium: 214mgIron: 11mg

Notes

Creamy Baked Pumpkin Risotto: Recipe Notes

The Rice:
  • Arborio is key: Risotto needs the extra starch from Arborio rice to achieve its signature creamy texture without adding cream.
The Pumpkin:
  • Fresh is best: Fresh pumpkin or butternut squash offers the best flavor. Any type of pumpkin works, except Jack-O-Lantern varieties.
  • Canned pumpkin as a substitute: Use 1.5 cans (or even 1 can) of pumpkin puree and stir it in after baking.
The Herbs:
  • Sage adds a touch: While subtle, sage complements the pumpkin nicely. Don't worry if you don't have it; parsley, thyme, or oregano work well too.
  • Crispy sage for presentation (optional): This adds a delightful textural contrast, but save it for special occasions.
Seasoning:
  • Salt to taste at the end: The salt content of your broth can vary, so wait until the end to season the risotto.
Leftover Brown Butter:
  • Extravagant drizzle: You'll likely have leftover brown butter. While the recipe requires enough for crisping the sage, a drizzle adds a touch of luxury to any dish - proteins, pasta, omelets, or even soups.
Servings and Baking Time:
  • More than it seems: This recipe yields a surprisingly large portion (enough for 4 hearty eaters or 6 moderate servings) due to the pumpkin content.
  • Adjust baking time for your pan: A heavy cast iron casserole with a lid retains heat well and cooks the risotto in 25 minutes. Lighter pots covered with foil may take 35-40 minutes.
Protein Powerhouse:
  • Chicken and spinach transformation: Make it a complete meal by adding chicken and spinach. Saute chopped, seasoned chicken with the onion until white. Follow the recipe, then stir in spinach with the butter, parmesan, and desired amount of water to achieve the perfect consistency.
Vegan Option:
  • Simple substitutions: Omit the parmesan cheese and use vegetable broth instead of chicken broth for a vegan version. Adjust salt to taste after omitting the cheese.
Leftover Magic:
  • Arancini resurrection: Risotto doesn't reheat well as it thickens. But fear not! Leftovers transform into delicious Arancini Rice Balls, baked or fried.

Tried this recipe?

Let us know how it was!

Related Recipes

Ingredients

  • Here’s a list of ingredients for Creamy Pumpkin Risotto:

    • Rice:

      • 1 ½ Cup Arborio Rice
    • Vegetables:

      • 1 Large yellow onion, Diced
      • 20 Oz Pumpkin, Diced into 1/2 inch cubes
      • 3 Cloves Garlic, Minced
    • Liquids:

      • ¼ Cup Dry White Wine
      • 3 ½ Cup Chicken Stock (or vegetable stock)
    • Seasonings:

      • 2 tbsp Sage Leaves, Roughly Chopped
      • ½ Cup Parmesan Cheese
      • 1 Pinch salt
      • 1 Pinch Black Pepper
    • For Garnish (Optional):

      • Crispy Sage & Brown Butter
        • 3 tbsp Salted Butter
        • 12-20 Sage leaves
        • ¼ Cup Grated Parmesan Cheese

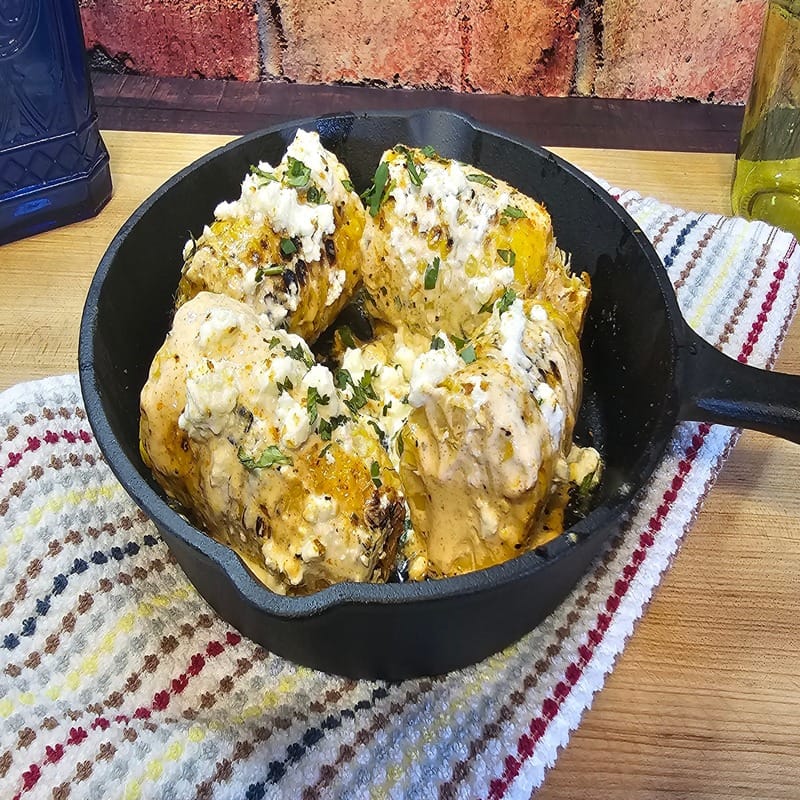
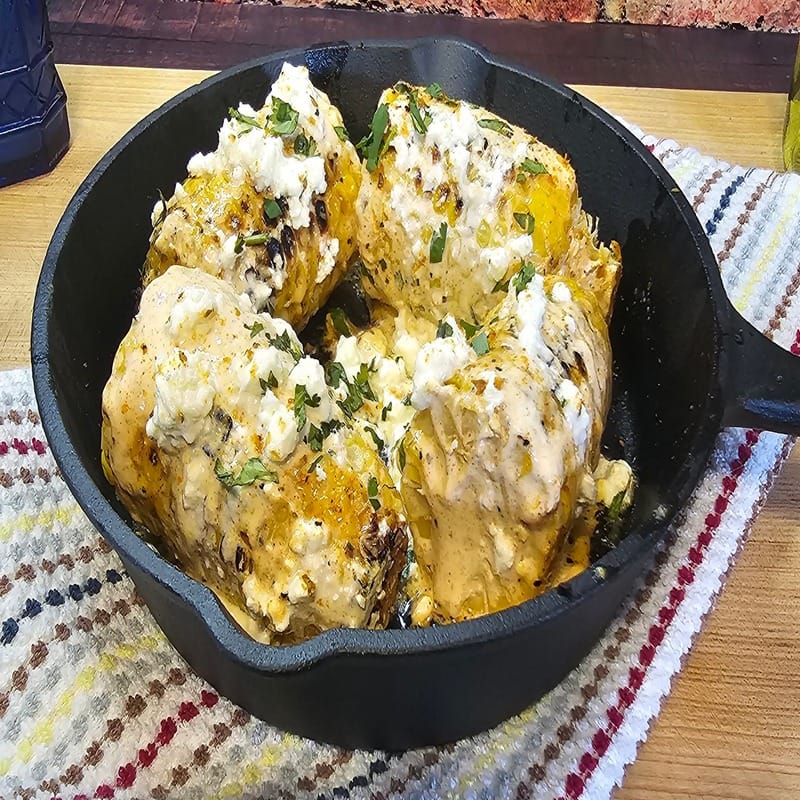
Image Gallery Creamy Pumpkin Risotto

Storage & Leftovers

🧊 Storage:

  • Let the risotto cool completely before storing.

  • Transfer to an airtight container and refrigerate for up to 4 days.

  • Keep herbs or garnishes separate if possible for best freshness.

🔥 Reheating:

  • Reheat gently on the stovetop over medium-low heat.

  • Add a splash of broth, milk, or water to loosen the texture as it reheats—risotto thickens as it sits.

  • Microwave in short intervals, stirring in between, and add a touch of liquid to bring back its creamy consistency.

❄️ Freezing:

  • Risotto is best fresh, but it can be frozen for up to 2 months.

  • Thaw overnight in the fridge and reheat with extra liquid, as the rice will absorb more moisture.

💡 Pro Tip:
Turn leftovers into crispy risotto cakes—form into patties, pan-fry until golden, and serve with a dollop of sour cream or crème fraîche.

Please follow and like us:
onpost_follow
fb-share-icon197
Tweet120
Pinterest20
Share 20
submit to reddit

Subscribe for New Recipes

* indicates required

Intuit Mailchimp

Mushroom & Spinach Frittata

Mushroom & Spinach Frittata

This Mushroom & Spinach Frittata is a savory, protein-packed dish that’s as versatile as it is delicious. Made with tender sautéed mushrooms, fresh baby spinach, and fluffy eggs, it’s the ultimate one-pan meal that transitions seamlessly from breakfast to brunch — or even dinner. Lightly seasoned and cooked to golden perfection, this frittata is bursting with earthy flavor and wholesome goodness.

Whether you’re meal-prepping for the week or hosting a laid-back weekend gathering, this frittata delivers hearty comfort with minimal effort. Serve it warm with toast or a simple side salad, or enjoy it cold straight from the fridge — it’s just as tasty either way!

Mushroom & Spinach Frittata

No ratings yet
A spinach and mushroom frittata is a savory Italian egg bake packed with sauteed mushrooms and wilted spinach. It's typically seasoned with cheese and herbs, and can be enjoyed warm or at room temperature.
Prep Time 15 minutes
Cook Time 20 minutes
Servings: 6 Servings
Course: Breakfast, Dinner, Lunch
Cuisine: Italian
Calories: 233

Ingredients
  

  • 8 Large Egg
  •  
    ¾ Cup Mozzarella Shredded
  • 1 Pinch Kosher Salt
  • 1 Pinch Black Pepper Ground
  • 1 Pinch Crushed Red Pepper Flakes
  • 2 tbsp Extra Virgin Olive Oil
  • 1 Large Shallot
  • 3 Cloves Garlic Minced
  • 8 Oz Baby Bella Mushrooms Sliced
  • 3 Cup Baby spinach
  •  
    ½ Cup Ricotta
  • Cup Heavy Cream

Equipment

1 Oven Proof Large Skillet
1 Medium Bowl

Method
 

  1. Gather all of your ingredients and have everything prepped and ready.
  2. Preheat your oven to 375 °F.
    Using a medium bowl, whisk the eggs, mozzarella, and the cream.
    Season with salt, black pepper, and red pepper flakes.
  3. Place a large ovenproof skillet over medium heat and add oil, shallot and garlic. Stirring occasionally, cook until the shallot is translucent.
  4. Add the mushrooms and cook until softened. Continue to stirring occassionally.
  5. After the mushrooms have cooked and softened, add the spinach and cook until all spinach has wilted. Season with salt and pepper for taste.
  6. Turn heat off on skillet. Pour egg mixture into the mushroom and spinach mix.
  7. Dollop the mixture with ricotta.
  8. Place in your preheated oven and bake for 12-20 minutes. Check after 12 minutes and add time as needed.
    The eggs should have set and the top should have a slight brown to them.

Nutrition

Serving: 10ozCalories: 233kcalCarbohydrates: 5gProtein: 16gFat: 17gSaturated Fat: 6gPolyunsaturated Fat: 2gMonounsaturated Fat: 7gTrans Fat: 0.02gCholesterol: 268mgSodium: 241mgPotassium: 405mgFiber: 1gSugar: 2gVitamin A: 1972IUVitamin C: 5mgCalcium: 206mgIron: 2mg

Tried this recipe?

Let us know how it was!

Related Recipes

Ingredients

  • 8 large eggs

  • ¾ cup shredded mozzarella

  • ½ cup ricotta

  • ⅓ cup heavy cream

  • 2 tbsp extra virgin olive oil

  • 1 large shallot, diced

  • 3 cloves garlic, minced

  • 8 oz baby bella mushrooms, sliced

  • 3 cups baby spinach

  • Pinch of kosher salt, black pepper, and red pepper flakes

Quick to prep, easy to love, and endlessly versatile — this dish is proof that simple ingredients can create something extraordinary.

Image Gallery Mushroom & Spinach Frittata

Storage & Leftovers

Refrigerator:
Let the frittata cool completely before storing. Slice into portions and place in an airtight container. Store in the fridge for up to 4 days.

Freezer:
Wrap individual slices in plastic wrap or foil, then place in a freezer-safe bag or container. Freeze for up to 2 months. For best texture, avoid freezing if the frittata is extra creamy (ricotta-heavy versions may weep slightly when thawed).

Reheating:

  • Microwave: Reheat individual slices on a microwave-safe plate for 30–60 seconds until warm.

  • Oven or Toaster Oven: Bake at 350°F (175°C) for 10–15 minutes for a crispier finish.

  • Skillet (optional): Warm slices on a nonstick skillet over low heat with a lid to keep moisture in.

Best Enjoyed:
Frittata is just as delicious cold or room temp, making it perfect for meal prep, quick breakfasts, or lunch on the go.

Please follow and like us:
onpost_follow
fb-share-icon197
Tweet120
Pinterest20
Share 20
submit to reddit

Subscribe for New Recipes

* indicates required

Intuit Mailchimp

Chorizo Encrusted Cod

Chorizo Encrusted Cod

Elevate your seafood game with this vibrant and savory Chorizo Encrusted Cod. Mild, flaky cod fillets are topped with a golden, crispy crust made from finely chopped Spanish chorizo, breadcrumbs, garlic, and herbs — creating the perfect contrast of rich flavor and delicate texture. Baked until perfectly tender and finished with a burst of citrus or fresh herbs, this dish delivers restaurant-quality results in under 30 minutes. Whether served over mashed potatoes, roasted vegetables, or a bright salad, this cod is a stunning centerpiece packed with smoky, spicy goodness.

Chorizo Encrusted Cod

No ratings yet
Baked cod with a chorizo crust is definitely a recipe packed full of flavor and perfect for enjoying the flavors of Spain at home.
Prep Time 20 minutes
Cook Time 15 minutes
Servings: 2 People
Course: Dinner, Lunch, Main Course
Cuisine: Spanish
Calories: 289

Ingredients
  

  •  
    1 lb Fresh cod
  • 3 tbsp Parmesan Cheese
  •  
    ¼ lb Spanish chorizo
  •  
    2 oz Breadcrumbs
  • 2 tbsp Olive oil

Equipment

1 Brush
1 Chopper
1 Sheet pan

Method
 

  1. Peel the chorizo and cut into small pieces. Blend in food processor.
  2. Grate the Parmesan cheese.
  3. Mix the Parmesan cheese with the chorizo.
  4. Add the breadcrumbs to the Parmesan and chorizo mix.
  5. Brush the olive oil on the cod using a brush. Gently pat the chorizo paste on top of the cod.
  6. Bake at 390℉ for 10-15 minutes, depending on the thickness of the cod. The cod should be flaky and the chorizo should have a very nice golden brown color when done.
  7. Plate and enjoy.

Nutrition

Serving: 6ozCalories: 289kcalCarbohydrates: 4gProtein: 22gFat: 20gSaturated Fat: 4gPolyunsaturated Fat: 2gMonounsaturated Fat: 11gCholesterol: 57mgSodium: 179mgPotassium: 432mgFiber: 0.2gSugar: 0.3gVitamin A: 137IUVitamin C: 1mgCalcium: 69mgIron: 1mg

Video

Notes

🔪 Cooking Tips & Tricks for Chorizo Encrusted Cod

  • Choose the Right Cod: Use thick, firm fillets of cod so they hold up well under the chorizo crust and stay moist during cooking. Fresh or properly thawed frozen fillets work best.
  • Dry the Fish: Pat the cod dry with paper towels before applying the crust. This helps the topping adhere better and ensures a crispy finish.
  • Use Cured or Semi-Cured Chorizo: For the crust, use finely chopped dry (Spanish-style) or semi-cured chorizo, not raw Mexican-style chorizo, as the latter will release too much grease and fall apart.
  • Make the Crust Crisp: Combine the chorizo with breadcrumbs (panko works great), olive oil or melted butter, and optional herbs like parsley or thyme. Toast the mixture slightly in a skillet before pressing it onto the cod for extra crunch.
  • Press the Topping Firmly: Gently press the chorizo mixture onto the fish to help it stay in place while baking or broiling.
  • Watch the Bake Time: Cod cooks quickly! Depending on thickness, bake at 400°F (200°C) for 10–12 minutes or until the fish flakes easily with a fork and the crust is golden.
  • Broil for Extra Crisp: If the chorizo topping isn’t as crispy as you'd like, finish under the broiler for 1–2 minutes — but watch closely to avoid burning.
  • Flavor Balance: Chorizo is rich and salty, so avoid over-salting the fish or sides. Serve with something bright or acidic (like a lemon wedge, aioli, or salsa verde) to balance the flavors.

Tried this recipe?

Let us know how it was!

Related Recipes

Ingredients

  • 1 lb fresh cod fillets, skinless

  • ¼ lb Spanish chorizo, finely diced or grated

  • 2 oz breadcrumbs (panko or regular)

  • 3 tbsp grated Parmesan cheese

  • 2 tbsp olive oil (plus more for brushing)

  • 1 clove garlic, minced (optional, for added depth)

  • 1 tbsp fresh parsley, chopped (or 1 tsp dried)

  • ½ tsp smoked paprika (optional, for extra smokiness)

  • Salt & freshly ground black pepper, to taste

  • Lemon wedges, for serving

Image Gallery Chorizo Encrusted Cod

Storage & Leftovers

  • Refrigeration: Store leftovers in an airtight container in the refrigerator for up to 2 days. The crust may soften slightly but will still be flavorful.

  • Reheating: Reheat in a 350°F (175°C) oven or toaster oven for 8–10 minutes until warmed through. Avoid microwaving, as it can make the fish rubbery and the crust soggy.

  • Crisp It Back Up: For best texture, reheat uncovered and consider placing the fish under the broiler for 1–2 minutes at the end to re-crisp the chorizo topping.

  • Freezing: Not recommended — cod can become mushy and the chorizo crust loses texture after thawing.

  • ⏱️ Make-Ahead Tips

    • Prep the Topping in Advance: You can make the chorizo crust mixture (chorizo, breadcrumbs, Parmesan, herbs, garlic) up to 2 days ahead. Store it in an airtight container in the fridge.

    • Ready-to-Bake Option: Assemble the cod with the crust and refrigerate for up to 12 hours before baking. Let it sit at room temp for 10–15 minutes before placing it in the oven.


    🥗 Leftover Ideas

    • Fish Tacos: Flake the leftover cod and serve it in warm tortillas with slaw, avocado, and a drizzle of lime crema.

    • Seafood Salad: Chop and mix the cod with greens, cherry tomatoes, and a lemon vinaigrette for a flavorful protein-packed salad.

    • Savory Breakfast: Reheat a portion and top it with a poached or fried egg for a bold brunch option.

    • Rice Bowl: Serve over rice or quinoa with roasted veggies and a dollop of garlic yogurt or herbed aioli.

Please follow and like us:
onpost_follow
fb-share-icon197
Tweet120
Pinterest20
Share 20
submit to reddit

Subscribe for New Recipes

* indicates required

Intuit Mailchimp

American Cuisine

American Cuisine

Please follow and like us:
onpost_follow
fb-share-icon197
Tweet120
Pinterest20
Share 20
submit to reddit

American Cuisine

All-American Eats: A Flavorful Journey Across the USA! 🇺🇸🍔

From the classic comfort foods of the South to the vibrant flavors of California cuisine, American food is as diverse as its people. Our collection of recipes celebrates the rich culinary traditions of America, offering a taste of everything from coast to coast.

Get ready to indulge in juicy burgers, crispy fried chicken, and hearty chili. Explore the diverse flavors of regional specialties like New England clam chowder, Southern barbecue, and Tex-Mex tacos. And don’t forget the sweet treats, from apple pie to chocolate chip cookies.

Whether you’re looking for a quick and easy weeknight meal or a showstopping dish for a special occasion, our recipes will inspire you to cook up a storm. So grab your apron and get ready to celebrate the best of American cuisine!

Explore our American recipes and taste the flavors of the USA!

Quick links to our most popular cuisines.

Mexican Cuisine
Italian Cuisine
Chinese Cuisine
Japanese Cuisine
Indian Cuisine
Thai Cuisine
American Cuisine
Mediterranean Cuisine
French Cuisine

Quick links to our most popular sections.

Appetizers
Breakfast


One-Pot Meals
Stir Fry Meals
Top Rated Recipes
Insta-Pot Recipes

Cajun Corn On The Cob

This is a terrific and spicy dish. Can be made spicier or milder as needed. A perfect recipe to try out on your grill. Makes an excellent side dish or a perfect appitizer.

Cajun Corn On The Cob

No ratings yet
A spicy and fun dish. Makes a wonderful appetizer or a unique side dish for a main course meal. Can be made spicy or mild.
Prep Time 15 minutes
Cook Time 35 minutes
Servings: 4
Course: Appetizer, Dinner
Cuisine: American
Calories: 303

Ingredients
  

  •  
    4 ears Corn on the cob
  • 1 tbsp Olive oil
  • 4 tbsp Mayonnaise
  • cup Sour cream
  •  
    1 ½ tsp Cajun spice
  •  
    1 ½ tsp Smoked paprika
  • 1 tsp Onion powder
  • 1 tsp Garlic powder
  • 1 tbsp Fresh Cilantro Chopped
  •  
    ½ cup Feta cheese Can also use Cotija
  • 1 tbsp Lime juice
  • 1 tsp Chili powder can use Chipotle instead
To Taste
  • 1 p Salt To taste
  • 1 p Black pepper To taste

Equipment

Method
 

Mise En Place
  1. Gather all of your ingredients and make all of your cuts. Preheat oven to 425℉.
Make the coating
  1. In a small bowl whisk the olive oil, ½ of the Cajun spice, ½ of the paprika, all of the garlic and onion powder. Add a pinch of salt and pepper to taste.
Brush & Wrap
  1. Lay each piece of corn on a piece of aluminum foil with the shiny side of foil facing up. Coat the corn with Cajun mixture using a brush. Wrap the corn in the aluminum foil.
Cook the corn
  1. Place the corn on a baking sheet and place in the oven. Bake for 30 minutes and remove. If you would like the corn to be softer, unwrap & coat with the Cajun mixture. Rewrap and cook for 20 minutes more.
    At about 15 minutes into the cooking, be sure that you turn the corn to allow an even cook.
Make the creamy cajun coating
  1. Using a medium mixing bowl, mix the mayonnaise, sour cream, leftover Cajun and paprika seasoning, lime juice, and salt and pepper to taste.
Remove from oven
  1. Remove from the oven when done and allow to cool slightly.
Blacken the corn
  1. This is an optional step but highly recommended. Using a skillet or cast iron pan, place the corn on med high to high heat. Allow to sit until you start to hear crackling noises. Turn a ¼ turn at a time until you have rotated the corn fully.
Service
  1. Place the corn on a plate and coat with the Cajun cream sauce, top with crumbled feta, cilantro, and Cajun spice.

Nutrition

Serving: 12ozCalories: 303kcalCarbohydrates: 21gProtein: 7gFat: 23gSaturated Fat: 7gPolyunsaturated Fat: 7gMonounsaturated Fat: 7gTrans Fat: 0.03gCholesterol: 34mgSodium: 1498mgPotassium: 345mgFiber: 3gSugar: 7gVitamin A: 1274IUVitamin C: 8mgCalcium: 125mgIron: 1mg

Video

Tried this recipe?

Let us know how it was!

If you tried this recipe please share with us. Be as detailed as possible in your descriptions.

Your Details

Recipe Essentials

One ingredient per line
One instruction per line

Recipe Details

Recipe Tags

Separate multiple tags with a comma.
For example: Italian, American

[DISPLAY_ULTIMATE_SOCIAL_ICONS]

Our Advertisers.

We use ads on our site to help generate revenue. It doing so we are able to provide the funding needed to create the recipes that you get to try. If you can check out or advertiser page and simply click on the link when making an online purchase.


Advertisers