Sopa De Lima

Sopa De Lima

Ditch the ordinary and dive into a bowl of sunshine with Sopa de Lima—Mexico’s bold and beautiful answer to chicken soup! This is no plain bowl of broth. It’s a flavor fiesta, bursting with tangy lime, tender chicken, warm spices, and the satisfying crunch of crispy tortilla strips.

Each spoonful is like a mini vacation for your taste buds, transporting you straight to the colorful streets of the Yucatán.

Why You’ll Love This Recipe:
🌞 Flavor Fusion – Bright lime meets savory chicken with subtle notes of cinnamon and clove—unexpected, unforgettable, and oh-so-delicious.
🌶️ Comfort Food with a Kick – Warm and soothing, yet lively enough to keep you on your toes.
👩‍🍳 Beginner-Friendly – Exotic flavors, simple steps. You’ll be a sopa superstar in no time!
💪 Healthy & Nourishing – Lean protein, fresh veggies, and a vibrant, feel-good broth.
🎉 Crowd-Pleaser – Great for gatherings or a cozy solo night in. Seconds are basically guaranteed.

So grab your limes, crank up the mariachi music, and bring the magic of Sopa de Lima to your kitchen!
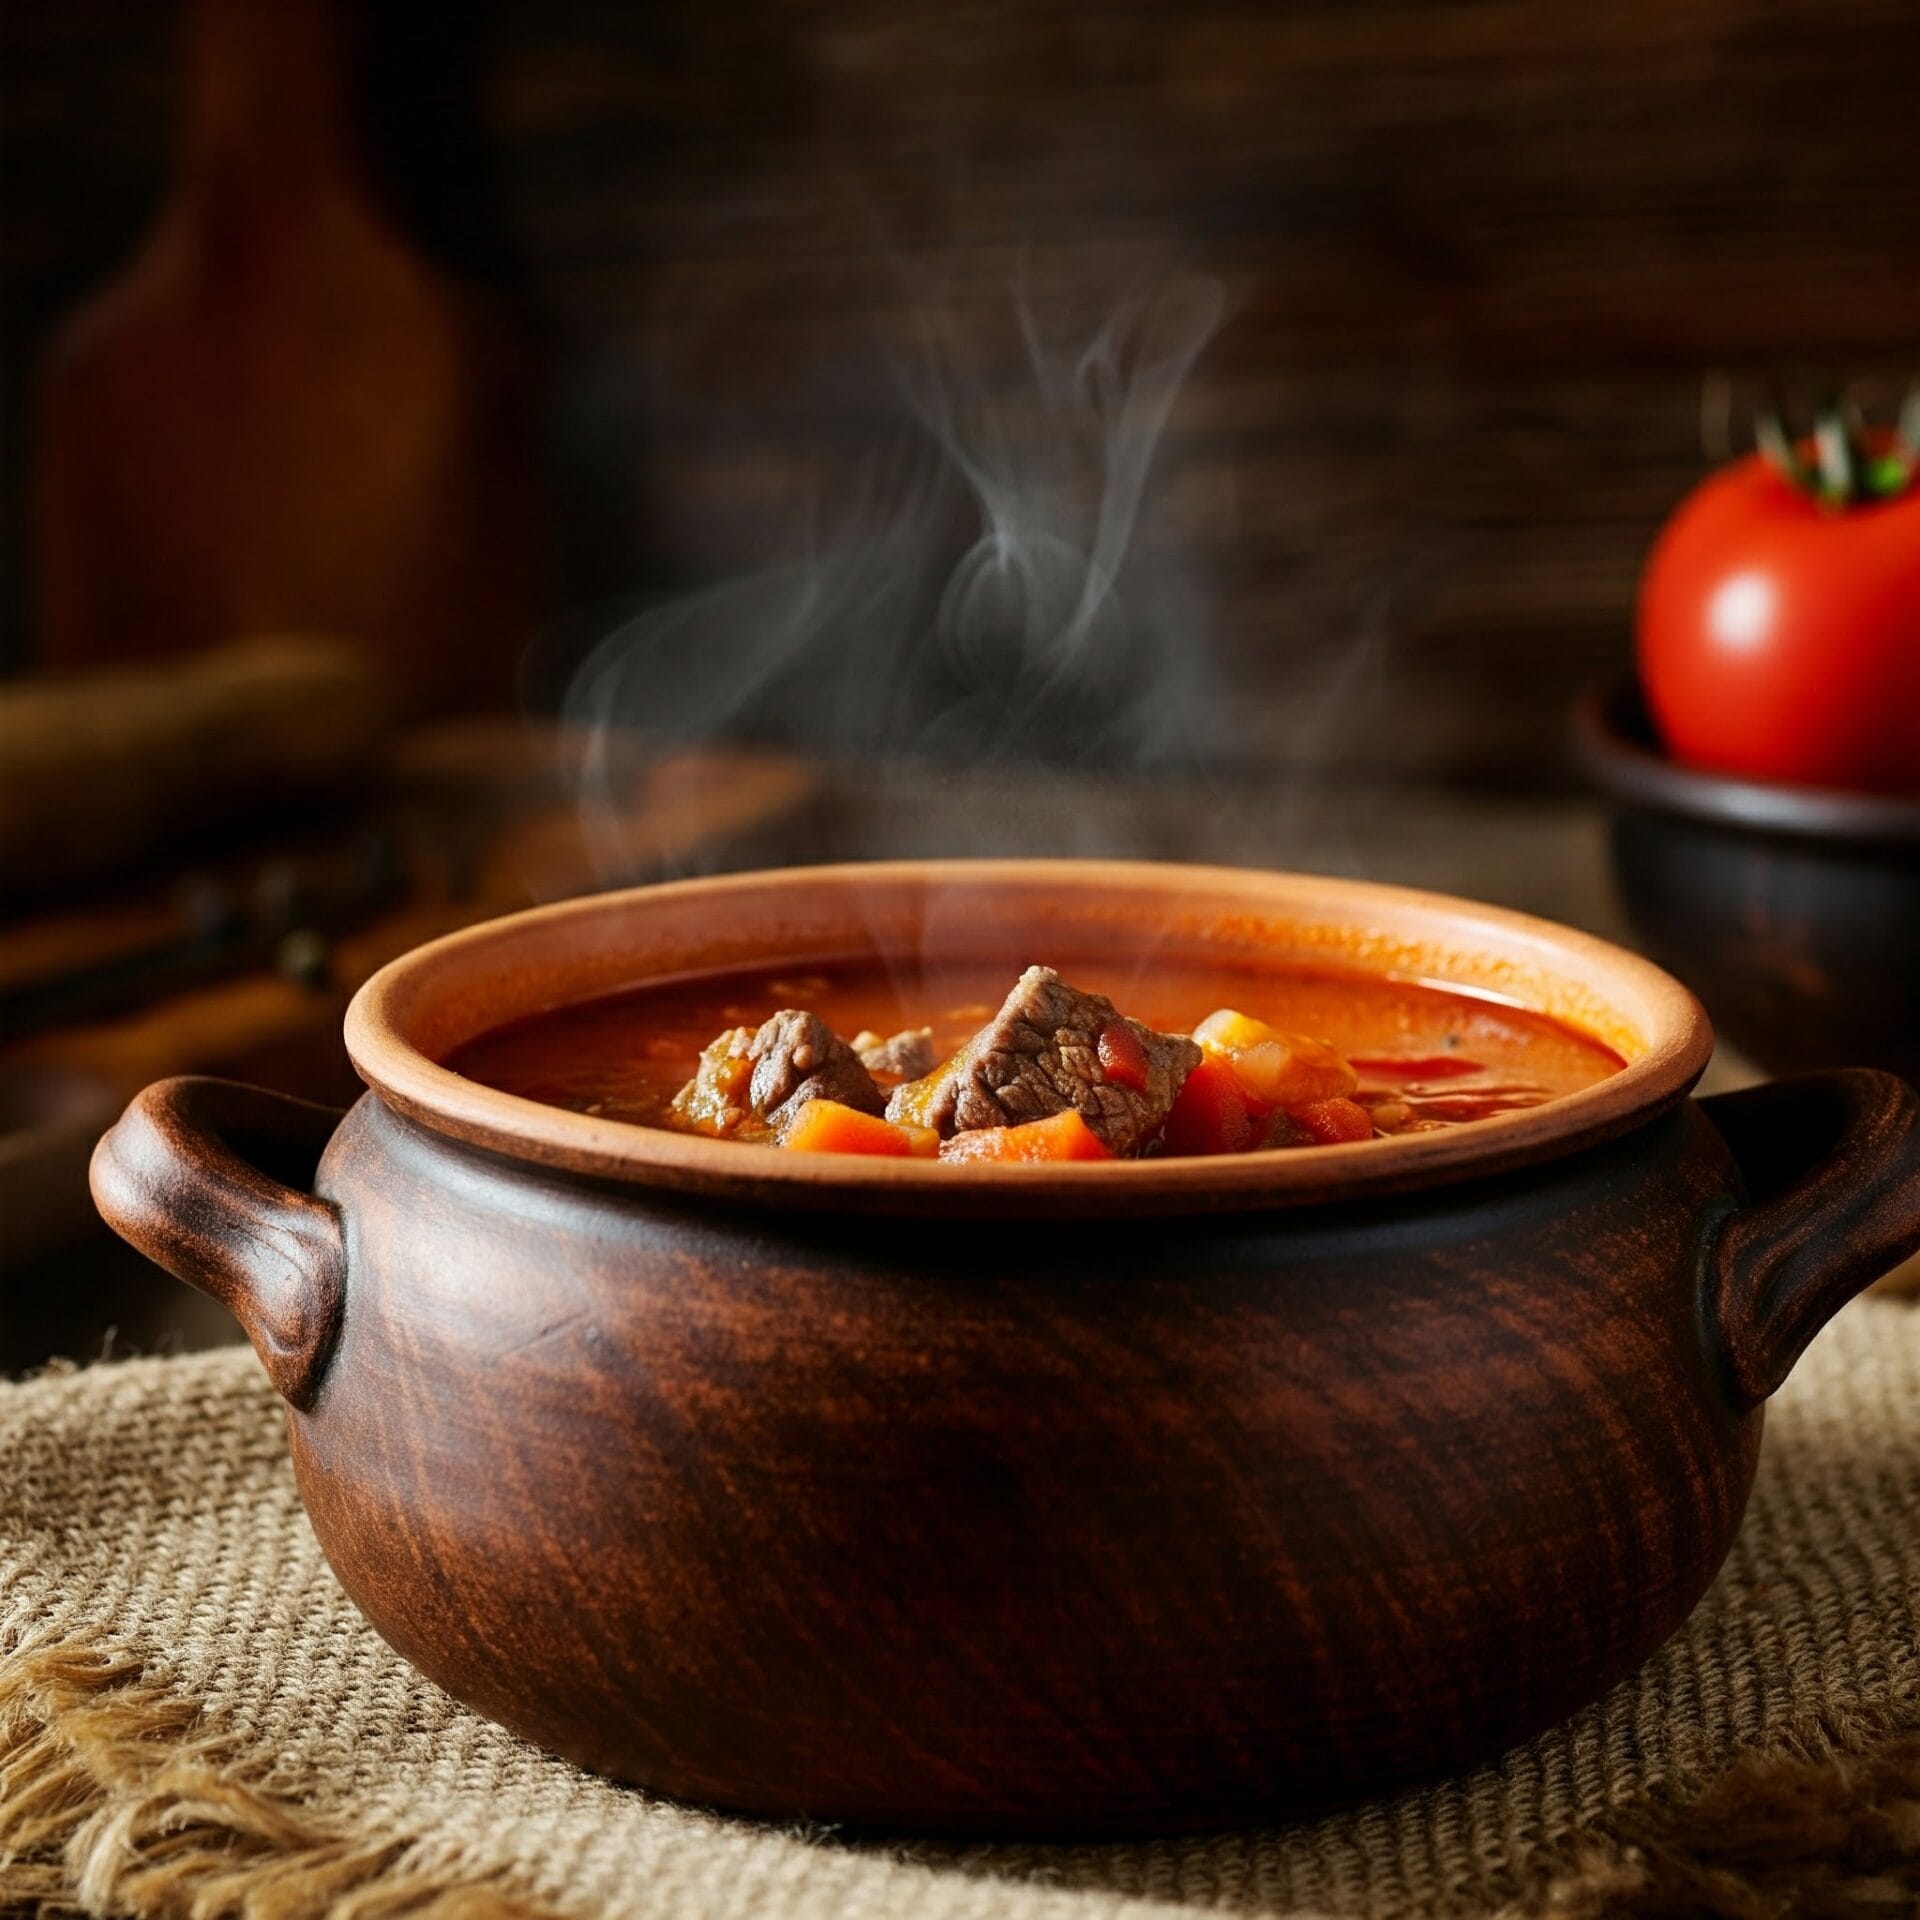
Sopa de Lima

No ratings yet
Sopa de lima is a traditional Mexican soup that originates from the Yucatán Peninsula. It's known for its refreshing and zesty flavor, thanks to the prominent use of lime juice. The soup typically features a light chicken or turkey broth, shredded meat (often turkey), and a blend of vegetables and spices.
Prep Time 10 minutes
Cook Time 45 minutes
Servings: 6 people
Course: Soup, Starter
Cuisine: Mexican
Calories: 139

Ingredients
  

  • 2 Tbsp Olive Oil
  • 2 Roma Tomatoes
  • 1 Large Yellow Onion fine dice
  • 1 Anahiem Pepper
  • ¼ tsp Ground Cinnamon
  • tsp Ground Cloves
  • 2 tsp Kosher Salt
  • 3 Cloves Garlic minced
  • l lbs Chicken Breast boneless & skinless
  • 8 Cups Chicken Broth
  • ½ Cup Lime Juice fresh squeezed
For Topping
  • 1 Corn Tortillas cut into strips and fry
  • 1 Avocado diced

Method
 

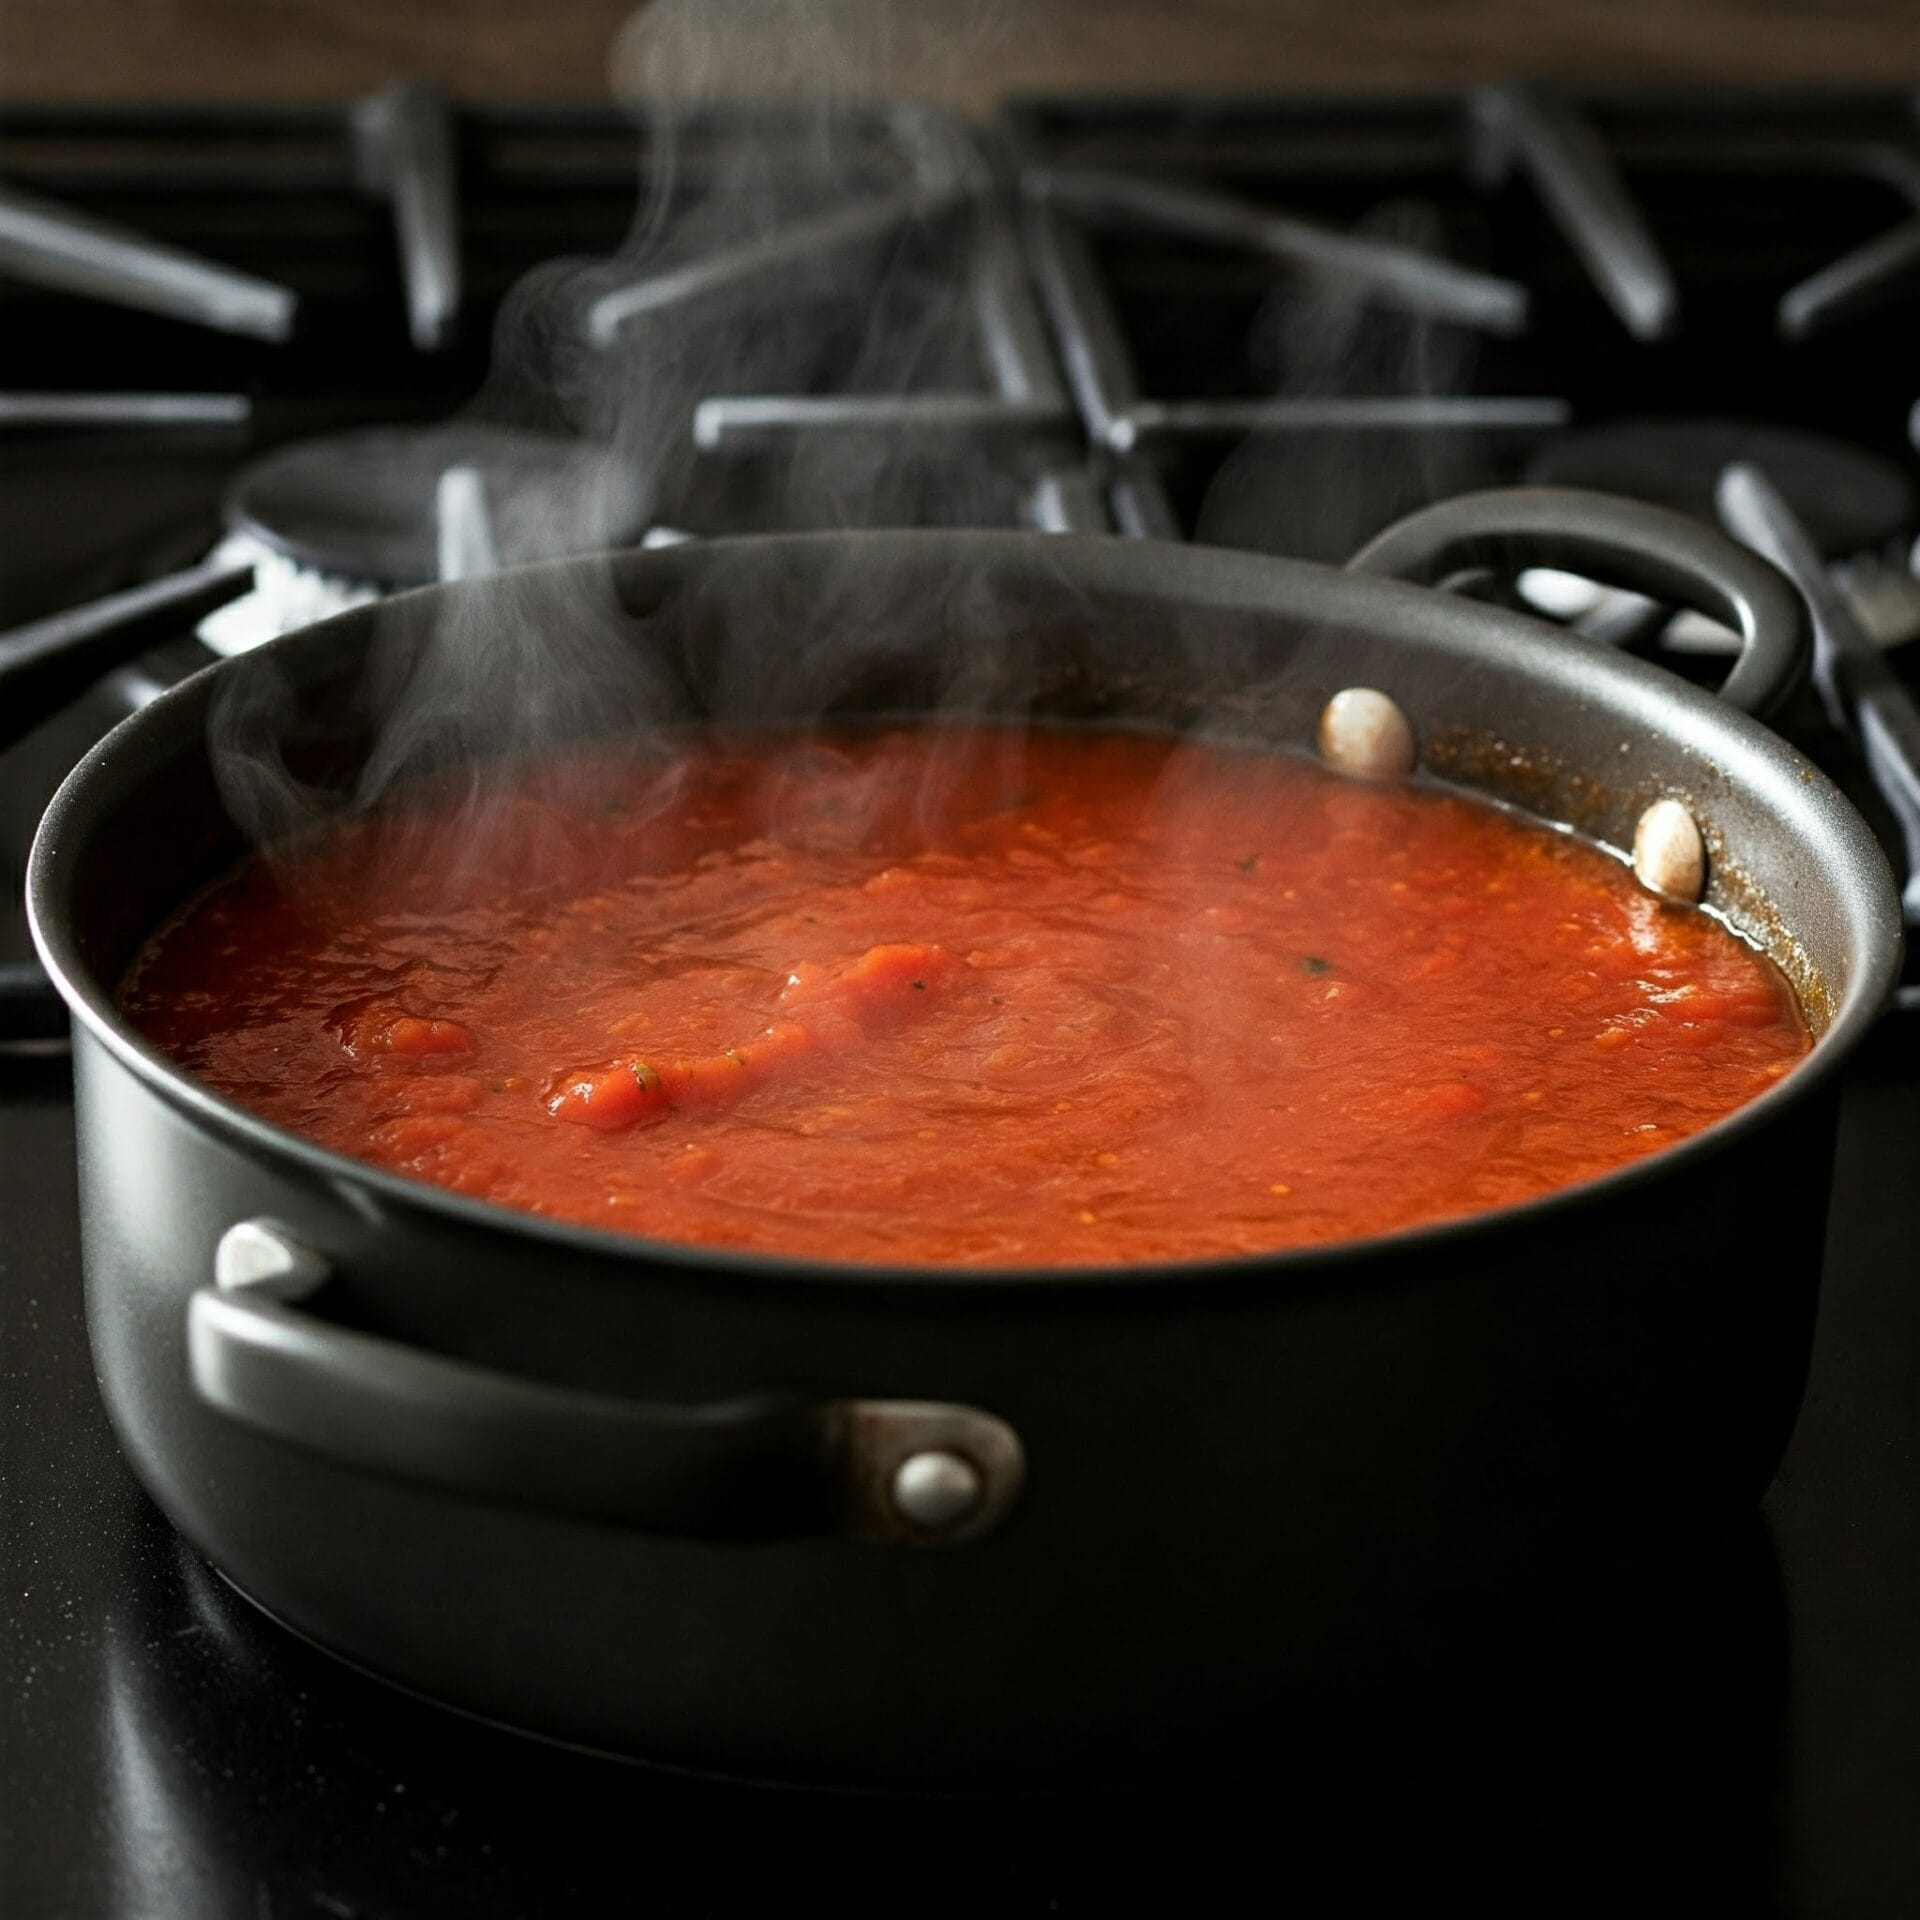
  1. Heat the olive oil in a large pot or Dutch oven over medium-high heat. Add the chopped tomatoes, onion, and bell peppers. Cook, stirring occasionally, until the vegetables are softened and slightly caramelized.
  2. Add the ground cinnamon, cloves, and kosher salt to the pot. Stir well to incorporate the spices into the vegetables. Continue cooking for another 5 minutes, allowing the flavors to meld.
  3. Stir in the minced garlic and cook until it becomes aromatic and softens slightly, about 1 minute.
  4. Pour the chicken broth into the pot, then add the chicken breasts. Bring the mixture to a boil over high heat. Once boiling, reduce the heat to low, cover the pot, and simmer for 20 minutes. Remove the pot from the heat.
  5. Remove any foam or impurities from the surface of the soup. Shred the cooked chicken with two forks and set it aside.
  6. Add the shredded chicken back to the pot. Stir in the lime juice. Taste the soup and add more salt if needed.
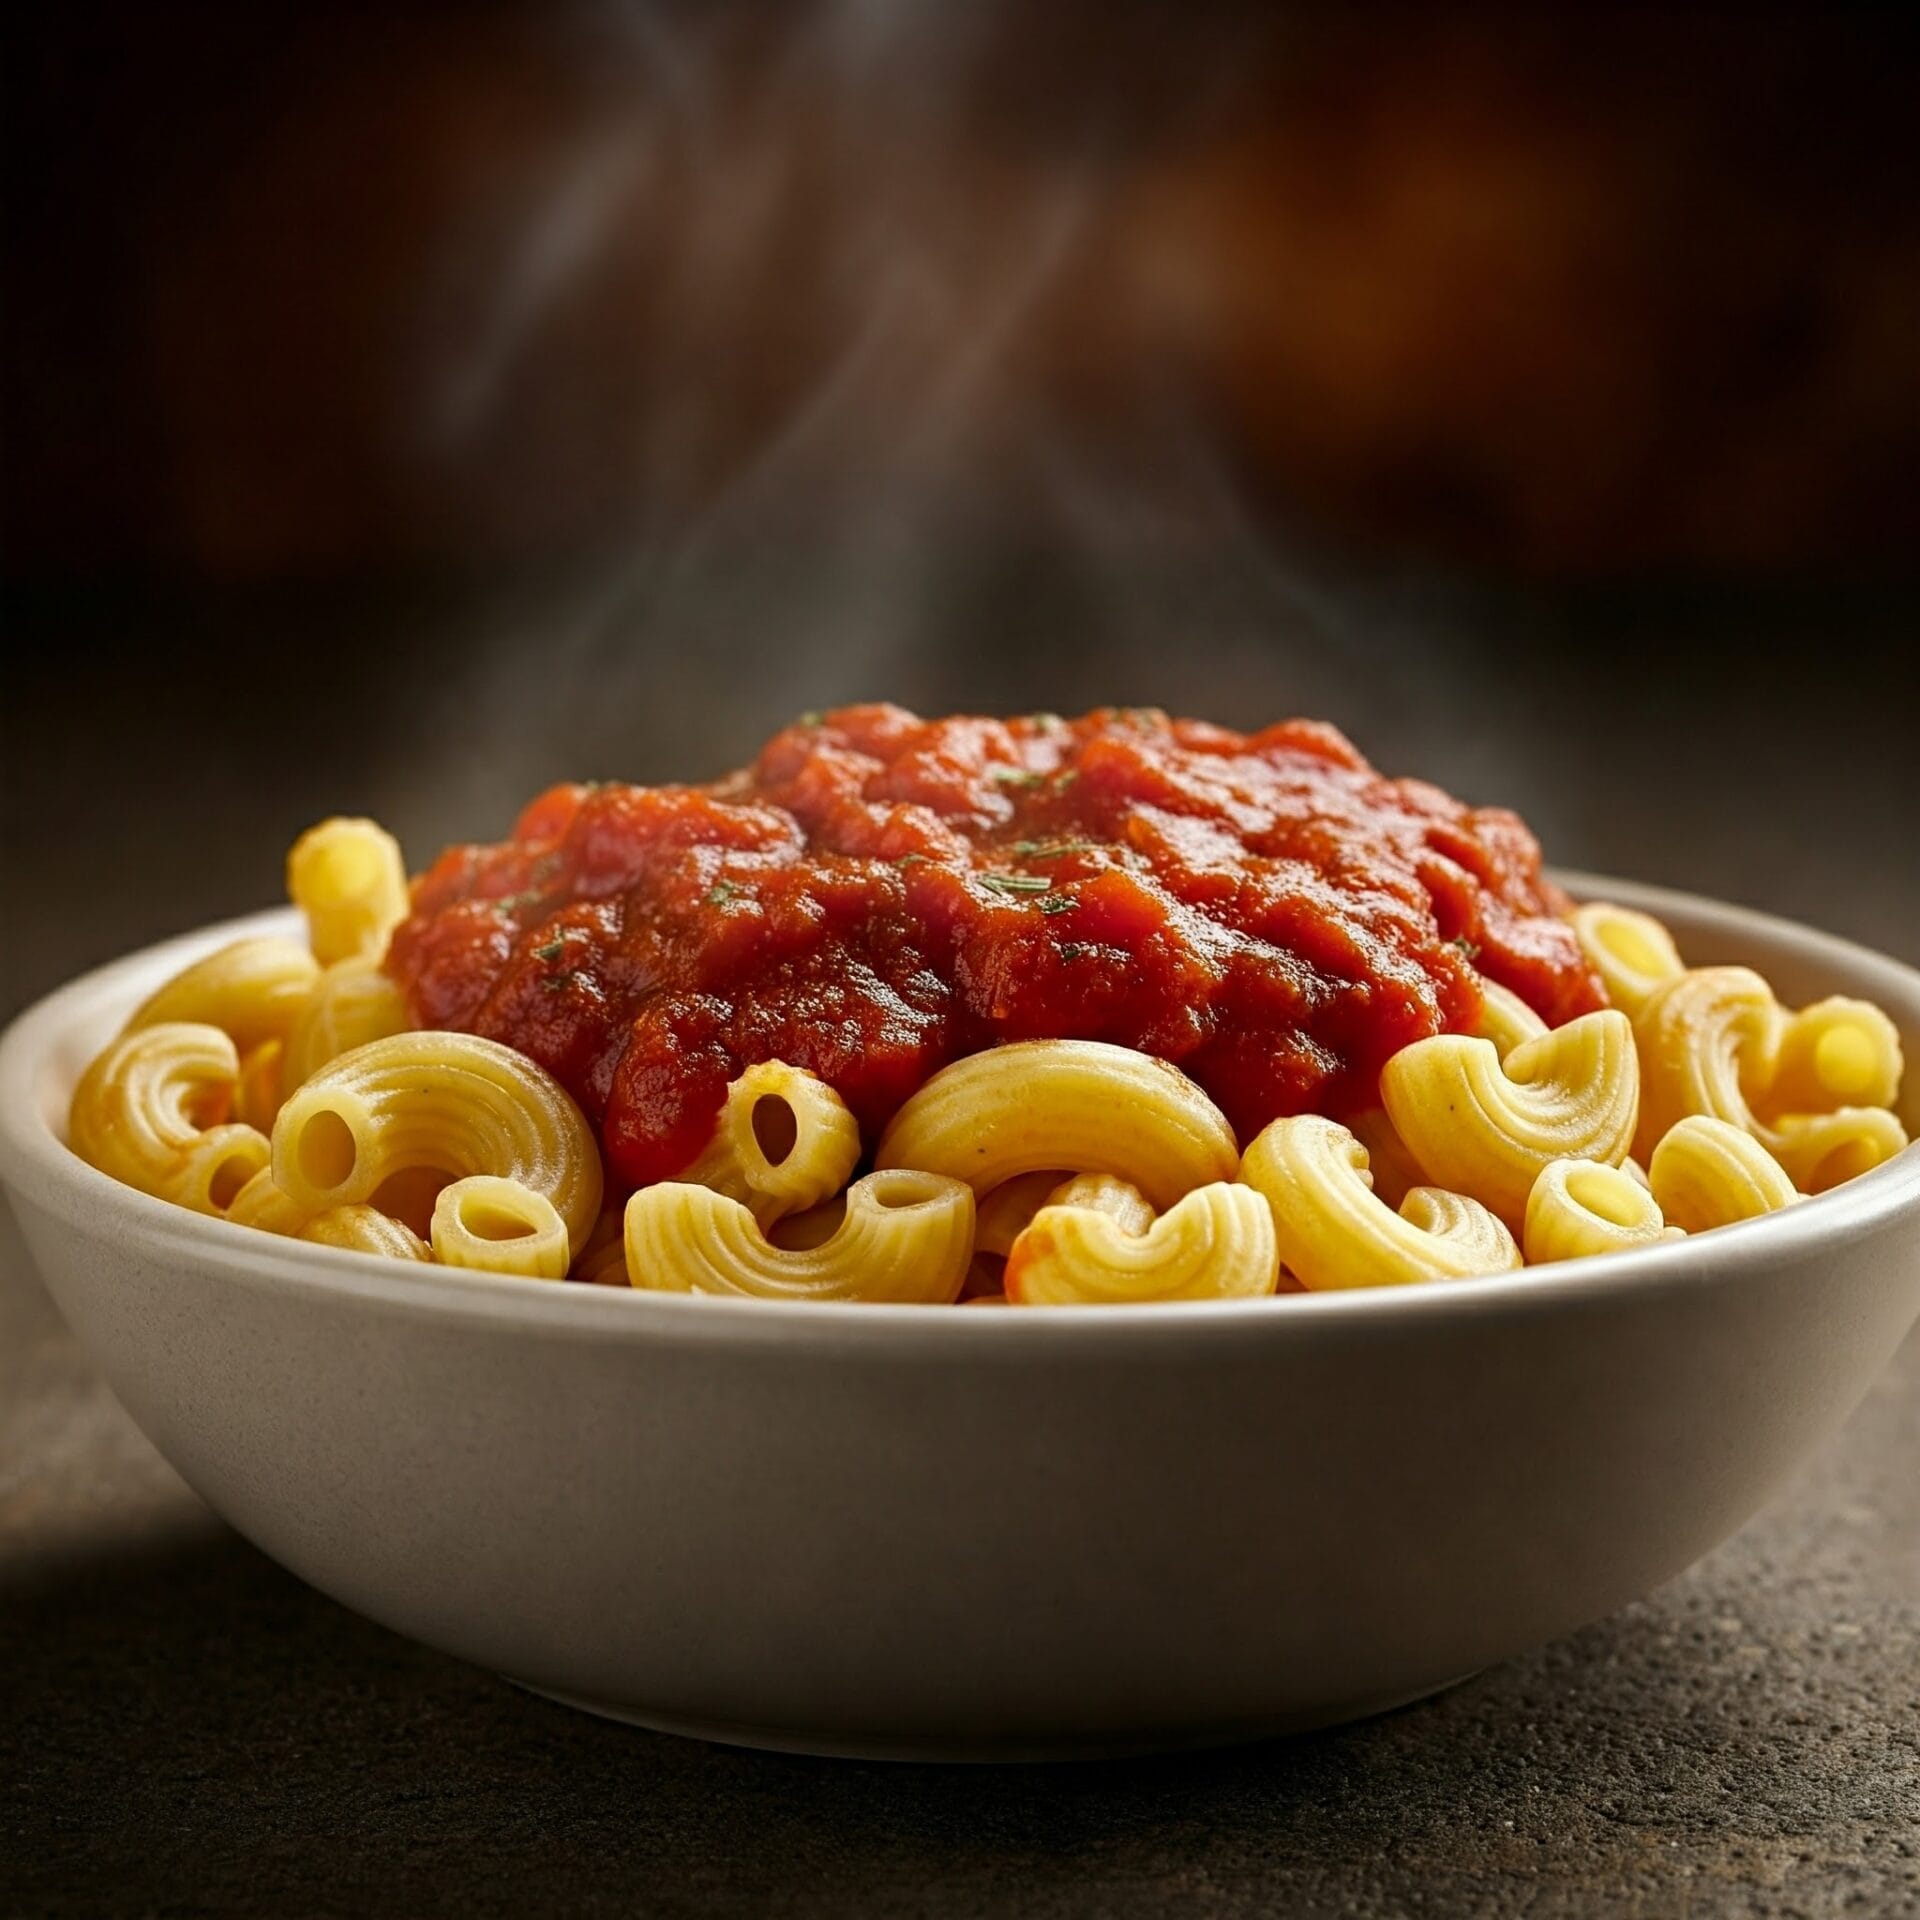
  7. Now, ladle the steaming soup into bowls and finish with a sprinkle of crispy tortilla strips and some creamy diced avocado. Enjoy!

Nutrition

Serving: 12ozCalories: 139kcalCarbohydrates: 10gProtein: 3gFat: 10gSaturated Fat: 1gPolyunsaturated Fat: 1gMonounsaturated Fat: 7gCholesterol: 6mgSodium: 1961mgPotassium: 360mgFiber: 3gSugar: 4gVitamin A: 310IUVitamin C: 25mgCalcium: 33mgIron: 1mg

Notes

Ingredients:
  • Broth: While chicken broth is most common, you can use turkey broth for a more traditional Yucatecan flavor. Homemade broth will add the most depth.
  • Meat: Shredded chicken is widely used, but turkey is more traditional in the Yucatán. You can use leftover cooked poultry or poach chicken breasts specifically for the soup.
  • Vegetables: The classic base includes tomatoes, onions, and bell peppers. Some recipes also add carrots or jalapeños for a bit of heat.
  • Spices: Oregano is essential. Cumin, cloves, and cinnamon are also common additions.
  • Lime Juice: Freshly squeezed lime juice is key for the signature tart flavor. Use plenty!
  • Tortilla Strips: These add a wonderful crunch. You can use store-bought or make your own by frying or baking corn tortillas.
  • Avocado: Diced avocado is a popular garnish, adding creaminess and a contrasting flavor.
Cooking Tips:
  • Sauté the Vegetables: Don't rush the sautéing of the vegetables. Allow them to soften and develop a bit of sweetness.
  • Bloom the Spices: Cooking the spices briefly in the oil helps to intensify their flavor.
  • Simmer Gently: Simmering the soup allows the flavors to meld and the chicken to become tender.
  • Skim the Broth: Skim off any foam or impurities that rise to the surface of the soup for a clearer broth.
  • Lime Juice at the End: Add most of the lime juice towards the end of cooking to preserve its fresh flavor.
  • Taste and Adjust: Taste the soup before serving and adjust the seasonings (especially salt and lime juice) to your liking.
Serving Suggestions:
  • Garnish: Don't forget the tortilla strips and avocado! Cilantro sprigs and lime wedges are also nice additions.
  • Sides: Sopa de lima is often served with warm tortillas or crusty bread for dipping.
  • Pairings: It's a great starter for heavier Mexican dishes like enchiladas, tacos, or mole.
Variations:
  • Spicy: Add some diced jalapeños or serrano peppers to the soup for extra heat.
  • Vegetarian: Omit the chicken or turkey and use vegetable broth. You can add more vegetables like zucchini or corn.
  • Hearty: Add cooked rice or noodles to the soup for a more filling meal.
With these tips, you'll be able to make a delicious and authentic sopa de lima that captures the essence of Yucatecan cuisine!

Tried this recipe?

Let us know how it was!

Related Recipes

Ingredients

Ingredients:

  • 2 tablespoons olive oil
  • 1 large yellow onion, finely diced
  • 2 Roma tomatoes, chopped
  • 1 Anaheim pepper, seeded and chopped
  • ¼ teaspoon ground cinnamon
  • ⅛ teaspoon ground cloves
  • 2 teaspoons kosher salt
  • 3 cloves garlic, minced
  • 1 pound boneless, skinless chicken breasts
  • 8 cups chicken broth
  • ½ cup freshly squeezed lime juice

For Topping:

  • 1 corn tortilla, cut into strips and fried
  • 1 avocado, diced

Image Gallery Sopa de Lima

Storage & Leftovers

Storing Your Leftover Sopa de Lima:

  • Cool it Down: Before storing, let the soup cool to room temperature. This prevents condensation, which can make the soup watery.
  • The Right Container: Use an airtight container to keep the soup fresh and prevent it from absorbing other flavors in your fridge. 
  • Refrigerator Storage: Store leftover sopa de lima in the refrigerator for 3 to 4 days.
  • Freezer-Friendly: You can freeze it for up to 2 months. For best results, freeze the soup without the toppings, as they might not hold up well in the freezer.

Reheating Tips:

  • Thaw if Frozen: Thaw the soup in the refrigerator overnight or in a bowl of cold water.
  • Stovetop Reheating: Reheat gently in a saucepan over medium-low heat, stirring occasionally.
  • Microwave Reheating: Heat in short bursts, stirring between each burst, until warmed through.  
  • Adjust Consistency: If the soup is too thick after reheating, add a little chicken broth or water to thin it out.

Topping Tips:

  • Tortilla Strips: Store leftover tortilla strips separately in an airtight container at room temperature to maintain their crispiness.
  • Avocado: Add fresh avocado when serving the reheated soup, as it tends to brown quickly.

Extra Tips for Sopa Savvy:

  • Separate Storage: If possible, store the toppings (tortilla strips and avocado) separately from the soup to prevent them from getting soggy.
  • Flavor Boost: When reheating, add a squeeze of fresh lime juice and a sprinkle of fresh cilantro to brighten the flavors.

With these tips, you can enjoy your homemade sopa de lima even days after you’ve made it! 🍲

Please follow and like us:
onpost_follow
fb-share-icon197
Tweet120
Pinterest20
Share 20
submit to reddit

Subscribe for New Recipes

* indicates required

Intuit Mailchimp

Marinara Sauce

Marinara Sauce

Forget those bland, lifeless jars from the supermarket! It’s time to unleash your inner Italian chef and create a marinara sauce that will make your taste buds sing “O Sole Mio!” This isn’t just a sauce; it’s a culinary adventure, a flavor fiesta that will transport you straight to the sun-drenched hills of Italy.

Imagine: plump, juicy tomatoes simmered slowly with aromatic garlic and fragrant herbs, transforming into a rich, velvety masterpiece. This marinara is so good, you’ll want to bathe in it (but please don’t, it might stain!).

Why should you ditch the jar and embrace this homemade wonder? Here’s the deal:

  • Flavor Explosion: This marinara bursts with fresh, vibrant flavors that will make your taste buds do a happy dance. Say “arrivederci” to those dull, mass-produced sauces!
  • Kitchen Confidence: Conquering this recipe will make you feel like a culinary superhero. You’ll be the master of your kitchen domain, whipping up magic with just a few simple ingredients.
  • Love is the Secret Ingredient: Homemade marinara is made with love, and that makes all the difference. Share it with your family and friends, and watch their faces light up with joy.
  • Versatility Superstar: This sauce isn’t a one-trick pony. It’s amazing on pasta, pizza, lasagna, and even as a dip for breadsticks. The possibilities are endless!

So, grab your apron, crank up some Italian opera, and get ready to create a marinara masterpiece that will have everyone saying “Mamma Mia!

Marinara Sauce

No ratings yet
This homemade marinara sauce is a vibrant and flavorful blend of ripe tomatoes, aromatic garlic, and fragrant herbs simmered to perfection. Its rich, deep red hue hints at the intense flavor within, where the sweetness of the tomatoes is balanced by a subtle tang and savory depth. This sauce is thick enough to cling beautifully to pasta, yet still light enough to allow the other flavors in your dish to shine through. It's the perfect foundation for a classic Italian meal, whether you're tossing it with spaghetti, layering it in lasagna, or spreading it on pizza
Prep Time 15 minutes
Cook Time 2 hours 30 minutes
Servings: 6 cups
Course: Appetizer, Dinner, Lunch, Main Course
Cuisine: Italian, Italian American
Calories: 196

Ingredients
  

  • 1 lg Yellow Onion fine dice
  • 4 cloves Garlic Minced garlic is fine
  •  
    112 oz Plum tomatoes Average can size in the store is 28 oz
  • 1 Fresh Basil Fresh
  • 6 oz Olive oil
  • 1 tsp Salt
  • 1 tsp Black pepper

Equipment

1 Stock pot
1 Emulsion blender (or a food mill)

Method
 

  1. Chop the onion and mince or crush the garlic. Have your can of tomatoes ready.
    1 lg Yellow Onion, 4 cloves Garlic, 112 oz Plum tomatoes
  2. Heat the olive oil in a large saucepan over medium-high heat. Once the oil is shimmering, add the onions and garlic. Reduce heat if the oil begins to smoke. Cook, stirring often, until the onions are translucent and the garlic is fragrant and lightly golden, about 5-7 minutes.
    1 lg Yellow Onion, 6 oz Olive oil, 4 cloves Garlic
  3. Carefully add the plum tomatoes to the pot. (Tip: Partially cover the can with the lid to control splattering.)
    112 oz Plum tomatoes
  4. Reduce the heat to low, cover the pot partially, and simmer for 2-3 hours, stirring occasionally. The sauce should reduce and thicken.
  5. Before blending, taste the sauce and season with salt and pepper. Add more garlic to taste, a little at a time, stirring and tasting until you reach your desired flavor. Stir in fresh basil leaves.
    1 tsp Salt, 1 tsp Black pepper, 1 Fresh Basil
  6. Once the sauce has thickened, use an immersion blender or food mill to blend the sauce until smooth.
  7. Your marinara sauce is ready to be used! Toss it with pasta, use it as a pizza sauce, or incorporate it into your favorite Italian dishes.

Nutrition

Serving: 12ozCalories: 196kcalCarbohydrates: 13gProtein: 3gFat: 16gSaturated Fat: 2gPolyunsaturated Fat: 2gMonounsaturated Fat: 11gSodium: 650mgPotassium: 709mgFiber: 4gSugar: 8gVitamin A: 2410IUVitamin C: 41mgCalcium: 35mgIron: 1mg

Video

Notes

1. Tomato Choice Matters:
  • San Marzano Tomatoes: If you can find them, San Marzano tomatoes are the gold standard for marinara sauce. They have a lower acidity and a sweeter flavor that's perfect for this sauce.  
  • Canned Whole or Crushed: While the recipe calls for plum tomatoes, you can use canned whole or crushed tomatoes as well. If using whole tomatoes, crush them by hand before adding them to the pot.
2. Building Flavor:
  • Don't Skimp on the Garlic: Garlic is key to a flavorful marinara. Use fresh garlic cloves and don't be afraid to add more to taste.
  • Quality Olive Oil: Use a good-quality extra virgin olive oil for the best flavor.
  • Tomato Paste (Optional): For an even richer flavor, add a tablespoon or two of tomato paste to the pot along with the garlic and onions. Cook it for a minute or two to deepen its flavor before adding the tomatoes.
3. Simmering is Key:
  • Low and Slow: Simmering the sauce over low heat for a long time allows the flavors to meld and deepen. Don't rush this process!
  • Stir Occasionally: Stir the sauce every 20-30 minutes to prevent it from sticking to the bottom of the pot.  
  • Adjust the Consistency: If the sauce becomes too thick, add a little water or vegetable broth to thin it out.
4. Seasoning:
  • Taste and Adjust: Taste the sauce before blending and adjust the seasoning as needed. Remember, you can always add more, but you can't take it away!
  • Fresh Herbs: While the recipe calls for basil, you can experiment with other fresh herbs like oregano, thyme, or parsley. Add them at the end, after blending.
5. Blending:
  • Immersion Blender vs. Food Mill: An immersion blender is the easiest way to blend the sauce. If you don't have one, you can use a food mill or a regular blender (just be careful when blending hot liquids).
  • Smoothness: Blend the sauce to your desired consistency. Some people prefer a completely smooth sauce, while others like a bit of texture.
Bonus Tip:
  • Make it Your Own: Feel free to experiment with this recipe! Add a pinch of red pepper flakes for heat, a spoonful of sugar to balance acidity, or a splash of red wine for depth of flavor.
With these tips, you'll be well on your way to making a delicious and authentic homemade marinara sauce!

Tried this recipe?

Let us know how it was!

Related Recipes

Ingredients

  •    
  •    
  •    
  •   
  •   
  •   
  •   


Image Gallery Marinara Sauce

Storage & Leftovers

Storing Your Leftover Marinara Sauce:

  • Cool it Down: Before storing, let the sauce cool completely to room temperature. This helps prevent condensation from forming in the container, which can lead to spoilage.
  • Choose the Right Container: An airtight container is essential to maintain the quality and prevent the sauce from absorbing odors from other foods in your fridge. Glass containers or high-quality plastic containers with tight-fitting lids work well.
  • Refrigerator Storage: Store your leftover marinara sauce in the refrigerator for up to 5 days.
  • Freezer Storage: For longer storage, you can freeze marinara sauce for up to 3 months. It’s best to freeze it in smaller portions for easier thawing and use. Consider using freezer-safe bags (laid flat to save space) or small airtight containers.

Reheating Tips:

  • Thaw Safely: If frozen, thaw the sauce in the refrigerator overnight or in a bowl of cold water.
  • Gentle Reheating: Reheat the sauce gently over low heat on the stovetop, stirring frequently. Alternatively, you can reheat it in the microwave in short bursts, stirring between each burst, until warmed through.
  • Add a Touch of Liquid: Marinara sauce can thicken upon cooling and reheating. If it’s too thick, you can thin it out with a little water, vegetable broth, or even a splash of red wine.

Extra Tips for Marinara Masters:

  • Portion and Conquer: When freezing, consider freezing the sauce in ice cube trays. Once frozen, pop out the cubes and store them in freezer bags. This allows for easy portioning when you only need a small amount.
  • Flavor Boost: When reheating, add a fresh sprig of basil or a pinch of oregano to brighten the flavors.
  • Prevent Staining: Marinara sauce can stain plastic containers. If using plastic, choose high-quality containers and avoid storing the sauce for extended periods.  

With these tips, you can enjoy your homemade marinara sauce to the fullest, even days after you’ve made it! 🍝

Please follow and like us:
onpost_follow
fb-share-icon197
Tweet120
Pinterest20
Share 20
submit to reddit

Creamy Alfredo Sauce

Creamy Alfredo Sauce

Get ready to unleash your inner culinary rockstar and whip up a batch of creamy Alfredo sauce that will make your taste buds sing! This isn’t just any sauce, folks; it’s a symphony of flavor, a creamy concerto for your palate.

First, we’ll melt some buttery goodness in a pan—a golden pool of deliciousness. Then, in goes the garlic, sizzling and dancing in the heat, releasing its aromatic magic. (Careful not to burn it, or your garlic will stage a bitter protest!)

Next, we’ll bring in the heavy cream, a velvety cascade of richness. Whisk it all together like a maestro conducting an orchestra, creating a harmonious blend of flavors.

Now, for the grand finale: a shower of Parmesan cheese! Watch as it melts into the creamy embrace of the sauce, transforming into a luscious, velvety dream.

And there you have it—a creamy Alfredo sauce so good, it’ll have you shouting “Encore!” Get ready to twirl your pasta and savor every drop of this culinary masterpiece. You’ve earned it, chef!

Creamy Alfredo Sauce

No ratings yet
Indulge in the luxurious taste of Alfredo sauce, a creamy Italian creation that elevates any pasta dish. This rich blend of butter, heavy cream, and Parmesan cheese creates a velvety smooth texture and savory flavor that's simply irresistible. Imagine it coating each strand of fettuccine or linguine, offering a decadent experience in every bite.
Prep Time 5 minutes
Cook Time 12 minutes
Servings: 4 cups
Course: Main Course
Cuisine: American, Italian, Italian American
Calories: 658

Ingredients
  

  • 6 tbsp Butter
  • 1 tsp Garlic
  • cups Heavy cream
  • oz Parmesan Cheese
  • 1 tsp Salt
  • 1 tsp Black pepper
  • 1 tbsp Thyme dried

Method
 

  1. Measure out your butter, ensuring it's softened for easier melting. Finely mince your garlic cloves. Have your heavy cream ready in a convenient pouring container. Grate your Parmesan cheese and keep it nearby.
    6 tbsp Butter, 1½ cups Heavy cream, 1 tsp Garlic
  2. Place a saucepan (medium size works well) over medium-low heat. Add the butter and allow it to melt completely, swirling the pan occasionally for even melting.
    6 tbsp Butter, 1 tsp Garlic
  3. Add the minced garlic and a pinch of dried thyme (about ¼ to ½ teaspoon) to the melted butter. Stir it frequently and sauté until the garlic becomes fragrant and turns a light golden brown color. Be careful not to burn the garlic, as this will impart a bitter flavor. The thyme will infuse its flavor into the butter and garlic as they cook.
    1 tsp Garlic, 1 tbsp Thyme
  4. Take the saucepan off the heat and let it cool for about 3-5 minutes. This brief cooling period is essential to prevent the cream from curdling when you add it in the next step.
  5. Slowly pour the heavy cream into the saucepan while whisking constantly. This gradual addition and continuous whisking will create a smooth emulsion and prevent the sauce from separating. Continue whisking until the cream is fully blended with the butter and garlic.
    1½ cups Heavy cream
  6. Place the saucepan back on the stove over low heat. Now, gradually add the grated Parmesan cheese, a handful at a time, whisking continuously as you do so. This slow addition and constant whisking will ensure the cheese melts evenly into the sauce, creating a luscious, creamy texture.
    6½ oz Parmesan Cheese
  7. Continue to cook the sauce over low heat, stirring occasionally, until it reaches your desired consistency. If it becomes too thick, you can thin it out with a tablespoon or two of warm milk or pasta water.
  8. Have a taste! You might want to add a pinch of salt and freshly ground black pepper to enhance the flavors. Some people like a touch of nutmeg in their Alfredo sauce as well.
    1 tsp Black pepper, 1 tsp Salt
  9. Once the cheese is completely melted, the sauce is smooth, and the seasoning is perfect, remove the pan from the heat. Your homemade Alfredo sauce is ready to be tossed with your favorite pasta, like fettuccine, linguine, or even tortellini! Garnish with some fresh parsley and extra Parmesan cheese for a beautiful presentation.

Nutrition

Serving: 8ozCalories: 658kcalCarbohydrates: 10gProtein: 17gFat: 63gSaturated Fat: 39gPolyunsaturated Fat: 3gMonounsaturated Fat: 16gTrans Fat: 1gCholesterol: 188mgSodium: 1996mgPotassium: 199mgFiber: 0.3gSugar: 3gVitamin A: 2337IUVitamin C: 4mgCalcium: 482mgIron: 1mg

Notes

1. Quality Ingredients are Key
  • Freshly Grated Parmesan: Use a block of Parmesan cheese and grate it yourself. Pre-grated cheese often contains cellulose, which can make the sauce grainy. 
  • Good Butter: Use a high-quality butter for the best flavor.
  • Fresh Garlic: If possible, use fresh garlic cloves instead of garlic powder for a more robust flavor.
2. Temperature Control is Crucial
  • Low and Slow: Cook the sauce over low heat to prevent the cream from curdling or the sauce from becoming too thick.
  • Cool Slightly Before Adding Cream: Taking the pan off the heat for a few minutes after sautéing the garlic will help prevent the cream from separating.
3. Technique Matters
  • Whisk Continuously: Whisk the cream and cheese into the sauce gradually and continuously to ensure a smooth, lump-free consistency.
  • Don't Overcook: The sauce is ready when the cheese is melted and the sauce is smooth. Overcooking can make it thick and oily.
4. Adjust as Needed
  • Thin it Out: If the sauce becomes too thick, add a tablespoon or two of warm milk or pasta water to thin it out.
  • Season to Taste: Don't forget to season with salt and freshly ground black pepper to your liking. A pinch of nutmeg can also add a lovely warmth.
5. For Extra Richness and Flavor
  • Add Cream Cheese: A tablespoon or two of cream cheese whisked in with the Parmesan can add extra richness and tang.
  • A Touch of Wine: A splash of dry white wine, like Sauvignon Blanc or Pinot Grigio, can add complexity and depth of flavor.
  • Finish with Fresh Herbs: Stir in some chopped fresh parsley or basil at the end for a burst of freshness and color.
Bonus Tip: For the ultimate creamy Alfredo experience, toss the cooked pasta directly into the sauce and cook for a minute or two to allow the pasta to absorb the flavors.

Tried this recipe?

Let us know how it was!

Related Recipes

Ingredients

Ingredients:

  • 6 tablespoons butter
  • 1 teaspoon minced garlic
  • 1 ½ cups heavy cream
  • 6.5 ounces grated Parmesan cheese (about 1 ½ cups)
  • 1 teaspoon salt
  • 1 teaspoon black pepper
  • 1 tablespoon dried thyme

Image Gallery Creamy Alfredo Sauce

Storage & Leftovers

Storing Your Leftover Alfredo Sauce:

  • Cool it Down: Before storing, let the sauce cool to room temperature. This prevents condensation from forming in the container, which can lead to spoilage.
  • Choose the Right Container: An airtight container is essential to maintain the quality and prevent the sauce from absorbing odors from other foods in your fridge. Glass containers or high-quality plastic containers with tight-fitting lids work well. 
  • Refrigerator Storage: Store your leftover Alfredo sauce in the refrigerator for 3 to 4 days.
  • Freezer Storage: For longer storage, you can freeze Alfredo sauce for up to 3 months. It’s best to freeze it in smaller portions for easier thawing and use. Consider using freezer-safe bags (laid flat to save space) or small airtight containers.   

Reheating Tips:

  • Thaw Safely: If frozen, thaw the sauce in the refrigerator overnight or in a bowl of cold water.
  • Gentle Reheating: Reheat the sauce gently over low heat on the stovetop, stirring frequently. Alternatively, you can reheat it in the microwave in short bursts, stirring between each burst, until warmed through.
  • Thin if Needed: Alfredo sauce tends to thicken upon cooling and reheating. If it’s too thick, you can thin it out with a little warm milk, cream, or pasta water.  

Creative Ways to Use Leftover Alfredo Sauce:

Don’t let those precious leftovers go to waste! Here are some ideas:

  • Alfredo Dip: Serve it warm as a dip for breadsticks, vegetables, or even chicken strips.
  • Pizza Topping: Use it as a base for a white pizza with your favorite toppings.
  • Pasta Bake: Incorporate it into a creamy pasta bake with chicken, vegetables, or seafood. 
  • Soup Enhancer: Stir a spoonful or two into your favorite soup for extra creaminess and flavor.
  • Vegetable Gratin: Use it to make a creamy and cheesy vegetable gratin.

With these tips, you can enjoy your homemade Alfredo sauce to the fullest, even days after you’ve made it!

Please follow and like us:
onpost_follow
fb-share-icon197
Tweet120
Pinterest20
Share 20
submit to reddit