Coconut Curry Salmon

Coconut Curry Salmon
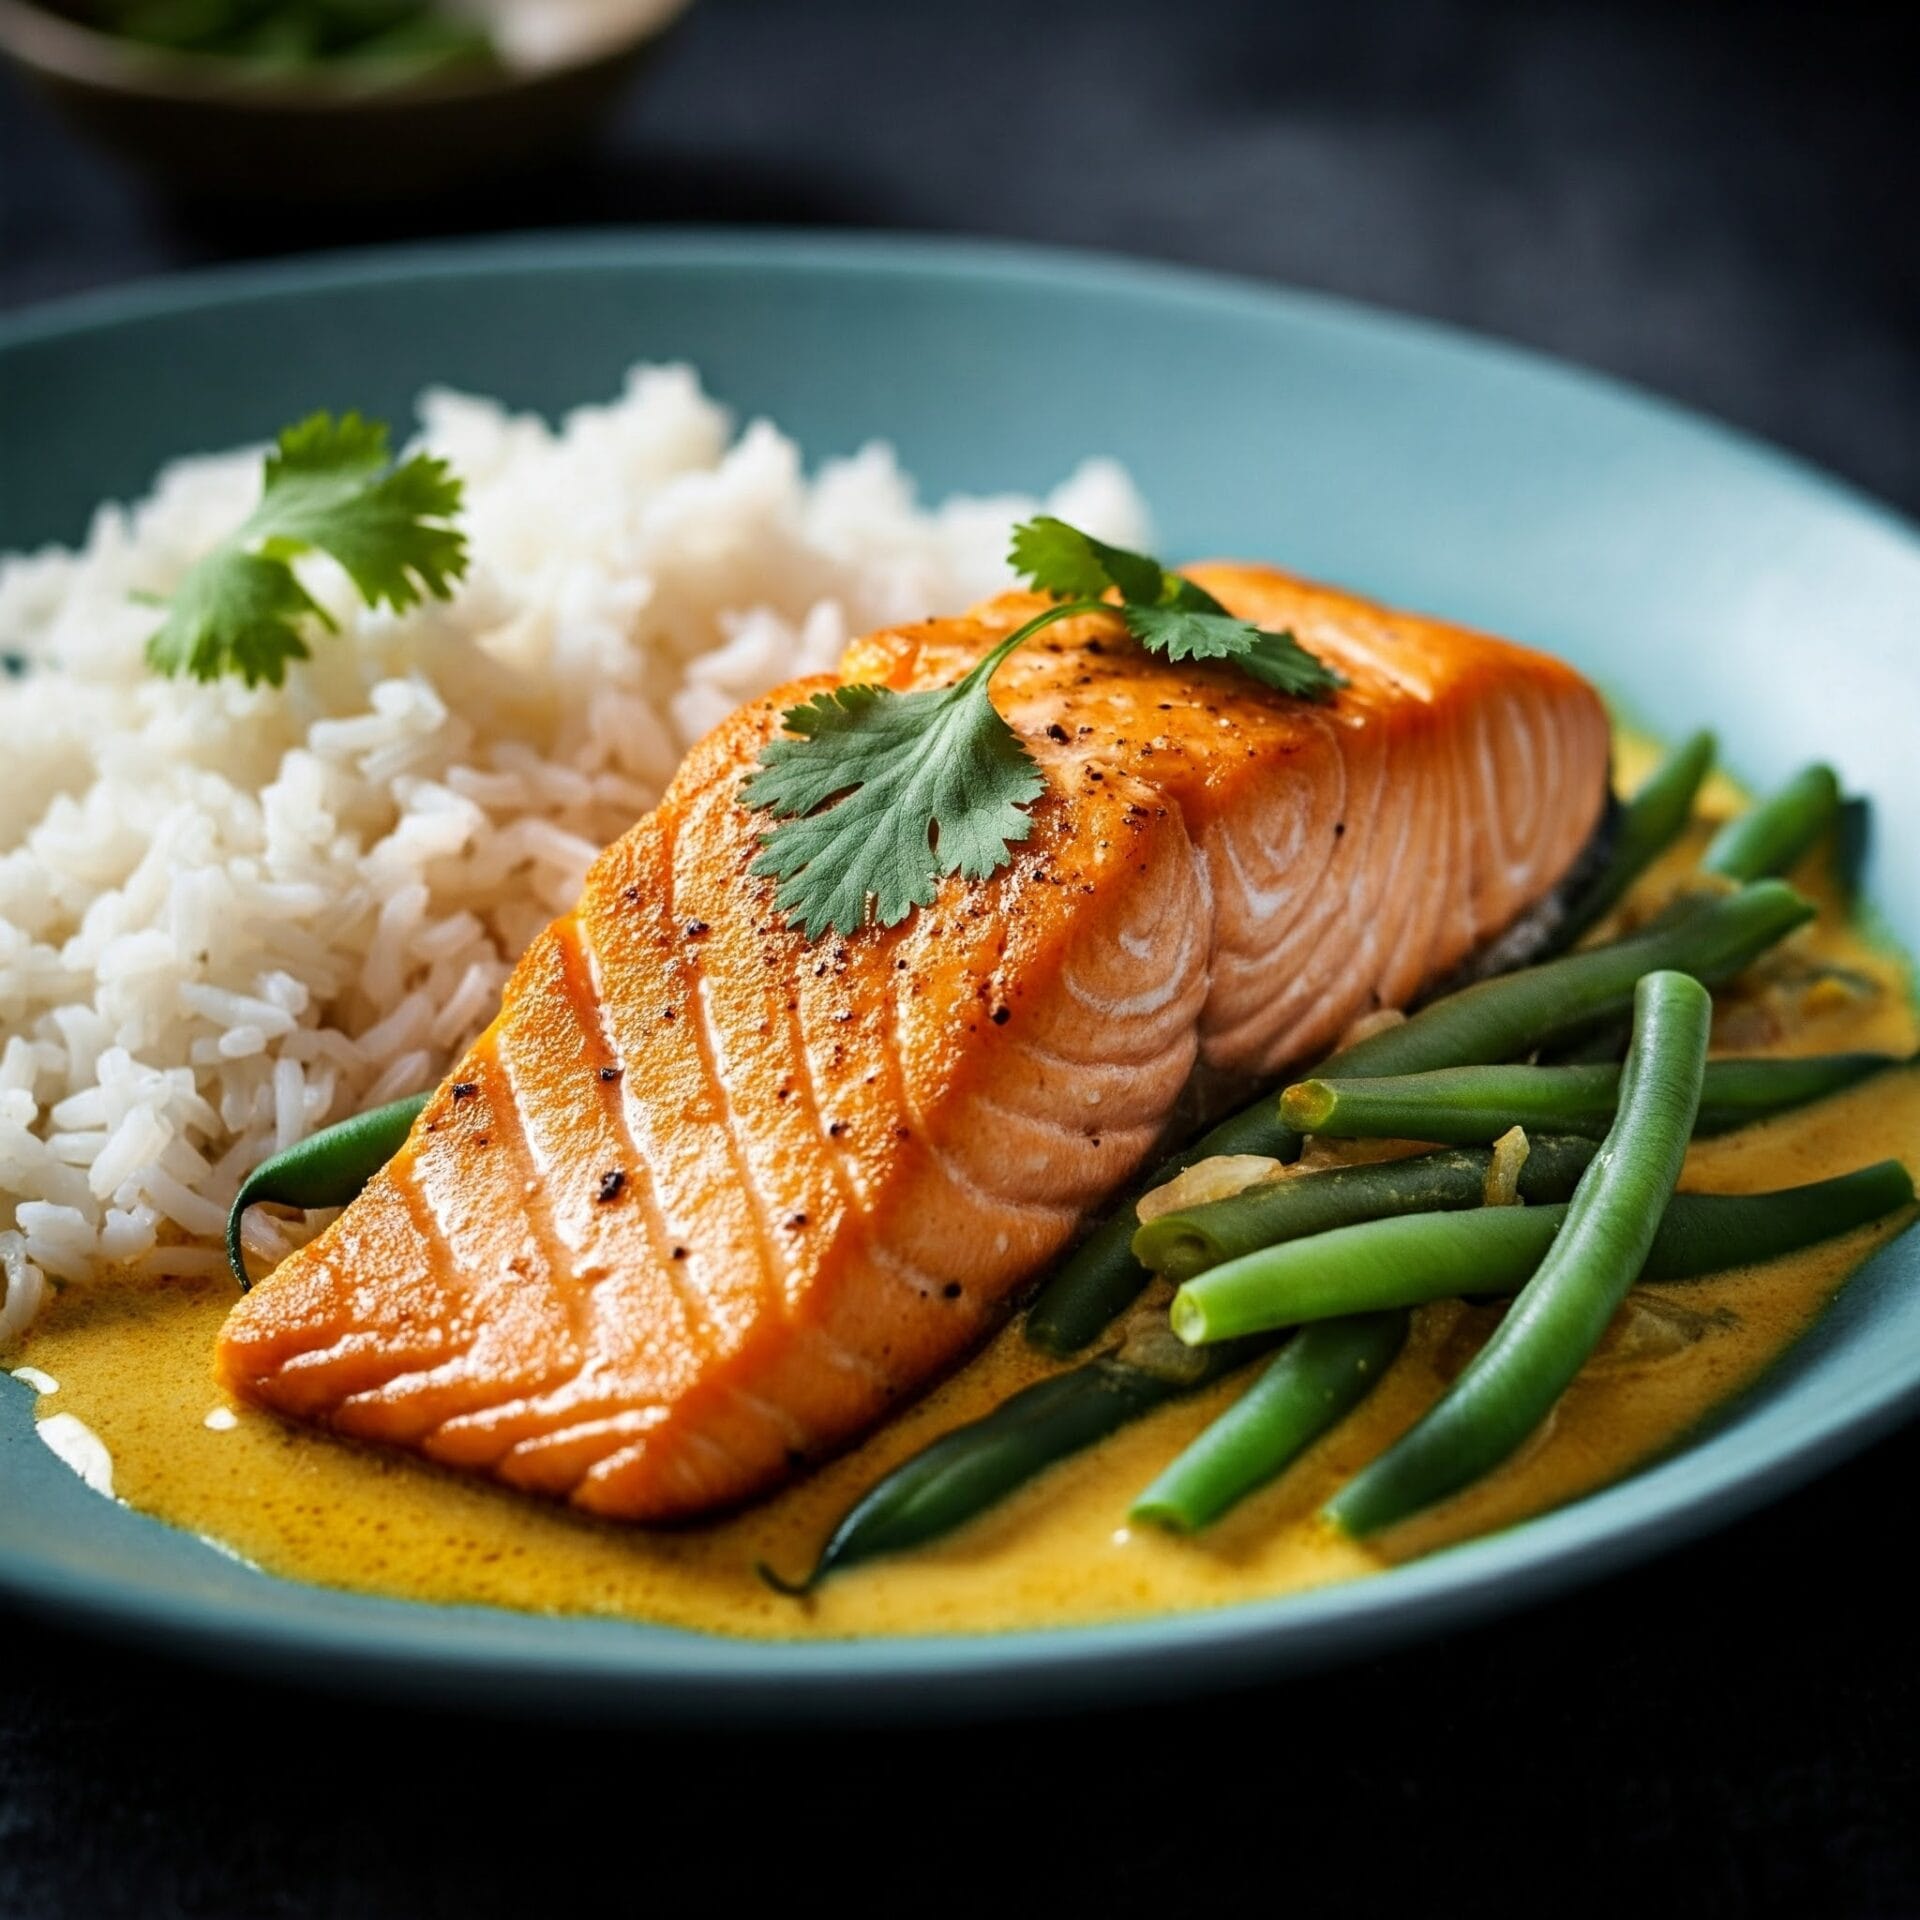
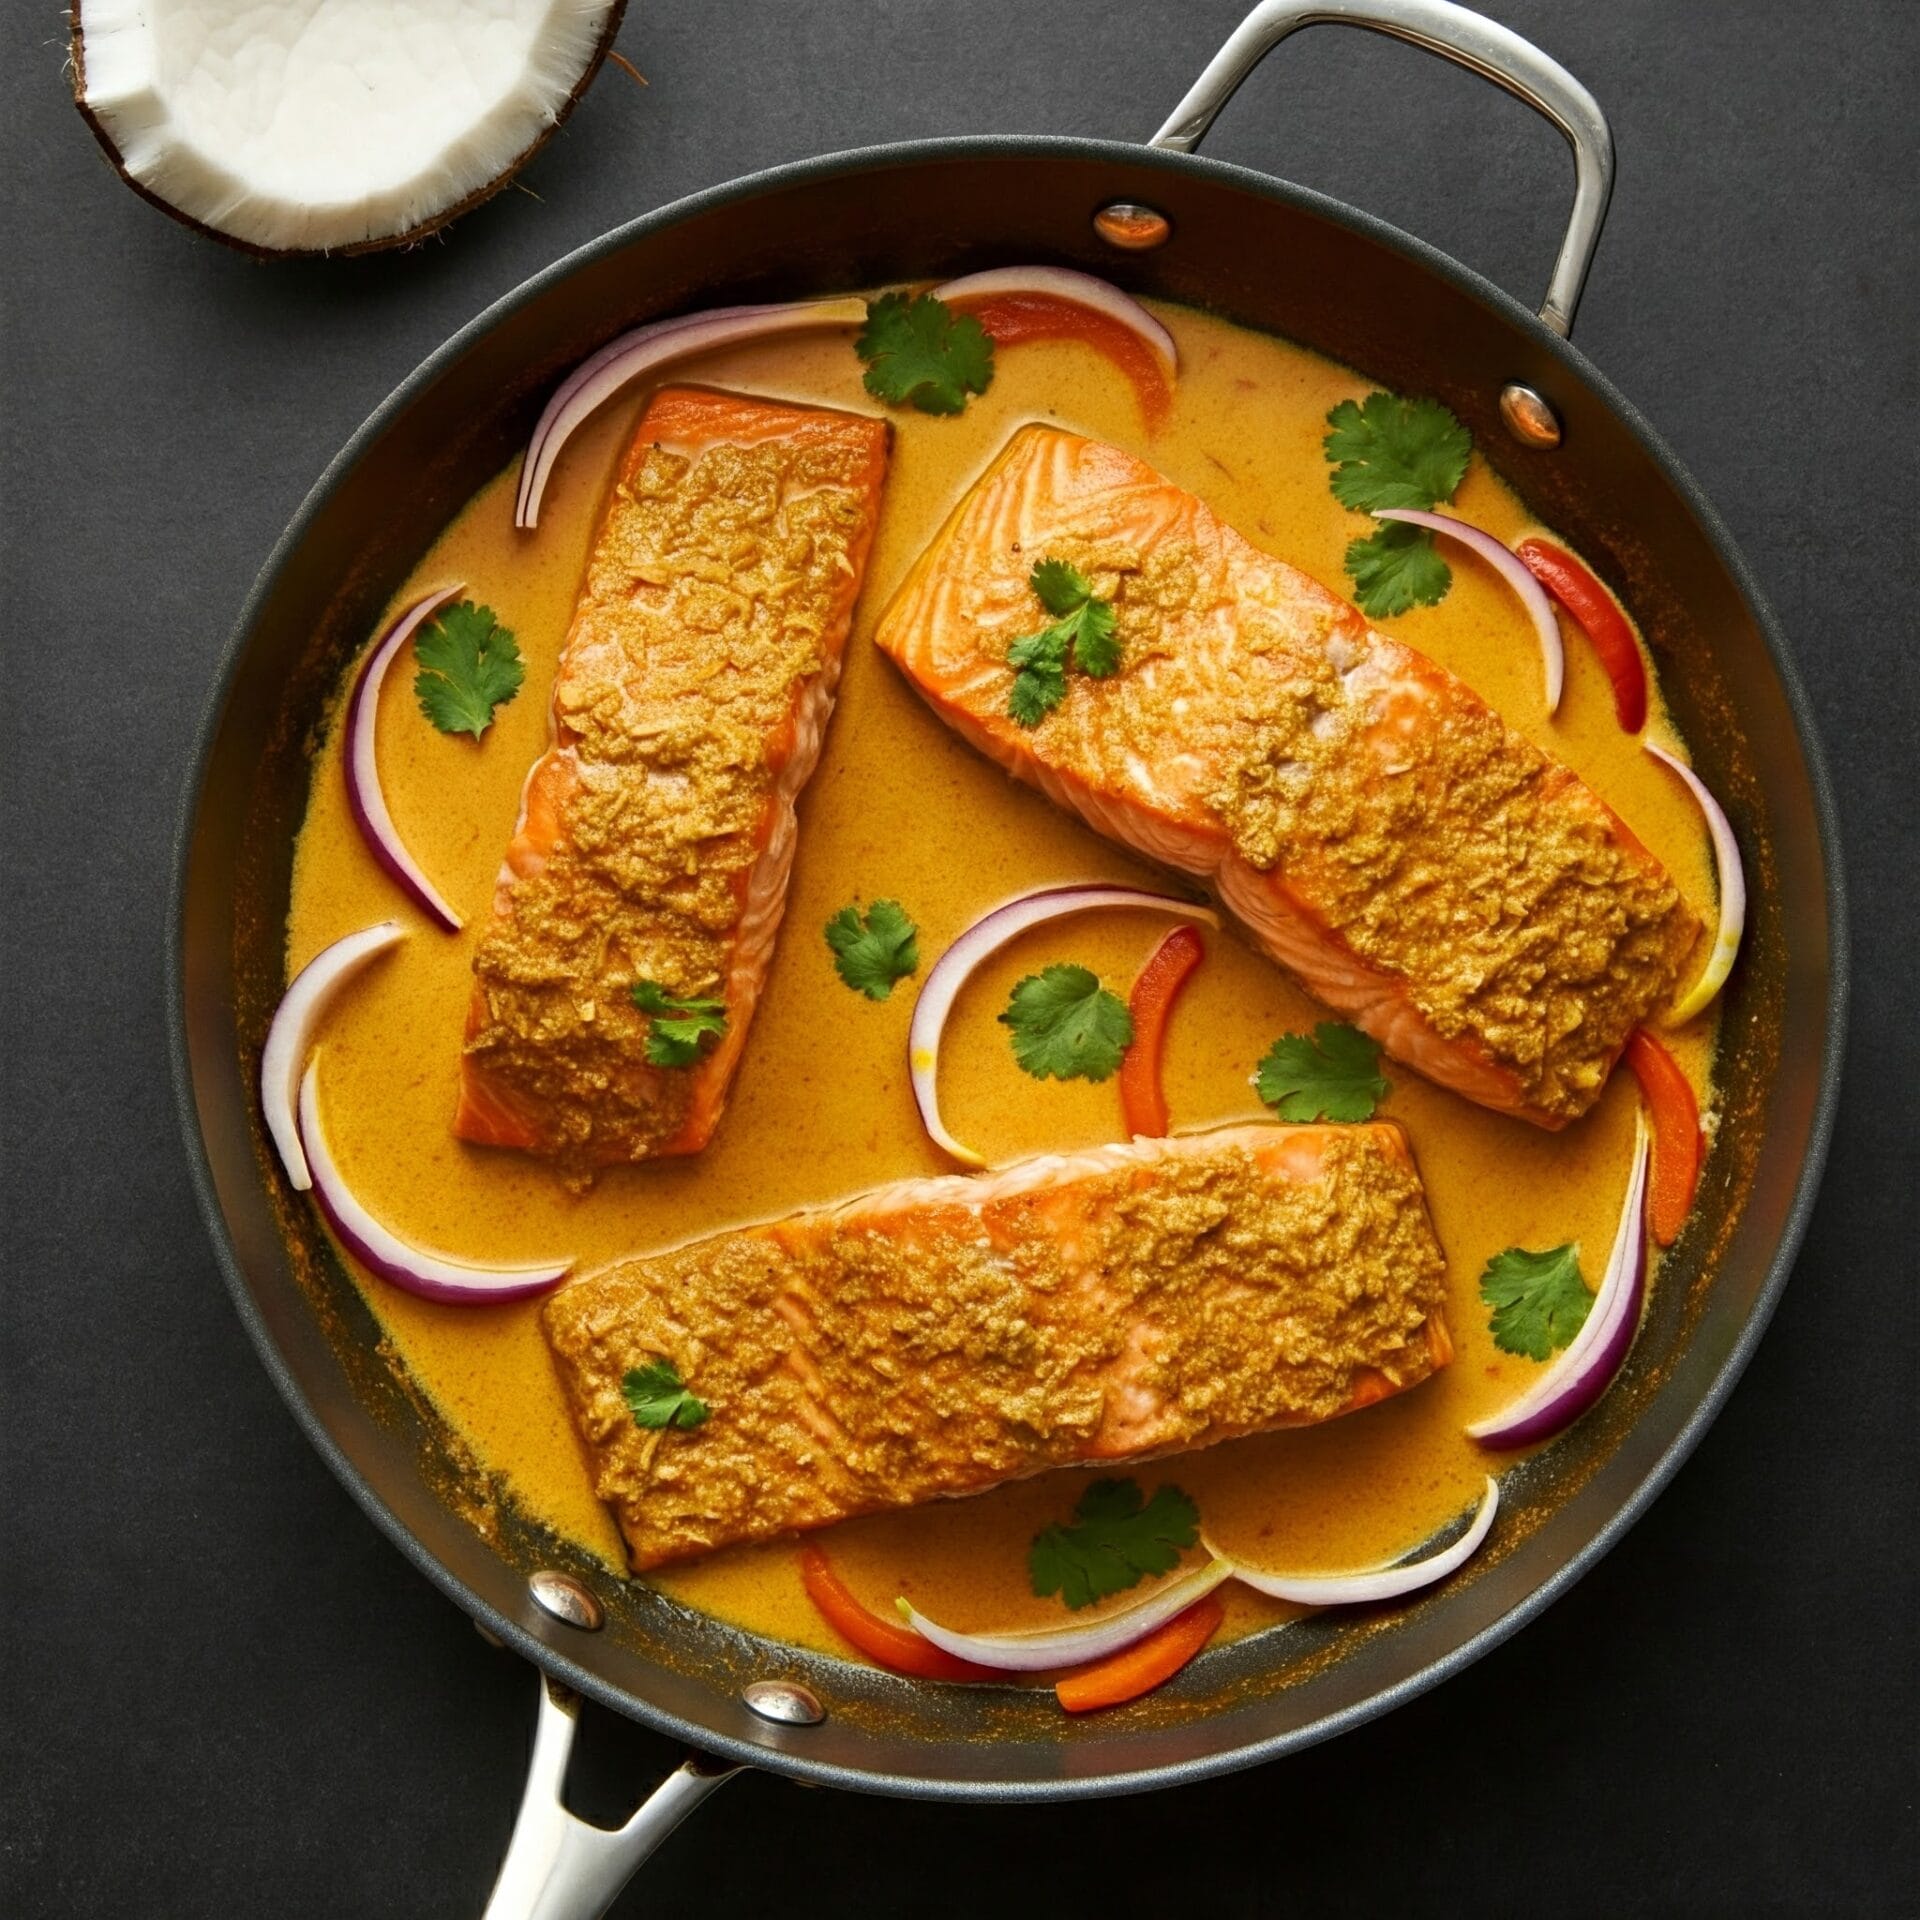
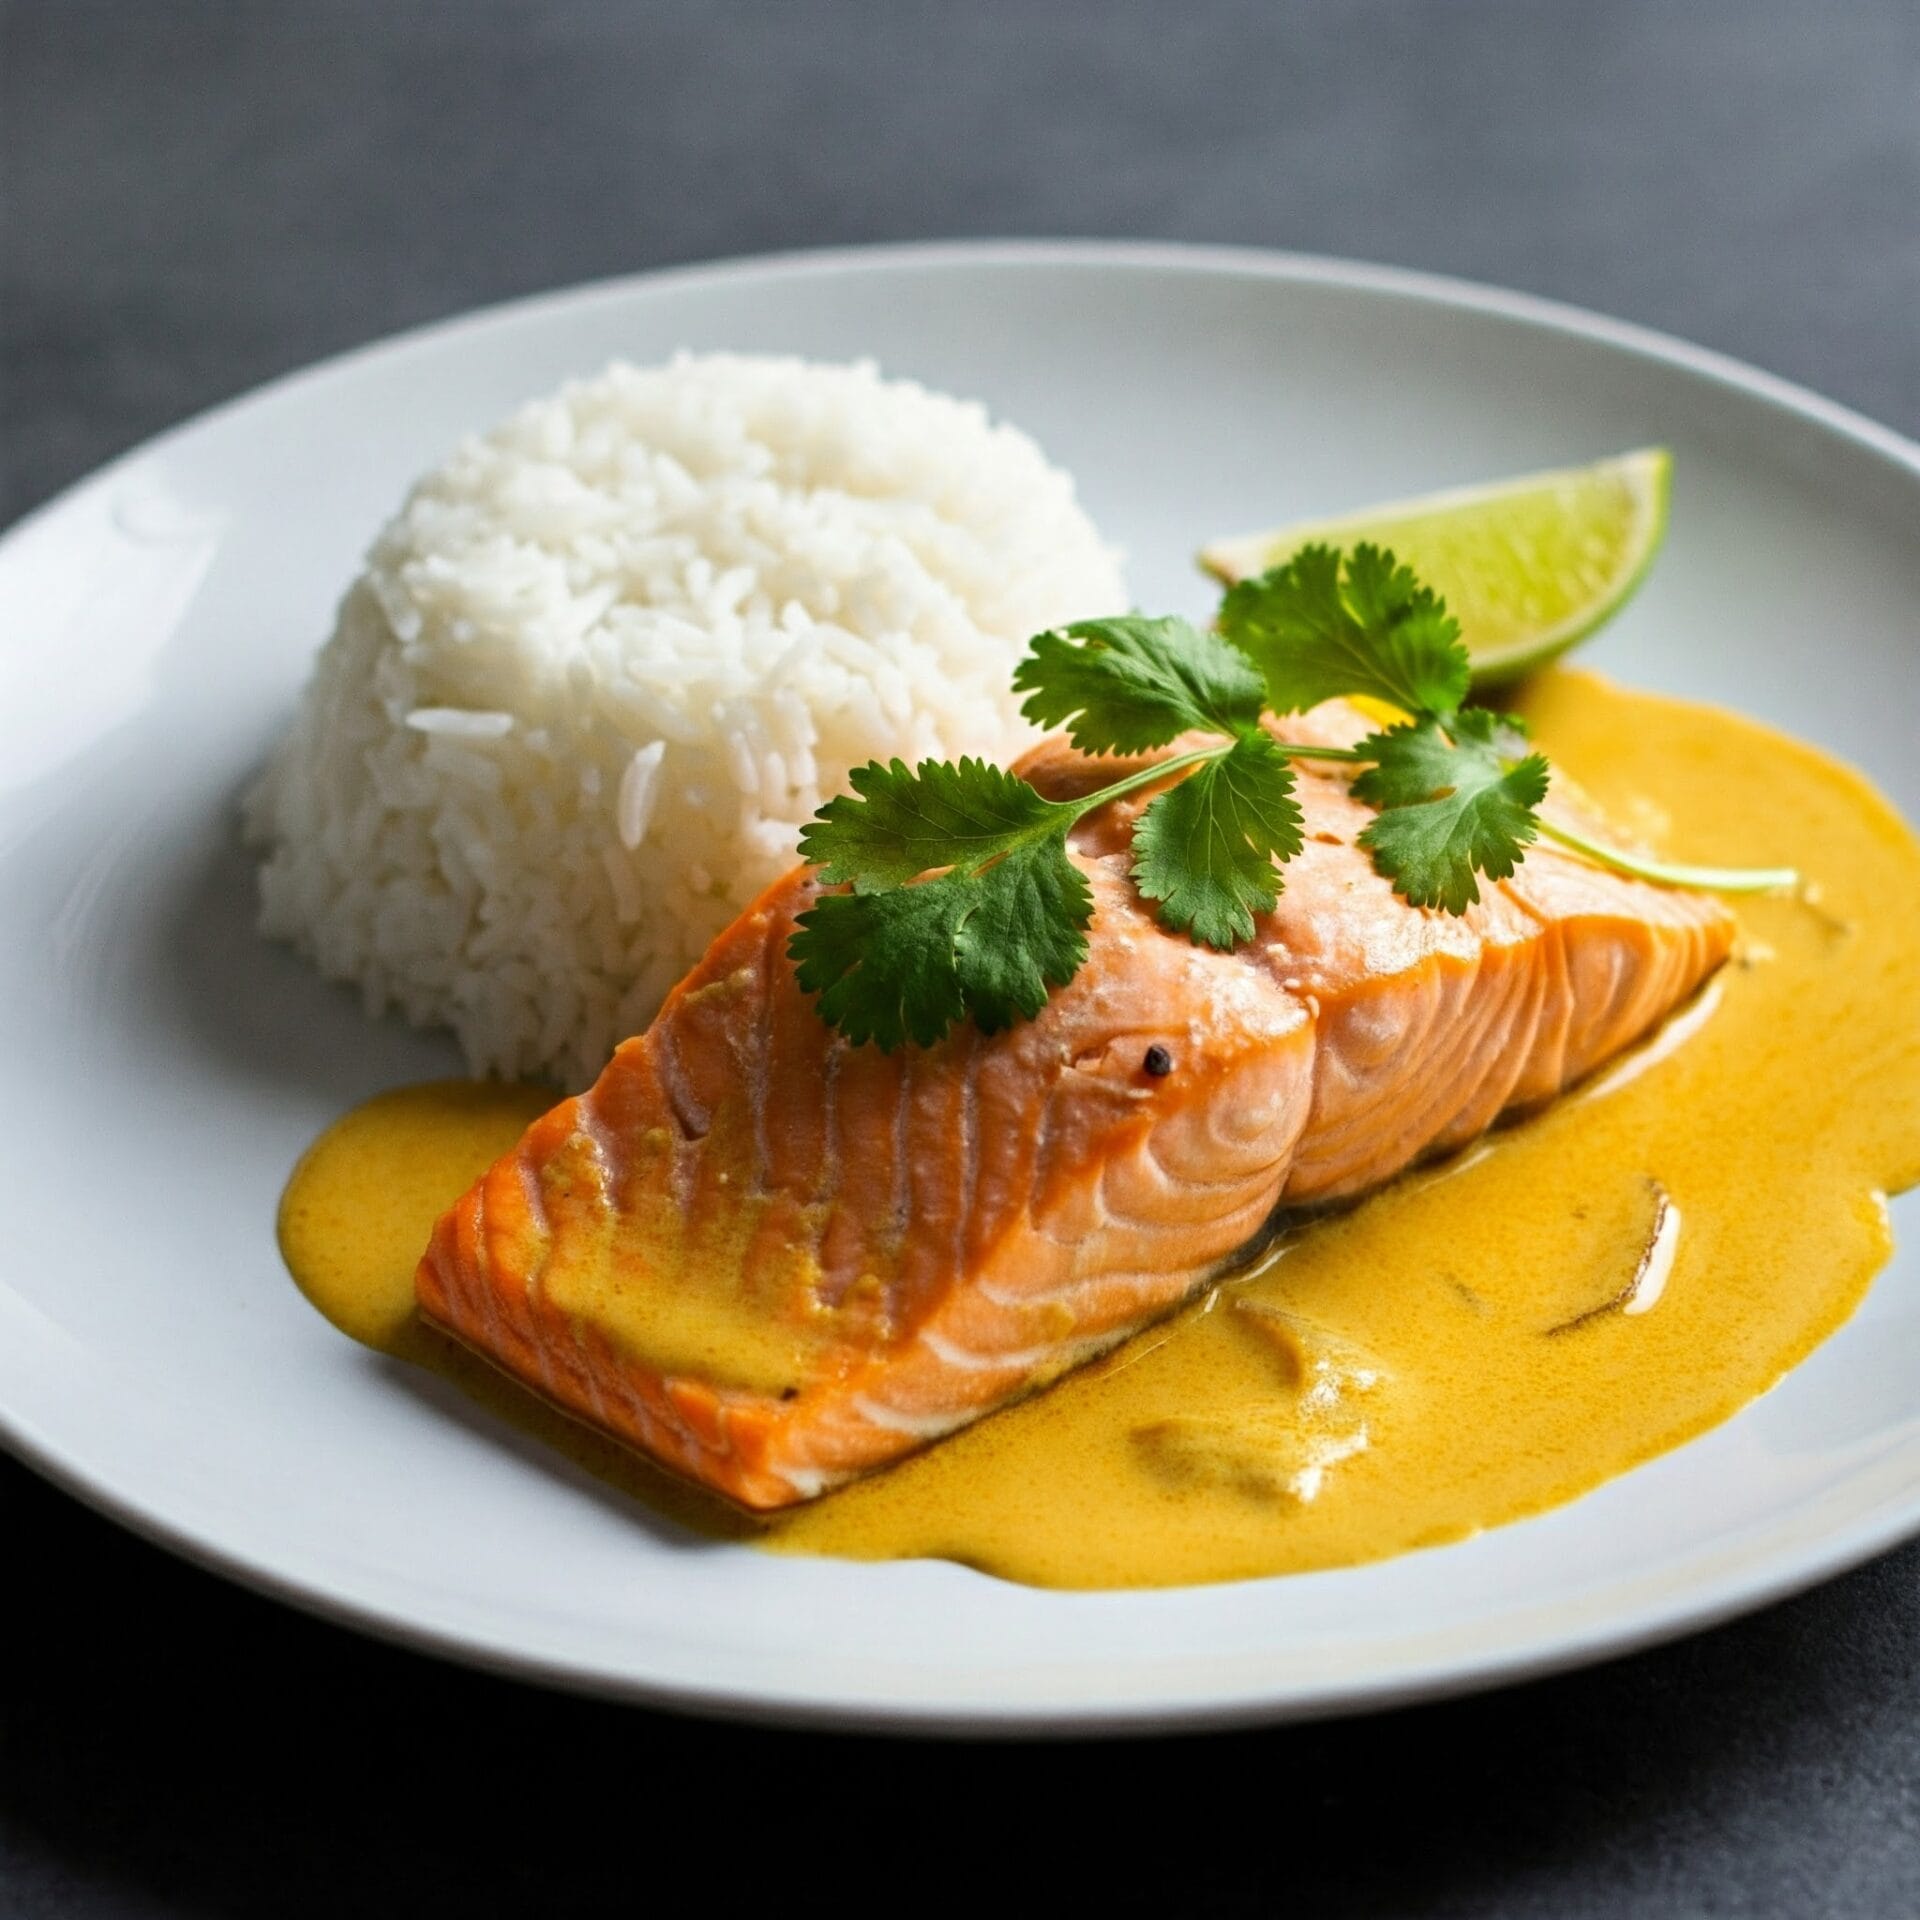
Dive into bold, vibrant flavor with this Coconut Curry Salmon—a dish that brings together tender, flaky salmon and a luxuriously creamy coconut curry sauce. Infused with warming spices, fresh ginger, garlic, and a touch of lime, each bite is layered with savory depth and gentle heat. The richness of the coconut milk balances perfectly with the natural richness of the salmon, creating a dish that’s both comforting and exotic. Served over rice or with warm naan, it’s a restaurant-worthy meal that comes together effortlessly in your own kitchen.

Coconut Curry Salmon

No ratings yet
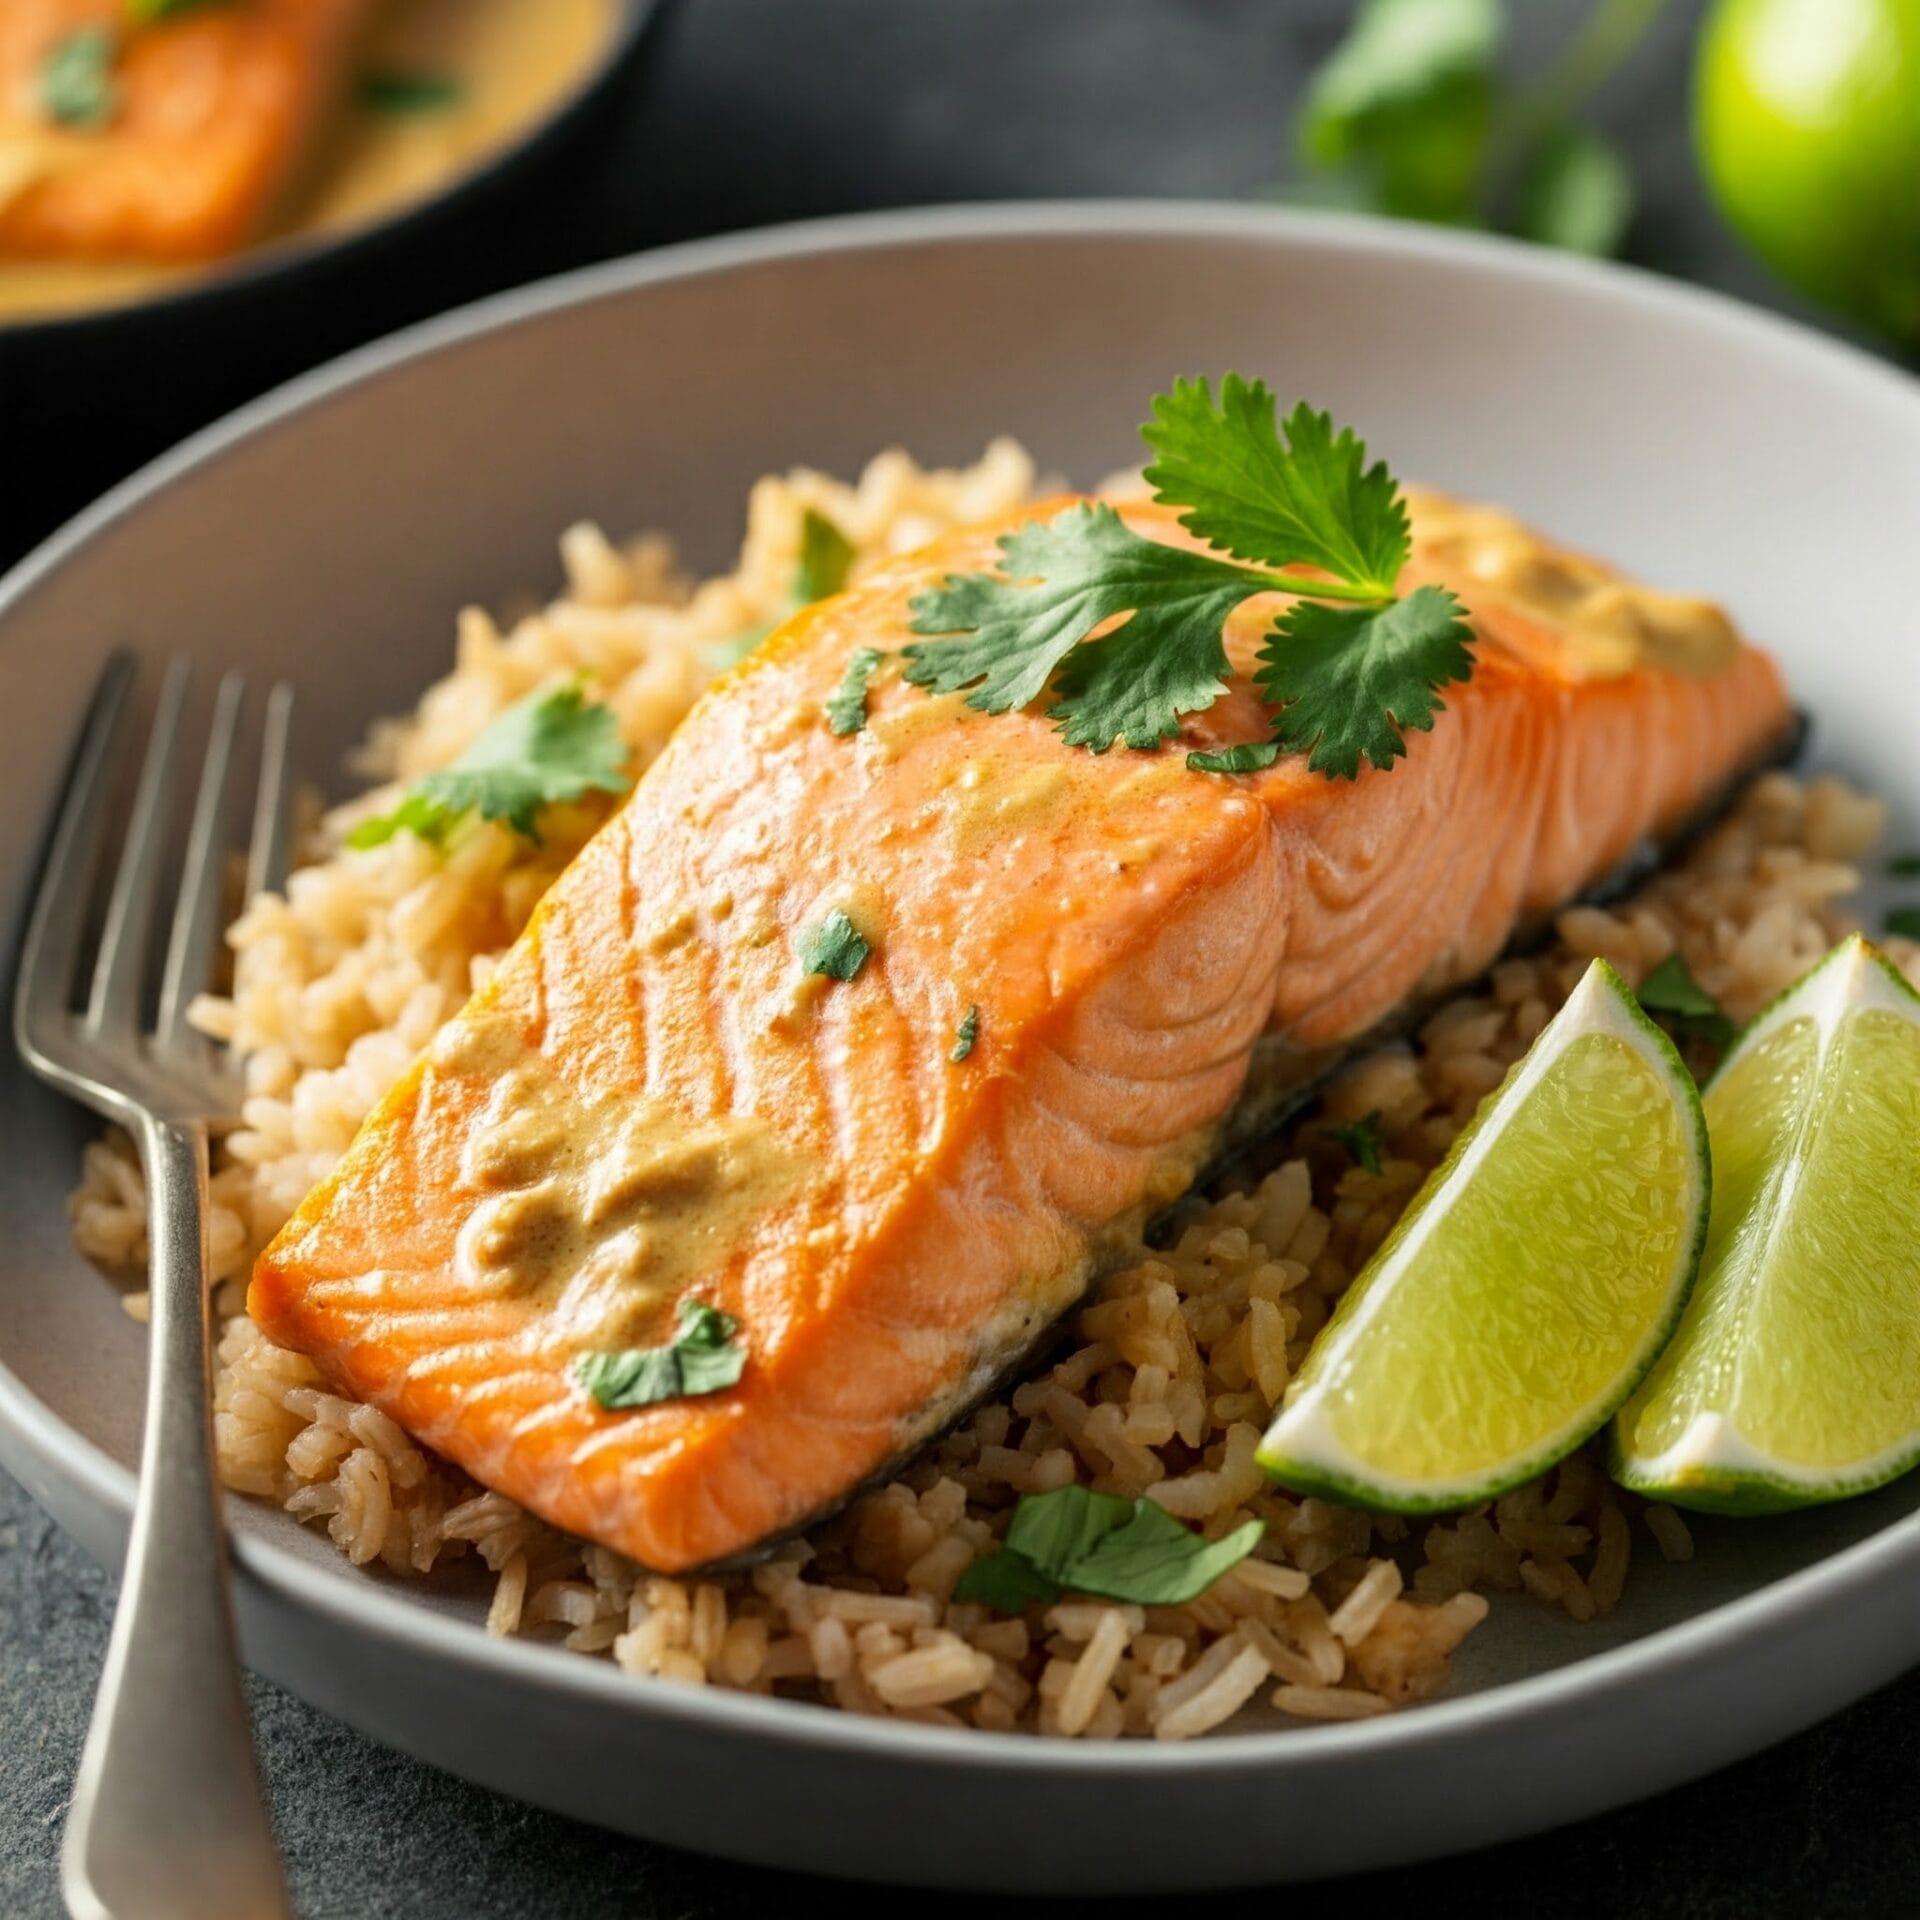
Coconut curry salmon is a vibrant dish where tender salmon fillets are immersed in a rich and fragrant curry sauce. This sauce, typically made with creamy coconut milk, is infused with a medley of aromatic spices. Common additions include ginger, garlic, and chili, providing warmth and depth. The salmon is often pan-seared to achieve a slightly crispy exterior while maintaining a moist and flaky interior. It then simmers in the curry sauce, absorbing the complex flavors. This dish is typically served with fluffy rice, which acts as the perfect vehicle for soaking up the luscious sauce. Garnishes like fresh cilantro, lime wedges, and chopped peanuts add brightness and texture, completing this flavorful and satisfying meal.
Prep Time 10 minutes
Cook Time 30 minutes
Servings: 6 people
Course: Dinner, Lunch, Main Course
Cuisine: Southeast Asian, Thai
Calories: 267

Ingredients
  

  •  
    16 oz Salmon filets
  • 1 Kosher Salt
  • 1 Ground Black Pepper (freshly ground)
  • 1 Tbsp Vegetable oil
  • 1 Shallot thinly sliced
  •  
    1 Tbsp Red curry paste
  • 2 Cloves Garlic minced
  •  
    1 tsp Ginger, Fresh minced
  •  
    14 oz Coconut milk canned
  • 1 Tbsp Sriracha
  •  
    1 Tbsp Fish sauce
  •  
    1 Rice pre cooked
  • 1 Lime Cut into wedges
  • 1 Fresh Cilantro chopped

Method
 

  1. Grab your salmon fillets and season them generously with salt and pepper. Next, heat up your skillet over medium heat and add the oil. Once the oil is nice and hot, it's time for the salmon! Place the fillets in the skillet, skin-side down. Let them sizzle away for about 5 minutes, until that skin gets beautifully golden and crispy. Flip them over and cook for another 5 minutes, or until the salmon is cooked through. Transfer the salmon to a plate, and you're ready for the next step!
    16 oz Salmon filets, 1 Kosher Salt, 1 Ground Black Pepper, 1 Tbsp Vegetable oil
  2. Place the skillet back on the stovetop over medium heat. Add the shallots and cook, stirring occasionally, until they become soft and golden brown, about 3 minutes. Next, add the curry paste, minced garlic, and ginger to the skillet. Cook for another minute, stirring constantly, until the paste is fragrant and has deepened in color. Reduce the heat slightly and slowly whisk in the coconut milk, ensuring it is fully incorporated into the sauce. Then, add the sriracha and fish sauce. Bring the sauce to a gentle simmer. Carefully return the salmon fillets to the skillet, nestling them into the sauce. Allow the salmon to simmer until it flakes easily with a fork and reaches an internal temperature of 145°F. This should take about 15 minutes, depending on the thickness of the salmon. As the salmon simmers, spoon the sauce over the fillets occasionally to ensure they are well coated and infused with flavor. Taste the sauce and adjust the seasoning by adding more sriracha or fish sauce as needed.
    1 Shallot, 1 Tbsp Red curry paste, 2 Cloves Garlic, 1 tsp Ginger, Fresh, 14 oz Coconut milk, 1 Tbsp Sriracha, 1 Tbsp Fish sauce
  3. And there you have it! Spoon that amazing sauce over the salmon – don't be shy! Serve it up with a generous portion of fluffy rice. A squeeze of lime and a sprinkle of cilantro add the perfect finishing touch. Dig in and enjoy!
    1 Rice, 1 Lime , 1 Fresh Cilantro

Nutrition

Serving: 6ozCalories: 267kcalCarbohydrates: 3gProtein: 17gFat: 21gSaturated Fat: 14gPolyunsaturated Fat: 3gMonounsaturated Fat: 3gTrans Fat: 0.01gCholesterol: 42mgSodium: 335mgPotassium: 547mgFiber: 0.3gSugar: 1gVitamin A: 428IUVitamin C: 3mgCalcium: 29mgIron: 3mg

Notes

Choosing the Salmon:
  • Freshness: Look for salmon fillets that are firm, brightly colored, and have a fresh, mild scent. Avoid any with a strong fishy odor or discoloration.
  • Skin on or off: While skin-on fillets provide extra flavor and texture, skinless fillets work well too.
  • Sustainability: Consider purchasing sustainably sourced salmon to support responsible fishing practices.
Cooking the Salmon:
  • Don't overcrowd the pan: Give the fillets enough space in the skillet to ensure even cooking and browning.
  • Adjust cooking time: Cooking time will vary depending on the thickness of the fillets and your stovetop. Aim for an internal temperature of 145°F (63°C) for food safety.
  • Avoid overcooking: Overcooked salmon can become dry and tough. Aim for a moist and flaky texture.
Making the Curry Sauce:
  • Curry paste: Use your favorite red or yellow curry paste. Adjust the amount to your desired level of spiciness.
  • Aromatics: Fresh ginger and garlic are key to building flavor in the sauce.
  • Coconut milk: Use full-fat coconut milk for a rich and creamy sauce.
  • Balancing flavors: Taste the sauce and adjust the sriracha and fish sauce to achieve the desired balance of sweet, salty, spicy, and sour.
  • Simmering: Simmering the salmon in the sauce allows it to absorb the flavors fully.
Serving:
  • Rice: Serve with fluffy white or brown rice to soak up the delicious sauce.
  • Garnishes: Fresh cilantro, lime wedges, and chopped peanuts add brightness, acidity, and texture.
  • Sides: Consider serving with additional sides like steamed vegetables or a simple salad.
Other Tips:
  • Make it ahead: The curry sauce can be made ahead of time and reheated.
  • Storage: Leftovers can be stored in the refrigerator for up to 3 days.
  • Adapt to your taste: Feel free to adjust the ingredients and spices to your liking. You can add vegetables like bell peppers, onions, or spinach to the sauce.
By keeping these notes in mind, you'll be well on your way to preparing a flavorful and satisfying coconut curry salmon dish. Enjoy!

Tried this recipe?

Let us know how it was!

Related Recipes

Ingredients

  • 16 oz Salmon fillets
  • 1 tsp Kosher salt
  • 1 tsp Ground black pepper (freshly ground)
  • 1 Tbsp Vegetable oil
  • 1 Shallot, thinly sliced
  • 1 Tbsp Red curry paste
  • 2 Cloves Garlic, minced
  • 1 tsp Fresh ginger, minced
  • 14 oz Canned coconut milk
  • 1 Tbsp Sriracha
  • 1 Tbsp Fish sauce
  • Cooked rice (for serving)
  • 1 Lime, cut into wedges (for serving)
  • Chopped cilantro (for serving)

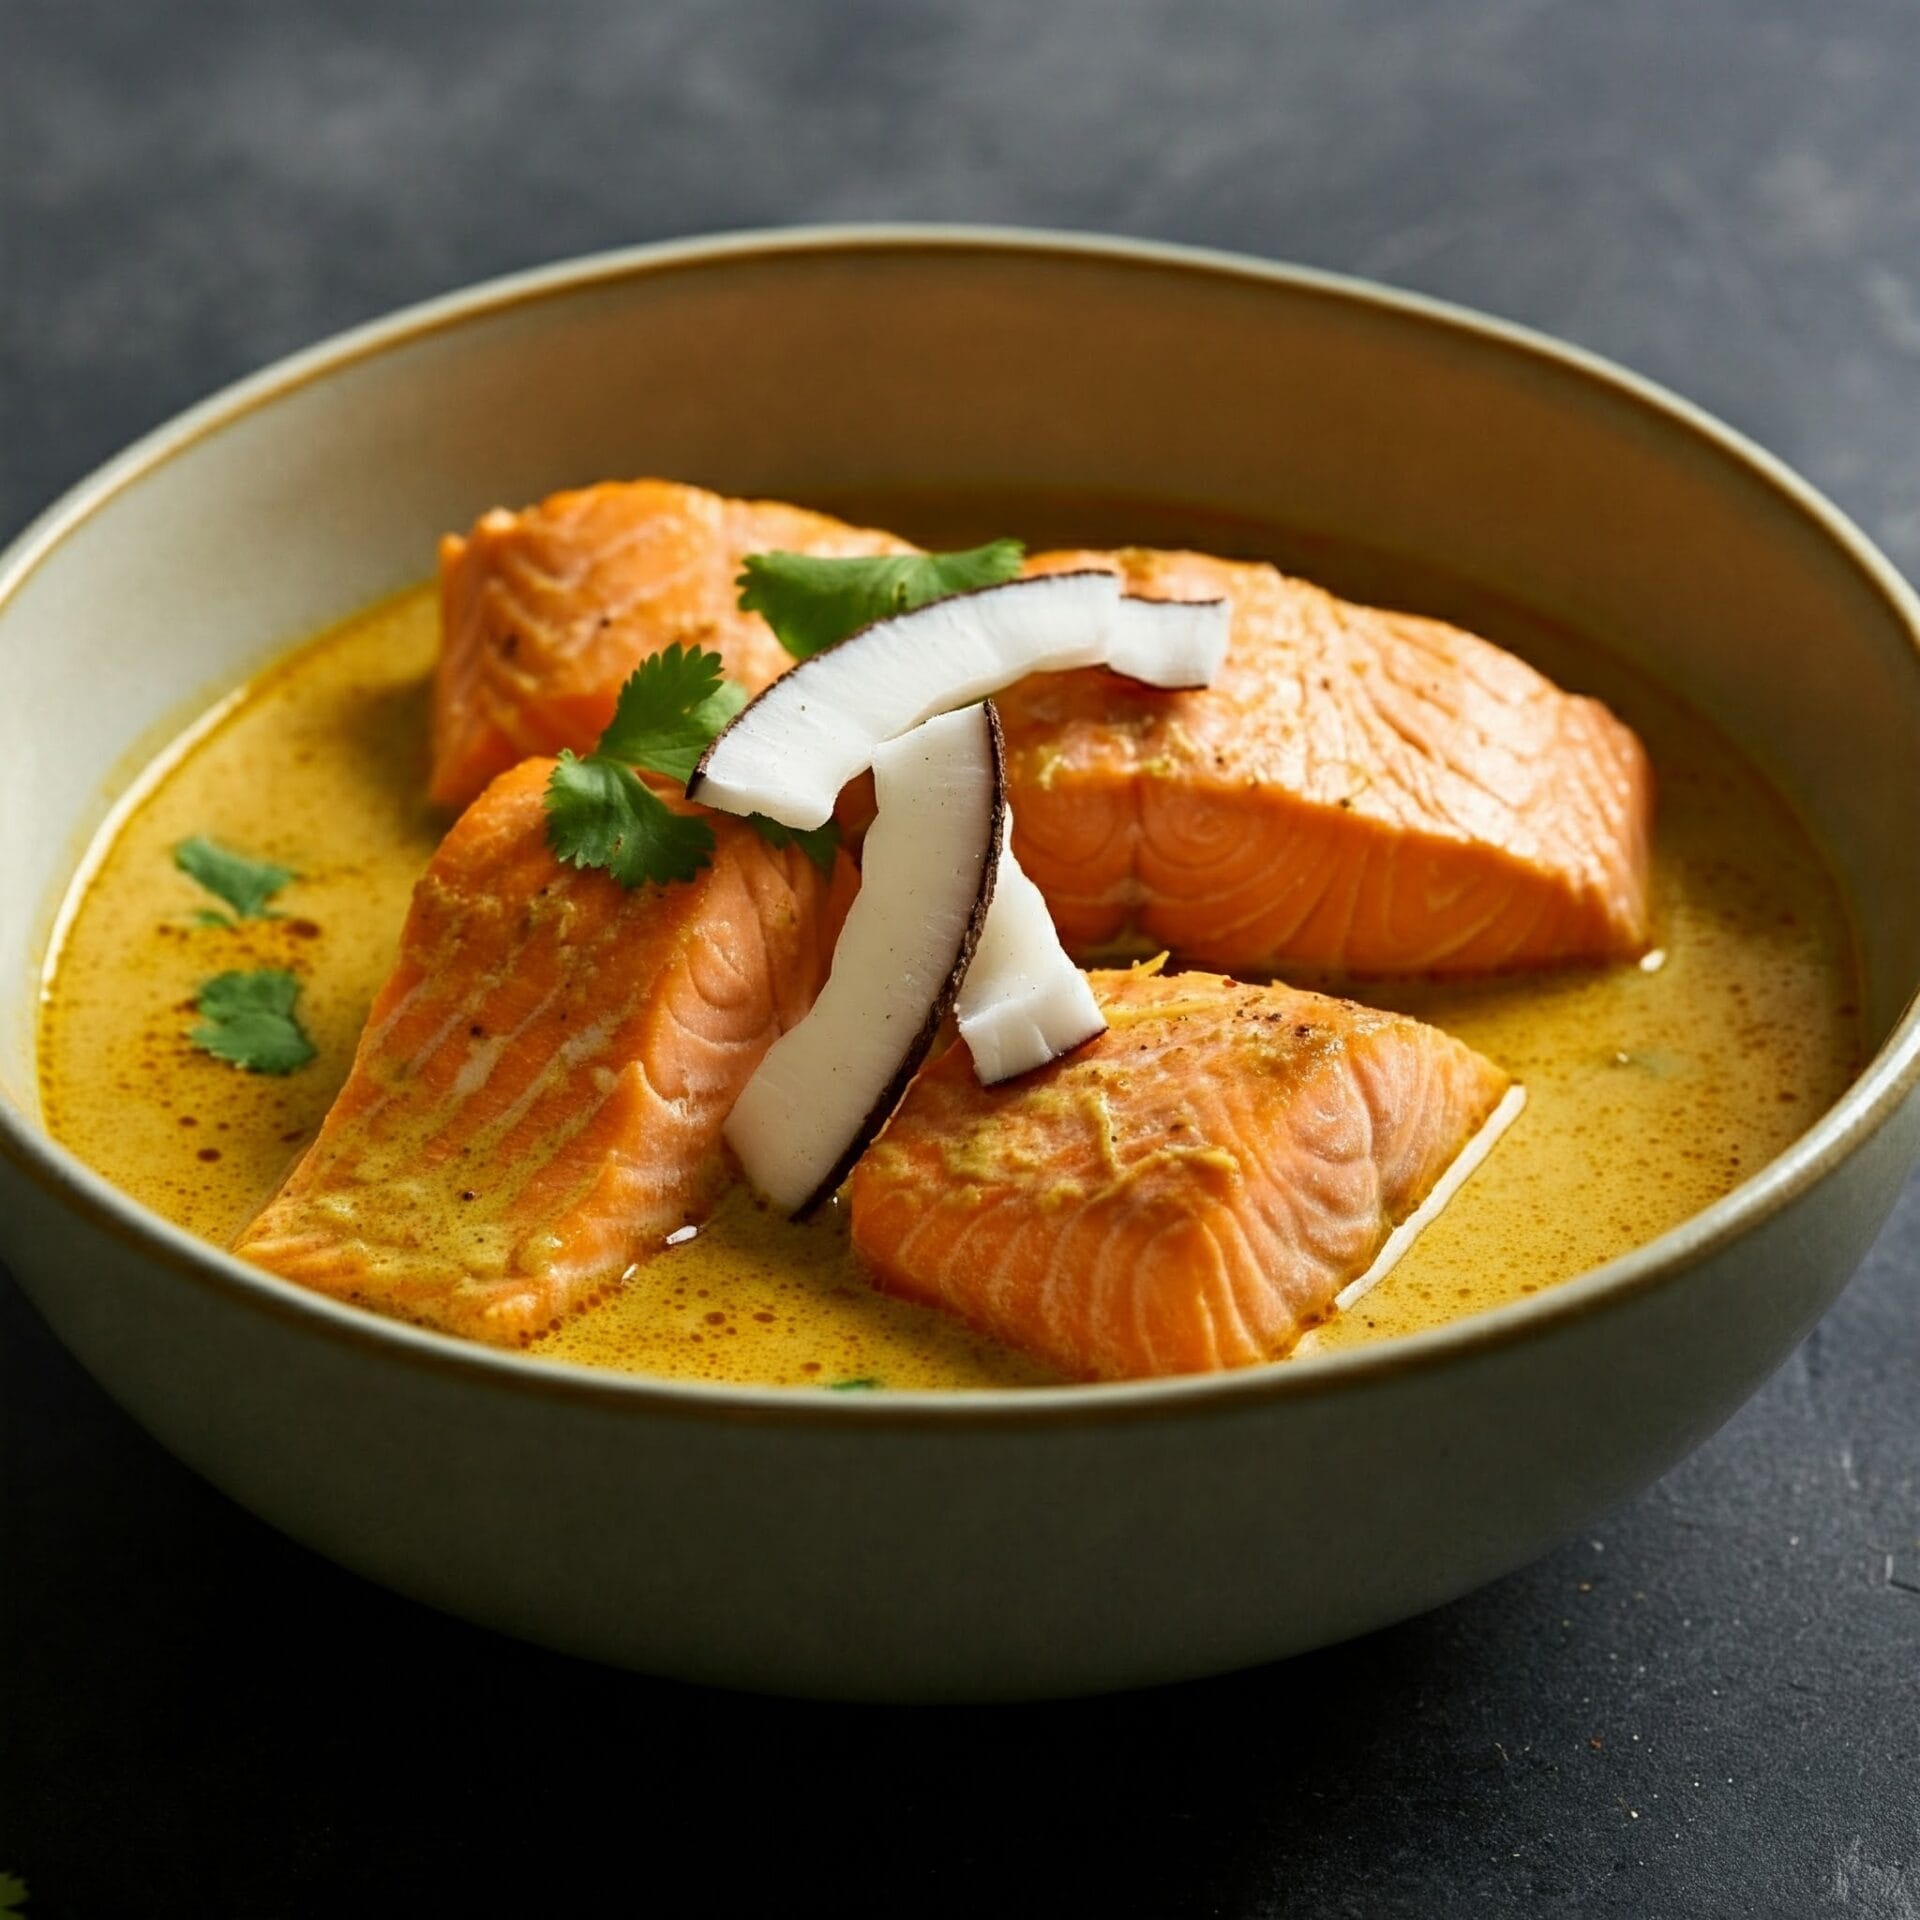
Image Gallery Coconut Curry Salmon
Storage & Leftovers

Storage:

  • Refrigerator: Store cooled leftovers in an airtight container in the fridge for up to 3 days. Keep the salmon and curry sauce together for maximum flavor, or separate them if you prefer to reheat individually.

  • Freezer: While the curry sauce freezes well, the texture of salmon can change slightly after freezing. If freezing, do so in portions and use within 1 month for best results.

Reheating:

  • Stovetop (Recommended): Reheat gently over medium-low heat in a skillet, adding a splash of water or coconut milk to loosen the sauce. Heat until warmed through, about 5–7 minutes.

  • Microwave: Place in a microwave-safe dish, cover loosely, and heat in 30-second intervals, stirring between rounds to avoid overcooking the fish.

Tips:

  • Avoid high heat to keep the salmon from drying out.

  • Leftovers are perfect for grain bowls, stuffed pitas, or as a topping for coconut rice.

  • For added freshness, squeeze a little lime juice or sprinkle chopped cilantro before serving again.

Please follow and like us:
onpost_follow
fb-share-icon197
Tweet120
Pinterest20
Share 20
submit to reddit

Subscribe for New Recipes

* indicates required

Intuit Mailchimp

Coconut Chicken Tenders

Coconut Chicken Tenders

Crispy, golden, and bursting with tropical flavor—these Coconut Chicken Tenders are a crave-worthy twist on a classic favorite. Juicy strips of chicken are coated in a coconut-panko crust and baked or fried to perfection, delivering a sweet-and-savory crunch in every bite. Paired with a zesty dipping sauce or a hint of lime, they’re perfect for game day snacks, kid-friendly dinners, or anytime you want a fun and flavorful meal that’s anything but boring. Serve with rice, slaw, or over greens for a tropical-inspired plate that everyone will love!

Coconut Chicken Tenders

No ratings yet
Escape to a tropical paradise with every bite of these incredible Coconut Chicken Tenders! Imagine sinking your teeth into tender, juicy chicken coated in a golden-brown, crispy coconut batter. The combination of sweet and savory flavors is an absolute delight, and the satisfying crunch will have you reaching for more. Whether you're dipping them in a tangy sauce, serving them alongside a refreshing salad, or enjoying them as a fun appetizer, these Coconut Chicken Tenders are a guaranteed crowd-pleaser. ☀️🌴
Prep Time 20 minutes
Cook Time 9 minutes
Servings: 4 people
Course: Appetizer, Lunch, Snacks
Cuisine: American, Caribbean, Southeast Asian
Calories: 375

Ingredients
  

  • 1 lb Chicken Breast boneless & skinless, tenderloins or breast. cut into 1-inch thick strips.
  • ¾ tsp Salt divided
  • 3 Tbsp All-Purpose Flour
  • 1 Large Egg
  • tsp Sriracha
  •  
    1 Cup Panko Bread Crumbs
  • ½ Cup Coconut unsweetened, shredded.
  •  
    2 Tbsp Sesame Seeds
  • ½ tsp Paprika
  • ½ tsp Garlic Powder
  • 1 Tbsp Olive Oil
Dipping Sauce
  • Caup Mayonnaise
  • ¼ Cup Asian Sweet Chili Sauce
  • 1 Tbsp Sriracha

Method
 

  1. Take a moment to gather all of the ingredients needed for this recipe. This will help ensure a smooth and efficient cooking process.
    1 lb Chicken Breast, ¾ tsp Salt, 3 Tbsp All-Purpose Flour, 1 Large Egg, 1½ tsp Sriracha, 1 Cup Panko Bread Crumbs, ½ Cup Coconut, 2 Tbsp Sesame Seeds, ½ tsp Paprika, ½ tsp Garlic Powder, 1 Tbsp Olive Oil, ⅓ Caup Mayonnaise, ¼ Cup Asian Sweet Chili Sauce, 1 Tbsp Sriracha
  2. Begin by preheating your oven to 450 degrees Fahrenheit. Place a wire rack in an 18x13-inch rimmed baking sheet. Spray the wire rack with nonstick cooking spray. This will prevent the chicken from sticking to the rack. Next, sprinkle the chicken tenders with 1/2 teaspoon of salt. Set the chicken aside while you prepare the breading.
    1 lb Chicken Breast, ¾ tsp Salt
  3. Prepare your breading stations. You'll need three shallow dishes. In the first dish, place the flour. This will be your first coating for the chicken. In the second dish, whisk together the egg and Sriracha. This will help the breading adhere to the chicken. In the third dish, combine the panko breadcrumbs, shredded coconut, sesame seeds, paprika, garlic powder, and the remaining ¼ teaspoon of salt. Drizzle the panko mixture with the olive oil and use your hands or a fork to mix until all the panko is lightly coated with the oil. This will help create a crispy coating.
    ¾ tsp Salt, 3 Tbsp All-Purpose Flour, 1 Large Egg, 1½ tsp Sriracha, 1 Cup Panko Bread Crumbs, ½ Cup Coconut, 2 Tbsp Sesame Seeds, ½ tsp Paprika, ½ tsp Garlic Powder, 1 Tbsp Olive Oil
  4. Now it's time to coat the chicken! Working with one chicken tender at a time, dip it into the flour, shake off any excess, and then dip it into the egg mixture to coat. Next, dredge the chicken tender in the panko mixture, making sure to coat all sides. Press the panko mixture gently onto the chicken to help it adhere. Place the breaded chicken tender on the prepared rack. Repeat this process with the remaining chicken tenders.
    3 Tbsp All-Purpose Flour, 1 Large Egg
  5. Carefully place the baking sheet with the breaded chicken tenders in the preheated oven. Bake the chicken tenders until they are golden brown and crispy on the outside and fully cooked on the inside. This should take about 15 minutes. To ensure the chicken is cooked through, use a meat thermometer to check the internal temperature. The safe internal temperature for cooked chicken is 165 degrees Fahrenheit (74 degrees Celsius).  
    1 lb Chicken Breast
  6. In a small bowl, add the mayonnaise, Asian sweet chili sauce, and Sriracha. Stir the ingredients together until they are fully combined and the sauce is a uniform color.
    1½ tsp Sriracha, ¼ Cup Asian Sweet Chili Sauce, ⅓ Caup Mayonnaise
  7. Arrange the crispy coconut chicken tenders on a platter and serve them immediately while they are still hot and crispy. Serve the dipping sauce alongside for dipping.

Nutrition

Serving: 12ozCalories: 375kcalCarbohydrates: 27gProtein: 30gFat: 16gSaturated Fat: 5gPolyunsaturated Fat: 3gMonounsaturated Fat: 6gTrans Fat: 0.02gCholesterol: 119mgSodium: 990mgPotassium: 560mgFiber: 2gSugar: 9gVitamin A: 238IUVitamin C: 6mgCalcium: 55mgIron: 2mg

Notes

  • Chicken: Use boneless, skinless chicken breasts or tenderloins. Cut them into even strips for consistent cooking.
  • Breading: Panko breadcrumbs create a light and crispy coating.
  • Coconut: Unsweetened shredded coconut adds a sweet and nutty flavor. If you don't have shredded coconut, you can use flaked coconut or even finely chopped almonds or walnuts.
  • Seasonings: Paprika and garlic powder add flavor to the breading. You can experiment with other spices like onion powder, chili powder, or cayenne pepper.
  • Sriracha: Sriracha adds a spicy kick to both the chicken and the dipping sauce. Adjust the amount to your liking.
  • Dipping Sauce: The combination of mayonnaise, Asian sweet chili sauce, and Sriracha creates a sweet, spicy, and tangy dipping sauce. You can use other dipping sauces like honey mustard, ketchup, or barbecue sauce.
Cooking Tips:
  • Even Coating: Make sure the chicken tenders are evenly coated in each of the breading ingredients. This will ensure a crispy and flavorful crust.
  • Don't Overcrowd: When baking the chicken tenders, don't overcrowd the baking sheet. This will ensure that they cook evenly and become crispy.
  • Check for Doneness: Use a meat thermometer to ensure the chicken tenders are cooked through. The safe internal temperature for cooked chicken is 165 degrees Fahrenheit (74 degrees Celsius).
  • Keep Warm: If you're making a large batch, keep the cooked chicken tenders warm in a low oven while you finish cooking the rest.
Serving Suggestions:
  • Sides: Serve with your favorite sides, such as french fries, mashed potatoes, or a salad.
  • Dipping Sauces: Offer a variety of dipping sauces for people to choose from.
  • Presentation: Arrange the chicken tenders on a platter with the dipping sauce on the side.
Variations:
  • Spicy: Add more Sriracha or another hot sauce to the breading or dipping sauce.
  • Sweet: Add a touch of honey or maple syrup to the breading for a hint of sweetness.
  • Gluten-Free: Use gluten-free panko breadcrumbs and all-purpose flour.
  • Air Fryer: You can also cook the chicken tenders in an air fryer. Follow your air fryer's instructions for cooking time and temperature.
With these tips, you'll be able to make delicious and crispy coconut chicken tenders that are perfect for any occasion!

Tried this recipe?

Let us know how it was!

Related Recipes

Ingredients

Ingredients:

  • For the Chicken Tenders:

    • 1 pound boneless, skinless chicken breast tenderloins or chicken breasts, cut into 1-inch thick strips
    • ¾ teaspoon salt, divided
    • 3 tablespoons all-purpose flour
    • 1 large egg
    • 1 ½ teaspoons Sriracha sauce
    • 1 cup panko breadcrumbs
    • ½ cup unsweetened shredded coconut
    • 2 tablespoons sesame seeds
    • ½ teaspoon paprika
    • ½ teaspoon garlic powder
    • 1 tablespoon olive oil
  • For the Dipping Sauce:

    • ⅓ cup mayonnaise
    • ¼ cup Asian sweet chili sauce
    • 1 tablespoon Sriracha sauce

Image Gallery Coconut Chicken Tenders

Storage & Leftovers

Storage:

  • Refrigerator:
    Let tenders cool completely, then store in an airtight container in the fridge for up to 3–4 days.

  • Freezer:
    Freeze cooked tenders in a single layer on a baking sheet. Once frozen, transfer to a freezer-safe bag or container. Best used within 2 months. Reheat straight from frozen—no need to thaw.

Reheating:

  • Oven (Best method):
    Reheat at 375°F for 10–12 minutes on a baking sheet. This helps crisp up the coating again.

  • Air Fryer:
    Heat at 350°F for 5–7 minutes until hot and crispy.

  • Microwave:
    Use only if needed. The chicken will be hot but the coating may lose its crunch. Place a paper towel underneath to absorb moisture.

Tips:

  • Serve leftovers chopped into salads, wraps, or grain bowls.

  • Reheat with a squeeze of lime or a quick dip to refresh the flavor.

  • Store dipping sauces separately in the fridge and use within 3–5 days.

Please follow and like us:
onpost_follow
fb-share-icon197
Tweet120
Pinterest20
Share 20
submit to reddit

Subscribe for New Recipes

* indicates required

Intuit Mailchimp

Thai Coconut Curry Noodle Soup

Thai Coconut Curry Noodle Soup

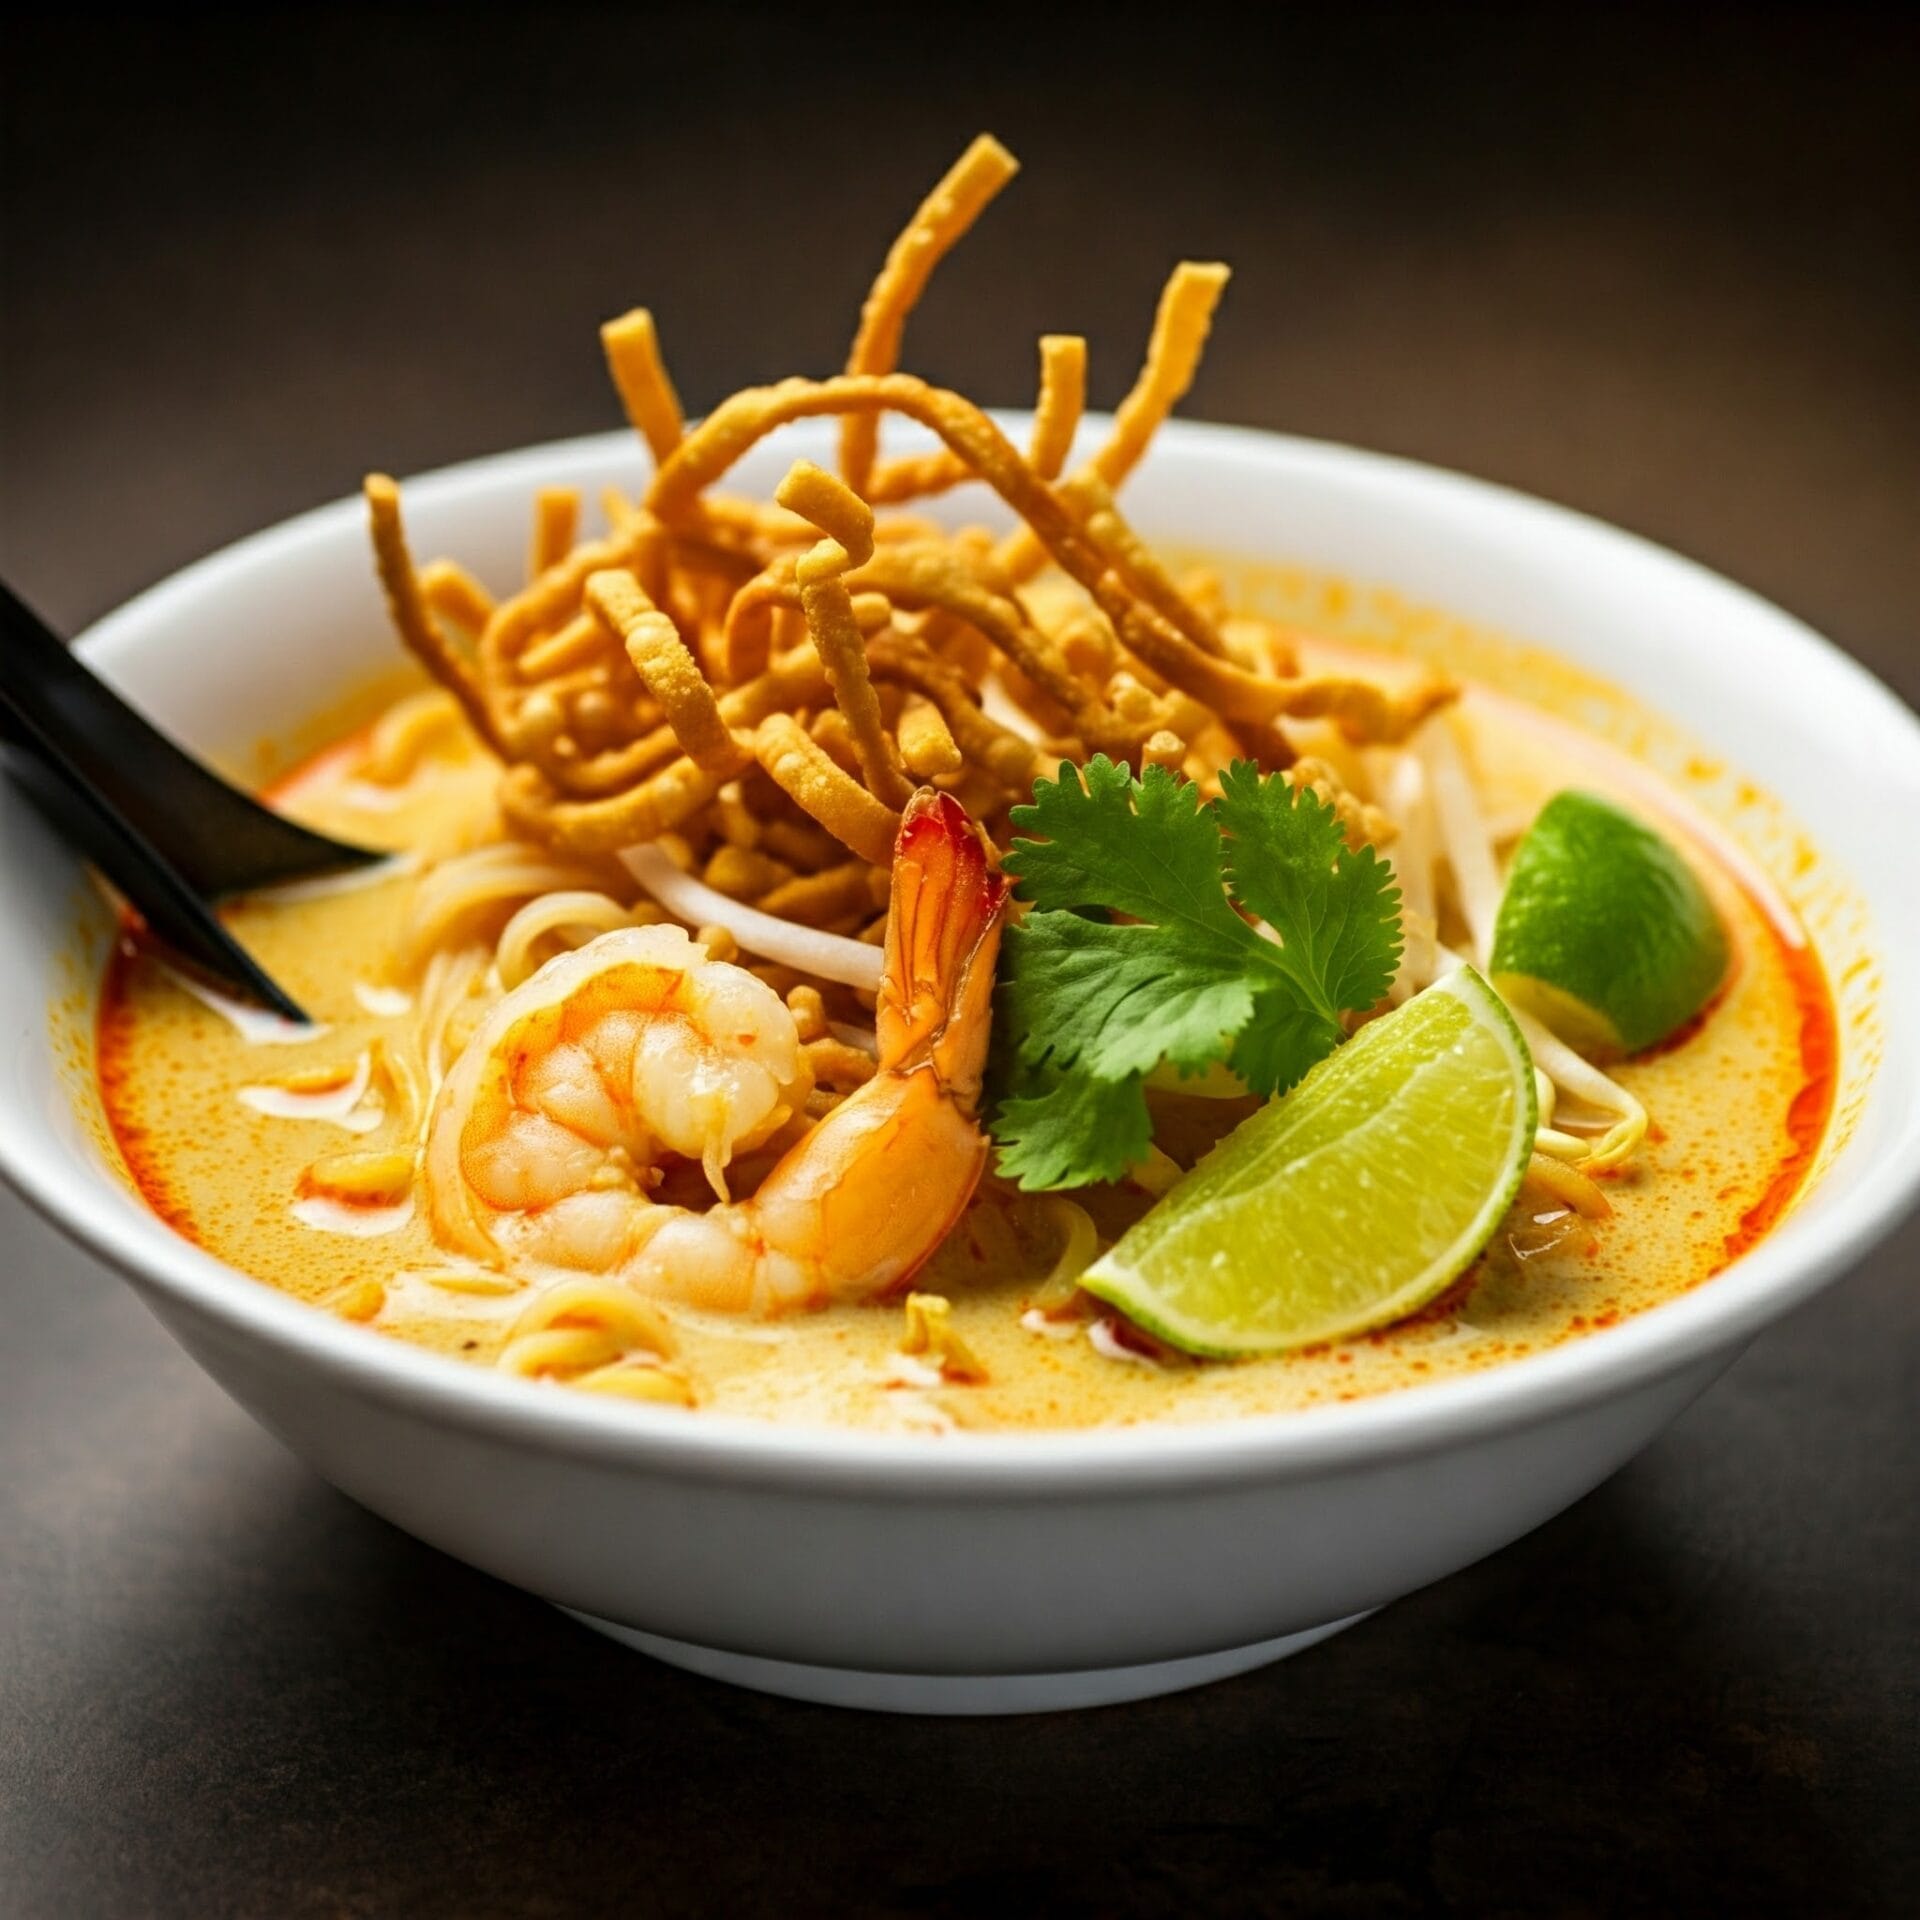
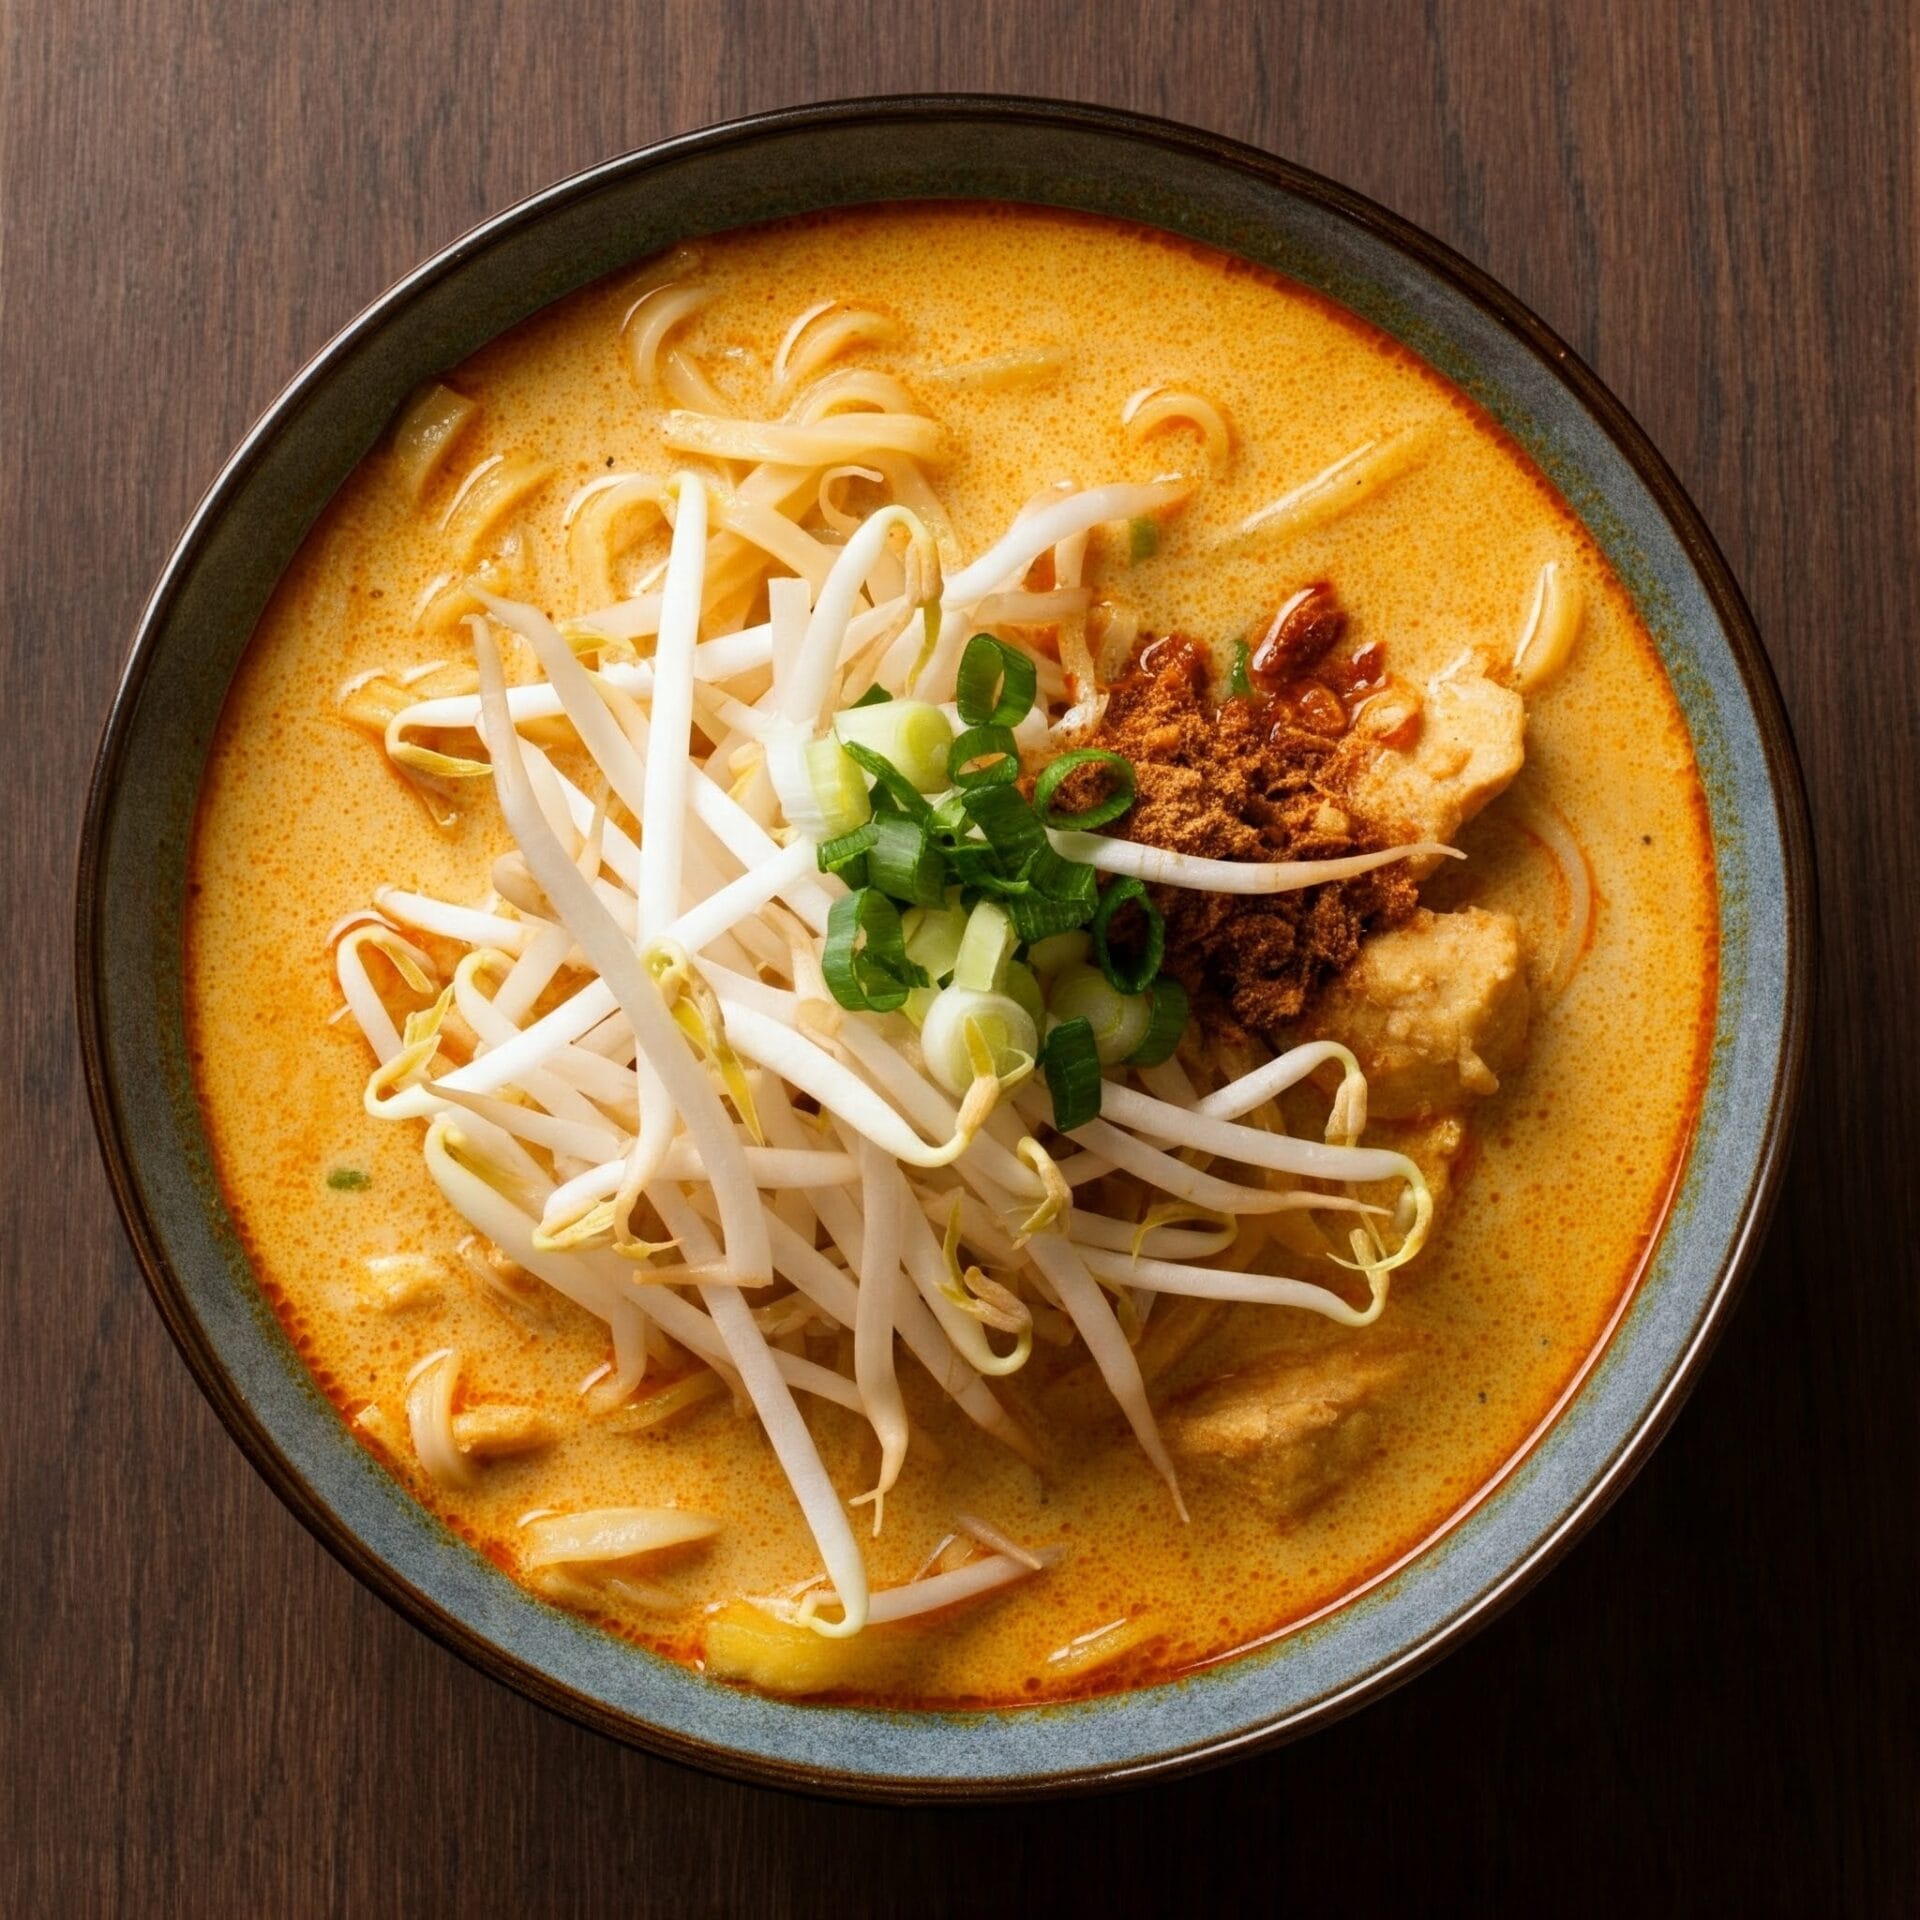
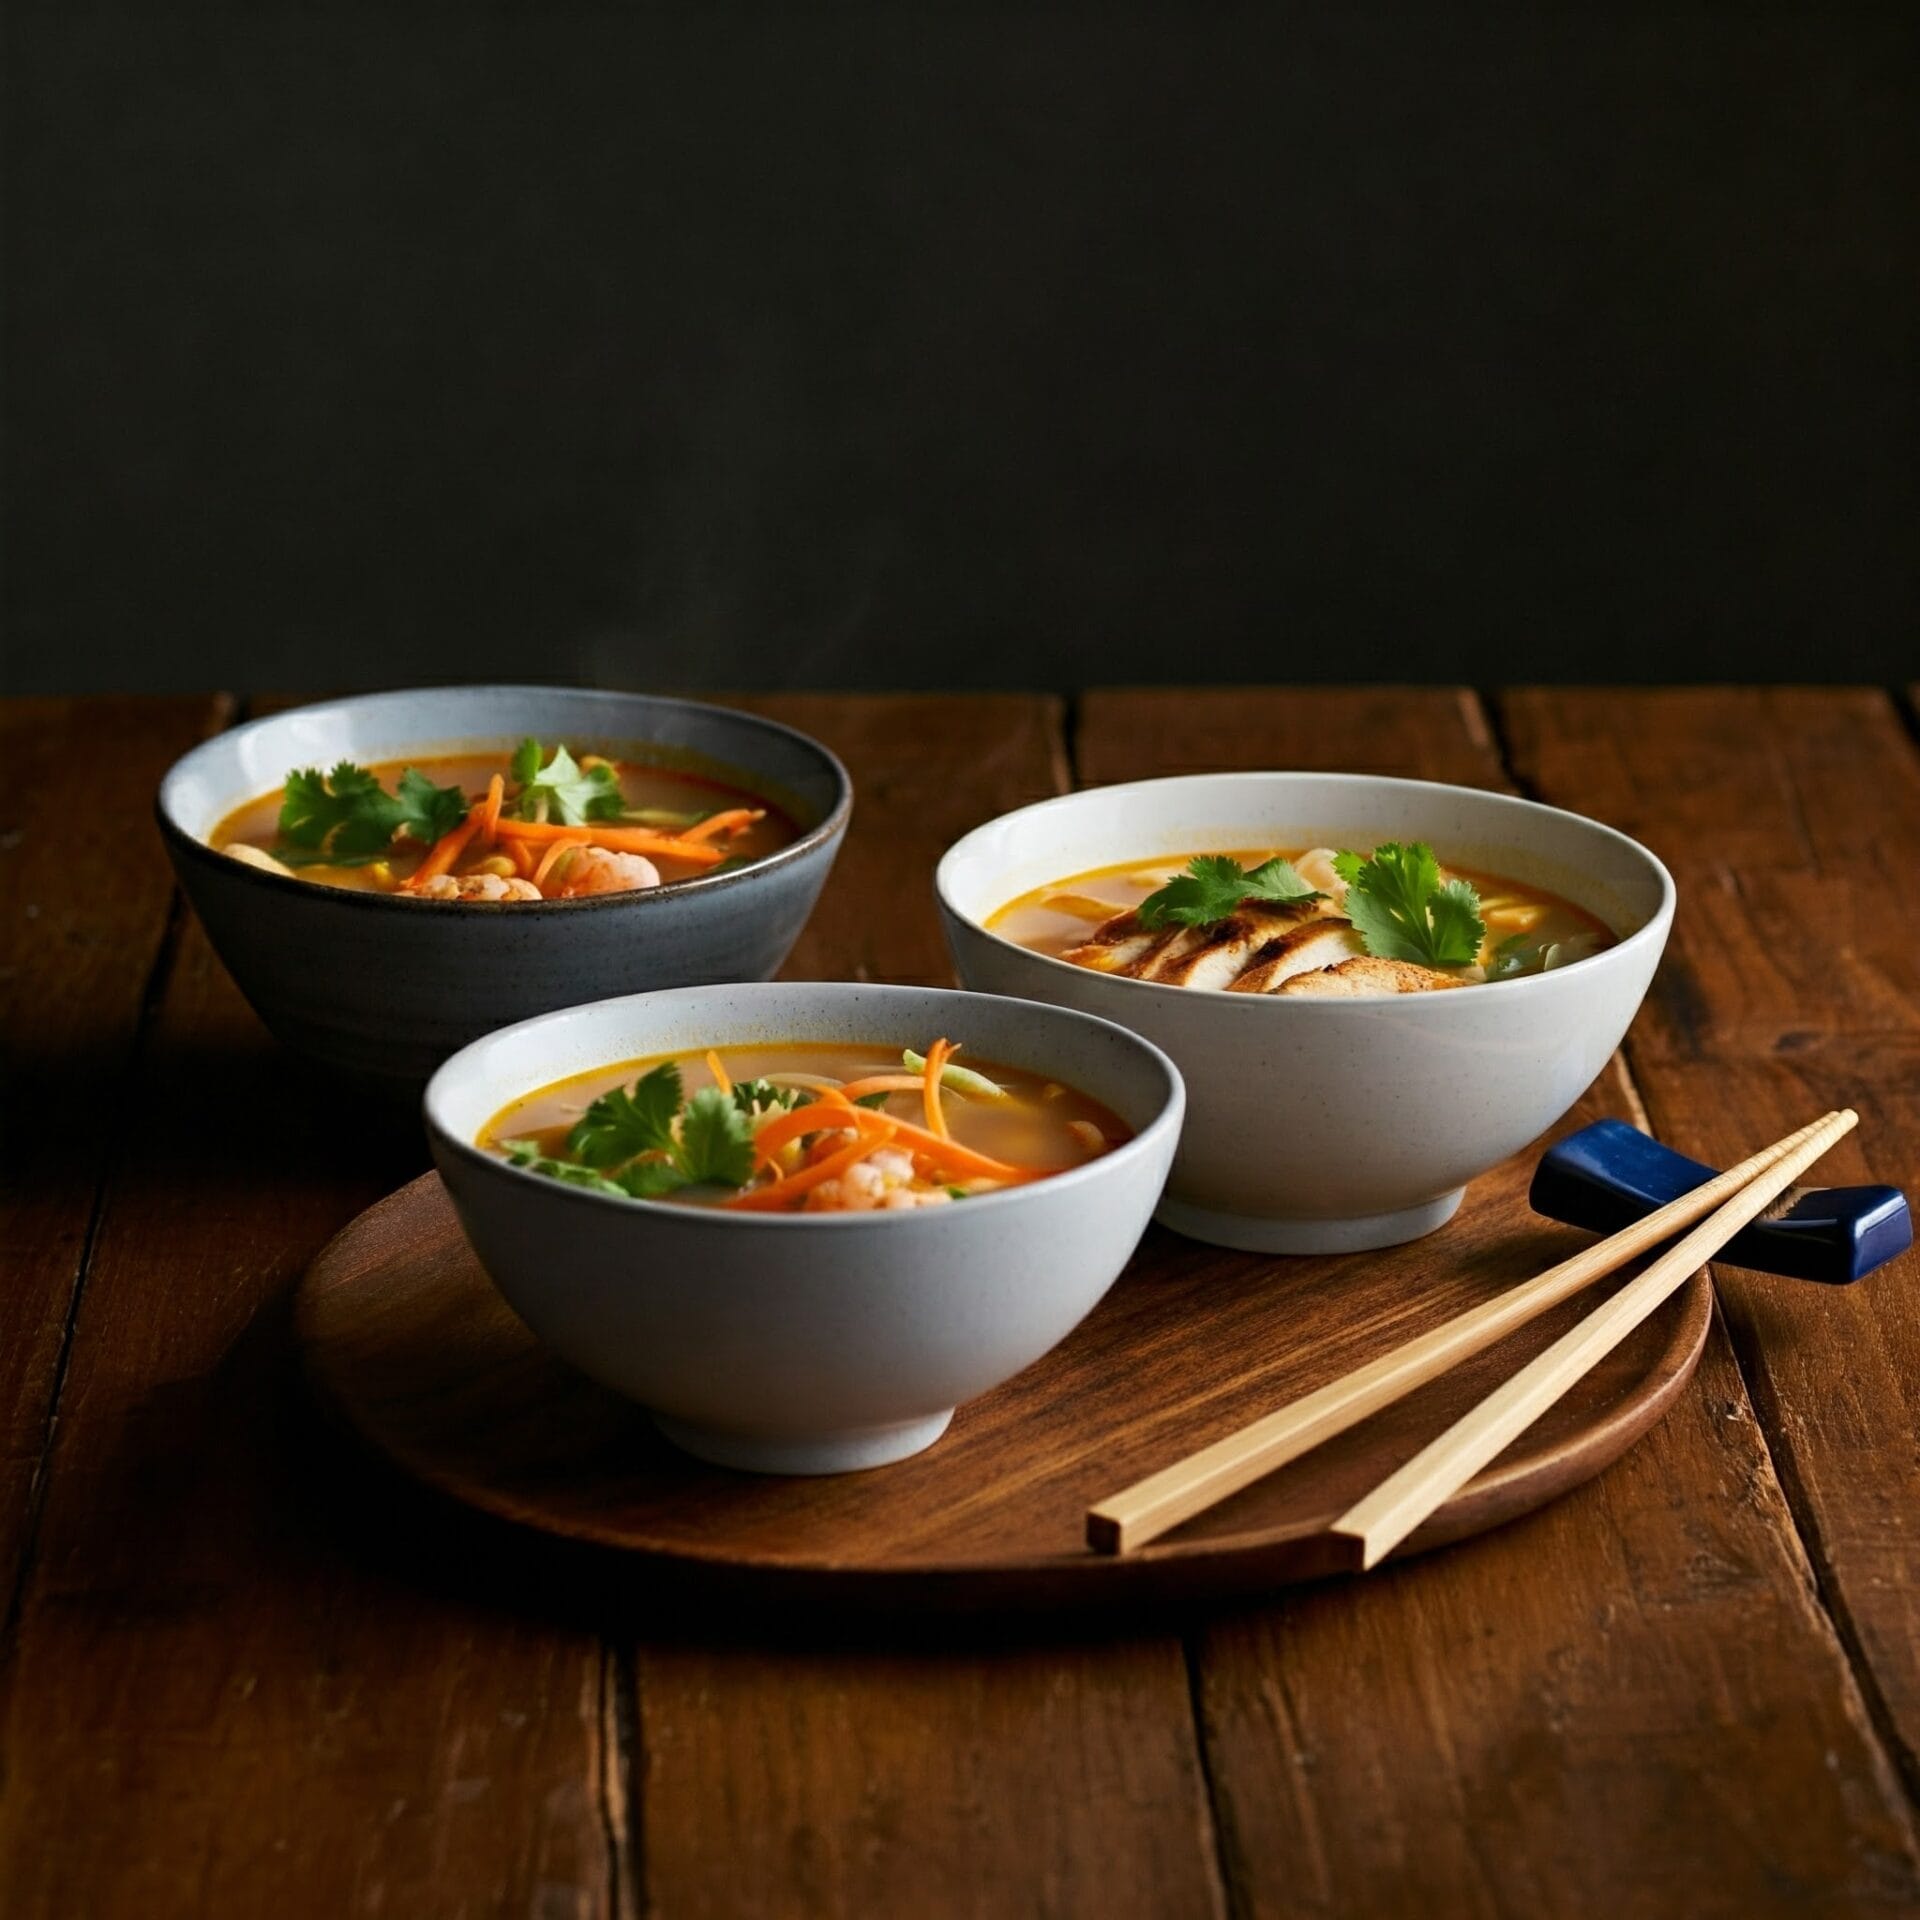
Transport your taste buds to Thailand with this bold and aromatic Thai Coconut Curry Noodle Soup. Creamy coconut milk meets fragrant red curry paste, creating a rich and spicy broth that’s bursting with flavor. Tender rice noodles, crisp vegetables, and your choice of protein (chicken, shrimp, or tofu) come together in one comforting, soul-warming bowl.

Balanced with a touch of lime, a hint of sweetness, and fresh herbs like cilantro and Thai basil, this soup is a perfect harmony of spicy, savory, and soothing. Whether you’re craving something cozy or looking to spice up your weeknight dinner routine, this one-pot wonder delivers big flavor with minimal effort.

Thai Coconut Curry Noodle Soup

No ratings yet
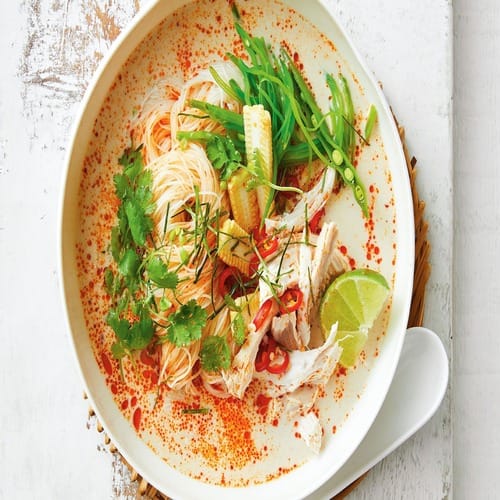
Thai coconut curry noodle soup is a vibrant and flavorful dish featuring creamy coconut milk, fragrant red curry paste, rice noodles, and colorful vegetables like peas, red peppers, and carrots. It's a satisfying and comforting meal with a touch of heat and a refreshing finish from lime juice and Thai basil.
Prep Time 10 minutes
Cook Time 10 minutes
Servings: 6 People
Course: Appetizer, Dinner, Lunch, Main Course
Cuisine: Asian, Northern Thailand, Thai
Calories: 351

Ingredients
  

  •  
    1 tbsp Coconut oil
  • ¼ Large Red Onion
  • 3 Cloves Garlic Minced
  •  
    3 tbsp Thai Red Curry Paste
  •  
    ½ tsp Turmeric
  •  
    Cups Coconut milk
  • 2 Cups Vegetable Broth
  • 2 tbsp Soy Sauce
  •  
    tsp sugar
  •  
    7 oz Dry Rice Noodles
  •  
    1 Cup Snap Peas frozen is fine
  •  
    4 Mini red pepper Sliced
  •  
    1 Cup Matchstick Carrots
  • 1 Large Lime Juiced
  •  
    1 Bunch Thai Basil

Method
 

  1. In a medium nonstick pot over medium heat, sauté onions in oil for 2 minutes. Add garlic and cook 1 minute more, being careful not to brown.
    1 tbsp Coconut oil, ¼ Large Red Onion, 3 Cloves Garlic
  2. Stir in red curry paste, turmeric, coconut milk, vegetable broth, soy sauce, and sugar. Bring the mixture to a simmer, then add your noodles and cook for about 4 minutes.
    3 tbsp Thai Red Curry Paste, ½ tsp Turmeric, 3½ Cups Coconut milk, 2 Cups Vegetable Broth, 2 tbsp Soy Sauce, 2½ tsp sugar, 7 oz Dry Rice Noodles
  3. Toss in the snap peas, red pepper, and carrot. Continue to simmer until the vegetables are tender-crisp and the noodles are cooked through, about 3-4 minutes.
    1 Cup Snap Peas, 4 Mini red pepper, 1 Cup Matchstick Carrots
  4. Turn off the heat and brighten the flavors with a splash of lime juice. Toss in fresh Thai basil and/or cilantro for an aromatic finish.
    1 Large Lime, 1 Bunch Thai Basil
  5. Ladle into bowls and savor the vibrant flavors immediately. For a heartier meal, top with grilled chicken, tofu, or shrimp.

Nutrition

Serving: 8ozCalories: 351kcalCarbohydrates: 33gProtein: 5gFat: 24gSaturated Fat: 21gPolyunsaturated Fat: 0.5gMonounsaturated Fat: 1gSodium: 618mgPotassium: 348mgFiber: 3gSugar: 4gVitamin A: 4278IUVitamin C: 9mgCalcium: 51mgIron: 4mg

Notes

Spice Level:
  • The amount of Thai red curry paste determines the spice level. Start with 2 tablespoons and adjust to your preference. You can always add more later if desired.
Protein Options:
  • While not included in the specific ingredients you listed, feel free to add protein like cooked chicken, shrimp, tofu, or tempeh for a more substantial meal.
Vegetable Variations:
  • The listed vegetables are just suggestions. You can add other vegetables like broccoli, mushrooms, zucchini, or baby corn for additional variety and nutrients.
Noodles:
  • Rice noodles are common, but you can experiment with other types like egg noodles or even ramen noodles. Adjust cooking time according to the specific noodle variety.
Sweetness & Acidity:
  • The sugar helps balance the savory and spicy flavors. Adjust the amount to your taste.
  • Lime juice adds a refreshing brightness. You can adjust the amount based on your preference.
Garnishes:
  • Fresh Thai basil is a classic garnish, but you can also use cilantro, chopped peanuts, or a dollop of chili oil for an extra kick.
Leftovers:
  • This soup reheats well, making it a great option for meal prep.
Additional Tips:
  • Use full-fat coconut milk for the richest flavor.
  • Simmer the soup gently to avoid curdling the coconut milk.
  • Taste the soup throughout and adjust seasonings as needed.
  • Serve with a side of rice or crusty bread for dipping.
By following these notes and personalizing the recipe to your liking, you can create a delicious and satisfying Thai coconut curry noodle soup that perfectly suits your taste buds!

Tried this recipe?

Let us know how it was!

Related Recipes

Ingredients

For the Soup:

  • 1 tablespoon coconut oil
  • ¼ large red onion, thinly sliced
  • 3 cloves garlic, minced
  • 3 tablespoons Thai red curry paste
  • ½ teaspoon turmeric
  • 3 ½ cups coconut milk
  • 2 cups vegetable broth
  • 2 tablespoons soy sauce
  • 2 ½ teaspoons sugar
  • 7 ounces dry rice noodles
  • 1 cup snap peas (fresh or frozen)
  • 4 mini red peppers, sliced
  • 1 cup matchstick carrots
  • 1 large lime, juiced
  • 1 bunch Thai basil, leaves picked

Image Gallery Thai Coconut Curry Noodle Soup

Storage & Leftovers

🧊 Storage:

  • Store leftover soup (without noodles, if possible) in an airtight container in the refrigerator for up to 3–4 days.

  • If noodles are already mixed in, they may absorb liquid and become soft—still tasty, but with a different texture.

🔥 Reheating:

  • Reheat gently on the stovetop over medium heat, stirring occasionally. Add a splash of coconut milk or broth to thin the soup if it thickened in the fridge.

  • Microwave in short bursts, stirring between intervals, until hot throughout.

🥡 Freezing:

  • You can freeze the broth only (without noodles or delicate veggies) for up to 2 months.

  • When ready to serve, reheat the broth and add fresh-cooked noodles for best texture.

💡 Pro Tip:
If meal prepping, store noodles separately and add them right before serving to keep them from getting mushy.

Please follow and like us:
onpost_follow
fb-share-icon197
Tweet120
Pinterest20
Share 20
submit to reddit

Subscribe for New Recipes

* indicates required

Intuit Mailchimp