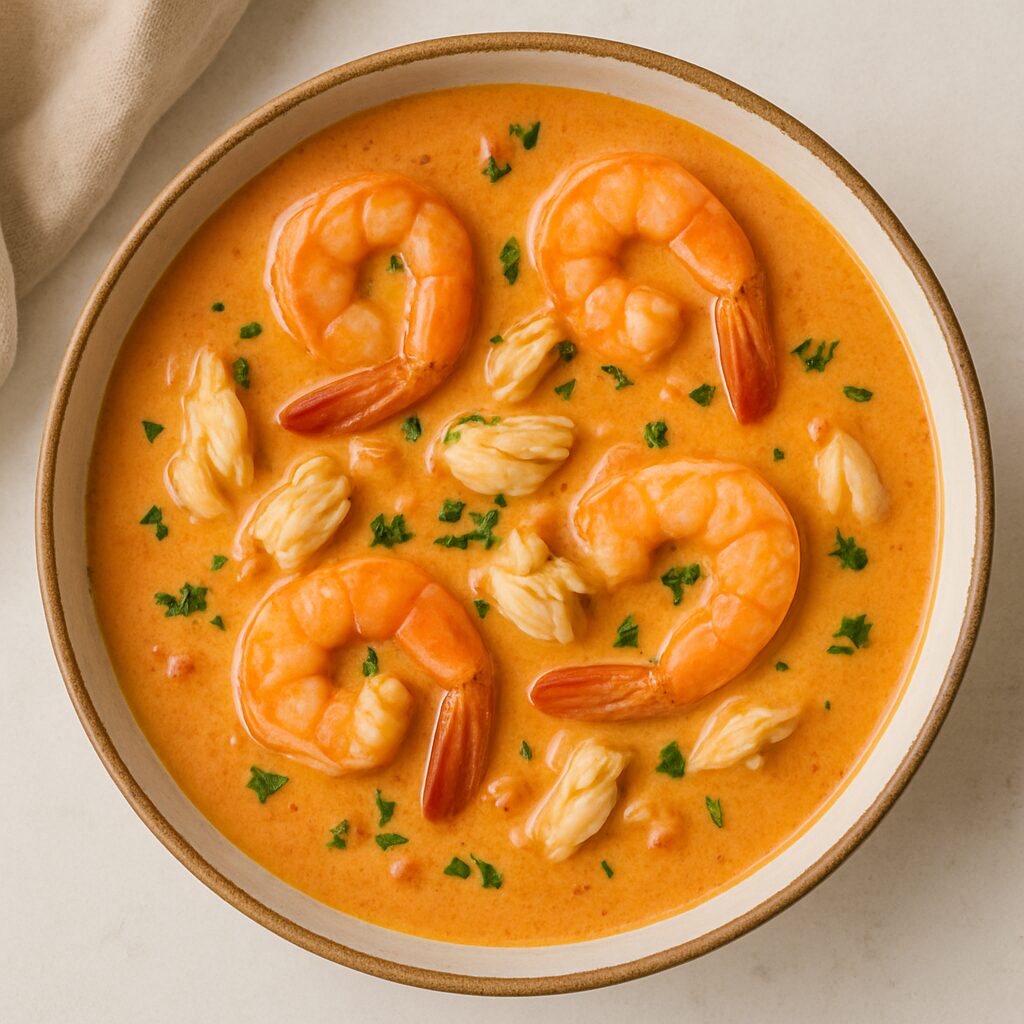
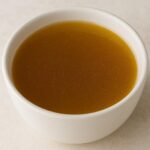
Crab & Seafood Bisque
Creamy Crab and Shrimp Bisque – Elegant, Easy, and Flavor-Packed
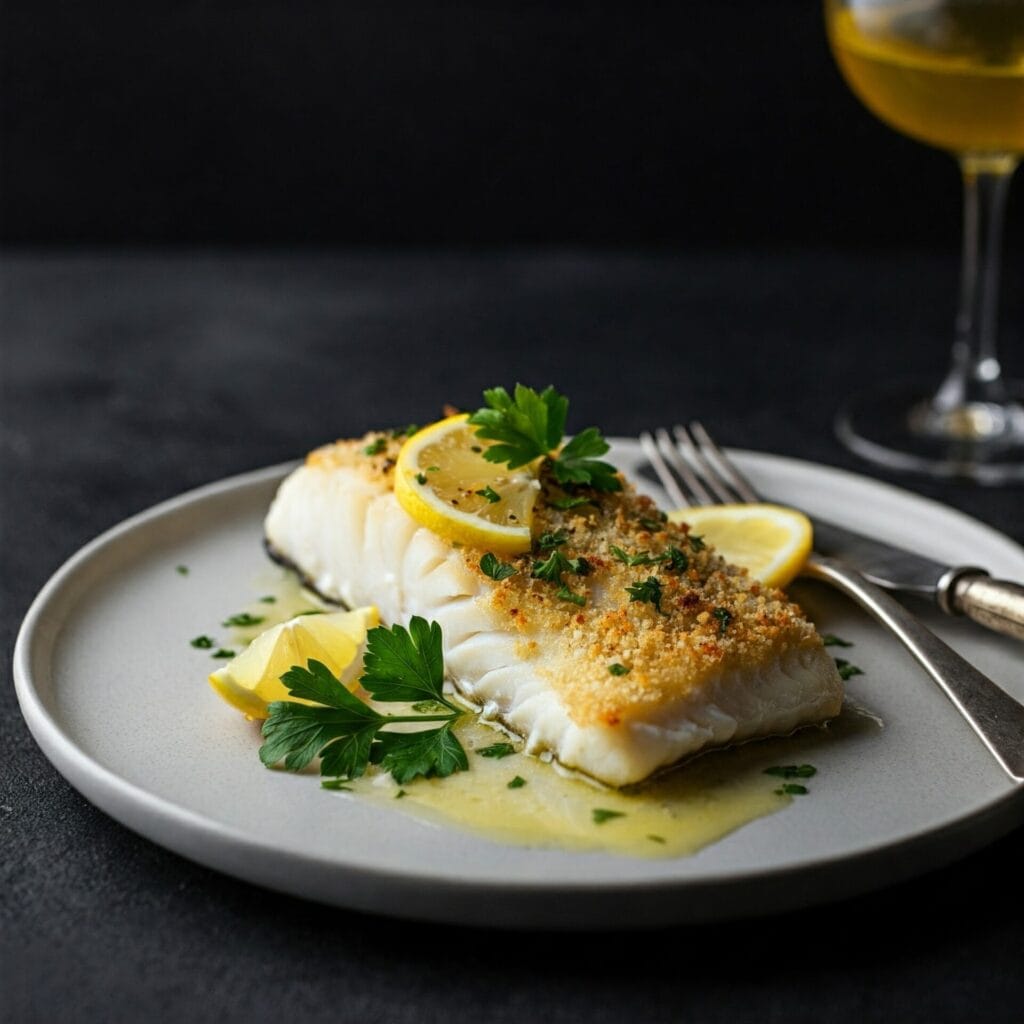
Dive spoon-first into a bowl of coastal comfort—this creamy seafood bisque is the hug your taste buds didn’t know they needed.
If you’re craving something rich, creamy, and totally soul-warming, this Crab & Shrimp Seafood Bisque is about to become your new go-to. Packed with sweet lump crab, tender shrimp, and a silky smooth broth, this dish brings restaurant-level flavor straight to your cozy kitchen—without the fuss or the fancy price tag.
This bisque is a perfect balance of indulgence and simplicity. First, you’ll sauté aromatic veggies like onion, celery, and garlic to lay down a flavorful foundation. Then, you’ll build it up with seafood stock, tomato paste, a touch of spice, and a splash of cream. The real magic, though, happens when the seafood joins the party—because let’s be honest, shrimp and crab make everything better.
What’s more, this recipe is incredibly versatile. Whether you’re serving it as a starter for a holiday dinner or making it the star of a date-night-in, it never fails to impress. Add a swirl of cream, a sprinkle of fresh herbs, and some crusty bread on the side, and you’ve got yourself a bowl of coastal comfort that tastes like it came from a five-star bistro.
Even better? It’s easier than it looks. With just one pot and under an hour of cooking time, you’ll go from chopping board to chow time with zero stress. So, whether you’re trying to impress guests or just want to treat yourself, this creamy seafood bisque delivers big flavor, big comfort, and big “wow” with every spoonful.
💛 Why You’ll Love This Recipe
🦀 Seafood Lover’s Dream: Loaded with tender shrimp and rich lump crab, every spoonful is packed with flavor.
🥄 Creamy, Cozy, and Luxurious: It’s like a warm hug in a bowl—with a little coastal flair.
🕰️ Weeknight-Friendly: Comes together in under an hour with simple, pantry-friendly ingredients.
🍷 Fancy Without the Fuss: Tastes like something you’d order at a white-linen bistro, but you can make it barefoot in your kitchen.
🥖 Perfect for Special Occasions: Ideal for date nights, dinner parties, or whenever you want to impress without stress.
♻️ Customizable: Keep it smooth and elegant or chunky and rustic—your bowl, your vibe.
❄️ Great for Make-Ahead Meals: The bisque base can be made ahead and finished fresh when you’re ready to serve.
🔪 How to Make Crab & Shrimp Seafood Bisque
Making this luxurious bisque is easier than you’d think—and totally worth it. Here’s how to bring this coastal comfort to life:
Sauté your aromatics:
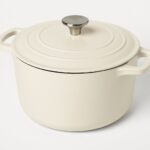
Start by melting butter in a Dutch oven. Toss in chopped onion, celery, and garlic. Sauté everything until it’s soft, fragrant, and starting to build that flavor base.
Build the roux:
Sprinkle in flour and stir well. This helps thicken the bisque while adding richness. Cook the roux for a minute or two so it loses that raw flour taste.
Pour in the flavor:
Now it’s time to add the seafood stock and a touch of tomato paste. Whisk it in slowly so the roux blends smoothly. Let everything simmer and thicken slightly—this is where the magic begins.
Season and (optionally) blend:
Add paprika, cayenne, salt, pepper, and a bay leaf. If you prefer a smooth bisque, use an immersion blender to puree the base now. Want it chunky and rustic? Skip the blend!
Add the creamy touch:
Lower the heat and stir in the heavy cream. Let it warm through gently without boiling—this keeps it silky.
Fold in the seafood:
Add the shrimp and crab. Simmer just until the shrimp are pink and cooked through—this only takes a few minutes!
Finish with herbs and lemon:
Brighten everything up with chopped parsley, green onions, or cilantro, and a splash of lemon juice. Taste and adjust seasoning if needed.
Serve and swoon:
Ladle into warm bowls, top with a swirl of cream or extra herbs, and serve with crusty bread. Sit back and enjoy the compliments.
Jump to Section
📱 Follow Us
📬 Subscribe for Updates
Crab & Shrimp Seafood Bisque
Ingredients
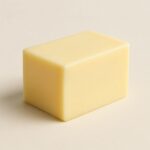
 3 Tbsp Butter unsalted
- 2 Tbsp Yellow Onion chopped
- 2 Tbsp Celery chopped
- 2 Tbsp All-Purpose Flour all-purpose
- ½ tsp Black pepper freshly ground
- 1 Tbsp Tomato paste
- 1 cup Heavy Cream
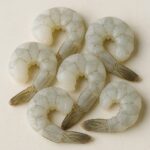
- 8 oz Small Shrimp baby; cooked
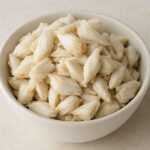
- 8 oz Crabmeat
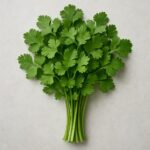
- 3 Tbsp Parsley or cilantro and/or green onion tops
- 1 Clove Garlic Minced
- 2 Cups Seafood Stock
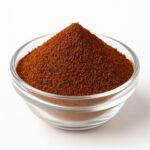
- 1¼ tsp Paprika
- 1 Pinch Cayenne Pepper
- 1 Pinch Salt
- 1 Leaf Bay Leaf
- 3 oz Lemon Juice


Equipment


Method
- In a large Dutch oven over medium heat, melt 2 tablespoons of unsalted butter. Add ½ cup chopped onion, ½ cup chopped celery, and 1 clove minced garlic. Cook for 5–6 minutes, stirring occasionally, until soft and fragrant.3 Tbsp Butter, 2 Tbsp Yellow Onion, 2 Tbsp Celery, 1 Clove Garlic
- Stir in 2 tablespoons of all-purpose flour, blending well with the vegetables. Cook for 1–2 minutes, stirring constantly, to eliminate the raw flour taste.2 Tbsp All-Purpose Flour
- Gradually whisk in 2 cups of seafood stock (or fish/chicken broth), followed by 1 tablespoon of tomato paste. Bring to a simmer and cook for 10 minutes, stirring occasionally, until slightly thickened.1 Tbsp Tomato paste, 2 Cups Seafood Stock
- Add ¼ teaspoon of paprika, a pinch of cayenne (optional), salt and black pepper to taste, and 1 bay leaf. If you prefer a silky bisque, use an immersion blender to puree the mixture carefully, then return to a gentle simmer.1¼ tsp Paprika, 1 Pinch Cayenne Pepper, 1 Pinch Salt, 1 Leaf Bay Leaf, 1/2 tsp Black pepper
- Lower the heat and stir in 1 cup of heavy cream. Simmer gently for another 5 minutes, stirring frequently to prevent scorching.1 cup Heavy Cream
- Fold in 8 oz of chopped cooked shrimp and 8 oz of lump crabmeat, being careful not to break up the crab too much. Simmer for 3–4 minutes, just until heated through. (Do not boil!)8 oz Small Shrimp, 8 oz Crabmeat
- Remove the bay leaf, then stir in 3 tablespoons of chopped parsley, cilantro, or green onion tops, and a splash of fresh lemon juice for brightness.3 Tbsp Parsley, 3 oz Lemon Juice
- Ladle the bisque into warm bowls. Garnish with extra herbs, cracked pepper, or a swirl of cream. Serve hot with crusty bread or oyster crackers.
Nutrition
Notes
- Seafood Options: You can use lump crab meat, claw meat, or even imitation crab in a pinch. For shrimp, peeled and deveined medium shrimp work best—chop them if you prefer smaller bites.
- Blend or Not: For a rustic texture, skip blending. For a smooth bisque, use an immersion blender before adding the seafood.
- Make Ahead: The bisque base (without seafood) can be made 1–2 days in advance and stored in the fridge. Add seafood and reheat gently before serving.
- Spice It Up: Add a pinch of cayenne or a few dashes of hot sauce if you like a little kick.
- Cream Substitutes: Half-and-half or coconut milk can be used instead of heavy cream, but the texture will be thinner.
Tried this recipe?
Let us know how it was!🍽️ What to Serve with Crab & Shrimp Seafood Bisque
This bisque is rich, creamy, and packed with seafood goodness—so it pairs best with sides that balance or soak up all that luscious broth. Whether you’re keeping it casual or dressing it up, here are some perfect companions:
🥖 Crusty Bread or Garlic Toast:
You must have something to mop up every last drop. A warm baguette, sourdough slices, or homemade garlic bread are all perfect options.
🥗 Crisp Green Salad:
Lighten things up with a simple salad of mixed greens, arugula, or spinach with a lemony vinaigrette. It adds contrast and a refreshing bite.
🧀 Cheddar Biscuits or Herb Rolls:
Soft, buttery rolls or biscuits with a hint of cheese or herbs are the perfect match for a creamy soup like this.
🍷 Wine Pairing:
Pair with a chilled glass of Chardonnay, Sauvignon Blanc, or even a sparkling wine for a little celebration in a bowl.
🦪 Seafood Starters (Optional):
Serving this as a course? Try oysters on the half shell, a shrimp cocktail, or smoked salmon crostini to kick off your meal in coastal style.
🍋 Finish with Something Bright:
If you’re going full menu, follow with a lemon sorbet, citrus tart, or light fruit salad to cleanse the palate.
📌 Frequently Asked Questions
❓ Can I use frozen seafood?
Yes! Just make sure your shrimp and crab are fully thawed and patted dry before adding them to the bisque. This helps maintain the creamy texture and prevents excess liquid.
❓ What kind of crab meat works best?
Lump crab meat is ideal for a luxurious texture, but claw meat works too for a more budget-friendly option. Avoid imitation crab unless you’re in a pinch.
❓ Can I make this bisque ahead of time?
Absolutely. The soup base (before adding seafood) can be made 1–2 days in advance. Store it in the fridge, then reheat gently and stir in the shrimp and crab just before serving.
❓ Is this bisque gluten-free?
Not by default—traditional bisques use flour for thickening. However, you can swap the all-purpose flour for a gluten-free blend or use cornstarch as an alternative.
❓ Can I freeze seafood bisque?
It’s best enjoyed fresh, but you can freeze it—just know that the cream may separate slightly when reheated. Freeze without seafood if possible, then add it fresh when reheating.
❓ How spicy is this recipe?
Not very! The paprika and optional cayenne add warmth without overwhelming heat. If you like it spicy, feel free to add a dash of hot sauce or more cayenne.
❓ Do I have to blend it?
Nope! Blending is optional. If you prefer a smooth, velvety texture, blend it before adding the seafood. If you like it more rustic and chunky, skip the blend!