Beef and Black Bean Burrito Egg Rolls

Appetizer · Snacks

Beef and Black Bean Burrito Egg Rolls

Seasoned beef, black beans, corn, and cheddar tuck into crisp egg roll wrappers. Green pepper hot sauce brings tangy heat; guacamole makes a creamy dip.
Total
30 minutes
Serves
12 egg rolls

Bring it to the table

About this recipe.

Crisp egg roll wrappers filled with seasoned beef, beans, corn, cheddar, tomato, and green pepper hot sauce.

Before you start

Gather your ingredients.

Check your pantry before you begin. Full quantities and serving adjustments are in the recipe card below.

See the ingredient checklist
  • 1 tsp Olive oil (extra virgin)
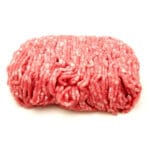
  • 1/2 lb Ground beef
  • 1 tsp Taco seasoning
  • Kosher Salt
  • Black pepper (freshly ground)
  • 1/2 cup Black Beans (cooked or canned, rinsed and drained)
  • 1/2 cup Corn (cook according to package directions, then drain)
  • 2 cups Cheddar cheese (shredded)
  • 1/4 cup Cholula green pepper hot sauce
  • 1 sm Tomato (seeded and diced)
  • 12 Egg roll wrappers
  • Vegetable oil (for frying)
  • Guacamole (for serving)

The cooking plan

How to make Beef and Black Bean Burrito Egg Rolls.

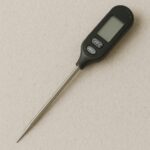
  1. Heat the olive oil in a skillet over medium-high heat. Add beef and taco seasoning, season lightly with salt and pepper, and cook while breaking it up. Check that the beef reaches 160°F. Drain excess fat. Add the cooked beans and prepared corn and heat through. Transfer to a bowl and cool until comfortable to handle.

  2. Stir the cheddar, green pepper hot sauce, and seeded tomato into the beef mixture. Keep the filling reasonably dry so it does not soak the wrappers.

  3. Place a wrapper with one corner pointing toward you. Add about 1/4 cup filling in the center. Fold the bottom corner over, tuck in the sides, and roll firmly. Moisten the final edge with a little water to seal. Repeat, dividing the filling among the 12 wrappers without overstuffing.

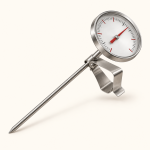
  4. Fry in batches in a deep, heavy pan, using the oil depth and temperature recommended on the wrapper package. Leave ample space above the oil and use a frying thermometer. Turn with tongs until the wrappers are crisp and golden and the filling is hot. Drain on paper towels and let cool slightly before serving with guacamole.

Let’s cook

The full recipe.

Check off ingredients as you get them ready.

Changing servings? The ingredient list scales automatically. Adjust quantities named in the steps to match, and choose pans and cooking times for your batch.
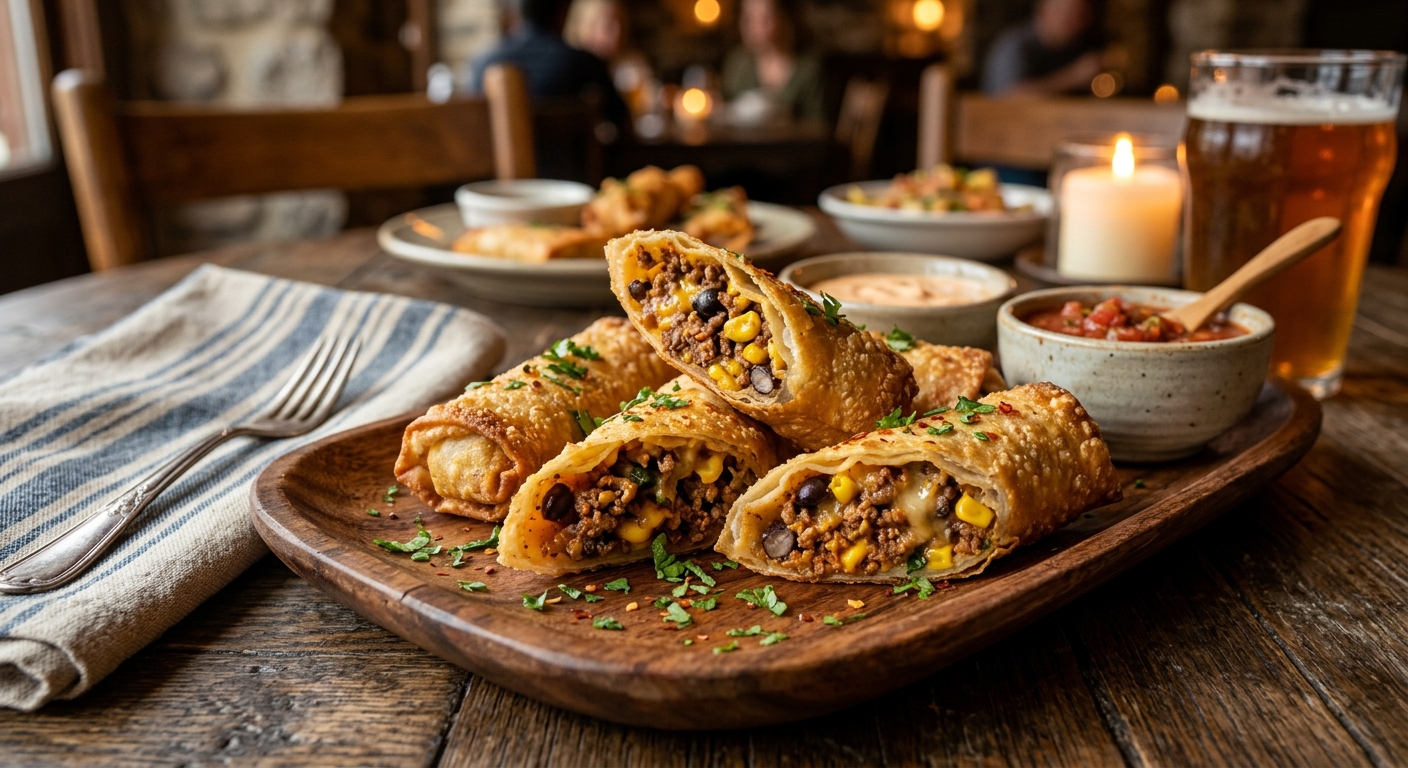
Beef and Black Bean Burrito Egg Rolls

No ratings yet
Crisp egg roll wrappers filled with seasoned beef, beans, corn, cheddar, tomato, and green pepper hot sauce.
Total Time 30 minutes
Servings: 12 egg rolls
Course: Appetizer, Snack
Cuisine: Tex-Mex-inspired

Some ingredient links are affiliate links. We may earn a commission at no extra cost to you. As an Amazon Associate I earn from qualifying purchases.

Ingredients
  

  • 1 tsp Olive oil extra virgin
  • ½ lb Ground beef
  •  
    1 tsp Taco seasoning
  • Kosher Salt
  • Black pepper freshly ground
  • ½ cup Black Beans cooked or canned, rinsed and drained
  • ½ cup Corn cook according to package directions, then drain
  • 2 cups Cheddar cheese shredded
  •  
    ¼ cup Cholula green pepper hot sauce
  • 1 sm Tomato seeded and diced
  •  
    12 Egg roll wrappers
  • Vegetable oil for frying
  •  
    Guacamole for serving

Equipment images are illustrative. Exact products may vary.
Instructions
 

  1. Heat the olive oil in a skillet over medium-high heat. Add beef and taco seasoning, season lightly with salt and pepper, and cook while breaking it up. Check that the beef reaches 160°F. Drain excess fat. Add the cooked beans and prepared corn and heat through. Transfer to a bowl and cool until comfortable to handle.
  2. Stir the cheddar, green pepper hot sauce, and seeded tomato into the beef mixture. Keep the filling reasonably dry so it does not soak the wrappers.
  3. Place a wrapper with one corner pointing toward you. Add about 1/4 cup filling in the center. Fold the bottom corner over, tuck in the sides, and roll firmly. Moisten the final edge with a little water to seal. Repeat, dividing the filling among the 12 wrappers without overstuffing.
  4. Fry in batches in a deep, heavy pan, using the oil depth and temperature recommended on the wrapper package. Leave ample space above the oil and use a frying thermometer. Turn with tongs until the wrappers are crisp and golden and the filling is hot. Drain on paper towels and let cool slightly before serving with guacamole.

Notes

Makes 12 egg rolls. The 30-minute total is the source estimate and varies with batch size. Use ready-to-eat beans and cook frozen corn according to its package. Do not use bubbling oil alone as a temperature test. Keep wrappers covered while filling and seal well to reduce leaks.

Tried this recipe?

Let us know how it was!

A couple of useful answers.

How do I change the number of servings?

Use the serving controls in the recipe card. Ingredient quantities change automatically; quantities written in the instructions, pan sizes and cooking times still need your attention.

Can I print or check off the ingredients?

Choose Print recipe near the title for a printable version. On this page, check ingredients off as you prepare them, then use Reset ingredient checks to start again.

Keep the good food going

Similar Recipes

Choose your next craving. Each card includes its recipe’s total time.

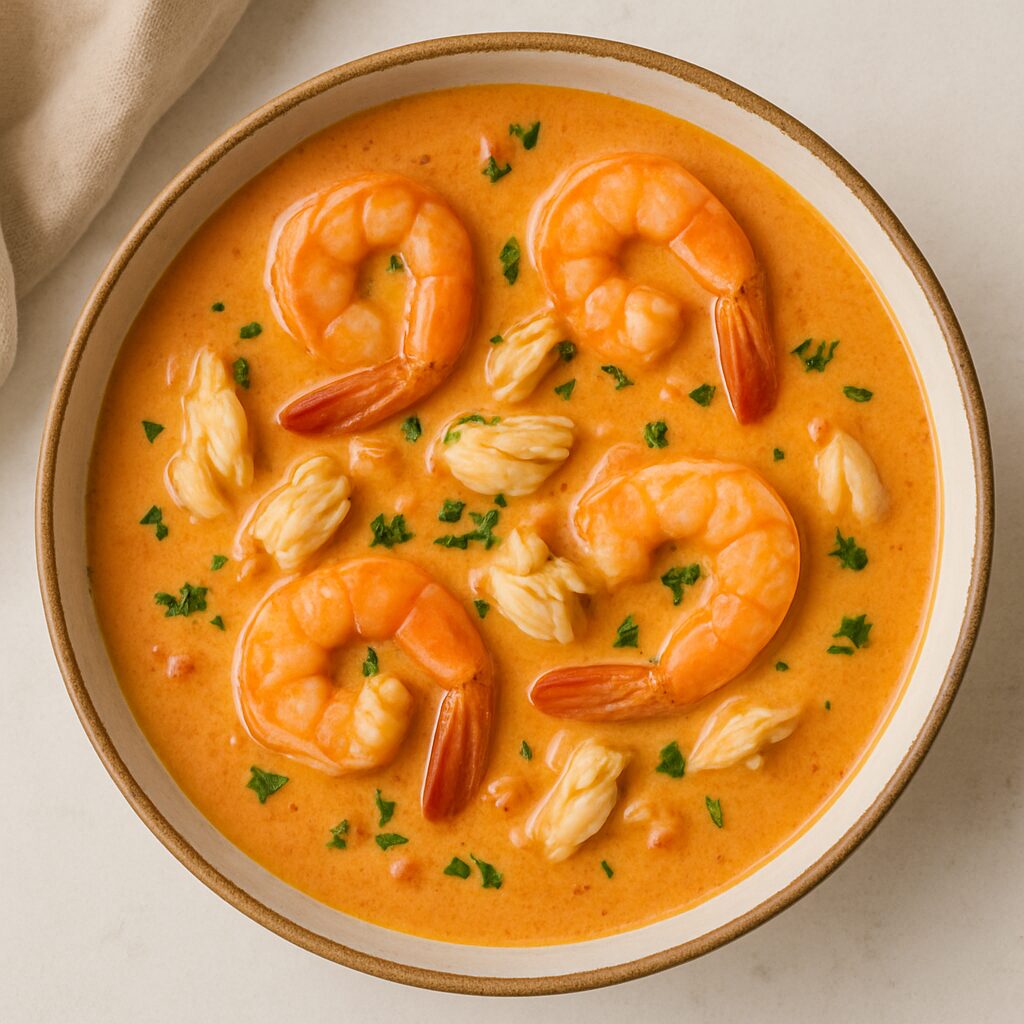
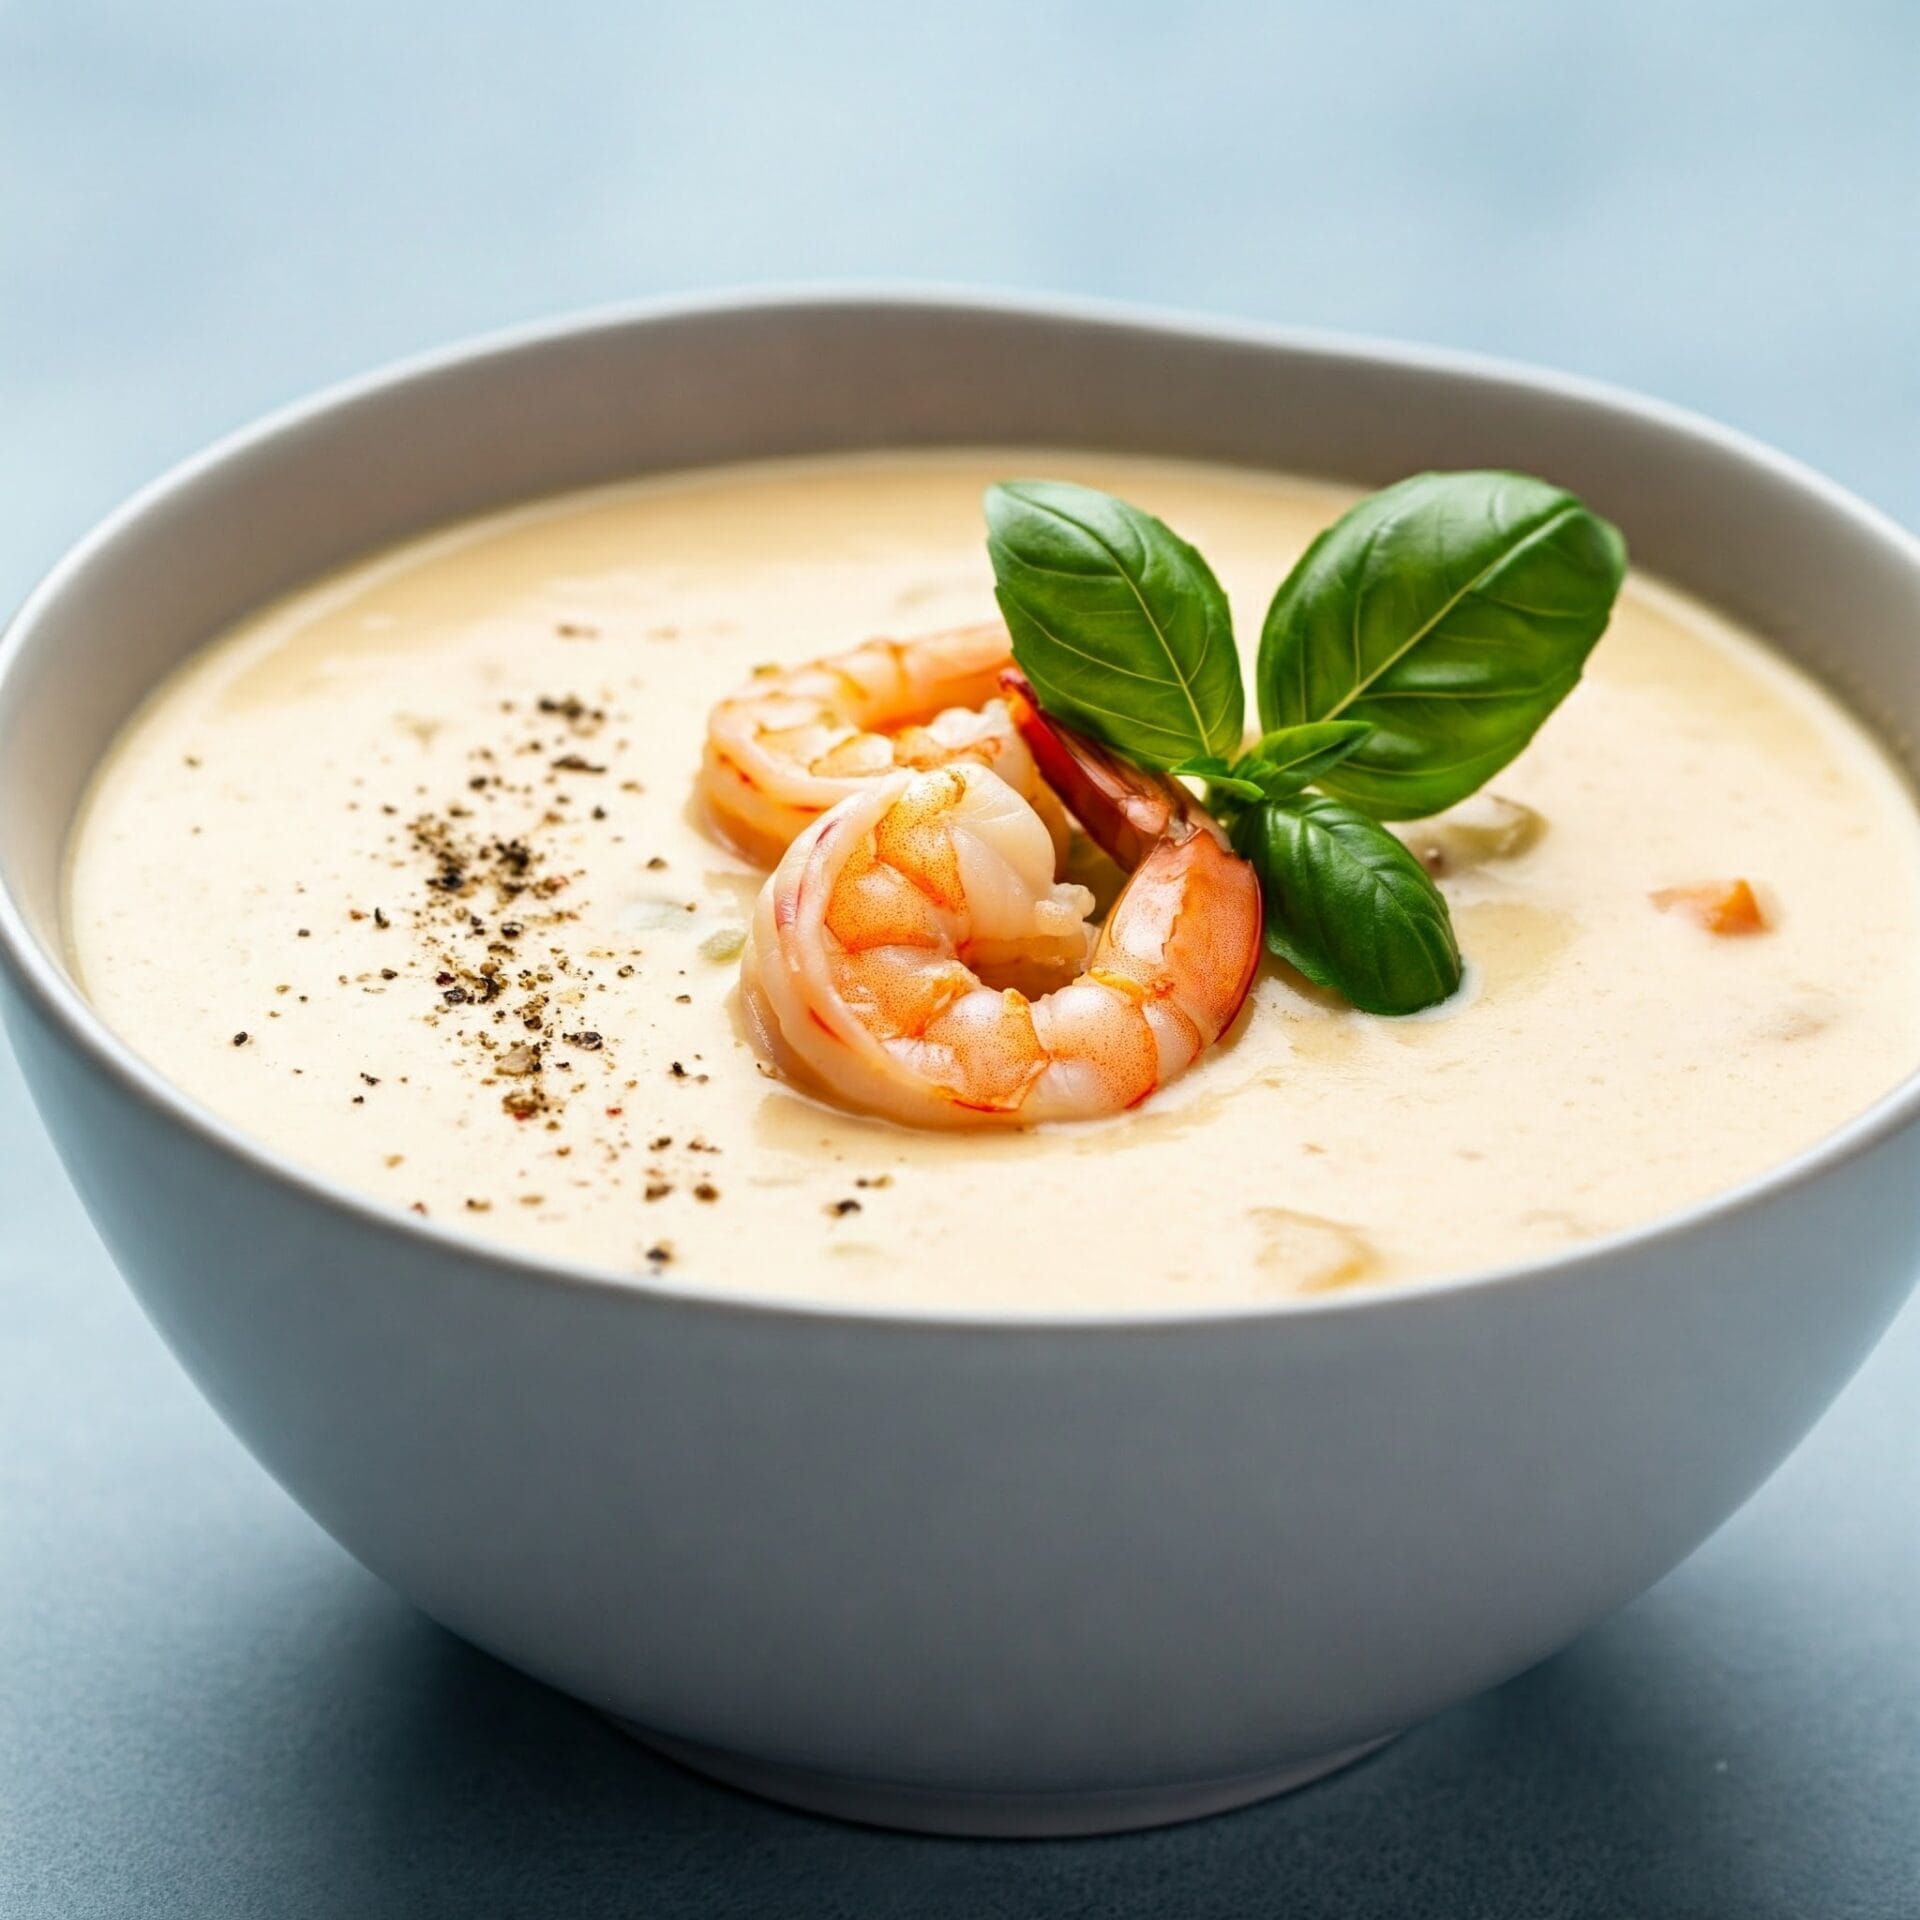
Creamy Crab and Shrimp Bisque

Appetizer · Dinner

Creamy Crab and Shrimp Bisque

A creamy seafood soup with sweet crab, tender cooked shrimp, and a little lemon.
Prep
15 minutes
Cook
30 minutes
Total
45 minutes
Serves
4 Servings

Bring it to the table

About this recipe.

Crab and cooked shrimp in a creamy, lightly thickened seafood broth with tomato, paprika, and a little lemon.

Before you start

Gather your ingredients.

Check your pantry before you begin. Full quantities and serving adjustments are in the recipe card below.

See the ingredient checklist
  • 3 Tbsp Butter (unsalted)
  • 1/2 cup Yellow Onion (chopped)
  • 1/2 cup Celery (chopped)
  • 2 Tbsp All-Purpose Flour (all-purpose)
  • 1/2 tsp Black pepper (freshly ground)
  • 1 Tbsp Tomato paste
  • 1 cup Heavy Cream
  • 8 oz Small Shrimp (cooked, peeled, deveined, thawed if frozen, and chopped if large)
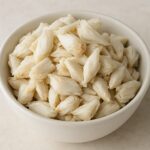
  • 8 oz Crabmeat (cooked, drained, and checked for shell fragments)
  • 3 Tbsp Parsley (or cilantro and/or green onion tops)
  • 1 Clove Garlic (Minced)
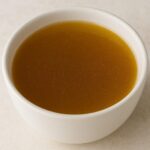
  • 2 Cups Seafood Stock
  • 1/4 tsp Paprika
  • 1 Pinch Cayenne Pepper
  • 1 Pinch Salt
  • 1 Leaf Bay Leaf
  • 1 tsp Lemon Juice (fresh, plus more to taste)

About This Recipe

This creamy soup combines a light flour-thickened seafood stock with crab, cooked shrimp, and cream. Tomato paste and paprika give the base a warm color; a small splash of lemon brightens it at the end.

Choose already-cooked shrimp and crab for the method below. Blend only the vegetable base, removing the bay leaf first, then fold in the seafood gently.

Before You Start

Chop the onion and celery finely, drain the cooked seafood, and check the crab for shell fragments. Keep seafood chilled until ready to use.

A Smooth Base, Tender Seafood

Simmer the stock with the roux and seasonings, then discard the bay leaf. Blend the base if desired before adding cream and seafood. Heat the finished soup to 165°F without prolonged hard boiling.

What to Serve

Serve with homemade French-style bread or butter biscuits and a crisp green salad.

Frequently Asked Questions

Can I use frozen seafood?

Yes. Thaw cooked shrimp and cooked crab in the refrigerator and drain well. This recipe does not use raw seafood.

Do I have to blend the soup?

No. For a smooth base, discard the bay leaf and blend before adding the seafood. Skip blending for a more textured soup.

Can I make it ahead?

Prepare the base ahead and refrigerate promptly. When serving, add the cooked seafood and heat the finished soup thoroughly to 165°F. Refrigerate leftovers promptly in shallow containers.

Is it gluten-free?

No. The flour-based roux contains wheat. A gluten-free version would require a separately adjusted thickener.

The cooking plan

How to make Creamy Crab and Shrimp Bisque.

  1. Melt the 3 tablespoons butter in a Dutch oven over medium heat. Add the onion and celery and cook for 5 to 6 minutes, until softened. Add the garlic and stir for 30 seconds.

  2. Stir in the flour and tomato paste and cook for 1 to 2 minutes, stirring. Slowly whisk in the seafood stock until smooth. Add the paprika, black pepper, bay leaf, and optional cayenne. Simmer gently for 10 minutes, stirring occasionally.

  3. Remove and discard the bay leaf before blending. For a smoother soup, take the pot off the heat and carefully puree the base with an immersion blender, keeping the blade submerged. Leave the seafood out until after this step.

  4. Return to low heat and stir in the cream. Fold in the cooked shrimp and crab gently. Heat, stirring occasionally, until the soup and seafood reach 165°F on a food thermometer; avoid a hard rolling boil and remove from the heat as soon as it is hot enough.

  5. Stir in the chopped herbs and 1 teaspoon lemon juice. Taste, then add more lemon or salt a little at a time if needed. Ladle into bowls and serve hot.

Let’s cook

The full recipe.

Check off ingredients as you get them ready.

Changing servings? The ingredient list scales automatically. Adjust quantities named in the steps to match, and choose pans and cooking times for your batch.

Creamy Crab and Shrimp Bisque

No ratings yet
Crab and cooked shrimp in a creamy, lightly thickened seafood broth with tomato, paprika, and a little lemon.
Prep Time 15 minutes
Cook Time 30 minutes
Total Time 45 minutes
Servings: 4 Servings
Course: Appetizer, Main Course, Soup
Cuisine: French-American

Some ingredient links are affiliate links. We may earn a commission at no extra cost to you. As an Amazon Associate I earn from qualifying purchases.

Ingredients
  

  • 3 Tbsp Butter unsalted
  • ½ cup Yellow Onion chopped
  • ½ cup Celery chopped
  • 2 Tbsp All-Purpose Flour all-purpose
  • ½ tsp Black pepper freshly ground
  • 1 Tbsp Tomato paste
  • 1 cup Heavy Cream
  • 8 oz Small Shrimp cooked, peeled, deveined, thawed if frozen, and chopped if large
  • 8 oz Crabmeat cooked, drained, and checked for shell fragments
  • 3 Tbsp Parsley or cilantro and/or green onion tops
  • 1 Clove Garlic Minced
  • 2 Cups Seafood Stock
  • ¼ tsp Paprika
  • 1 Pinch Cayenne Pepper
  • 1 Pinch Salt
  • 1 Leaf Bay Leaf
  • 1 tsp Lemon Juice fresh, plus more to taste

Equipment

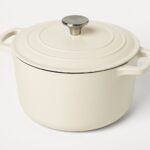
1 Large Dutch Oven (Ideal for building deep flavors and simmering the bisque.)
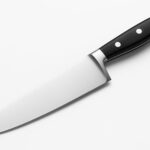
Chef's knife
1 Chef's knife (For chopping aromatics and seafood prep.)
1 Cutting board (A sturdy surface for prepping veggies and shrimp.)
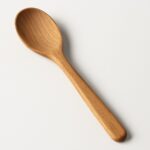
1 Wooden spoon ( For sautéing and stirring the bisque.)
1 Measuring cups and spoons (For accurate broth, cream, and seasoning measurements.)
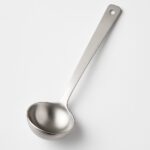
1 Ladle (To serve up the bisque without making a mess.)
1 Immersion Blender (Optional, for a smoother texture if blending is desired.)
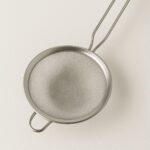
1 Fine Mesh Strainer (Optional, for a smoother base.)

Equipment images are illustrative. Exact products may vary.

Instructions
 

  1. Melt the 3 tablespoons butter in a Dutch oven over medium heat. Add the onion and celery and cook for 5 to 6 minutes, until softened. Add the garlic and stir for 30 seconds.
  2. Stir in the flour and tomato paste and cook for 1 to 2 minutes, stirring. Slowly whisk in the seafood stock until smooth. Add the paprika, black pepper, bay leaf, and optional cayenne. Simmer gently for 10 minutes, stirring occasionally.
  3. Remove and discard the bay leaf before blending. For a smoother soup, take the pot off the heat and carefully puree the base with an immersion blender, keeping the blade submerged. Leave the seafood out until after this step.
  4. Return to low heat and stir in the cream. Fold in the cooked shrimp and crab gently. Heat, stirring occasionally, until the soup and seafood reach 165°F on a food thermometer; avoid a hard rolling boil and remove from the heat as soon as it is hot enough.
  5. Stir in the chopped herbs and 1 teaspoon lemon juice. Taste, then add more lemon or salt a little at a time if needed. Ladle into bowls and serve hot.

Notes

This recipe uses already-cooked shrimp and crab. Cook raw seafood separately before adding it. Remove the bay leaf before pureeing, and blend the base before adding the seafood to keep the crab pieces intact.
Start with the small amount of lemon listed and adjust to taste; too much acid can overwhelm the soup. Refrigerate leftovers promptly in shallow containers and reheat thoroughly to 165°F.

Tried this recipe?

Let us know how it was!

A couple of useful answers.

How do I change the number of servings?

Use the serving controls in the recipe card. Ingredient quantities change automatically; quantities written in the instructions, pan sizes and cooking times still need your attention.

Can I print or check off the ingredients?

Choose Print recipe near the title for a printable version. On this page, check ingredients off as you prepare them, then use Reset ingredient checks to start again.

Keep the good food going

Similar Recipes

Choose your next craving. Each card includes its recipe’s total time.

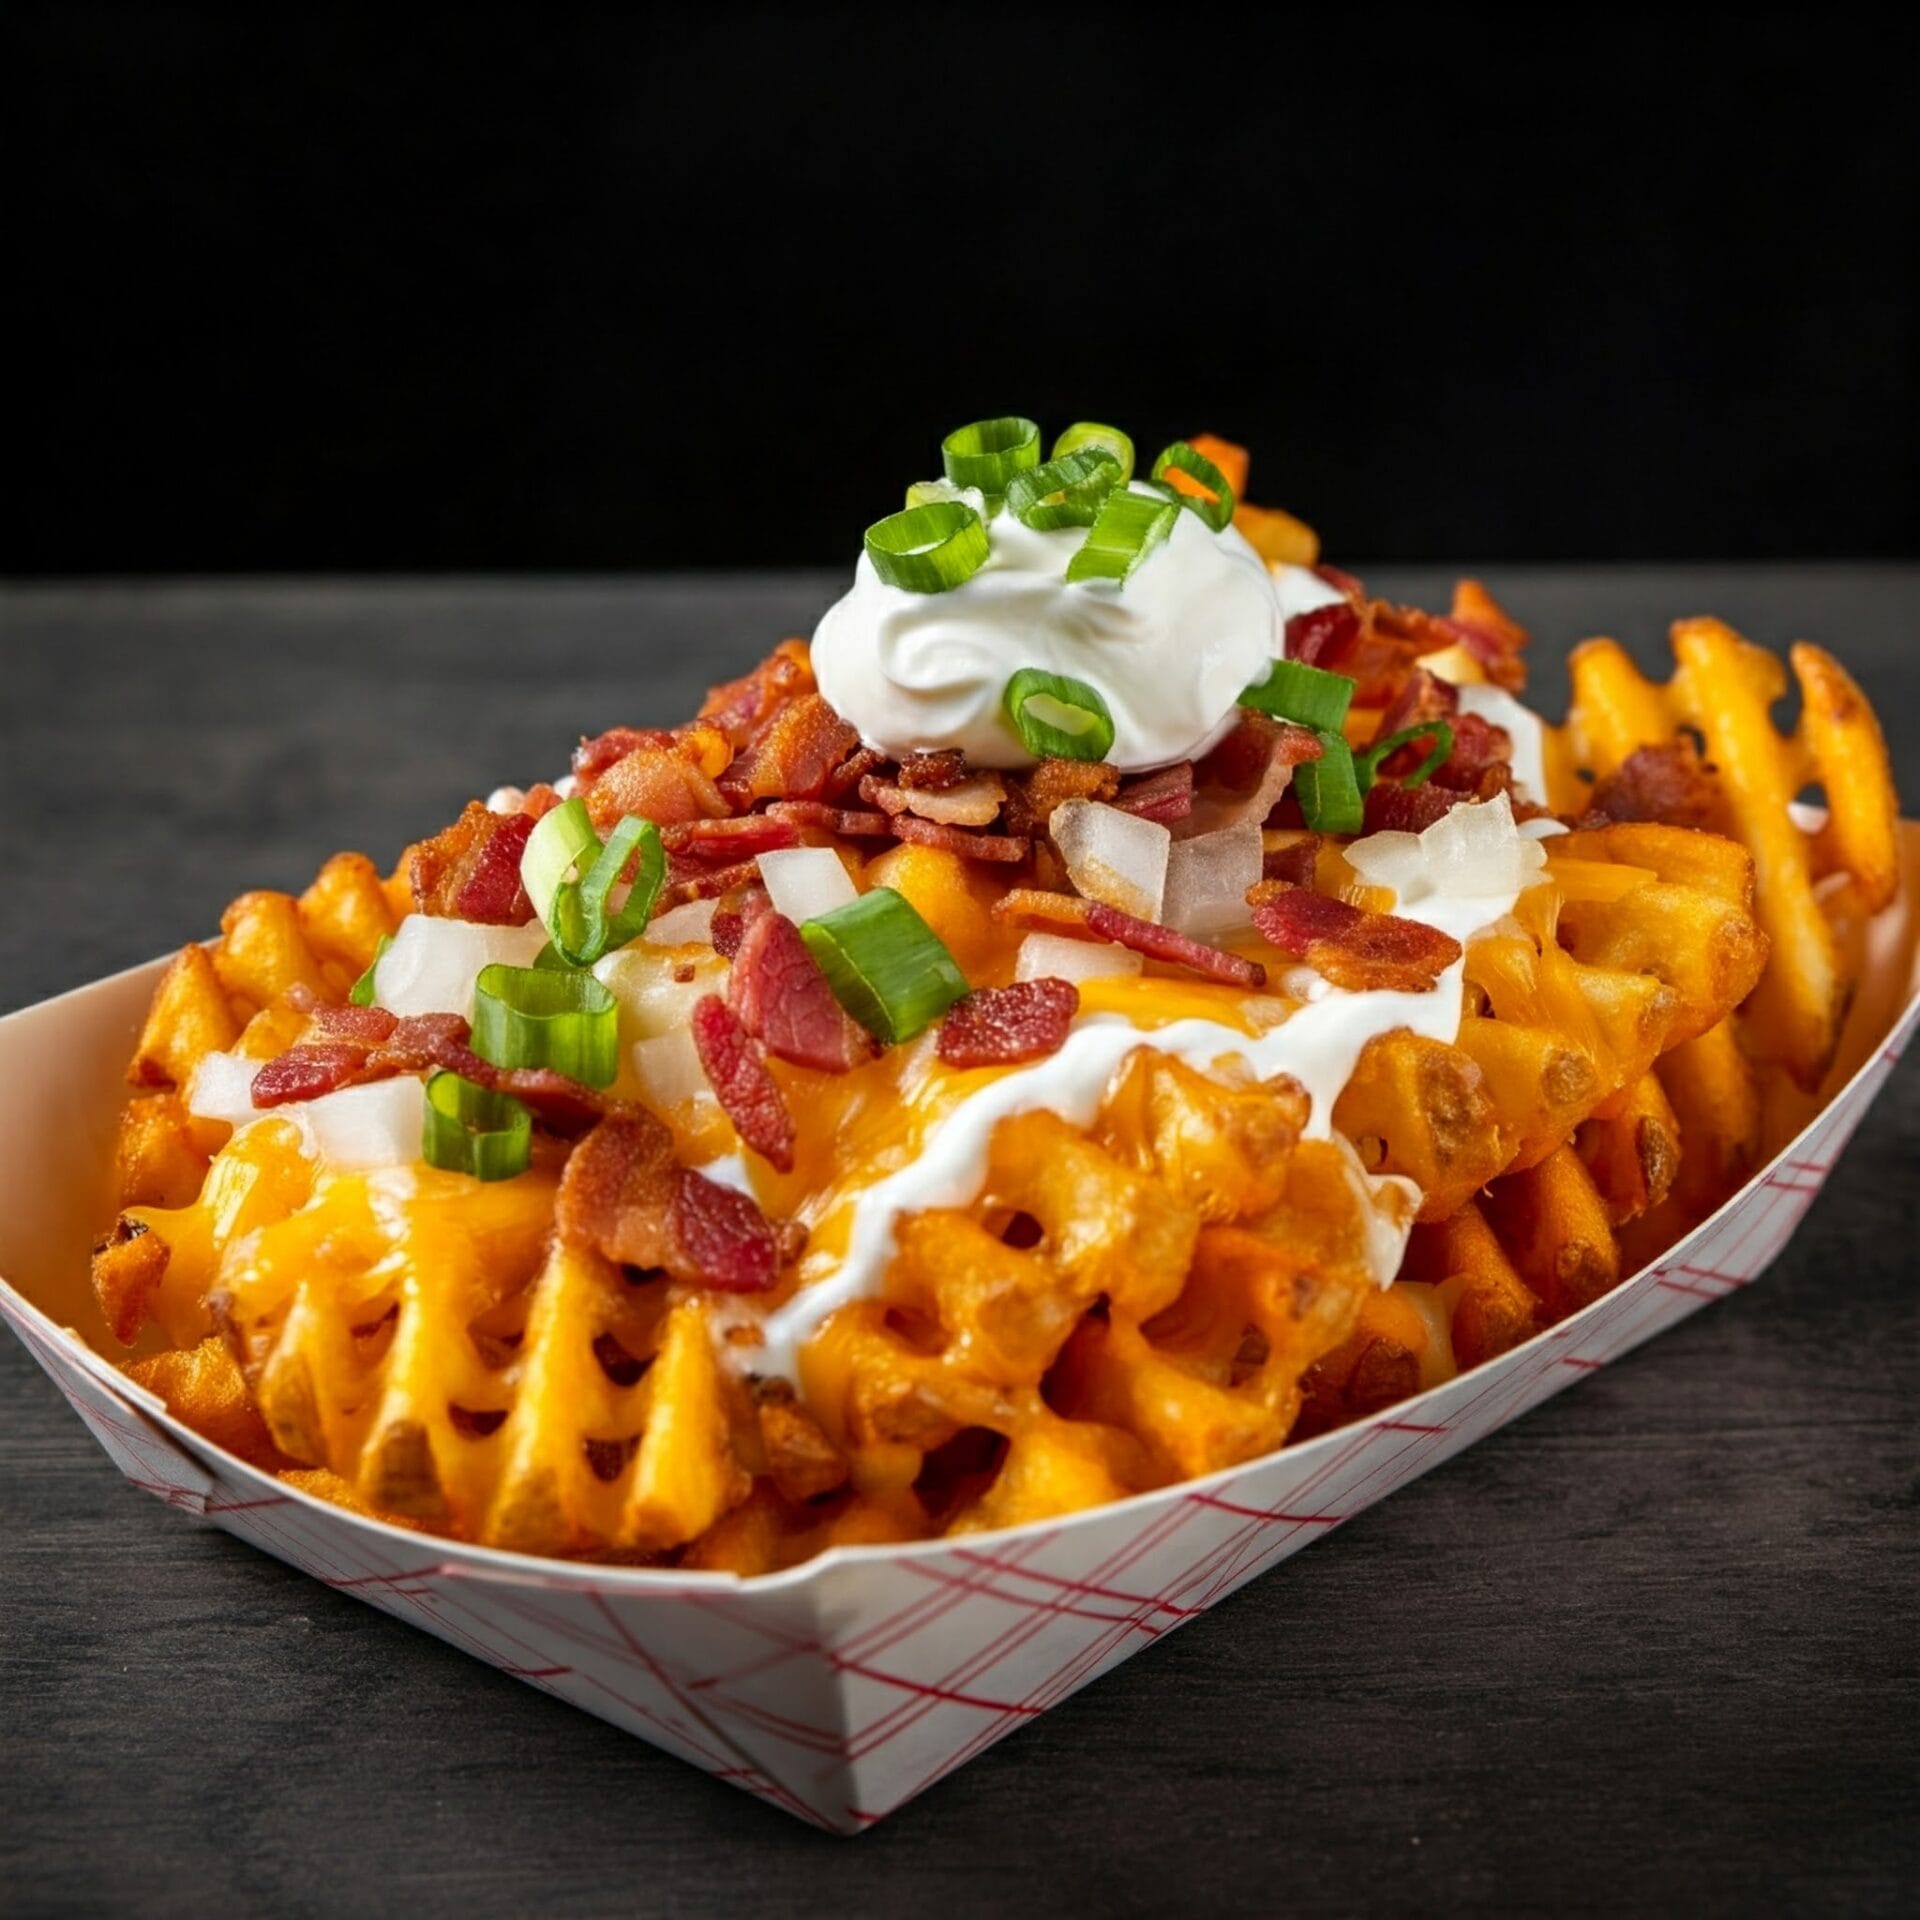
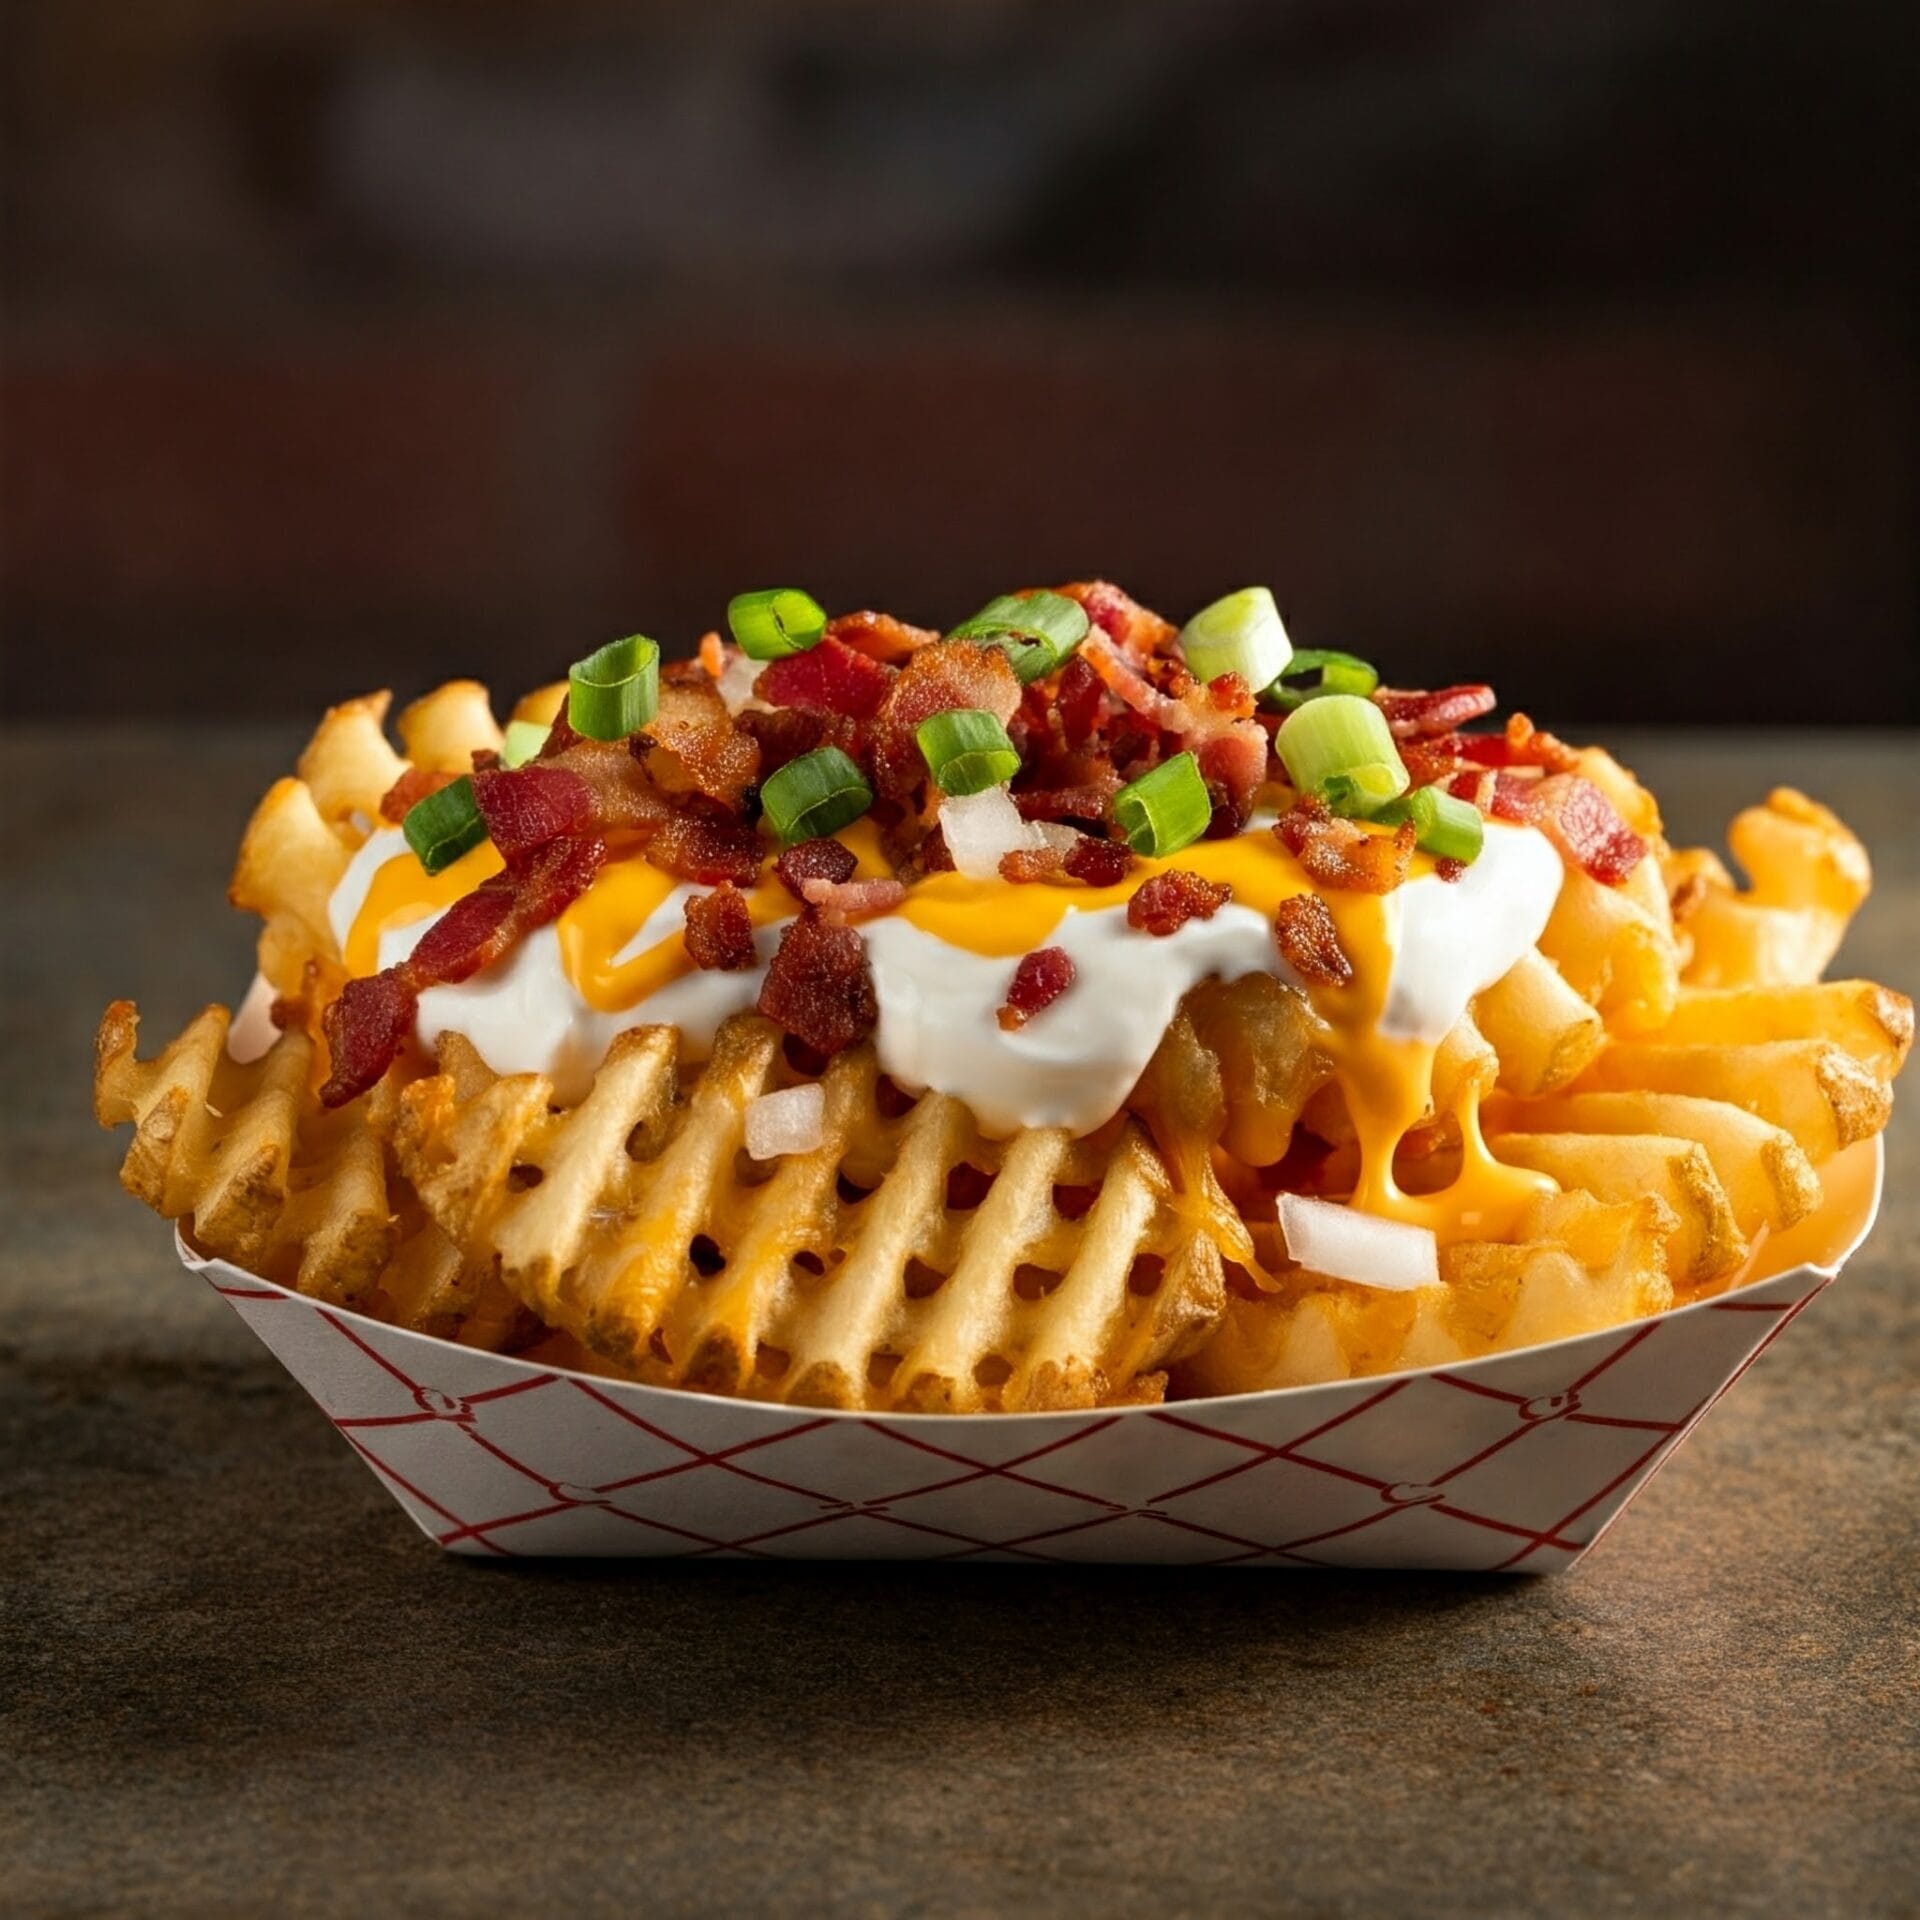
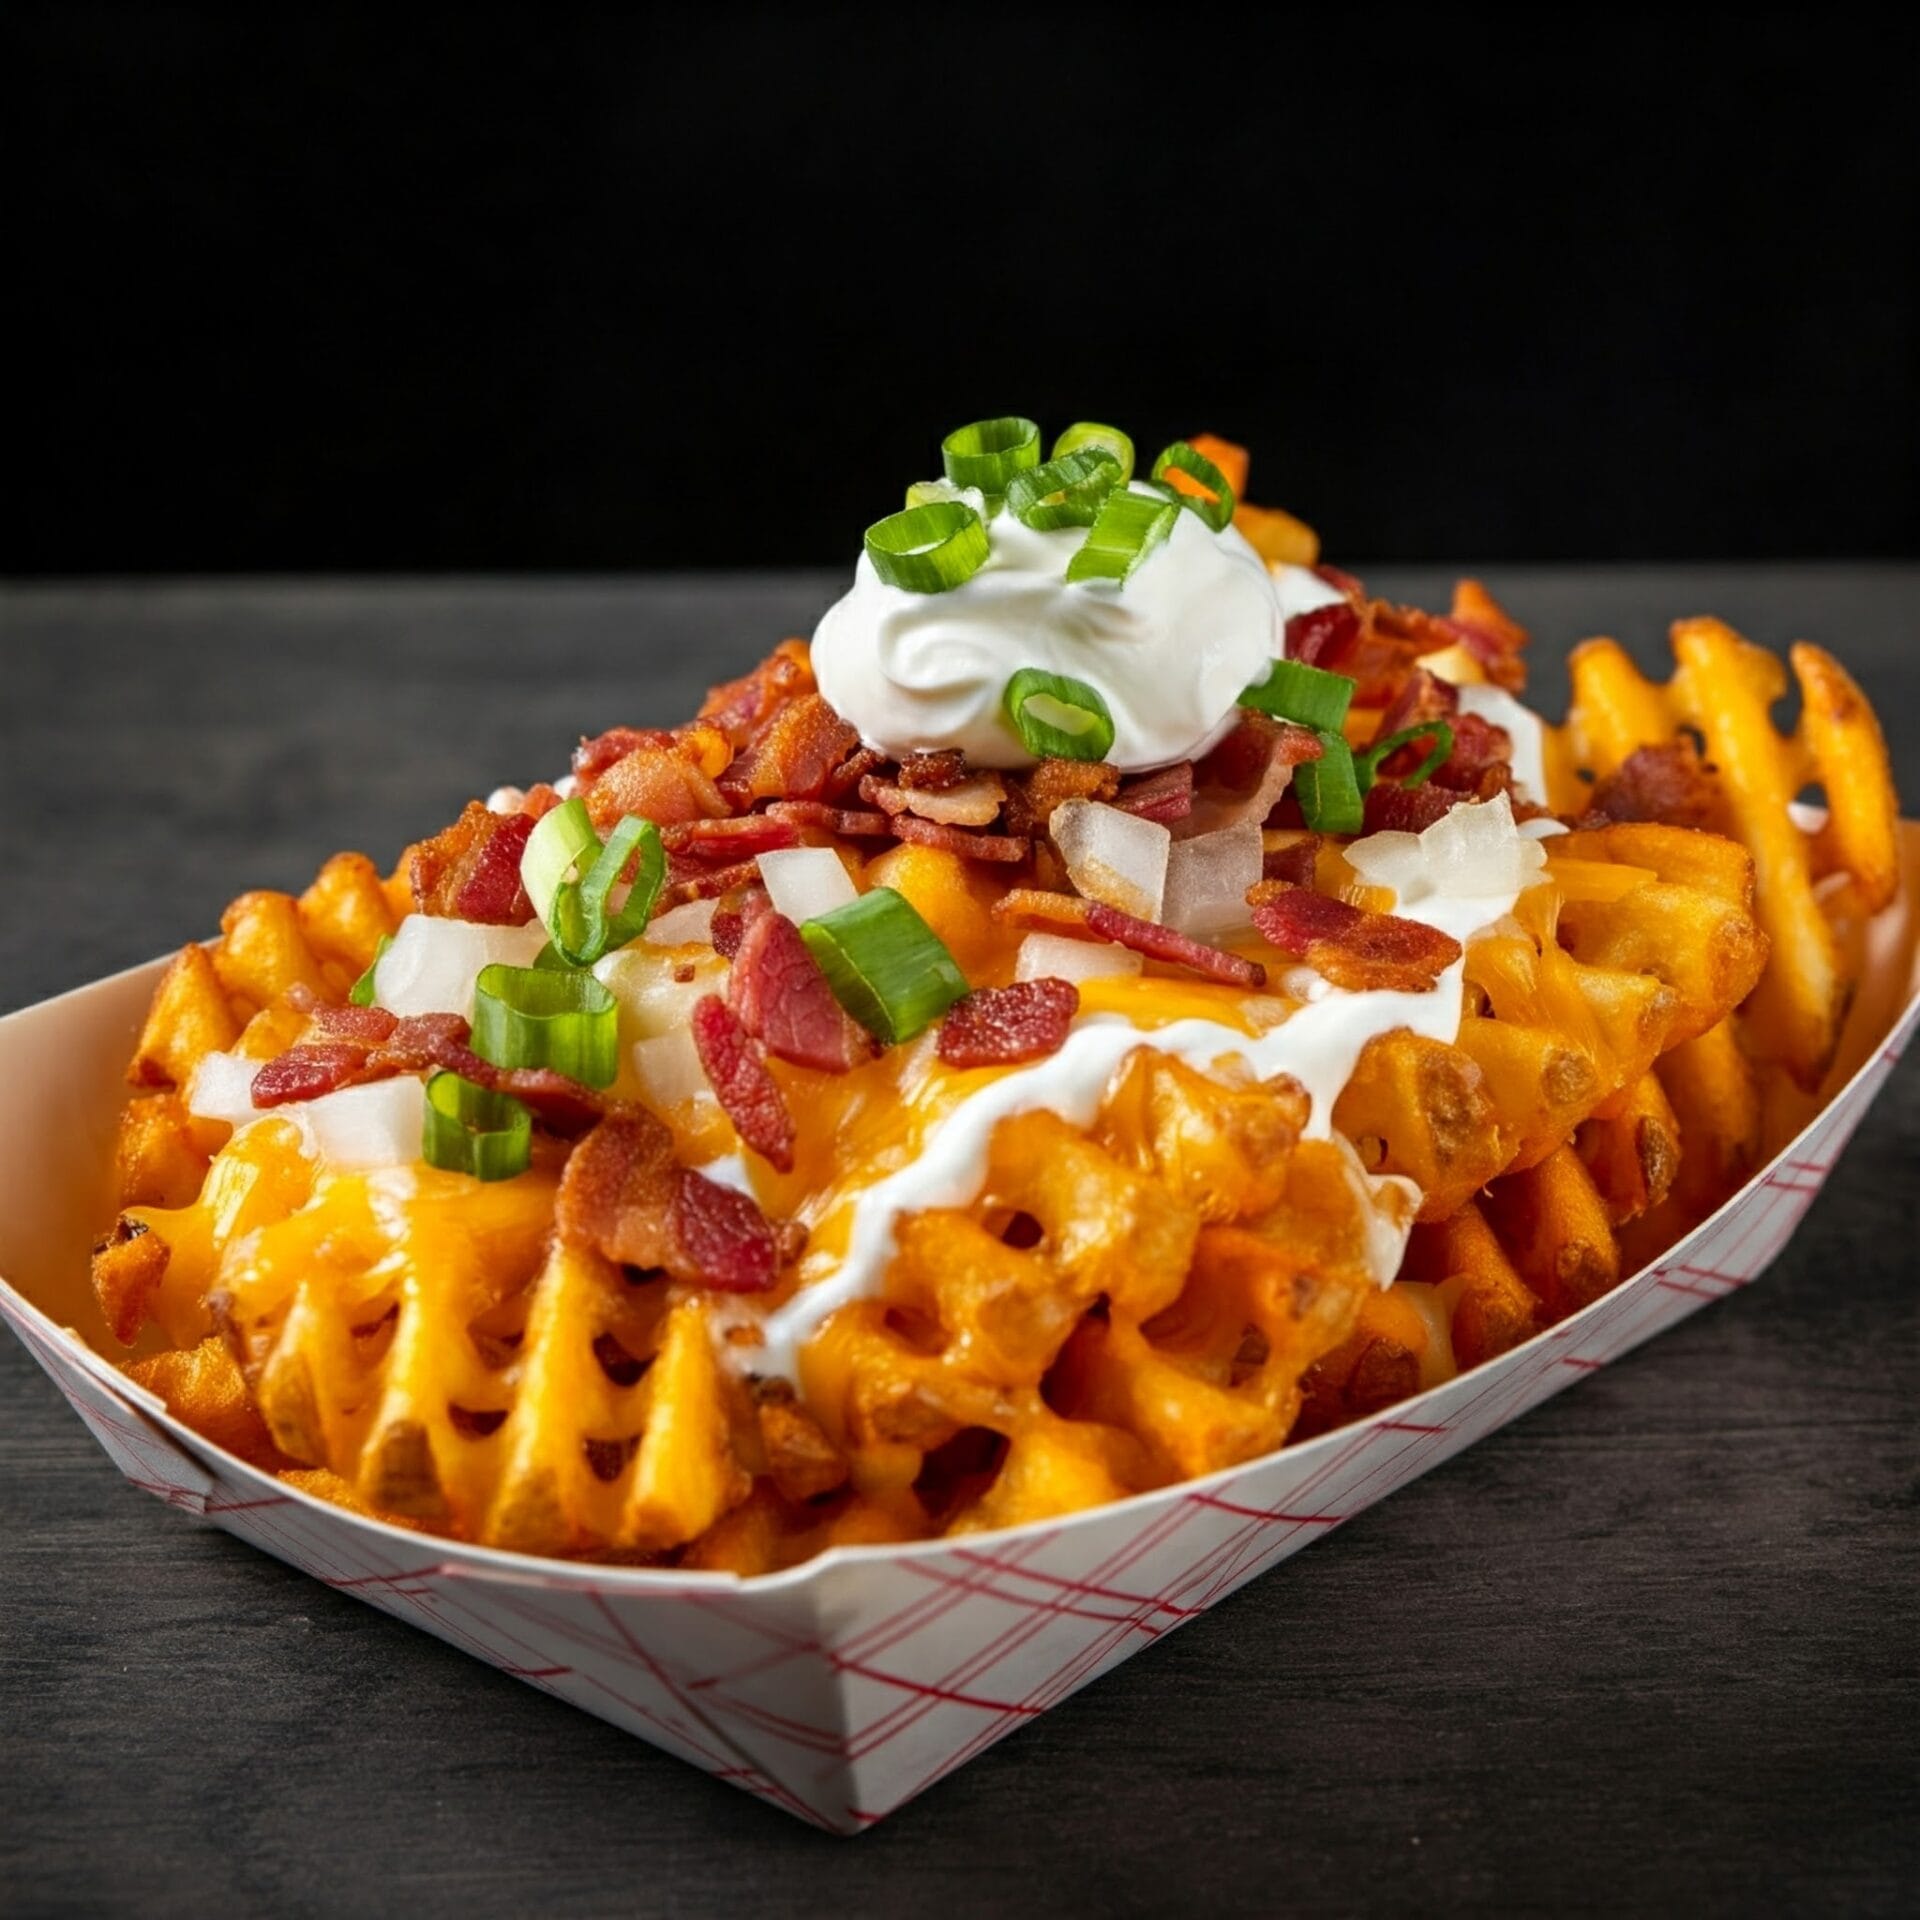
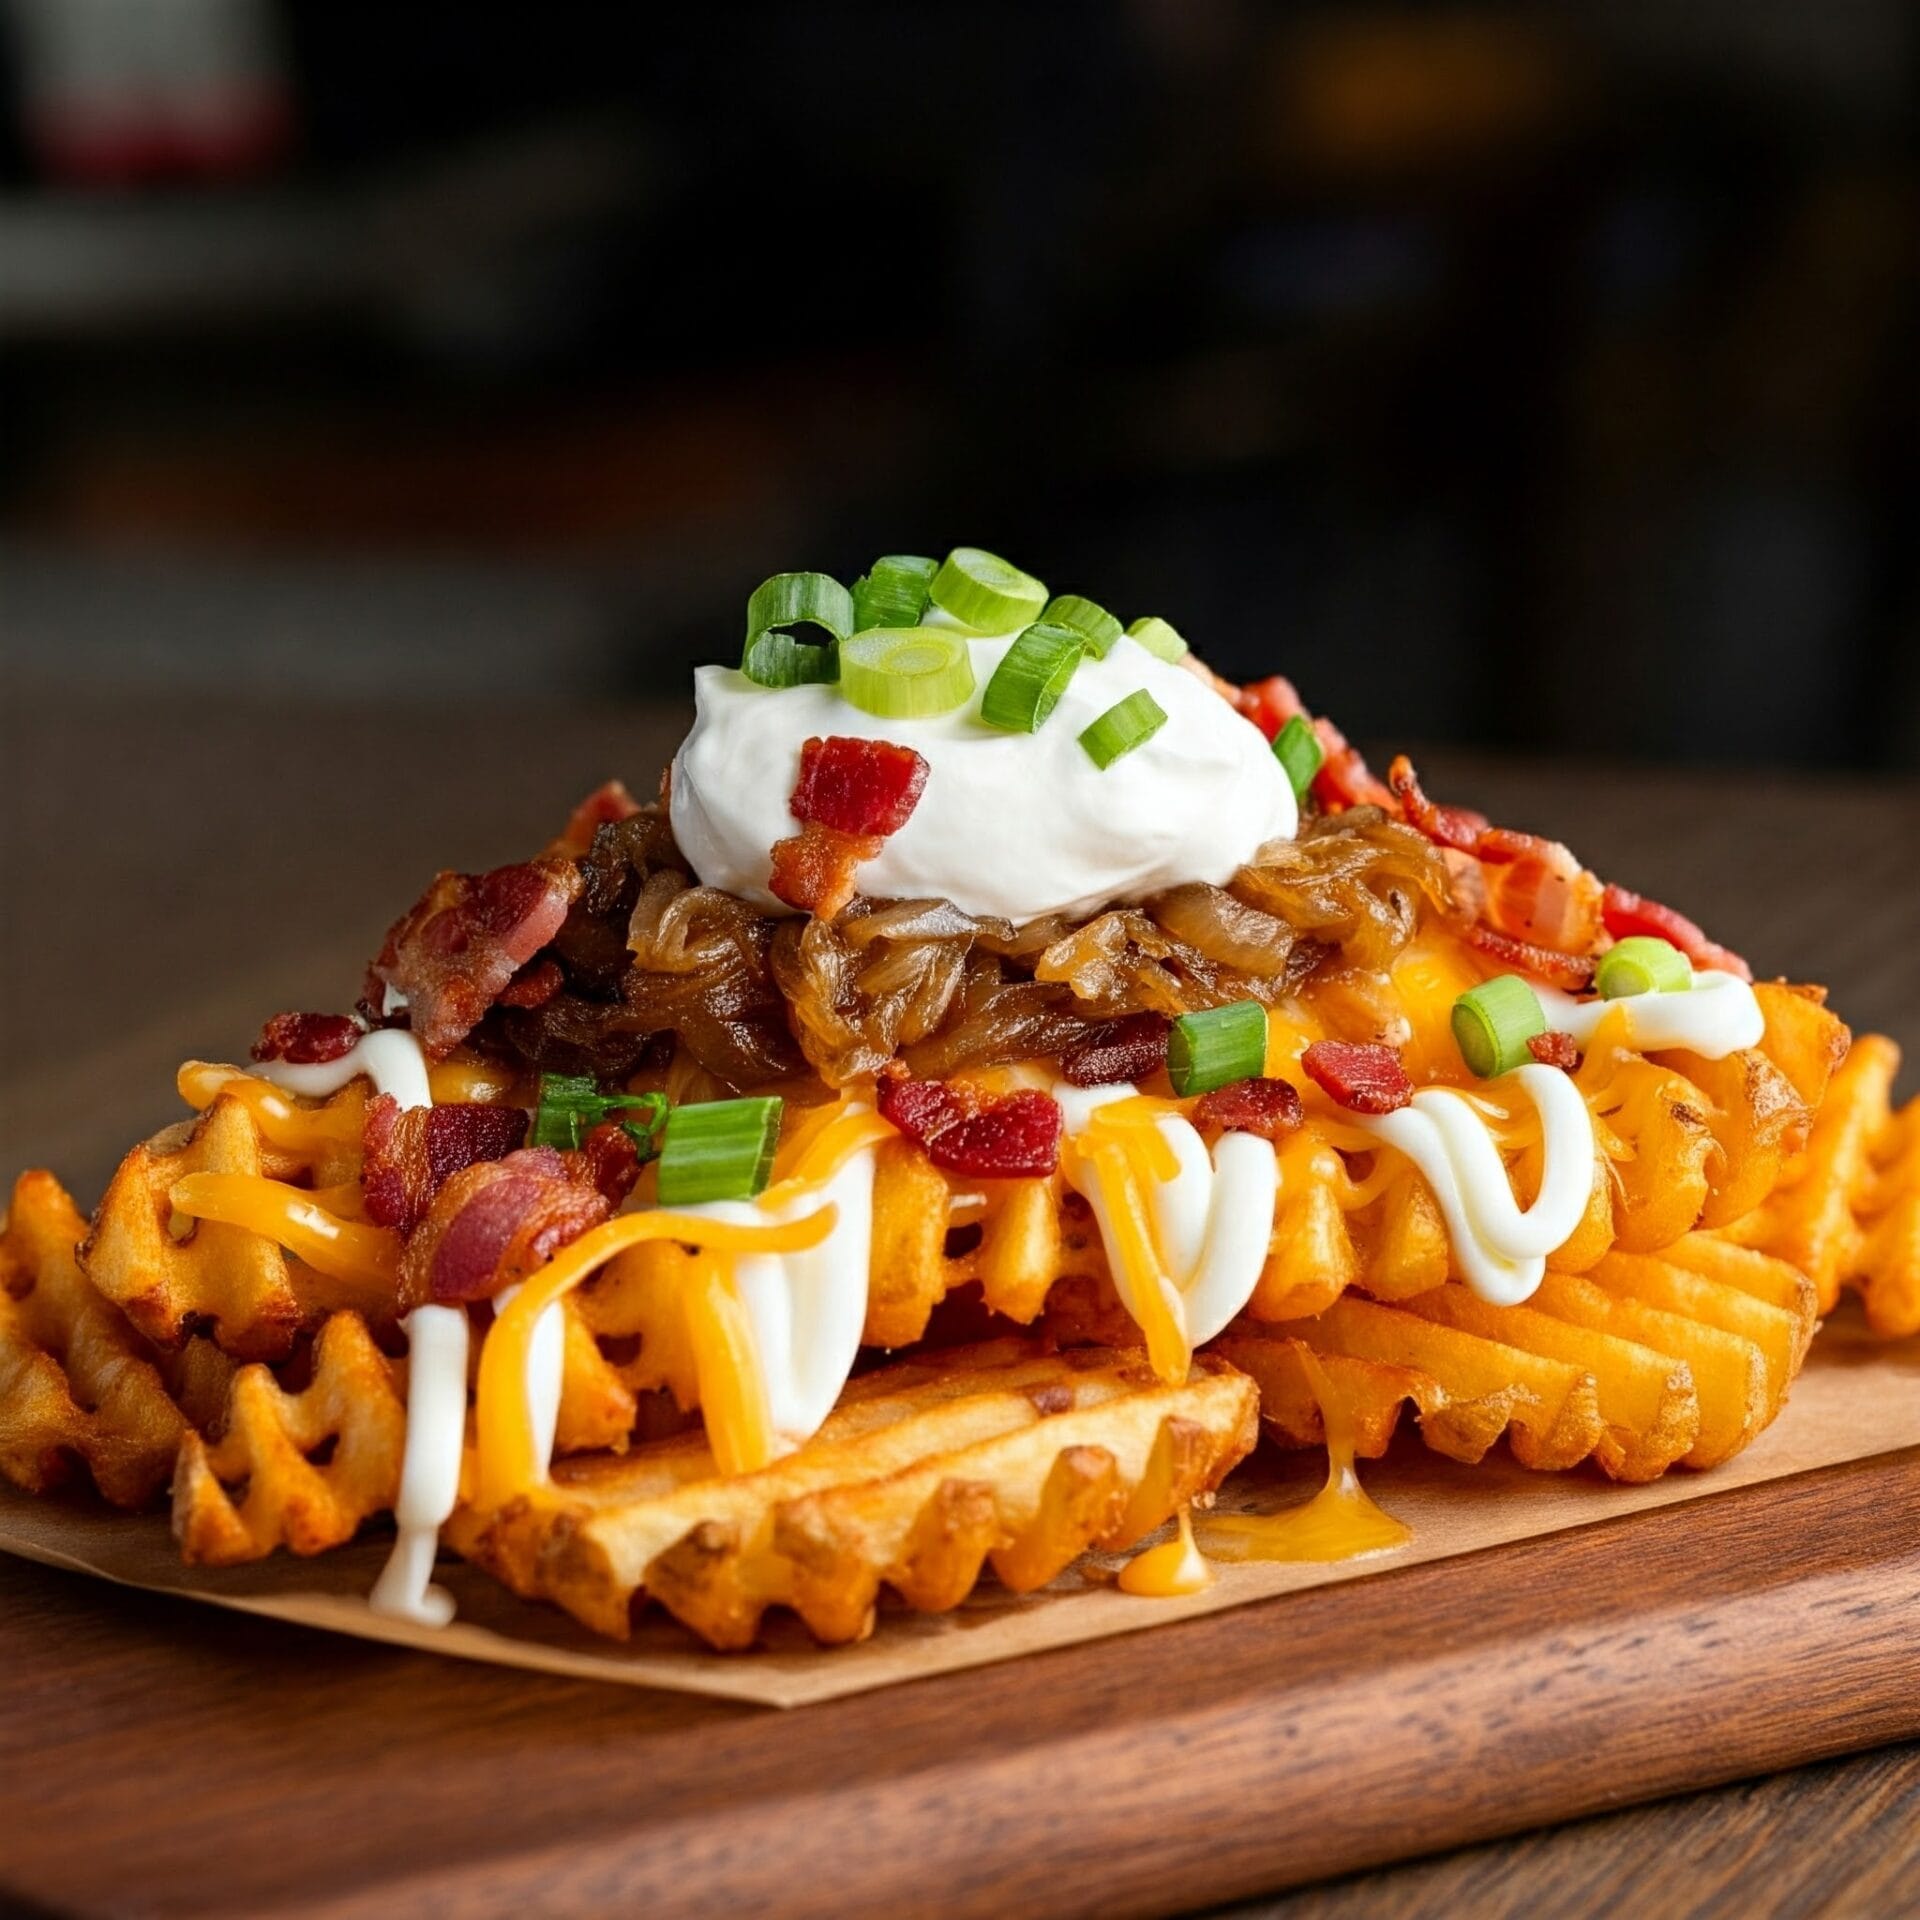
Loaded Sour Cream & Onion Waffle Fries

Appetizer · Side Dishes

Loaded Sour Cream & Onion Waffle Fries

Waffle fries with buttermilk, garlic, and onion seasoning, melted white Cheddar, crisp bacon, green onion, and sour cream.
Prep
15 minutes
Cook
35 minutes
Total
50 minutes
Serves
6 people

Bring it to the table

About this recipe.

Waffle fries with a buttermilk, garlic, and onion seasoning, topped with melted white Cheddar, crisp bacon, green onion, and sour cream.

Before you start

Gather your ingredients.

Check your pantry before you begin. Full quantities and serving adjustments are in the recipe card below.

See the ingredient checklist
  • 2 tsp Buttermilk powder (dry powder, not liquid buttermilk)
  • 1 tsp Garlic Powder
  • 1 tsp Parsley (dried)
  • 1 tsp Granulated Sugar
  • 1 tsp Salt (use less if the frozen fries are already salted)
  • ½ tsp Onion Powder

Waffle Fries

  • 22 oz Waffle Fries (frozen)
  • 2 Tbsp Olive Oil
  • 7 Slices Bacon
  • 2 Cups White Cheddar Cheese (shredded)
  • 2 Large Green Onions (thinly sliced)
  • ¼ Cup Sour Cream

Jump to Recipe

Keep the fries in one layer

Give frozen fries room to crisp and follow the package oven directions. Add the seasoning and toppings after the main bake, then return them briefly to melt the cheese.

Explore more recipes

The cooking plan

How to make Loaded Sour Cream & Onion Waffle Fries.

  1. Heat the oven to the temperature specified on the frozen waffle-fries package. Mix the buttermilk powder, garlic powder, dried parsley, sugar, salt, and onion powder in a small bowl. If the fries are already salted, start with less of the salt.

  2. Toss the frozen fries with the olive oil and spread in one layer on a large rimmed baking sheet, using a second sheet if needed. Bake according to the package directions, turning as directed, until golden and crisp. The original timing guide is about 20–26 minutes, but the package and the fries’ appearance take priority.

  3. While the fries bake, cook the bacon in a skillet over medium heat, turning as needed, until browned and crisp, about 10 minutes depending on thickness. Drain on paper towels and crumble when cool enough to handle.

  4. Toss the hot baked fries with the dry seasoning, then spread them back on the baking sheet. Sprinkle with white Cheddar and cooked bacon. Return to the oven for about 2–3 minutes, until the cheese melts. Top with sliced green onions and spoonfuls of sour cream. Serve immediately.

Let’s cook

The full recipe.

Check off ingredients as you get them ready.

Changing servings? The ingredient list scales automatically. Adjust quantities named in the steps to match, and choose pans and cooking times for your batch.

Loaded Sour Cream and Onion Waffle Fries

No ratings yet
Waffle fries with a buttermilk, garlic, and onion seasoning, topped with melted white Cheddar, crisp bacon, green onion, and sour cream.
Prep Time 15 minutes
Cook Time 35 minutes
Total Time 50 minutes
Servings: 6 people
Course: Appetizer, Side Dish, Snack
Cuisine: American

Some ingredient links are affiliate links. We may earn a commission at no extra cost to you. As an Amazon Associate I earn from qualifying purchases.

Ingredients
  

  •  
    2 tsp Buttermilk powder dry powder, not liquid buttermilk
  • 1 tsp Garlic Powder
  • 1 tsp Parsley dried
  • 1 tsp Granulated Sugar
  • 1 tsp Salt use less if the frozen fries are already salted
  • ½ tsp Onion Powder
Waffle Fries
  •  
    22 oz Waffle Fries frozen
  • 2 Tbsp Olive Oil
  • 7 Slices Bacon
  •  
    2 Cups White Cheddar Cheese shredded
  • 2 Large Green Onions thinly sliced
  • ¼ Cup Sour Cream

Equipment

1 Large rimmed baking sheet (Use two if needed to keep fries in one layer.)
1 Large skillet (For bacon.)

Equipment images are illustrative. Exact products may vary.

Instructions
 

  1. Heat the oven to the temperature specified on the frozen waffle-fries package. Mix the buttermilk powder, garlic powder, dried parsley, sugar, salt, and onion powder in a small bowl. If the fries are already salted, start with less of the salt.
  2. Toss the frozen fries with the olive oil and spread in one layer on a large rimmed baking sheet, using a second sheet if needed. Bake according to the package directions, turning as directed, until golden and crisp. The original timing guide is about 20–26 minutes, but the package and the fries’ appearance take priority.
  3. While the fries bake, cook the bacon in a skillet over medium heat, turning as needed, until browned and crisp, about 10 minutes depending on thickness. Drain on paper towels and crumble when cool enough to handle.
  4. Toss the hot baked fries with the dry seasoning, then spread them back on the baking sheet. Sprinkle with white Cheddar and cooked bacon. Return to the oven for about 2–3 minutes, until the cheese melts. Top with sliced green onions and spoonfuls of sour cream. Serve immediately.

Notes

Makes six snack or side portions. Use plain frozen waffle fries; they do not need to be pre-flavored with sour cream and onion. Add the dry seasoning after the main bake so the milk powder and sugar get only a brief return to the oven. Keep sour cream chilled until serving. Timing is an estimate and varies by the frozen fries.

Tried this recipe?

Let us know how it was!

A couple of useful answers.

How do I change the number of servings?

Use the serving controls in the recipe card. Ingredient quantities change automatically; quantities written in the instructions, pan sizes and cooking times still need your attention.

Can I print or check off the ingredients?

Choose Print recipe near the title for a printable version. On this page, check ingredients off as you prepare them, then use Reset ingredient checks to start again.

Keep the good food going

Similar Recipes

Choose your next craving. Each card includes its recipe’s total time.

Chili Cheese Bean Dip

Appetizer · Dips, Spreads & Salsas

Chili Cheese Bean Dip

A creamy, chilled bean dip with Monterey Jack, cheddar, lime, jalapeño, and smoky chili spices. Stir it together for an easy party snack.
Prep
15 minutes
Chill
1 hour
Total
1 hour 15 minutes
Serves
12 snack portions

Bring it to the table

About this recipe.

A chilled refried bean dip with two cheeses, lime, jalapeño, and smoky spices. Mix it ahead and serve with chips or vegetables.

Before you start

Gather your ingredients.

Check your pantry before you begin. Full quantities and serving adjustments are in the recipe card below.

See the ingredient checklist
  • 16 oz Refried Beans (can)
  • 2 oz Monterey Jack cheese (shredded)
  • 2 oz Cheddar Cheese (shredded)
  • 2 Tbsp Avocado oil
  • 1 Large Lime (juiced)
  • ¼ Cup Sour Cream (or Mexican crema)
  • 3 Cloves Garlic (crushed or finely minced)
  • ¼ Cup Green Onions (thinly sliced)
  • ¼ Cup Fresh Cilantro (leaves, packed, chopped)
  • ½ tsp Ground Cumin
  • 1 tsp Chipotle (ground)
  • 1 tsp Chili Powder
  • 1 Large Jalapeno Peppers (seeded and minced)

The cooking plan

How to make Chili Cheese Bean Dip.

  1. Grate the cheeses. Juice the lime, mince the garlic and seeded jalapeño, and chop the green onions and cilantro.

  2. Stir all ingredients together in a mixing bowl until evenly combined.

  3. Cover and refrigerate for 1–2 hours, then serve with tortilla chips or vegetables. You can also serve the dip immediately.

Let’s cook

The full recipe.

Check off ingredients as you get them ready.

Changing servings? The ingredient list scales automatically. Adjust quantities named in the steps to match, and choose pans and cooking times for your batch.

Chili Cheese Bean Dip

No ratings yet
A chilled refried bean dip with two cheeses, lime, jalapeño, and smoky spices. Mix it ahead and serve with chips or vegetables.
Prep Time 15 minutes
Cook Time 0 minutes
Chill 1 hour
Total Time 1 hour 15 minutes
Servings: 12 snack portions
Course: Appetizer, Snacks
Cuisine: American, American Fusion

Some ingredient links are affiliate links. We may earn a commission at no extra cost to you. As an Amazon Associate I earn from qualifying purchases.

Ingredients
  

  • 16 oz Refried Beans can
  • 2 oz Monterey Jack cheese shredded
  • 2 oz Cheddar Cheese shredded
  • 2 Tbsp Avocado oil
  • 1 Large Lime juiced
  • ¼ Cup Sour Cream or Mexican crema
  • 3 Cloves Garlic crushed or finely minced
  • ¼ Cup Green Onions thinly sliced
  • ¼ Cup Fresh Cilantro leaves, packed, chopped
  • ½ tsp Ground Cumin
  • 1 tsp Chipotle ground
  • 1 tsp Chili Powder
  • 1 Large Jalapeno Peppers seeded and minced

Equipment images are illustrative. Exact products may vary.

Instructions
 

  1. Grate the cheeses. Juice the lime, mince the garlic and seeded jalapeño, and chop the green onions and cilantro.
  2. Stir all ingredients together in a mixing bowl until evenly combined.
  3. Cover and refrigerate for 1–2 hours, then serve with tortilla chips or vegetables. You can also serve the dip immediately.

Notes

If preparing a day ahead, leave out the garlic, green onions, and cilantro until 1–2 hours before serving so they do not dominate the flavor. Timing includes a 1-hour chill and is approximate.

Tried this recipe?

Let us know how it was!

A couple of useful answers.

How do I change the number of servings?

Use the serving controls in the recipe card. Ingredient quantities change automatically; quantities written in the instructions, pan sizes and cooking times still need your attention.

Can I print or check off the ingredients?

Choose Print recipe near the title for a printable version. On this page, check ingredients off as you prepare them, then use Reset ingredient checks to start again.

Keep the good food going

Similar Recipes

Choose your next craving. Each card includes its recipe’s total time.

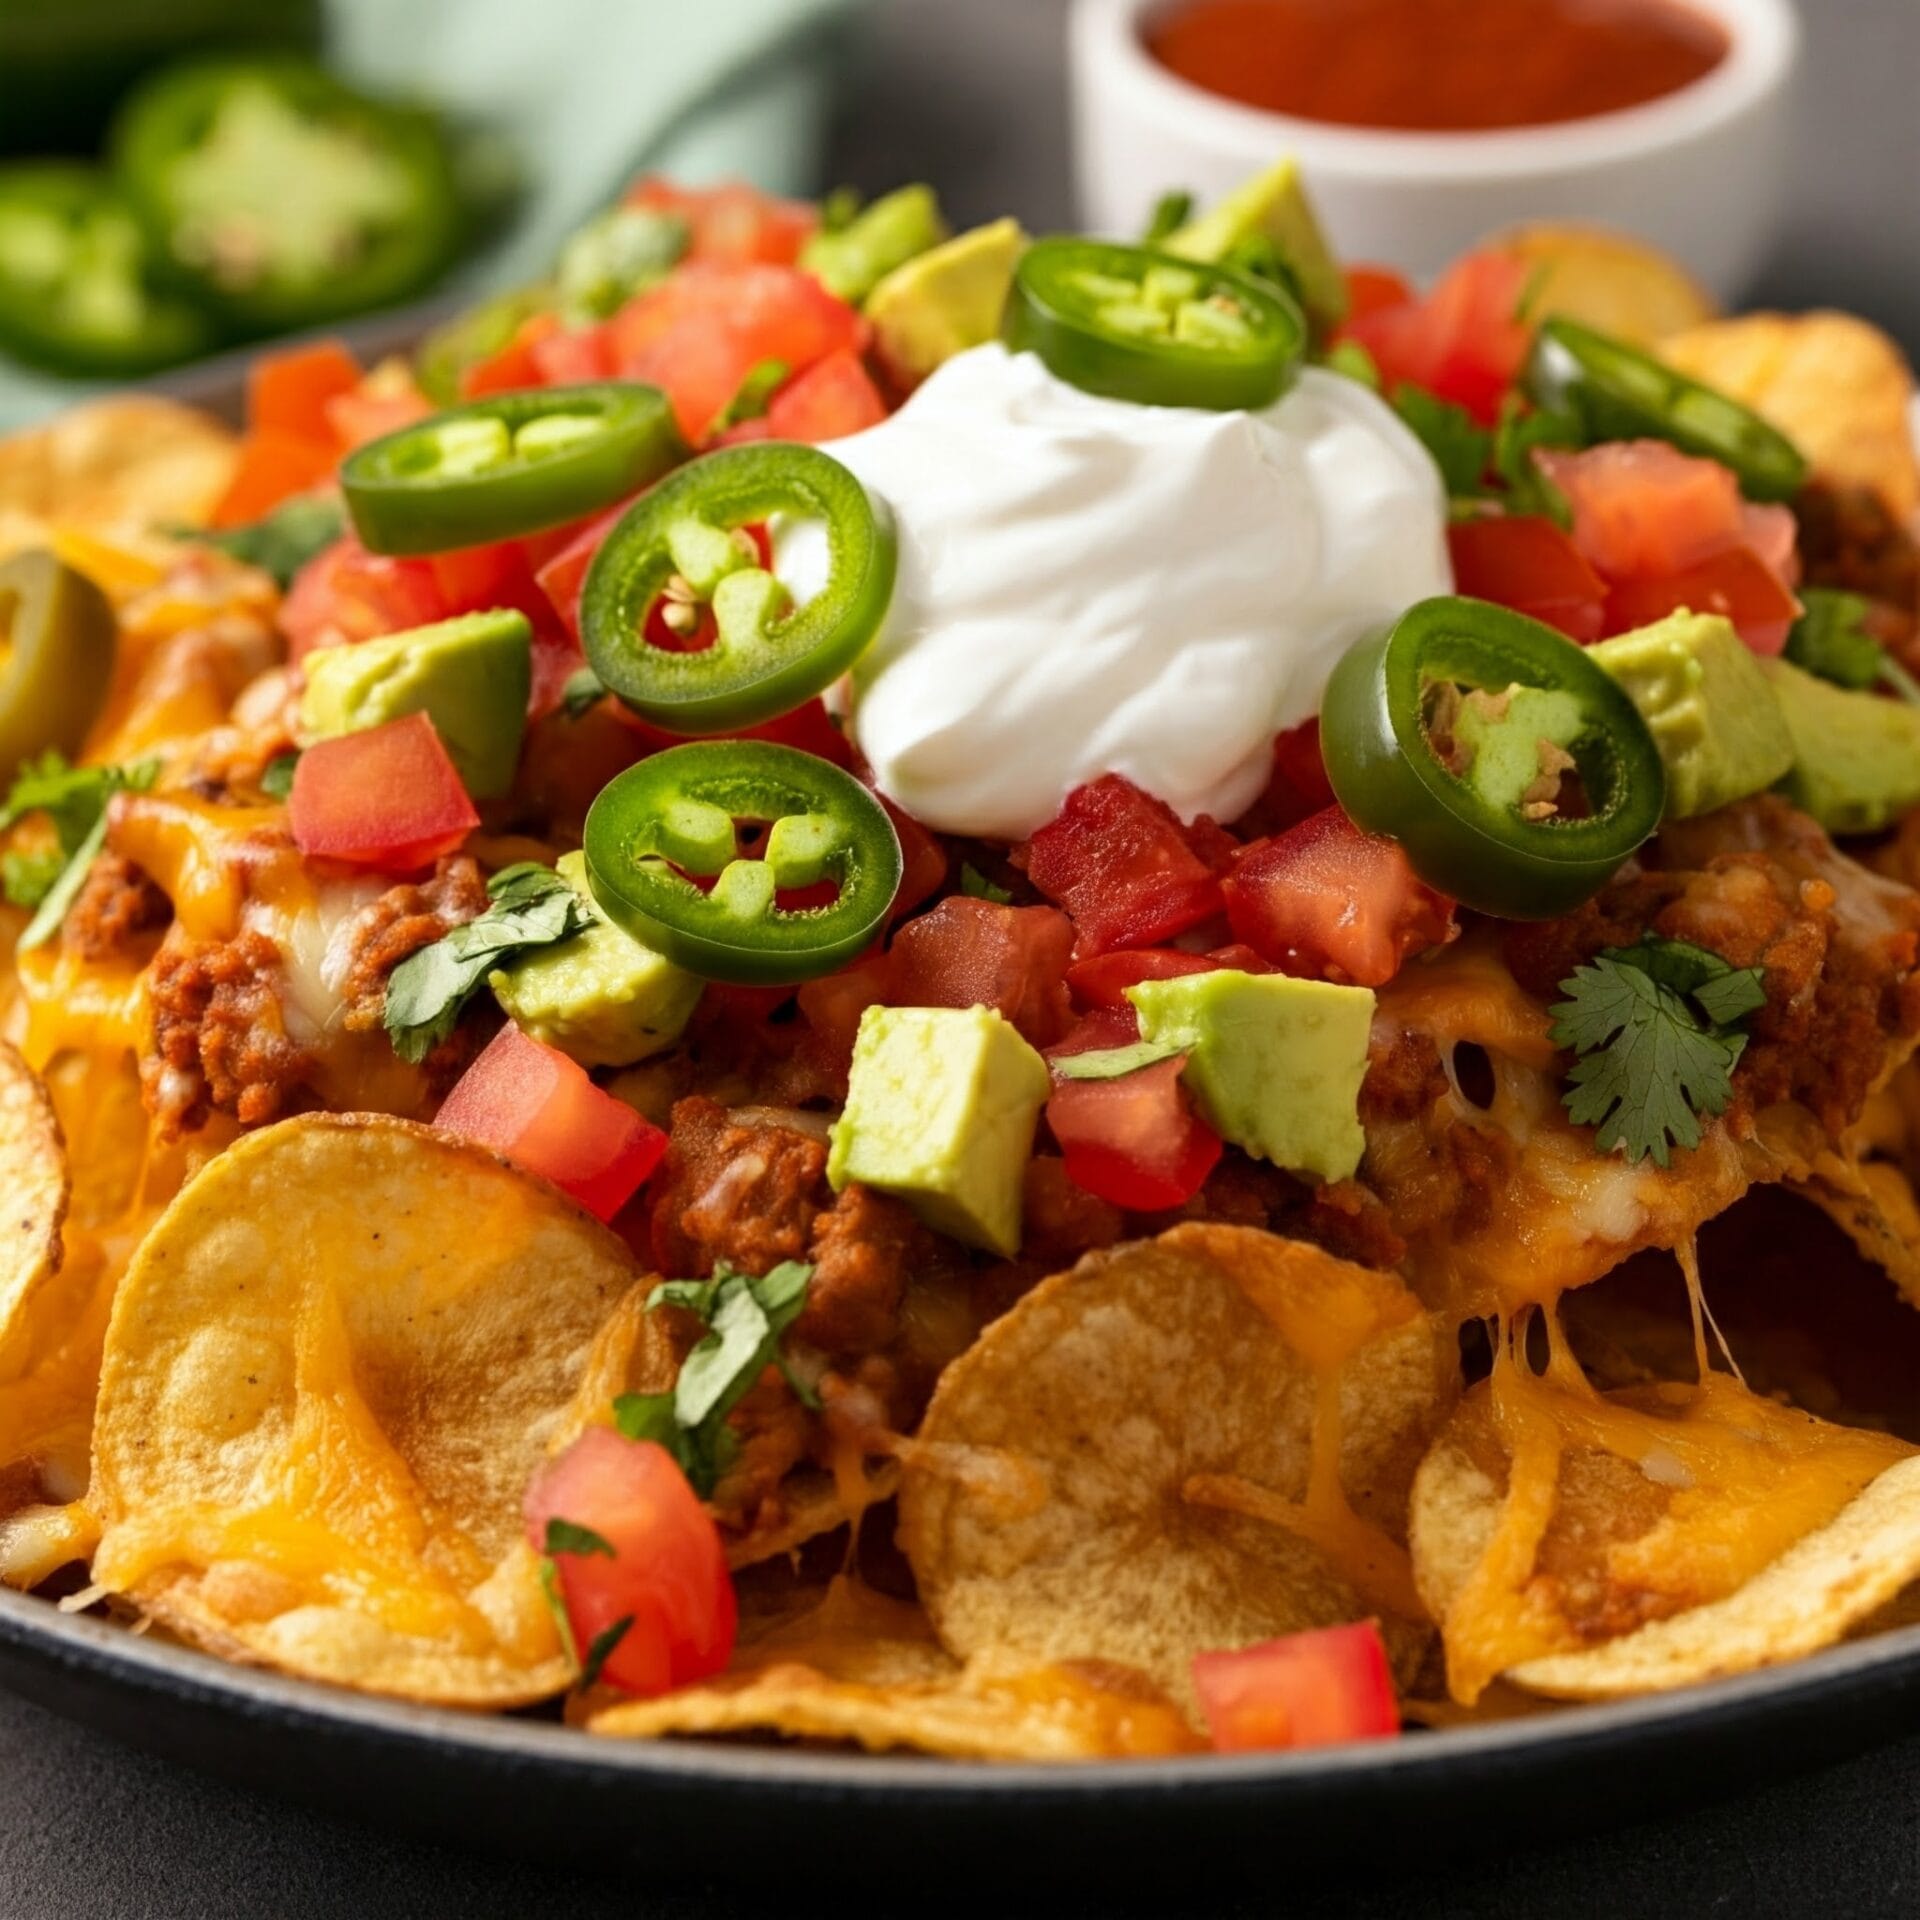
Loaded Potato Chip Nachos

Appetizer · Snacks

Loaded Potato Chip Nachos

Wavy potato-chip nachos with ranch-seasoned Cheddar and Monterey Jack, crisp bacon, green onion, and a cool sour-cream dip.
Prep
10 minutes
Cook
20 minutes
Total
30 minutes
Serves
10 snack portions

Bring it to the table

About this recipe.

Wavy potato chips baked with ranch-seasoned Cheddar and Monterey Jack, crisp bacon, and green onion, served with a ranch sour-cream dip.

Loaded Potato Chip Nachos

Before you start

Gather your ingredients.

Check your pantry before you begin. Full quantities and serving adjustments are in the recipe card below.

See the ingredient checklist
  • 1 oz Ranch Seasoning (dry seasoning packet, divided)
  • 1 Cup Sour Cream
  • 10 Slices Bacon
  • 12 oz Potato Chips (sturdy wavy, kettle-cooked chips)
  • 2 Cups Cheddar Cheese (shredded)
  • 2 Cups Monterey Jack Cheese (shredded)
  • 3 Large Green Onions (thinly sliced)
  • 1 tsp Hot Sauce (or to taste (optional))

The cooking plan

How to make Loaded Potato Chip Nachos.

  1. Heat the oven to 425°F. Line a large rimmed baking sheet with parchment rated for that temperature, or use foil. Spread the potato chips in an even layer.

  2. Mix 1 tablespoon of the dry ranch seasoning into the sour cream. Cover and refrigerate the dip until serving. Reserve all remaining dry seasoning for the cheese.

  3. Cook the bacon in a skillet over medium heat, turning as needed, until evenly browned and crisp, about 10 minutes depending on thickness. Drain on paper towels and crumble when cool enough to handle.

  4. Toss the remaining dry ranch seasoning with the shredded Cheddar and Monterey Jack. Sprinkle evenly over the chips, then add the cooked bacon. Bake for about 10–12 minutes, until the cheese melts and the edges of the chips begin to brown. Check early and remove before the chips darken too much.

  5. Top with sliced green onions and optional hot sauce. Serve immediately with the chilled sour-cream dip on the side.

Let’s cook

The full recipe.

Check off ingredients as you get them ready.

Changing servings? The ingredient list scales automatically. Adjust quantities named in the steps to match, and choose pans and cooking times for your batch.

Loaded Potato Chip Nachos

No ratings yet
Wavy potato chips baked with ranch-seasoned Cheddar and Monterey Jack, crisp bacon, and green onion, served with a ranch sour-cream dip.
Prep Time 10 minutes
Cook Time 20 minutes
Total Time 30 minutes
Servings: 10 snack portions
Course: Appetizer, Snack
Cuisine: American

Some ingredient links are affiliate links. We may earn a commission at no extra cost to you. As an Amazon Associate I earn from qualifying purchases.

Ingredients
  

  • 1 oz Ranch Seasoning dry seasoning packet, divided
  • 1 Cup Sour Cream
  • 10 Slices Bacon
  • 12 oz Potato Chips sturdy wavy, kettle-cooked chips
  • 2 Cups Cheddar Cheese shredded
  • 2 Cups Monterey Jack Cheese shredded
  • 3 Large Green Onions thinly sliced
  • 1 tsp Hot Sauce or to taste (optional)

Equipment

1 Baking sheet (For layering and baking your loaded chips evenly.)
1 Parchment paper (Prevents sticking and makes cleanup quick and easy.)
1 Cheese Grater (For freshly shredded cheese that melts better than pre-shredded.)
1 Tongs (Handy for layering chips and serving without crushing them.)
1 Oven Mitts ( To safely remove the hot tray from the oven.)
1 Serving Tray (Great for presenting the nachos at parties or gatherings.)

Equipment images are illustrative. Exact products may vary.

Instructions
 

  1. Heat the oven to 425°F. Line a large rimmed baking sheet with parchment rated for that temperature, or use foil. Spread the potato chips in an even layer.
  2. Mix 1 tablespoon of the dry ranch seasoning into the sour cream. Cover and refrigerate the dip until serving. Reserve all remaining dry seasoning for the cheese.
  3. Cook the bacon in a skillet over medium heat, turning as needed, until evenly browned and crisp, about 10 minutes depending on thickness. Drain on paper towels and crumble when cool enough to handle.
  4. Toss the remaining dry ranch seasoning with the shredded Cheddar and Monterey Jack. Sprinkle evenly over the chips, then add the cooked bacon. Bake for about 10–12 minutes, until the cheese melts and the edges of the chips begin to brown. Check early and remove before the chips darken too much.
  5. Top with sliced green onions and optional hot sauce. Serve immediately with the chilled sour-cream dip on the side.

Notes

Makes about ten snack portions. Use dry ranch seasoning, not bottled ranch dressing: 1 tablespoon goes into the dip and the remainder goes into the cheese. Sturdy chips hold the toppings better than thin chips. Serve promptly for the best texture. Timing is an estimate.

Tried this recipe?

Let us know how it was!

A couple of useful answers.

How do I change the number of servings?

Use the serving controls in the recipe card. Ingredient quantities change automatically; quantities written in the instructions, pan sizes and cooking times still need your attention.

Can I print or check off the ingredients?

Choose Print recipe near the title for a printable version. On this page, check ingredients off as you prepare them, then use Reset ingredient checks to start again.

Keep the good food going

Similar Recipes

Choose your next craving. Each card includes its recipe’s total time.

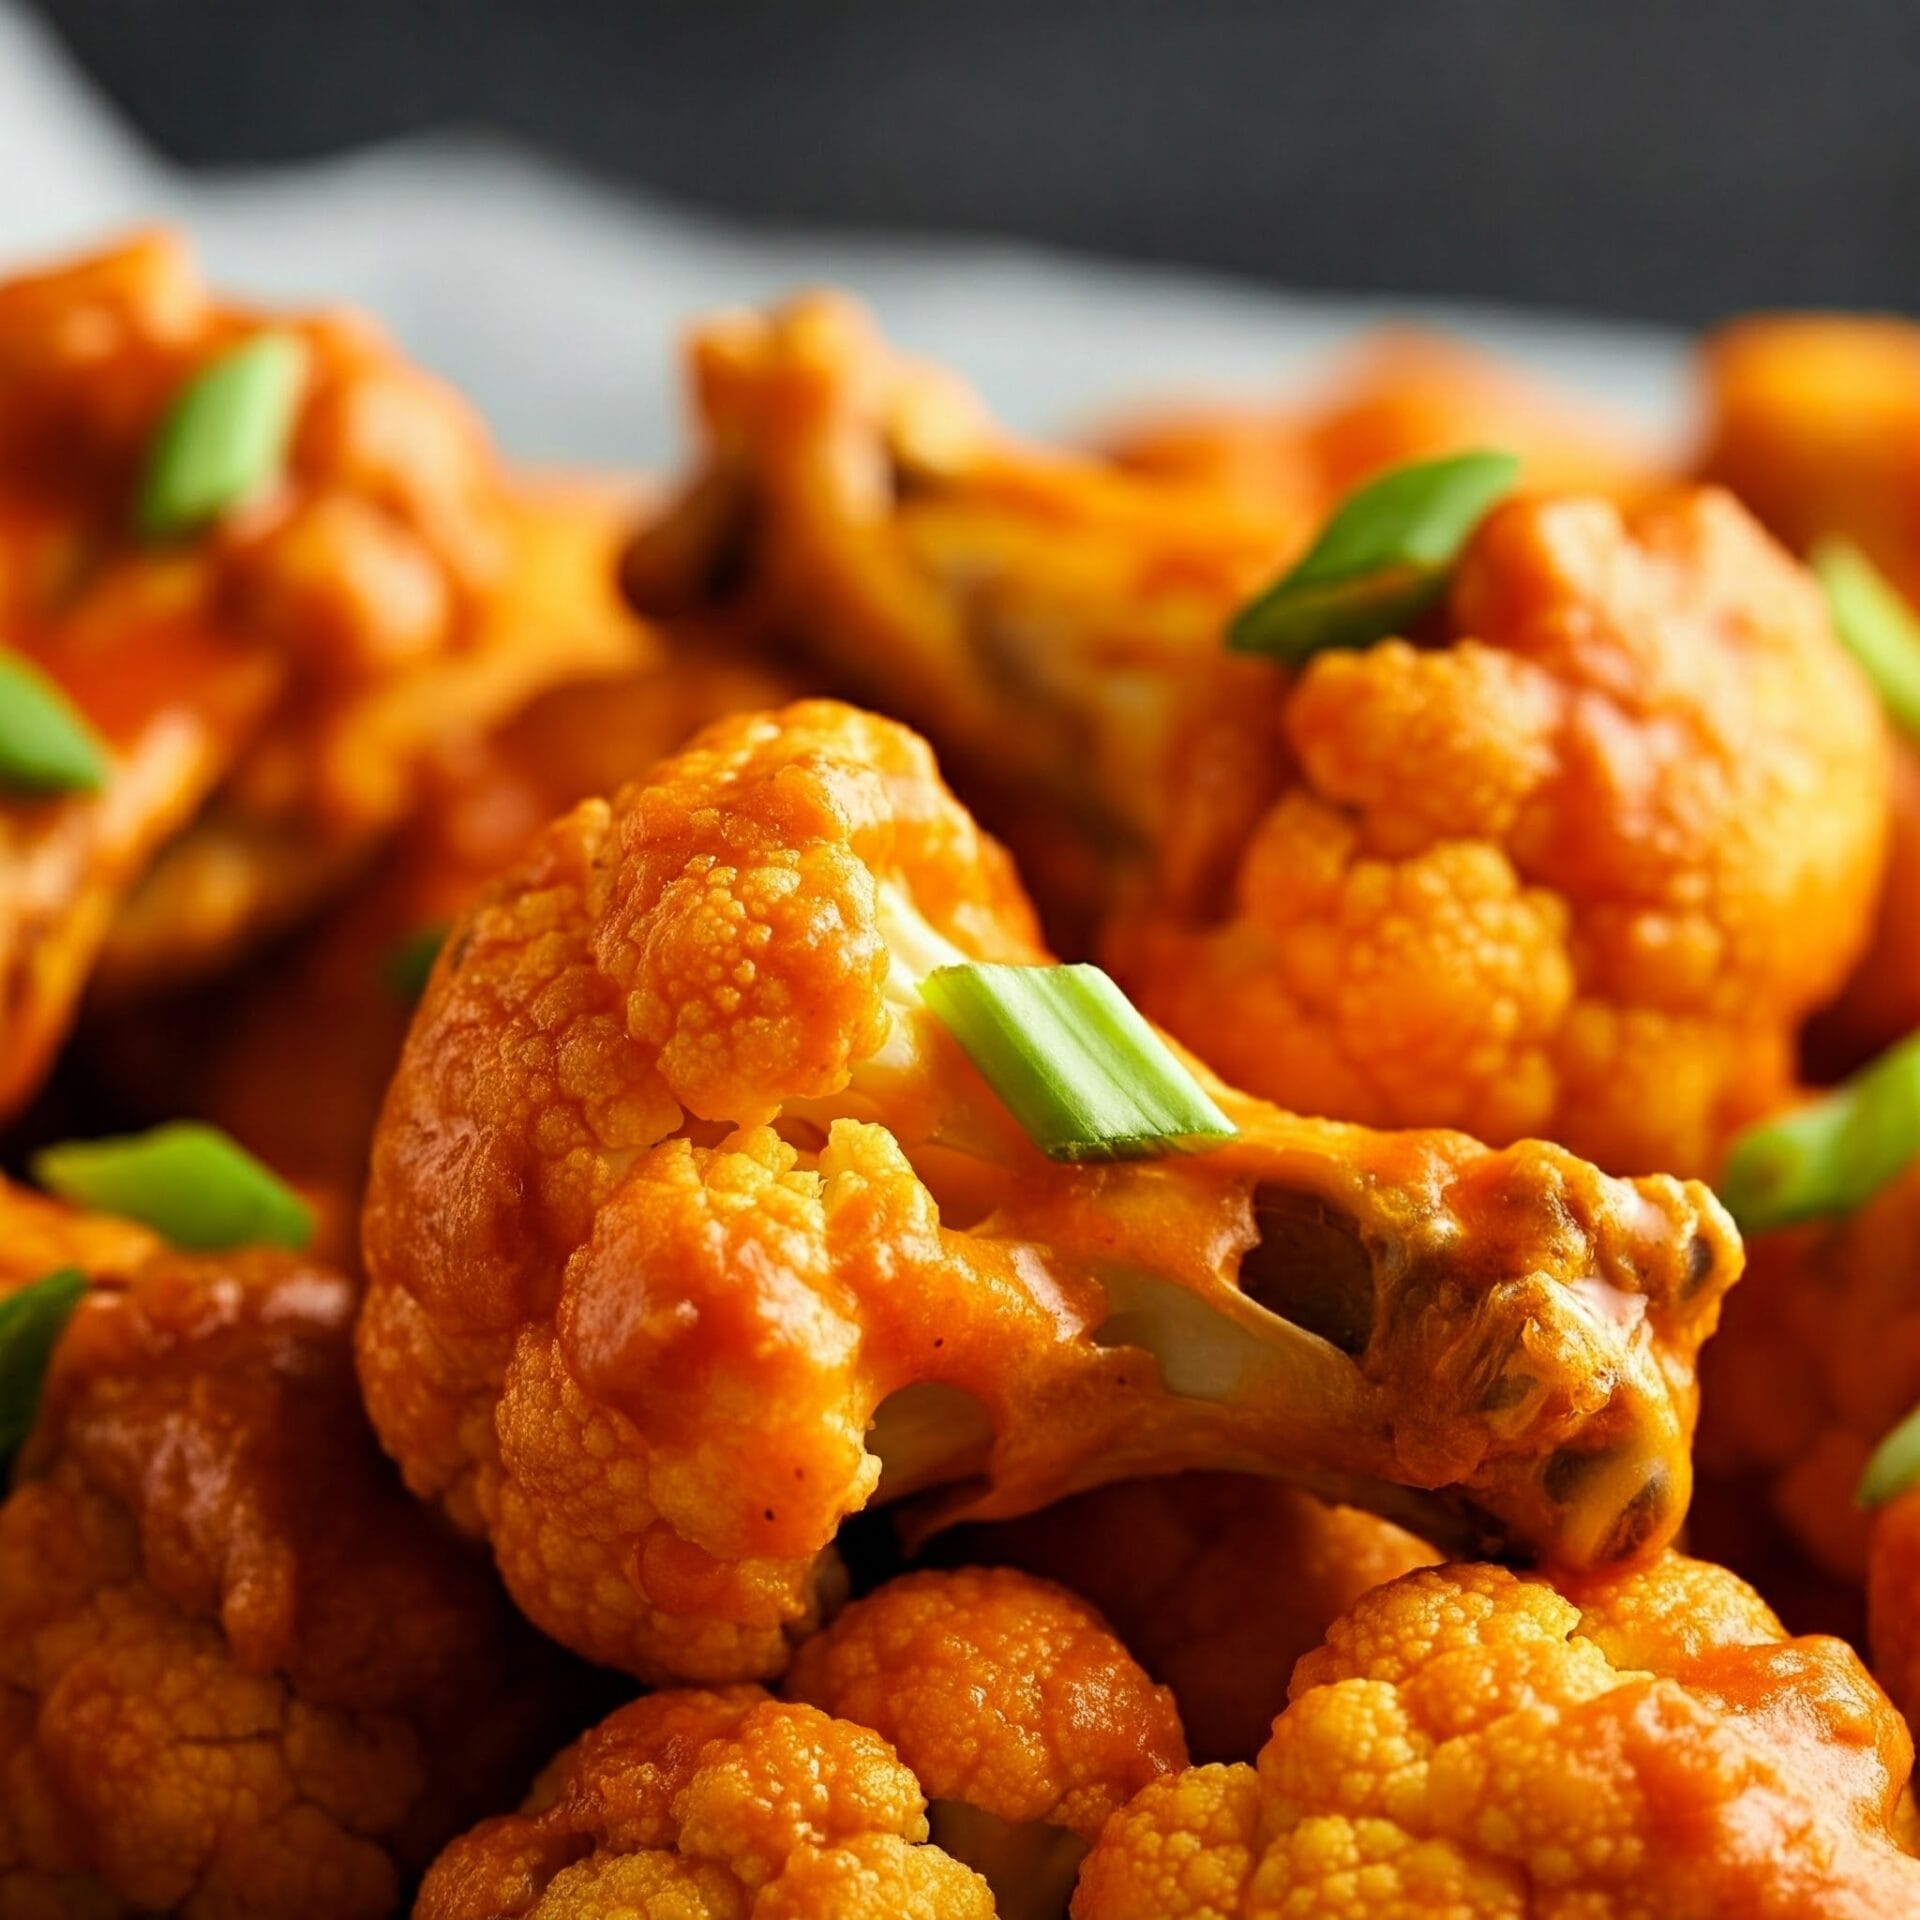
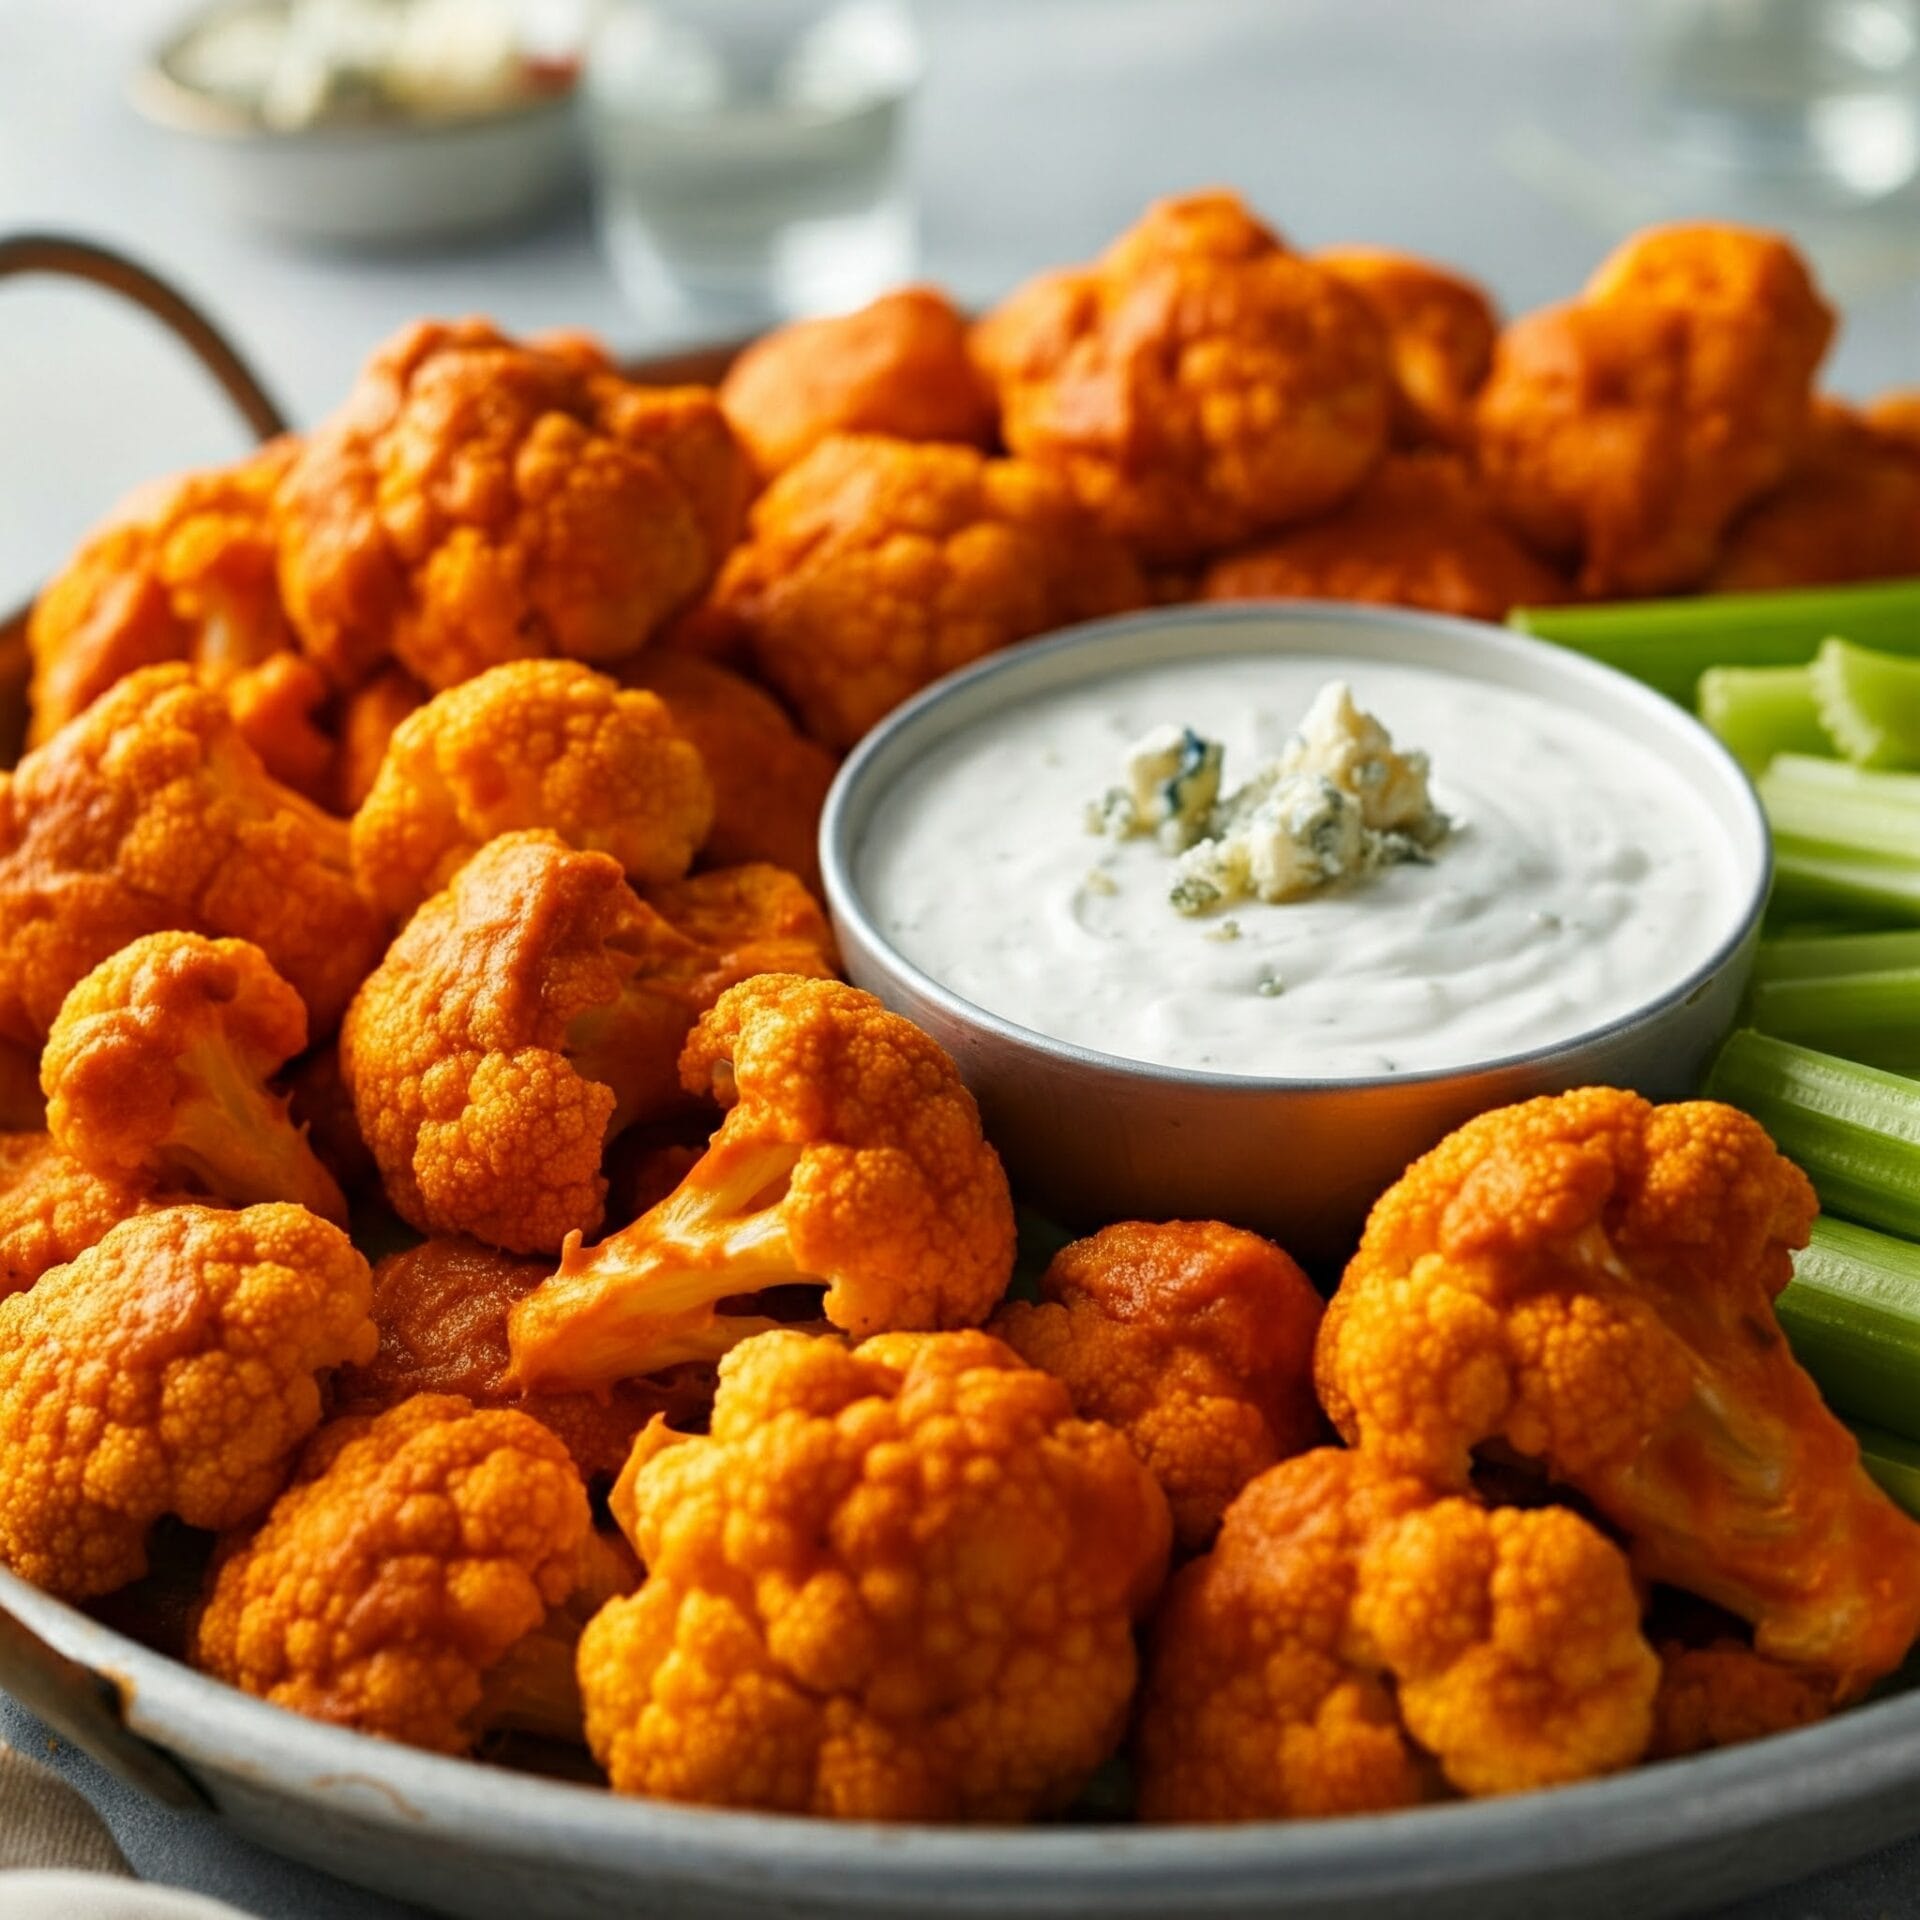
Buffalo Cauliflower Wings

Appetizer · Snacks

Buffalo Cauliflower Wings

Battered cauliflower baked until tender with crisp edges, then brushed with Buffalo sauce. Serve with ranch or blue cheese dressing for dipping.
Prep
15 minutes
Cook
35 minutes
Total
50 minutes
Serves
4 people

Bring it to the table

About this recipe.

Battered cauliflower baked until tender with crisp edges, then brushed with Buffalo sauce. Serve with ranch or blue cheese dressing for dipping.

Before you start

Gather your ingredients.

Check your pantry before you begin. Full quantities and serving adjustments are in the recipe card below.

See the ingredient checklist
  • ⅔ Cup All-Purpose Flour (Leveled)
  • ¼ Cup Cornstarch
  • 1 tsp Garlic Powder
  • 1 tsp Onion Powder
  • 1 tsp Paprika
  • ½ tsp Sea Salt
  • ¾ Cup water
  • 1 cauliflower (about 2 pounds, cut into large wing-sized florets)
  • prepared Buffalo wing sauce (for brushing before the final bake and again to serve)
  • ranch or blue cheese dressing (for dipping, optional)

The cooking plan

How to make Buffalo Cauliflower Wings.

  1. Heat the oven to 450°F. Line two large baking sheets with parchment rated for that temperature, following its package directions. Cut the cauliflower into large, evenly sized florets and pat dry.

  2. Whisk the flour, cornstarch, garlic powder, onion powder, paprika and salt in a large bowl. Add the water and whisk until smooth. Stir in the cauliflower until coated.

  3. Lift out each floret, letting excess batter drip back into the bowl. Arrange in a single layer with space between pieces. Bake 10 minutes, carefully turn with a spatula and swap the pans between racks. Bake 10 minutes more.

  4. Brush the florets with Buffalo sauce. Bake another 12–15 minutes, until the cauliflower is tender and the coating is browned and crisp at the edges. Watch closely near the end.

  5. Let cool briefly, then brush with a little more Buffalo sauce to taste. Serve promptly with ranch or blue cheese dressing if desired.

Let’s cook

The full recipe.

Check off ingredients as you get them ready.

Changing servings? The ingredient list scales automatically. Adjust quantities named in the steps to match, and choose pans and cooking times for your batch.

Buffalo Cauliflower Wings

No ratings yet
Battered cauliflower baked until tender with crisp edges, then brushed with Buffalo sauce. Serve with ranch or blue cheese dressing for dipping.
Prep Time 15 minutes
Cook Time 35 minutes
Total Time 50 minutes
Servings: 4 people
Course: Appetizer, Snacks
Cuisine: American, American Fusion

Some ingredient links are affiliate links. We may earn a commission at no extra cost to you. As an Amazon Associate I earn from qualifying purchases.

Ingredients
  

  • ⅔ Cup All-Purpose Flour Leveled
  • ¼ Cup Cornstarch
  • 1 tsp Garlic Powder
  • 1 tsp Onion Powder
  • 1 tsp Paprika
  • ½ tsp Sea Salt
  • ¾ Cup water
  •  
    1 cauliflower about 2 pounds, cut into large wing-sized florets
  •  
    prepared Buffalo wing sauce for brushing before the final bake and again to serve
  •  
    ranch or blue cheese dressing for dipping, optional

Equipment

1 Large mixing bowl (for coating the cauliflower in batter and tossing with sauce.)
1 Small bowl (for preparing the batter or buffalo sauce separately.)
1 Whisk or fork (to mix batter ingredients until smooth.)
1 Measuring cups & spoons ( for accuracy in flour, spices, and liquids.)
1 Cutting board (for chopping cauliflower into florets.)
Chef's knife
1 Sharp chef’s knife (to cut through the cauliflower cleanly and safely)
1 Tongs ( for flipping the wings or tossing them in sauce without breaking them.)

Equipment images are illustrative. Exact products may vary.

Instructions
 

  1. Heat the oven to 450°F. Line two large baking sheets with parchment rated for that temperature, following its package directions. Cut the cauliflower into large, evenly sized florets and pat dry.
  2. Whisk the flour, cornstarch, garlic powder, onion powder, paprika and salt in a large bowl. Add the water and whisk until smooth. Stir in the cauliflower until coated.
    ⅔ Cup All-Purpose Flour, ¼ Cup Cornstarch, 1 tsp Garlic Powder, 1 tsp Onion Powder, 1 tsp Paprika, ½ tsp Sea Salt, ¾ Cup water
  3. Lift out each floret, letting excess batter drip back into the bowl. Arrange in a single layer with space between pieces. Bake 10 minutes, carefully turn with a spatula and swap the pans between racks. Bake 10 minutes more.
    1 cauliflower
  4. Brush the florets with Buffalo sauce. Bake another 12–15 minutes, until the cauliflower is tender and the coating is browned and crisp at the edges. Watch closely near the end.
  5. Let cool briefly, then brush with a little more Buffalo sauce to taste. Serve promptly with ranch or blue cheese dressing if desired.

Notes

Use large florets so the cauliflower does not overcook before the coating sets. Leave space on both pans and let excess batter drip off before baking. Serve soon after baking for the best texture. Choose the heat level of your prepared Buffalo sauce to suit your taste. Check sauce and dressing labels if you need to avoid dairy or other allergens. No air-fryer or flour-substitution method has been verified for this version.

Tried this recipe?

Let us know how it was!

A couple of useful answers.

How do I change the number of servings?

Use the serving controls in the recipe card. Ingredient quantities change automatically; quantities written in the instructions, pan sizes and cooking times still need your attention.

Can I print or check off the ingredients?

Choose Print recipe near the title for a printable version. On this page, check ingredients off as you prepare them, then use Reset ingredient checks to start again.

Keep the good food going

Similar Recipes

Choose your next craving. Each card includes its recipe’s total time.